If you’re craving pizza and need a quick dough recipe, you’ll love this! I mix 2 cups of flour, 1 packet of active dry yeast, ¾ cup of warm water, 1 tsp of sugar, and 1 tbsp of olive oil. Just knead until smooth, let it rise for about an hour, and roll it out. It’s that simple! Trust me, the taste of homemade pizza is unbeatable. Keep going, and you’ll discover all the steps to make it perfect!
Contents
History
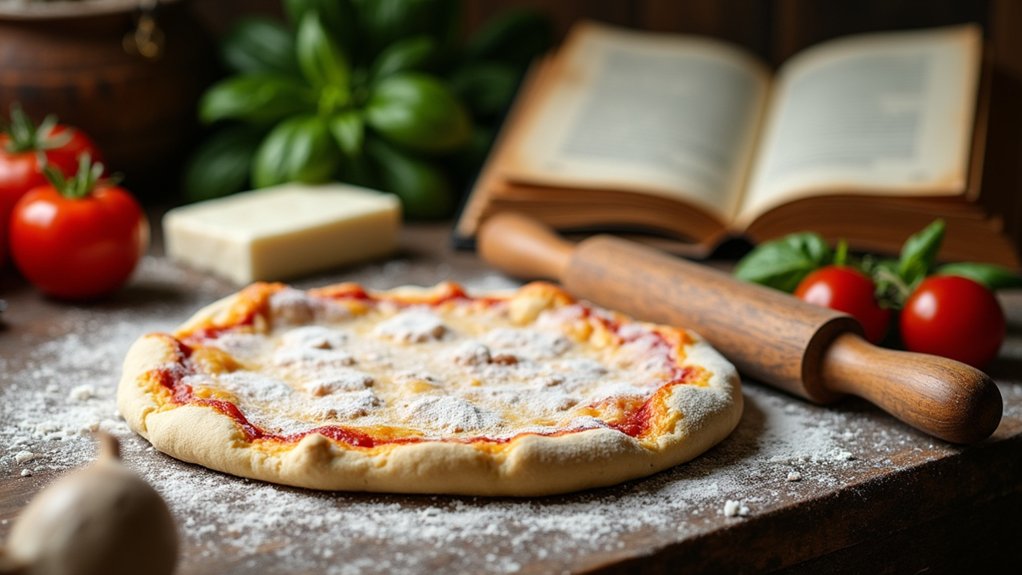
When I think about the history of pizza dough, I’m reminded of how food can connect us across time and cultures. The pizza origins trace back to ancient civilizations, where flatbreads topped with various ingredients marked the beginning of a culinary journey. As I explore dough evolution, I find it fascinating how simple ingredients transformed over centuries. From the stone ovens of Naples to the modern pizzerias we enjoy today, each variation reflects local flavors and traditions. This evolution isn’t just about ingredients; it’s about creativity and adaptation. Every time I make pizza, I feel that connection to the past, as if I’m part of a delicious legacy. It inspires me to try new ideas while honoring those who came before.
Recipe
Making pizza dough from scratch is simpler than you might think, and with this quick recipe, you can have fresh, homemade pizza ready in no time. The beauty of this dough lies in its versatility; whether you’re planning to top it with classic tomato sauce and mozzarella or experiment with gourmet toppings, this dough provides a perfect base. With just a few basic ingredients and minimal preparation time, you’ll be able to impress your family and friends with delicious homemade pizzas.
To get started, gather your ingredients and prepare your workspace. This dough can be made in under 30 minutes, making it an ideal option for a weeknight dinner or an impromptu get-together. The key is to guarantee your ingredients are at room temperature and to knead the dough just enough for it to become smooth and elastic. Once you’ve mastered this quick pizza dough, you might find yourself wanting to make pizza night a regular tradition!
Ingredients:
- 2 cups all-purpose flour
- 1 packet (2 ¼ tsp) active dry yeast
- ¾ cup warm water (about 110°F)
- 1 tsp sugar
- 1 tsp salt
- 1 tbsp olive oil
To prepare the dough, start by dissolving the sugar in warm water in a mixing bowl, then sprinkle the yeast over the top and let it sit for about 5-10 minutes until it becomes frothy. In a separate bowl, combine the flour and salt, then make a well in the center. Pour in the yeast mixture and olive oil, and mix until a dough forms. Transfer the dough to a floured surface and knead for about 5 minutes until smooth and elastic. Let the dough rest for 10 minutes while you prep your toppings.
When making pizza dough, keep in mind a few extra tips for the best results. Make sure to use warm water to activate the yeast properly, but avoid water that is too hot, as it can kill the yeast. If you prefer a thicker crust, allow the dough to rise for about 30 minutes before rolling it out. Experiment with different flours, such as whole wheat or bread flour, to create unique textures and flavors. Finally, don’t forget to preheat your oven to its highest setting to achieve that perfectly crispy crust!
Cooking Steps
Now that we’ve gathered our ingredients, it’s time to jump into the cooking steps. First, I’ll mix warm water with yeast to get things bubbling, and then I’ll gradually add flour to create a dough. After kneading it until smooth, I’ll let it rise, covered, before shaping it into balls, ready for pizza night!
Step 1. Mix Warm Water and Yeast
To kick off our pizza dough, let’s blend warm water with yeast, creating the perfect environment for our dough to rise. First, I grab a bowl and measure about a cup of warm water—ideally around 105°F to 110°F. This water temperature is essential, as it helps in yeast activation without killing those tiny organisms. I sprinkle the yeast over the water and give it a gentle stir, watching as it starts to bubble and foam. That’s a good sign! It means our yeast is waking up and getting ready to work its magic. I usually let it sit for about five minutes, allowing the yeast to activate fully. This step is key in ensuring our pizza dough has that delightful rise and texture we all love.
Step 2. Add Flour Gradually
As the yeast mixture starts to bubble, it’s time to invite the flour into the party! I recommend using a mix of all-purpose flour and bread flour for the best result. Start by adding a cup of all-purpose flour, stirring it in gradually. This keeps the dough from becoming too sticky too soon. If you’re feeling adventurous, try some whole wheat flour or even a gluten-free blend for a unique twist. Keep an eye on the dough consistency as you add more flour; it should be soft but not too tacky. Don’t rush this step—take your time to find that perfect balance. The right mix of flour types makes all the difference in creating a delicious pizza crust!
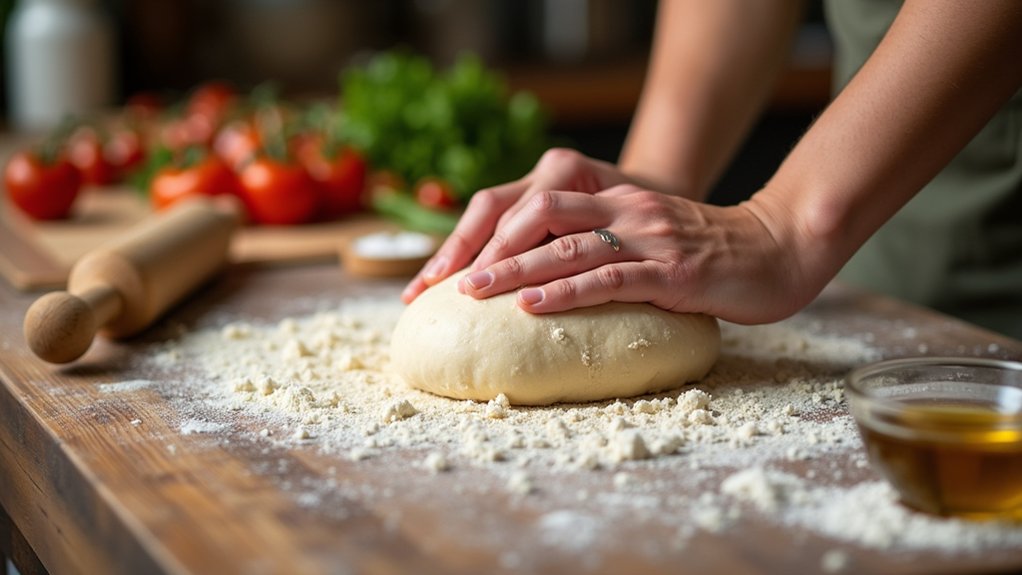
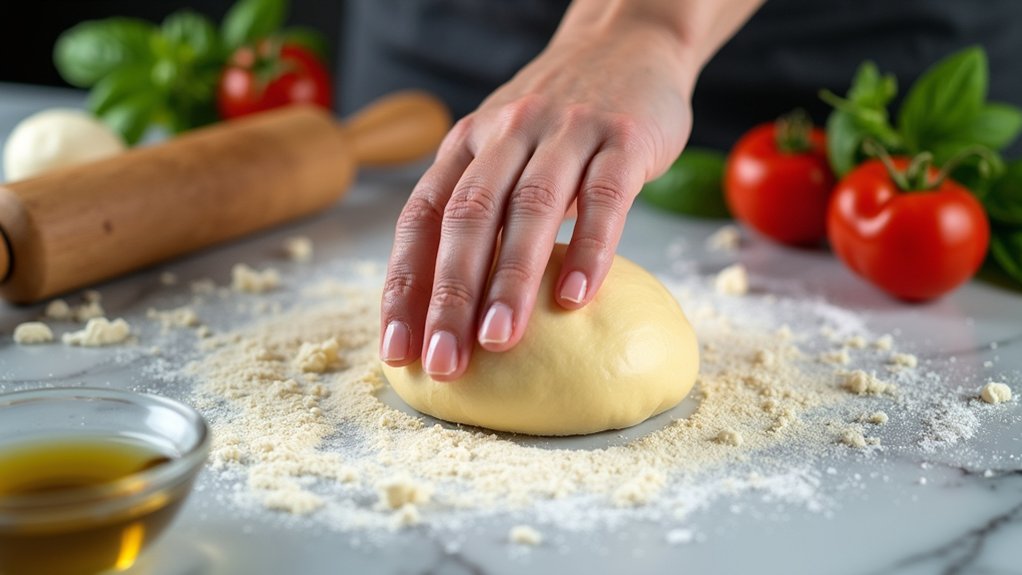
Step 3. Knead Dough Until Smooth
Get ready to roll up your sleeves and plunge into the dough! Kneading is where the magic happens, and it’s all about achieving that perfect dough consistency. Using your hands, push the dough away from you, then fold it back over itself—this is one of my favorite kneading techniques. Don’t rush it; give it a good 8-10 minutes of your time. You’ll feel the dough transform from sticky and shaggy to smooth and elastic. If it’s still too wet, sprinkle just a bit more flour, but be careful not to overdo it. Trust me, the feel of that silky dough under your fingertips is worth every second. Your future pizza will thank you for this vital step!
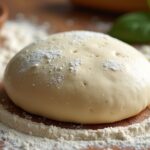
Step 4. Let Dough Rise Covered
Once you’ve finished kneading your dough, it’s time to let it rise, which is where the magic really begins. I love this part! For the best results, I cover my dough with a damp cloth or plastic wrap to create a warm, cozy environment. This keeps the moisture in and prevents a crust from forming, allowing the dough to rise properly. I find that letting it rise for about an hour usually does the trick, but feel free to experiment; you might discover new covered techniques that work even better for you! Watching the dough rise is like seeing creativity unfold, transforming simple ingredients into something extraordinary. So, embrace this moment and get ready for deliciousness ahead!
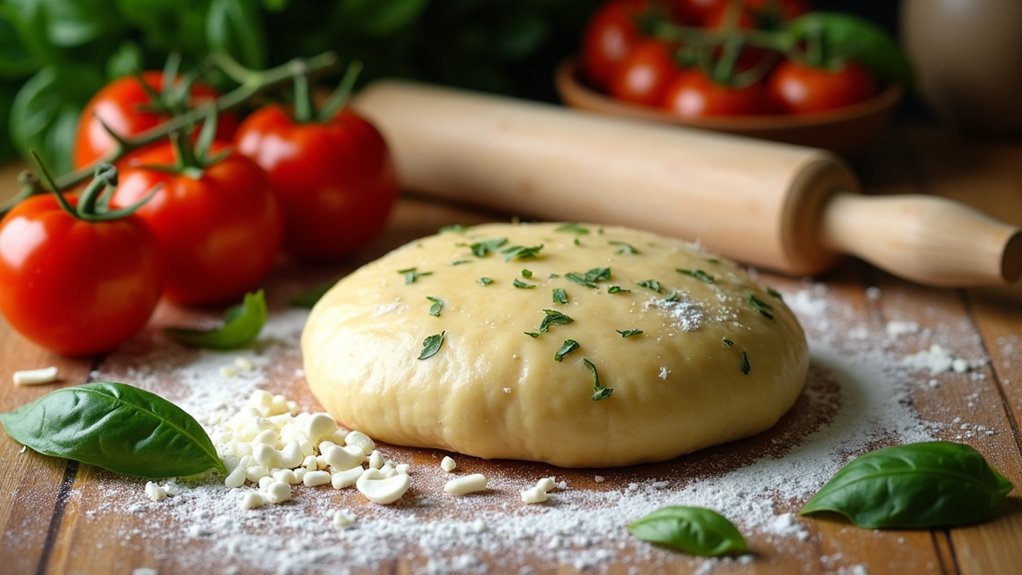
Step 5. Shape Dough Into Balls
Now it’s time to shape your dough into balls, which is a fun step that gets you one step closer to pizza perfection! First, I like to sprinkle a little flour on my work surface to prevent sticking. I grab the risen dough and gently punch it down to release air. Then, using dough shaping techniques, I divide the dough into equal portions, about 200 grams each is perfect for personal pizzas. I roll each piece into a ball, tucking the edges underneath for a smooth surface. This portion sizing guarantees even cooking and makes handling easier later. As I form these dough balls, I can’t help but feel excited about the delicious pizza adventures ahead!
Nutritional Guide
When it comes to pizza dough, understanding its nutritional value can really enhance your cooking experience. Knowing the caloric content and catering to dietary restrictions helps us create a more enjoyable meal. Here’s a quick breakdown of what you’re working with:
| Nutritional Element | Amount per Serving |
|---|---|
| Calories | 200 |
| Carbohydrates | 40g |
| Protein | 7g |
Final Thoughts

As you wrap up your pizza-making journey, it’s essential to reflect on the joy and satisfaction that comes from creating something delicious from scratch. There’s something incredibly rewarding about stretching dough and choosing your favorite pizza toppings. And let’s not forget, mastering dough storage helps you whip up quick meals anytime you crave pizza!
You can easily refrigerate or freeze your dough for later use, ensuring that fresh pizza is always within reach. Experiment with different toppings, from classic pepperoni to innovative veggie combos, and let your creativity shine. Most importantly, share this delightful experience with family and friends. There’s nothing quite like enjoying a homemade pizza together—it’s a memory worth savoring, one slice at a time!
Frequently Asked Questions
Can I Use Gluten-Free Flour for This Pizza Dough?
Absolutely, I’ve used gluten-free flour for my pizza dough before. The dough texture might differ slightly, but experimenting with gluten-free alternatives can lead to delicious results. Don’t hesitate to try it out!
How Long Can I Store Leftover Pizza Dough?
I usually store leftover dough in the fridge for up to three days. For longer dough longevity, I freeze it, ensuring it stays fresh. Just remember to thaw it properly before using it again!
What Toppings Work Best With Quick Pizza Dough?
I love pairing classic combinations like pepperoni and mozzarella with unique flavors like fig and prosciutto. It’s thrilling to experiment, creating unexpected culinary delights that surprise the palate while still honoring traditional favorites.
Can I Freeze the Pizza Dough?
Yes, I freeze my pizza dough! I use simple freezing techniques to maintain its dough texture. Just shape it, wrap tightly, and store in an airtight container—perfect for quick meals anytime inspiration strikes!
Is It Necessary to Let the Dough Rise?
Letting the dough rise transforms it into the fluffiest masterpiece imaginable. The rising benefits enhance the dough texture, making every bite a delightful experience. Trust me, it’s worth the wait for that perfect pizza!
Conclusion
In just a short time, you can whip up this quick pizza dough and create a delicious meal that brings everyone together. Did you know that Americans eat around 3 billion pizzas a year? That’s a lot of dough! So, why not make your own? Whether you’re crafting a classic Margherita or experimenting with toppings, this recipe is your ticket to a fun and satisfying cooking experience. Grab your ingredients, and let’s get rolling!