If you’re looking for a delicious 7 Up Pound Cake recipe, you’ve come to the right spot! This cake is moist and has a lovely citrus flavor thanks to 7 Up. You’ll need ingredients like butter, sugar, eggs, flour, and, of course, your favorite citrus soda. The mix creates a tender cake that’s perfect for gatherings. Trust me, your family will love it! Let’s get started, and I’ll share more tips for making it even better!
Contents
History
When I think about the history of 7 Up Pound Cake, I’m reminded of how recipes often carry stories from our past, connecting generations over shared experiences. This cake has Southern roots, reflecting the charm of traditional baking while embracing modern flavors. Its origins trace back to a time when families sought innovative ways to enhance their desserts, and the addition of a citrus soda brought a unique twist. The historical significance of 7 Up Pound Cake lies in its ability to bridge cultures, drawing on various culinary influences. Each bite evokes a sense of nostalgia, reminding us how food can spark memories and bring people together. As we explore this cake’s history, we honor those who came before us, celebrating their creativity.
Recipe

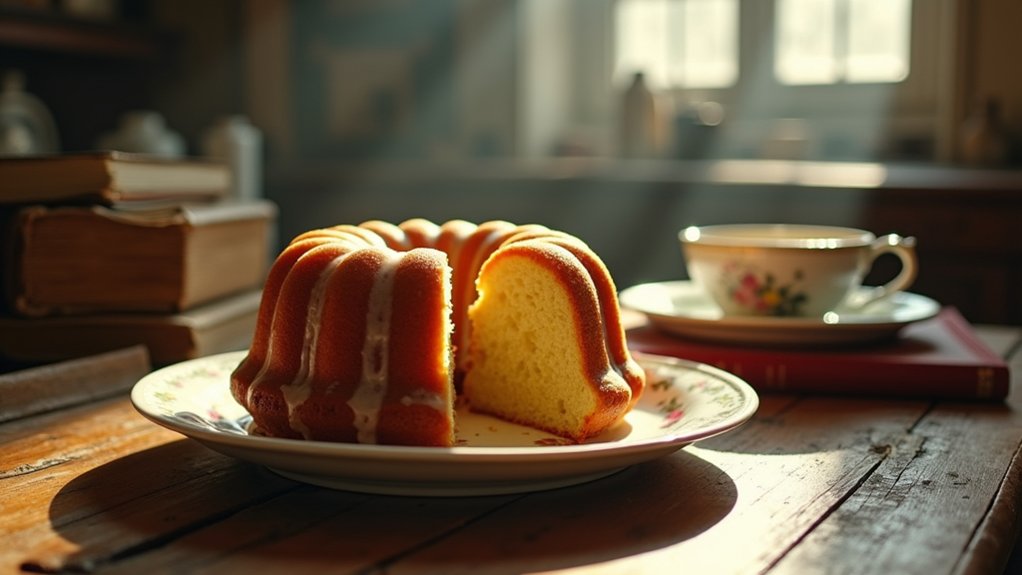
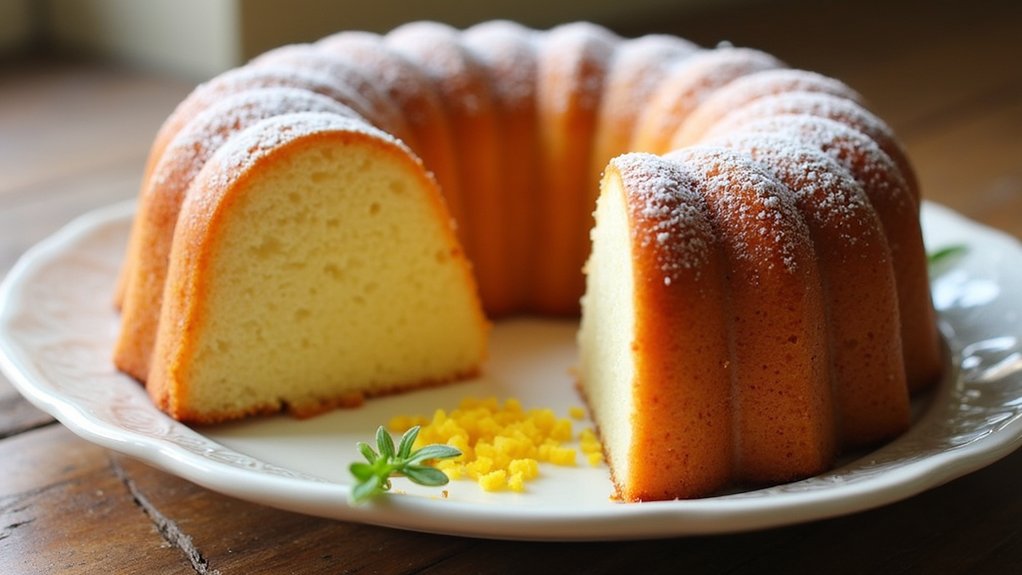
The 7 Up Pound Cake is a delightful dessert that combines the moistness of traditional pound cake with the invigorating citrus flavor of lemon-lime soda. This cake is perfect for any occasion, whether it’s a family gathering, a birthday celebration, or simply a sweet treat to enjoy with your afternoon tea. The unique ingredient, 7 Up, not only adds flavor but also helps to create a tender crumb and a beautiful rise, making it a favorite among bakers.
The 7 Up Pound Cake blends moist traditional flavors with zesty citrus, perfect for any celebration or afternoon delight.
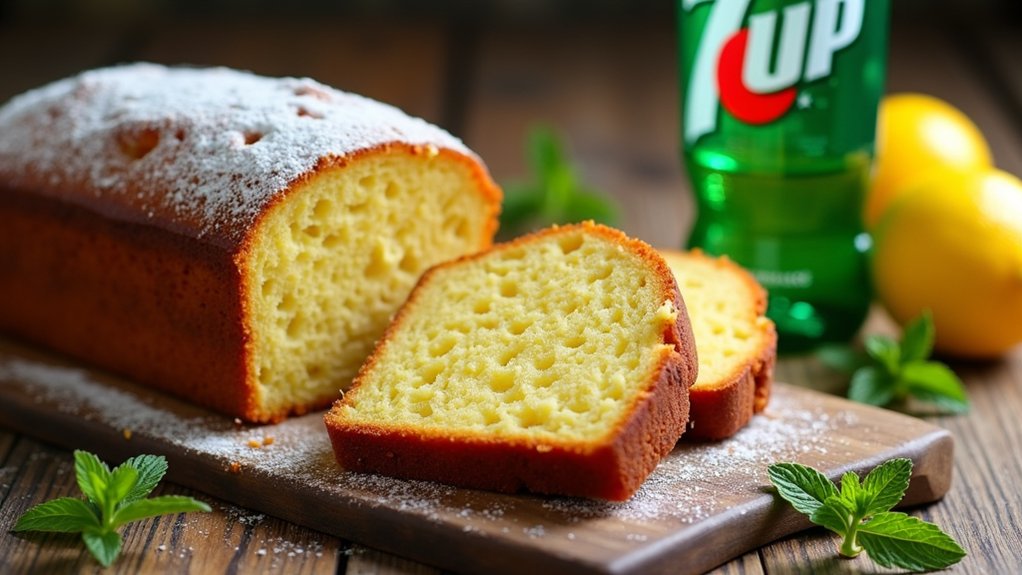
This cake is easy to prepare and requires minimal ingredients, making it a go-to recipe for both novice and experienced bakers alike. The combination of butter, sugar, and eggs creates a rich base, while the addition of 7 Up gives it a lightness that sets it apart from other pound cakes. Once baked, the cake can be served plain, dusted with powdered sugar, or drizzled with a glaze for an extra touch of sweetness.
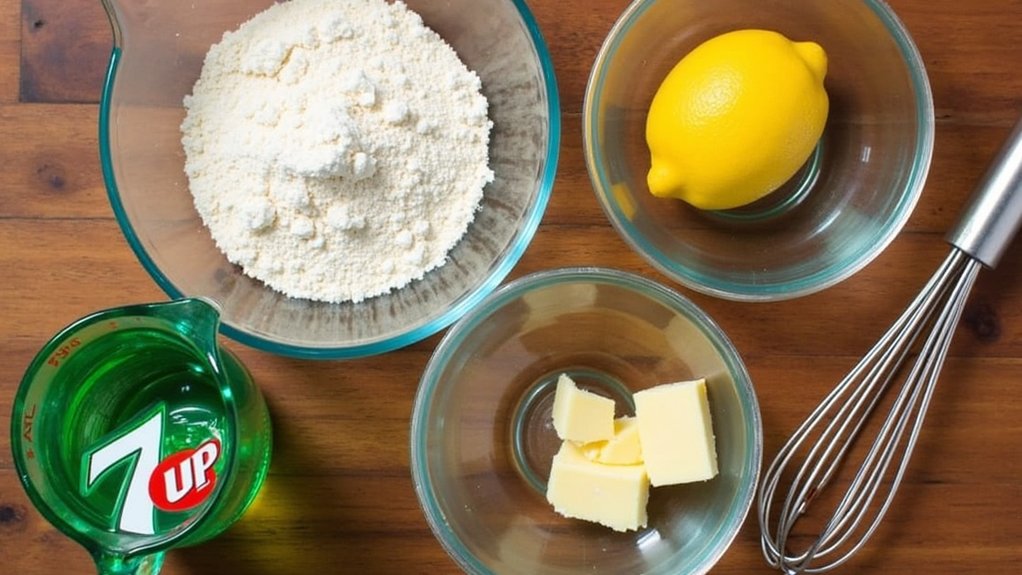
Ingredients:
- 1 cup unsalted butter, softened
- 3 cups granulated sugar
- 5 large eggs
- 3 cups all-purpose flour
- 1 cup 7 Up soda
- 1 teaspoon vanilla extract
- 1 teaspoon lemon extract
- 1/2 teaspoon salt
To prepare the cake, preheat your oven to 325°F (163°C) and grease a 10-inch Bundt pan. In a large mixing bowl, cream together the softened butter and sugar until light and fluffy. Add the eggs, one at a time, mixing well after each addition. Gradually add in the flour, alternating with the 7 Up soda, beginning and ending with flour. Stir in the vanilla and lemon extracts, along with the salt, until just combined. Pour the batter into the prepared Bundt pan and bake for 60-70 minutes, or until a toothpick inserted into the center comes out clean. Allow the cake to cool in the pan for 10 minutes before transferring it to a wire rack to cool completely.
When baking the 7 Up Pound Cake, it’s important to measure your ingredients accurately for the best results. Make sure your butter is at room temperature for easy creaming, and don’t overmix the batter after adding the flour to keep the cake tender. If desired, you can experiment with different extracts or add lemon or lime zest for an extra burst of flavor. For a decorative touch, consider glazing the cake with a simple mixture of powdered sugar and 7 Up, or serve it with fresh fruit or whipped cream. Enjoy your baking!
Cooking Steps
Now that we’ve got our ingredients ready, it’s time to get cooking! First, I recommend preheating your oven to 350°F, so it’s nice and hot when we’re ready to bake. Let’s mix those wet ingredients thoroughly before adding the dry ones gradually — trust me, this step makes all the difference for a fluffy pound cake!
Step 1. Preheat Oven to 350°F
Preheating the oven to 350°F is an essential step that sets the stage for baking a perfect 7 Up Pound Cake. This oven temperature is vital because it guarantees even baking, helping the cake rise beautifully. While you wait for the oven to heat up, it’s a great time to gather your ingredients and get organized. I always find that taking a few moments to prepare makes the process smoother. One of my favorite baking tips is to place an oven thermometer inside, just to double-check that the temperature is accurate. A well-preheated oven means your cake will have that lovely golden crust while staying moist inside. Trust me, this step is worth it for that perfect pound cake!
Step 2. Mix Wet Ingredients Thoroughly
With the oven warming up, it’s time to focus on mixing the wet ingredients for our 7 Up Pound Cake. The wet ingredient importance can’t be overstated, as they bring moisture and flavor to our cake. First, I grab my mixing bowl and add melted butter, sugar, and eggs. Using a whisk, I mix them thoroughly until I achieve a smooth, creamy texture. This is where the mixing techniques come into play; I find that a hand mixer really helps combine everything evenly. Don’t rush this step! Take your time to guarantee the ingredients are well-blended. Once everything’s combined, the sweet aroma fills the kitchen, and I can’t help but feel excited for the delicious cake that’s on the way!
Step 3. Add Dry Ingredients Gradually
As I gather my ingredients, I can’t help but feel a sense of anticipation because adding the dry ingredients gradually is an essential step for achieving that perfect pound cake texture. This part of the process is where the magic happens! I like to keep in mind a few key points for success:
- Pay attention to dry ingredient ratios: Too much flour can lead to a dense cake.
- Incorporate the dry ingredients slowly: This prevents clumps, ensuring even mixing.
- Mix just until combined: Overmixing can toughen the cake, so I stop as soon as I see no dry flour.
With gradual mixing, I can feel confident that my pound cake will turn out light, fluffy, and simply irresistible.
Step 4. Pour Batter Into Pan
It’s time to pour that beautifully mixed batter into the pan, and I can’t help but feel a thrill of excitement! Carefully, I grab my prepared loaf pan, ensuring it’s greased to perfection. As I slowly pour the batter in, I’m amazed by the glossy texture that promises delightful cake layers. This is where my baking techniques shine; I make sure to tap the pan gently on the counter, allowing any air bubbles to escape. This simple step helps achieve that dreamy, velvety cake texture. Watching the batter settle fills me with anticipation, knowing that each slice will be a perfect blend of flavor and nostalgia. Let’s get ready for the next delicious step in this baking adventure!
Step 5. Bake for 50 Minutes
Now that the batter is safely nestled in the loaf pan, it’s time to slide it into the oven for the next essential step: baking for 50 minutes. This is where the magic happens, transforming the batter into a delightful cake with rich textures.
Here’s what you can do while you wait:
- Experiment with baking techniques: Consider adjusting the oven temperature for a different crust.
- Check on cake textures: Use a toothpick to test doneness; it should come out clean.
- Prepare for the aroma: Get ready for that irresistible scent wafting through your kitchen!
Once the timer goes off, your cake will be golden and perfectly baked. I can’t wait for you to taste it!
Nutritional Guide
When I whip up a 7 Up Pound Cake, I can’t help but think about how this delightful treat balances flavor and nostalgia, making it a perfect addition to any gathering. While it’s indulgent, understanding the caloric content helps me enjoy it responsibly. Plus, I love experimenting with ingredient substitutions to make it a bit healthier without sacrificing taste.
Here’s a quick nutritional guide to keep you informed:
| Ingredient | Servings | Calories per Serving |
|---|---|---|
| Butter | 12 | 150 |
| Sugar | 12 | 130 |
| 7 Up | 12 | 60 |
| Flour | 12 | 110 |
Feel free to swap in alternatives like applesauce or coconut oil for a lighter twist!
Final Thoughts
As I wrap up my thoughts on the 7 Up Pound Cake, I can’t help but feel excited about the joy it brings to gatherings and family events. This cake isn’t just a recipe; it’s an experience that brings everyone together. If you’re looking to innovate your baking, consider these tips:
- Experiment with flavor variations like lemon, almond, or even coconut.
- Don’t forget to try different glazes for an extra kick.
- Use quality ingredients for that rich, homemade taste.
With these baking tips, you can truly make this cake your own. I hope you embrace the creativity and fun that comes with baking, sharing not just a delicious treat, but also sweet memories with loved ones. Happy baking!
Frequently Asked Questions
Can I Substitute 7UP With Another Soda?
Absolutely, you can substitute 7 Up with other soda alternatives! I love experimenting with flavor variations like ginger ale or lemon-lime soda. Each brings a unique twist that can elevate your baking experience.
How Long Does 7UP Pound Cake Last?
My 7up pound cake usually lasts about five days at room temperature. For longer shelf life, I recommend wrapping it tightly and refrigerating. Storing it properly guarantees it stays fresh and delicious longer. Enjoy!
Can I Freeze 7UP Pound Cake?
Absolutely, I’ve frozen my cakes with great success! With proper freezing techniques, you can preserve that delightful cake texture. Just wrap it tightly, and it’ll be a sweet surprise waiting for you later!
What Is the Best Way to Store Leftovers?
To store leftovers, I wrap them tightly in plastic wrap or aluminum foil, ensuring no air gets in. This proper wrapping keeps them fresh longer and prevents freezer burn, perfect for innovative meal prep!
Can I Add Fruit or Nuts to the Recipe?
I love experimenting with fruit varieties like blueberries or chopped strawberries, and nut options such as walnuts or pecans. It adds a delightful twist to any recipe, making it even more delicious and unique!
Conclusion
So, whether you’re baking for a special occasion or just craving a slice of nostalgia, this 7 Up pound cake is a delightful treat. Did you know that Americans consume about 87 million pounds of cake every year? That’s a lot of sweetness to share! I hope this recipe brings joy to your kitchen and fills your home with the warm, buttery aroma of freshly baked cake. Happy baking, and enjoy every delicious bite!