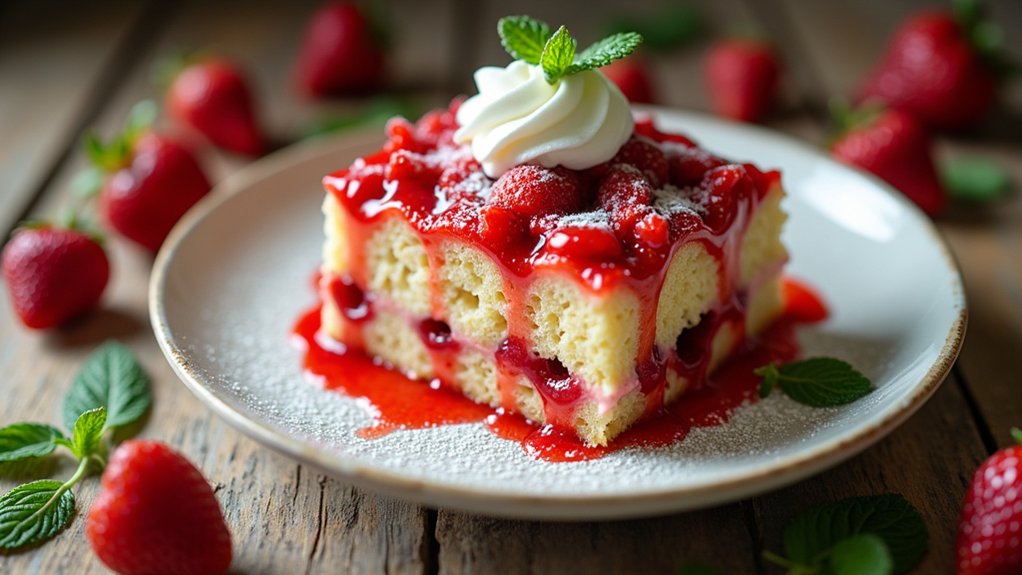
Making a Strawberry Poke Cake is super easy and delightful! First, bake a vanilla cake mix according to the package instructions. Once it’s cool, poke holes all over and pour in some strawberry gelatin mixed with water. Top it with whipped cream and chopped strawberries for that delicious finish. Each bite is bursting with flavor, and it’s great for parties or summer get-togethers. If you’re excited for more tips and variations, there’s much more to explore!
Contents
History
The history of poke cake is a delightful journey that takes us back to the mid-20th century, when home bakers began experimenting with new ideas to make their desserts more exciting. The cake’s origins can be traced to the creative minds of those looking to enhance traditional recipes. They discovered that poking holes in a baked cake and pouring sweet toppings like jello or pudding could transform a simple dessert into a flavor-packed experience. This innovation sparked a true dessert evolution, where flavors combined in unexpected ways, leading to a variety of poke cakes. I can’t help but feel nostalgic thinking about how these inventive bakers paved the way for us to enjoy such delicious creations today.
Recipe
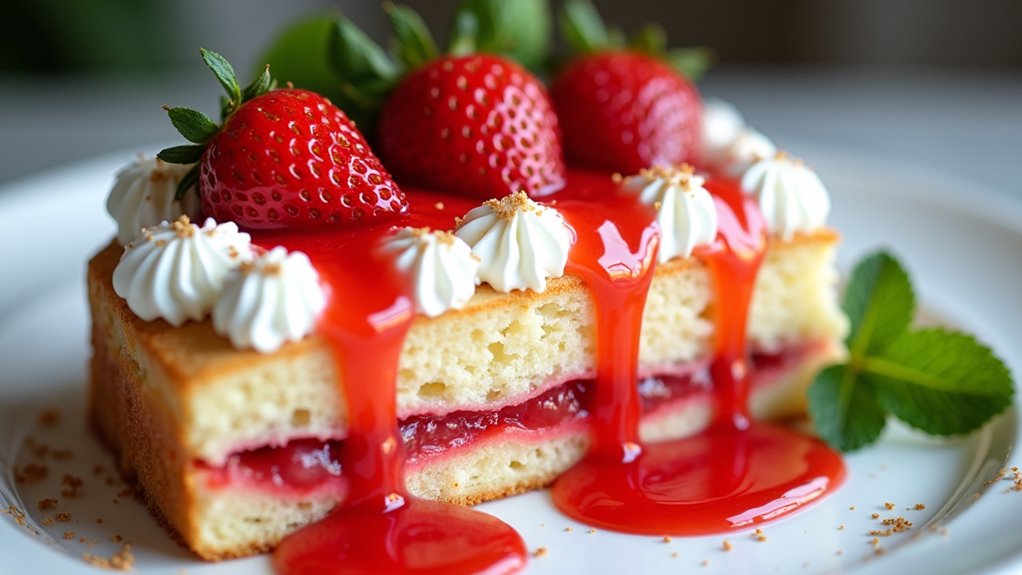
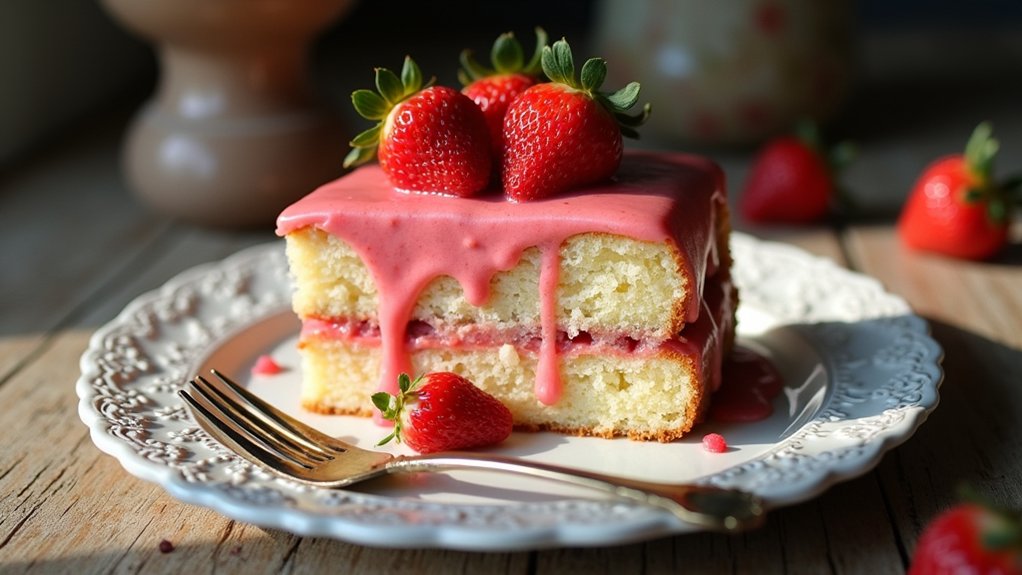
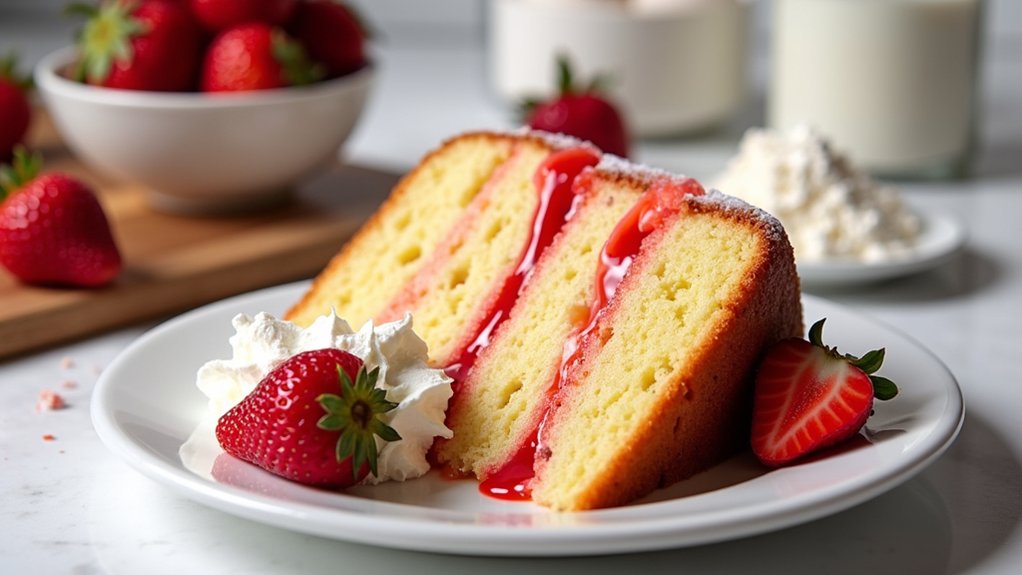
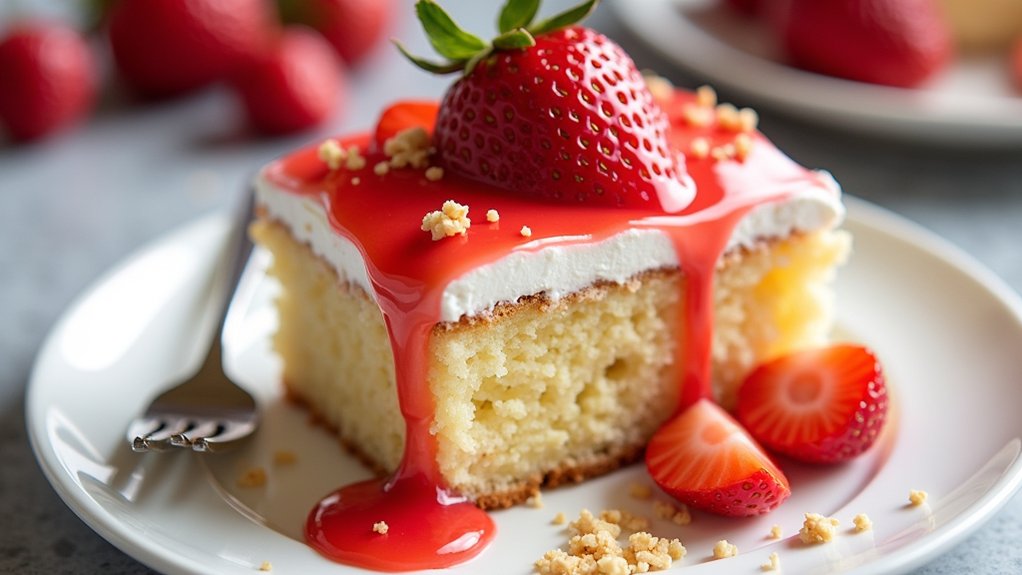
Indulge in the delightful sweetness of a Strawberry Poke Cake, a dessert that combines a moist vanilla cake with a luscious strawberry filling and whipped cream topping. This easy-to-make treat is perfect for summer gatherings, birthday parties, or simply to satisfy your sweet tooth. The poke cake technique infuses the cake with flavor, ensuring every bite is packed with delicious strawberry goodness.
To create this vibrant dessert, start by baking a simple vanilla cake that serves as the base for the poke cake. Once the cake is baked and cooled, you’ll poke holes into it and pour a strawberry gelatin mixture over the top, allowing the flavors to seep into the cake. Finally, a fluffy whipped cream topping is added, creating a beautiful and tasty treat that is sure to impress your family and friends.
Ingredients:
- 1 box of vanilla cake mix (plus ingredients required on the box)
- 1 cup boiling water
- 1 package (3 oz) strawberry gelatin
- 1 cup cold water
- 1 cup fresh strawberries, chopped
- 1 container (8 oz) whipped topping (like Cool Whip)
- Additional strawberries for garnish (optional)
Cooking Instructions:
Prepare the vanilla cake according to the package instructions and bake in a 9×13 inch pan. Once the cake is done, remove it from the oven and allow it to cool for about 15 minutes. Meanwhile, in a separate bowl, dissolve the strawberry gelatin in 1 cup of boiling water, then stir in 1 cup of cold water. After the cake has cooled slightly, use a fork or the handle of a wooden spoon to poke holes all over the surface. Pour the gelatin mixture evenly over the cake, making sure it seeps into the holes. Let the cake chill in the refrigerator for at least 2 hours, then spread the whipped topping over the chilled cake, and top with chopped strawberries.
Extra Tips:
For an even more flavorful cake, consider adding fresh strawberry puree to the whipped topping for a burst of natural sweetness. You can also experiment with different flavors of gelatin or cake mix to create unique variations of this poke cake. To elevate the presentation, arrange additional whole strawberries on top of the whipped cream and dust with a bit of powdered sugar before serving. Enjoy your delicious Strawberry Poke Cake!
Cooking Steps
Now that we’ve got our ingredients ready, let’s jump into the cooking steps for this delightful strawberry poke cake! First, I’ll preheat the oven to 350°F, ensuring it’s nice and warm for the cake to bake perfectly. Once the batter’s mixed thoroughly, we’ll pour it into the pan and let it bake for about 30 minutes, filling the kitchen with that amazing aroma.
Step 1. Preheat Oven to 350°F
Before diving into mixing those delicious ingredients, let’s make certain our oven is ready to go. Preheating the oven to 350°F is an essential step in our cake preparation journey. This specific oven temperature guarantees that our strawberry poke cake bakes evenly, developing that perfect, fluffy texture we all crave. As the oven warms up, it gives us a moment to gather our ingredients and get excited about the delightful flavors we’re about to create. Once the oven reaches that ideal temperature, we’ll be all set to pop our cake in, transforming simple components into something extraordinary. So, let’s get that oven fired up and ready for the magic that’s about to happen!
Step 2. Mix Cake Batter Thoroughly
Let’s get those ingredients dancing together! Mixing the cake batter is where the magic happens, and getting it just right is key to deliciousness. Here’s how I tackle it using effective mixing techniques to achieve perfect batter consistency:
- Combine dry ingredients: In a bowl, whisk together flour, sugar, and baking powder.
- Add wet ingredients: Pour in eggs, milk, and melted butter, and let them mingle.
- Mix gently: Use a hand mixer or whisk, mixing until you see just a few lumps. Over-mixing can lead to a tough cake!
- Check consistency: Aim for a smooth and slightly thick batter, perfect for poking later.
With this approach, your cake will be a delightful base for that luscious strawberry topping!
Step 3. Bake for 30 Minutes
Baking the cake is an exciting step that transforms your batter into a delicious dessert! Preheat your oven to 350°F and pour your mixed batter into a greased pan. Bake for 30 minutes, but don’t just set a timer—use it as a moment to think about cake variations you could try next time. Maybe add a hint of lemon zest or swap in chocolate cake mix for a twist! As the aroma fills your kitchen, remember these baking tips: check if the cake is done by inserting a toothpick; it should come out clean. This is where the magic happens, and you can’t wait to see your creation rise! Enjoy every minute, and I promise it’ll be worth the wait!
Step 4. Cool Cake Completely
Once the cake has baked to golden perfection, it’s time to let it cool completely. Proper cake cooling is essential for achieving that moist texture we all love. Here are some dessert tips to make certain your cake cools just right:
- Remove from Oven: Carefully take the cake out of the oven and place it on a wire rack. This helps it cool evenly.
- Loosen Edges: Run a knife around the edges to prevent sticking, making it easier to remove later.
- Wait Patiently: Let it cool in the pan for about 10-15 minutes before transferring it.
- Cool Completely: Allow the cake to cool for at least an hour before decorating.
Trust me, skipping this step can lead to a soggy mess. Happy baking!
Step 5. Poke Holes in the Cake
Now that your cake has cooled completely, it’s time for the fun part—poking holes! Grab a fork and gently poke holes all over the top of the cake, about an inch apart. This step is essential for achieving that perfect cake texture and ensuring maximum flavor absorption. As I poke, I can already imagine the luscious strawberry goodness soaking in! You’ll want to create enough holes for the syrup to seep through, but not so many that the cake falls apart. Once you’ve finished, it’s like creating a canvas for flavor. Trust me, this will elevate your strawberry poke cake to a whole new level. Let’s get those flavors mingling and make this cake unforgettable!
Nutritional Guide
When it comes to enjoying a delicious Strawberry Poke Cake, it’s important to contemplate the nutritional aspects, especially if you’re planning to share it with friends or family. This cake not only delights the taste buds but also presents some health benefits, like antioxidants from strawberries.
Here’s a quick nutritional guide to help you make informed choices:
| Nutrient | Amount per Serving |
|---|---|
| Calories | 250 |
| Sugar | 22g |
| Fiber | 1g |
For serving suggestions, consider pairing it with fresh fruit or a dollop of Greek yogurt to boost its nutritional profile. This way, you can indulge while still keeping health in mind—who says dessert can’t be both fun and nutritious?
Final Thoughts
As you wrap up your journey with this delightful Strawberry Poke Cake, it’s hard not to feel a sense of excitement about sharing it with loved ones. The beauty of this recipe lies in its versatility, inviting you to explore various cake variations and serving suggestions. Consider these ideas:
- Flavor Infusions: Try using lemon or orange cake mix for a citrus twist.
- Toppings: Experiment with whipped cream, chocolate shavings, or even fresh mint leaves for garnish.
- Layering: Add layers of cream cheese frosting for an indulgent touch.
- Seasonal Fruits: Incorporate raspberries or blueberries for a delightful berry medley.
Frequently Asked Questions
Can I Use Fresh Strawberries Instead of Strawberry Jell-O?
Absolutely, I love using fresh strawberries instead of Jell-O! It adds a vibrant flavor and unique texture. For innovative jell-o flavor variations, try mixing in some other fresh fruit to elevate your dessert experience!
How Long Does the Cake Last in the Refrigerator?
The cake lasts about 3 to 5 days in the refrigerator. For ideal cake preservation, I recommend storing it airtight. Explore innovative storage tips to keep it fresh and delicious for longer!
Can I Make This Cake Gluten-Free?
Absolutely, I can make this cake gluten-free! I simply use gluten-free flour and guarantee my baking powder is gluten-free too. It turns out deliciously moist, proving that innovation in baking is totally possible!
What Can I Substitute for Whipped Topping?
If whipped topping’s a cloud, then homemade whipped cream’s the sky! I love using coconut cream or cashew cream for dairy-free alternatives; they’re velvety and elevate any dessert with a delightful twist. Try it, you’ll adore!
Is This Cake Suitable for Freezing?
Yes, this cake’s suitable for freezing! I recommend wrapping it tightly in plastic wrap, then aluminum foil. For best results, label it with freezing tips and storage methods to keep it fresh for later indulgence.
Conclusion
As you plunge into making this strawberry poke cake, remember it’s not just about the delicious flavors; it’s about creating sweet memories. This cake has a rich history, often enjoyed at family gatherings and summer celebrations. So, whether you’re baking for a special occasion or just to treat yourself, I hope it brings a smile to your face. Trust me, sharing this delightful dessert will make your loved ones feel cherished, just like it does for me every time I bake it.