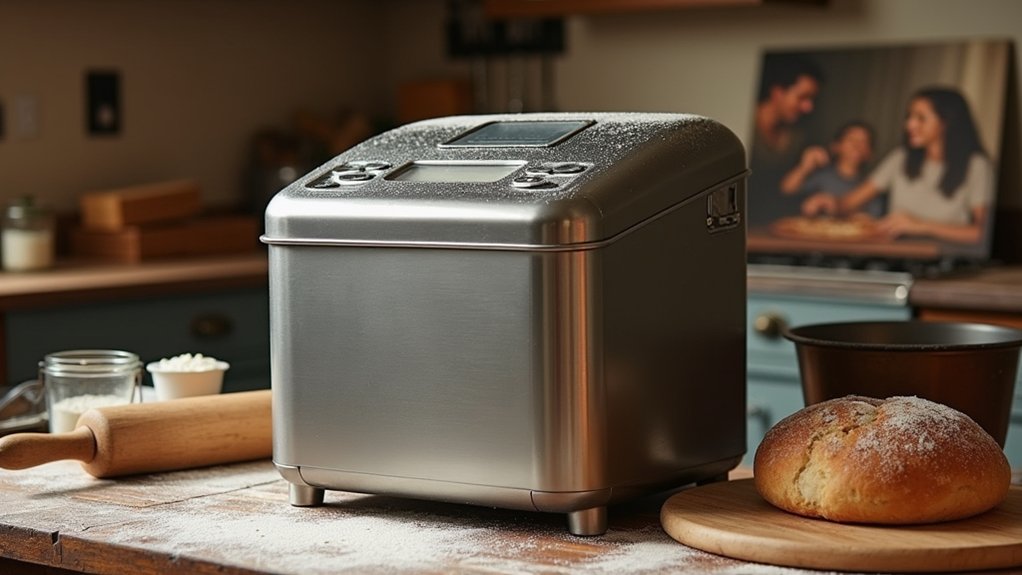
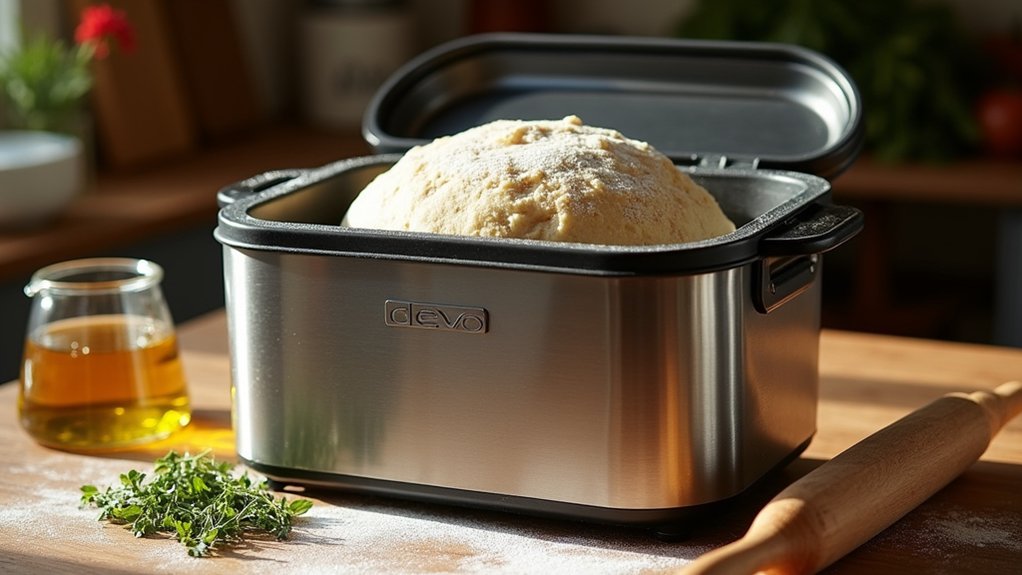
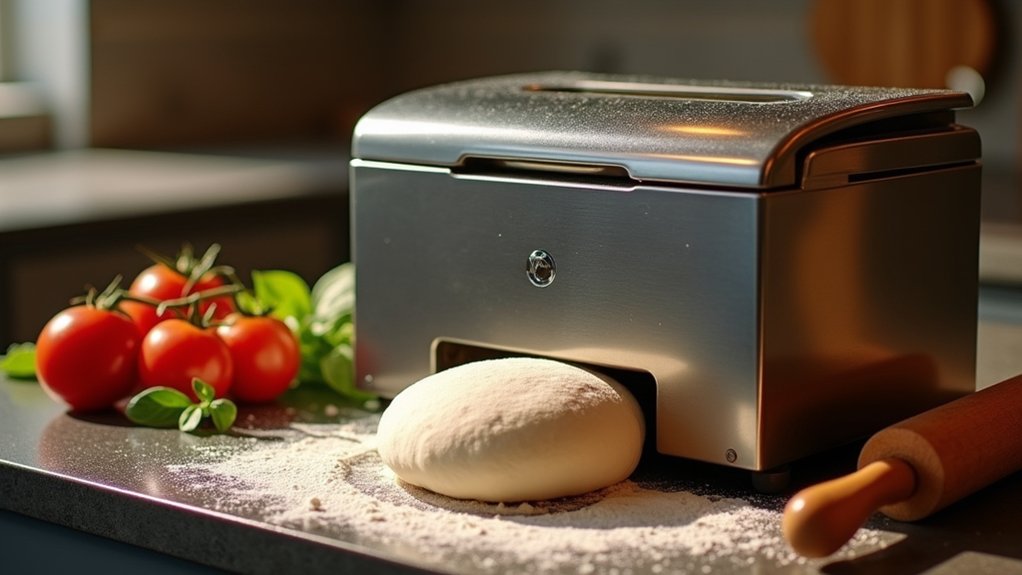
Making pizza dough in a bread machine is super easy and fun! Just combine 4 cups of all-purpose flour, 1 ½ cups of warm water, 2 ¼ teaspoons of active dry yeast, 1 teaspoon of sugar, and 2 tablespoons of olive oil in the machine. Set it to the dough cycle, and in a bit, you’ll have a perfect base for your favorite toppings. Trust me, you’ll love the delicious family moments this creates, and there’s more to explore!
Contents
History
When I think about the history of pizza dough, I can’t help but feel a sense of nostalgia for the cozy kitchens where this beloved dish first took shape. The pizza origins trace back to ancient civilizations, where flatbreads were topped with various ingredients. Over time, the dough evolved, adapting to different cultures and culinary preferences. I love imagining how each generation added its own twist, making it uniquely theirs. From the Neapolitan classic with its simple ingredients to the innovative gluten-free and cauliflower crusts we see today, the journey of pizza dough is truly fascinating. It’s incredible to think how this humble base has transformed and continues to inspire creativity in kitchens worldwide. Let’s celebrate this delicious evolution together!
Recipe
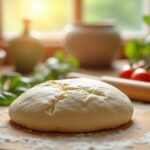
Making homemade pizza dough is a rewarding process that allows you to create a delicious base for your favorite toppings. With just a few basic ingredients, you can achieve a perfectly chewy and flavorful crust that will impress your family and friends. This recipe is simple enough for beginners, yet provides a great foundation for experienced cooks to experiment with different flavors and techniques.
Before you start, confirm that you have all your ingredients ready and a clean workspace to make the process smoother. The key to great pizza dough is in the fermentation, which allows the yeast to develop flavor and the gluten to create the right texture. Whether you plan to make a classic margherita pizza or something more adventurous, this dough recipe will serve as the perfect canvas for your culinary creativity.
Ingredients
- 4 cups all-purpose flour
- 1 ½ cups warm water (about 110°F)
- 2 ¼ teaspoons (1 packet) active dry yeast
- 1 teaspoon sugar
- 2 teaspoons salt
- 2 tablespoons olive oil
Instructions
In a large mixing bowl, combine the warm water, sugar, and yeast. Let it sit for about 5-10 minutes until it becomes frothy. In another bowl, mix the flour and salt together. Once the yeast mixture is ready, add it to the flour along with the olive oil. Stir until the dough begins to come together, then transfer it to a floured surface. Knead the dough for about 8-10 minutes until it is smooth and elastic. Place the dough in a lightly oiled bowl, cover it with a clean kitchen towel or plastic wrap, and let it rise in a warm area for 1-2 hours or until it has doubled in size.
Extra Tips
For best results, use high-quality flour, as it can greatly affect the texture of your dough. If you’re short on time, you can let the dough rise in the refrigerator overnight, which will enhance the flavor even further. Remember to preheat your oven to its highest setting before baking your pizza to achieve a crispy crust. Feel free to experiment with different herbs or spices in the dough for added flavor, and always let the dough rest before rolling it out to make it easier to shape. Enjoy your pizza-making adventure!
Cooking Steps
Now that we’ve gathered our ingredients, let’s jump into the cooking steps! First, I always start by adding warm water to my bowl; it’s essential for activating the yeast. Once that’s done, we can mix in the yeast and sugar, setting the stage for our delicious dough to come together.
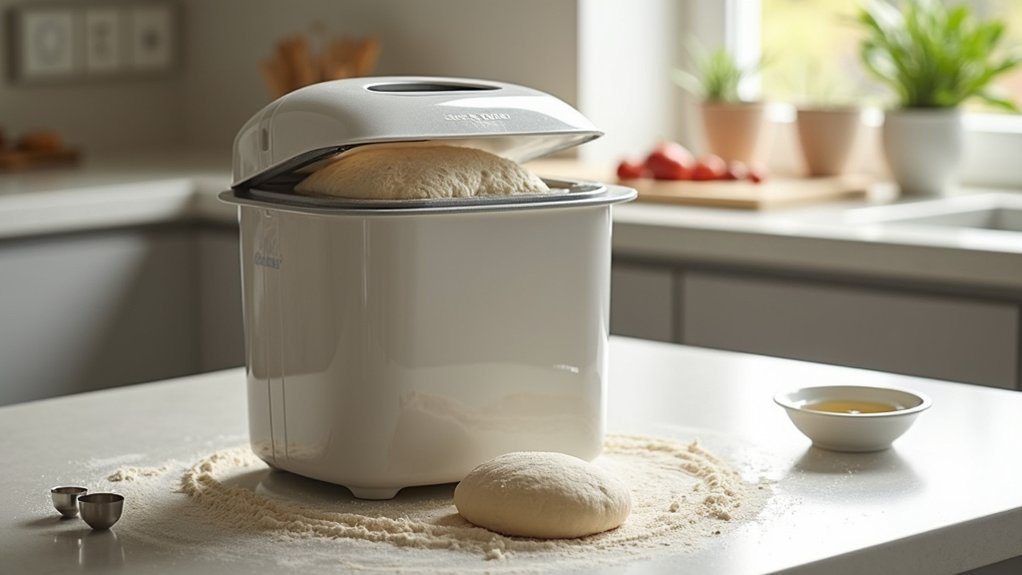
Step 1. Add Warm Water First
To kick off our pizza dough journey, adding warm water first is vital for activating the yeast, which gives the dough that perfect rise and airy texture. I usually aim for a water temperature between 100°F and 110°F, as this warmth creates an ideal environment for fermentation. When you pour the water into your bread machine, it’s important to use gentle mixing techniques to avoid overheating the liquid. I like to give it a little swirl with a spatula before proceeding to the next steps. This helps guarantee that the water is evenly distributed, making it easier for the yeast to thrive. Trust me, starting with warm water sets the stage for an amazing homemade pizza experience!
Step 2. Add Yeast and Sugar
With the warm water ready, it’s time to sprinkle in the yeast and sugar. This step is essential for yeast activation, which helps our dough rise beautifully. I like to add the sugar because it feeds the yeast, giving it the energy it needs to flourish. Just imagine the aroma of freshly baked pizza wafting through your kitchen! I gently stir the mixture, ensuring the yeast and sugar dissolve completely. As I watch the bubbles form, I can already feel the excitement building. This is where the magic begins, as those tiny yeast cells awaken and start their work. Remember, patience is key here; let it sit for about five minutes before moving on. Trust me, your pizza will thank you!
Step 3. Add Flour Gradually
As the yeast mixture starts to bubble, I can’t help but feel a sense of anticipation for what’s to come. It’s time to add flour gradually, which is essential for the perfect dough. I usually start with all-purpose flour, but you can experiment with other flour types like whole wheat or bread flour for different textures. Using accurate measuring techniques is important—don’t just scoop; spoon the flour into your measuring cup and level it off for precision. I add about a cup at a time, mixing it in until the dough begins to form. This gradual addition helps me achieve that ideal balance between stickiness and elasticity, setting the stage for a delicious pizza crust that’ll wow my friends and family.
Step 4. Knead Dough for 5 Minutes
Once the flour is mixed in and the dough starts to take shape, it’s time to roll up my sleeves and knead the dough for about five minutes. I love this part because it’s where the magic happens! Using various kneading techniques, I push and fold the dough to develop its gluten. I can feel the dough’s consistency change from sticky to smooth under my hands. It’s like a little workout, and I really get into it, feeling the texture transform. If it’s too sticky, I add a sprinkle of flour; if it’s too dry, a touch of water works wonders. This kneading process is essential for that perfect pizza crust, so I make sure to give it my all!
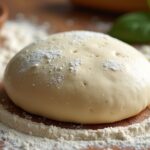
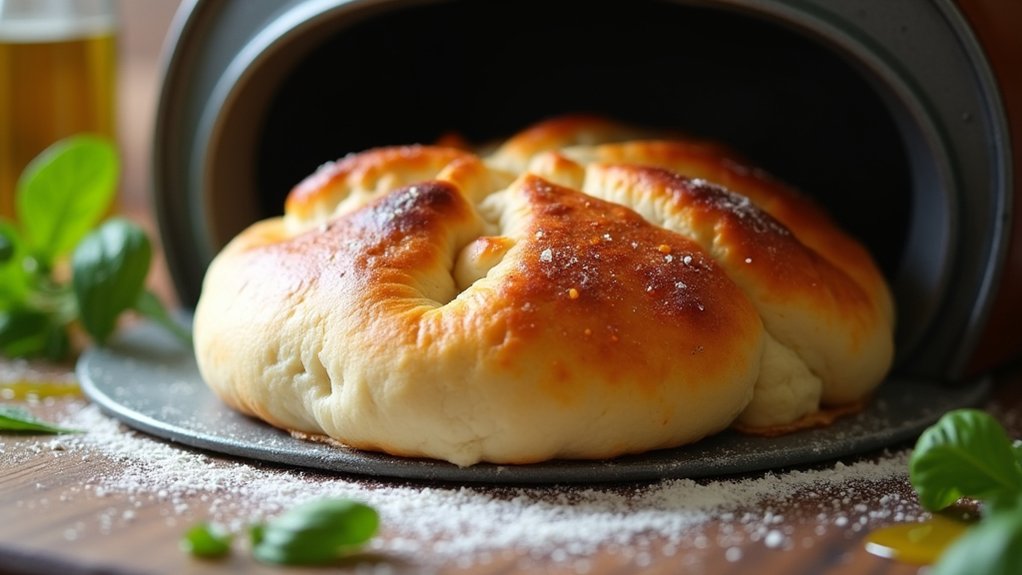
Step 5. Let Dough Rise 30 Minutes
After giving the dough a good knead, it’s time to let it rest and rise for about 30 minutes. This rising time is essential; it allows the dough to develop a fantastic texture that’ll make your pizza crust light and airy. I usually cover the bowl with a damp cloth or plastic wrap to keep it warm and cozy. It’s amazing how just half an hour can transform the dough! While it rises, I often think about the delicious toppings I’ll add later. When I check back, the dough should have doubled in size, signaling it’s ready for the next step. Trust me, this little wait is well worth it for that perfect pizza experience!
Nutritional Guide
Understanding the nutritional aspects of pizza dough can make your cooking experience even more rewarding. When it comes to making delicious pizza, knowing the caloric content and ingredient benefits can help you create a healthier option. Here’s a quick breakdown:
| Ingredient | Caloric Content (per cup) |
|---|---|
| All-purpose flour | 455 |
| Olive oil | 119 |
| Sugar | 774 |
Using whole grain flour instead of white can add fiber, while olive oil provides healthy fats. These choices not only enhance flavor but also contribute to nutritional value. By experimenting with different ingredients, you can craft a pizza dough that’s both tasty and nutritious, making your homemade pizza not just a meal, but a celebration of good health!
Final Thoughts
Making your own pizza dough can be a fun and rewarding experience, especially when you consider the nutritional benefits you can incorporate. I love experimenting with different flours to achieve that perfect dough consistency. Whether you prefer a classic white flour or a whole grain option, the choice is yours! The best part? You can let your creativity shine with topping suggestions. From fresh veggies to gourmet cheeses, the possibilities are endless. I often find myself reminiscing about family pizza nights, where we’d gather around the table, each creating our own masterpiece. So, why not plunge into this delicious adventure? You’ll not only enjoy the taste but also the joy of crafting something uniquely yours. Happy cooking!
Frequently Asked Questions
Can I Use Whole Wheat Flour Instead of All-Purpose Flour?
Absolutely, I love using whole wheat flour! It adds fantastic nutritional benefits, and while the texture might be denser than all-purpose, it creates a heartier flavor that’s perfect for innovative recipes. Give it a try!
How Long Can I Store Leftover Pizza Dough?
Ever wondered how long you can keep that leftover dough? I store my refrigerated dough for up to three days. Just make sure to seal it tightly; proper leftover storage keeps it fresh and ready for creativity!
Is It Necessary to Preheat the Oven for Baking?
Yes, preheating the oven’s essential! I’ve noticed preheating benefits like achieving that perfect crust and even cooking. Keeping the right oven temperature guarantees my creations come out delicious every time. Give it a try!
Can I Freeze Pizza Dough for Later Use?
“Good things come to those who wait!” Yes, I can freeze pizza dough for later use. Just follow some freezing tips, then thaw the dough in the fridge overnight for best results. Enjoy your innovative creations!
What Toppings Work Best With Homemade Pizza Dough?
I love experimenting with cheese blends like mozzarella and gouda, pairing them with fresh vegetable combinations like arugula and roasted peppers. For meat options, pepperoni and prosciutto shine, while unique sauce varieties elevate the flavors.
Conclusion
In the end, making pizza dough in a bread machine is like crafting a cozy blanket for your favorite pizza toppings. It’s simple, fun, and brings a warm, homemade touch to your meals. I hope you enjoy this process as much as I do, and that each bite reminds you of family gatherings and shared laughter. So, roll up your sleeves, embrace the dough, and let the deliciousness unfold—your perfect pizza awaits!