Making whole wheat pizza dough is a fun way to connect with culinary traditions while enjoying a healthier pizza. You’ll need 2 cups of whole wheat flour, 1 cup of all-purpose flour, a packet of yeast, salt, olive oil, and honey. Mix the dry ingredients, add warm water, knead until smooth, and let it rise. In no time, you’ll have a tasty base for your favorite toppings, and there’s so much more to explore!
Contents
History

When I think about the history of whole wheat pizza dough, I’m reminded of how food connects us to our roots. The ancient origins of pizza can be traced back to flatbreads baked by various cultures, each adding their twist over time. Whole wheat flour, rich in nutrients, has been a staple for centuries, offering a healthier alternative. As I explore cultural variations, I discover how regions adapted this dough to reflect their unique flavors and traditions. From Italian rustic recipes to Middle Eastern influences, each bite tells a story. It excites me to think that when I make whole wheat pizza, I’m not just cooking; I’m participating in a journey that spans generations and continents, bringing innovation to a beloved classic.
Recipe
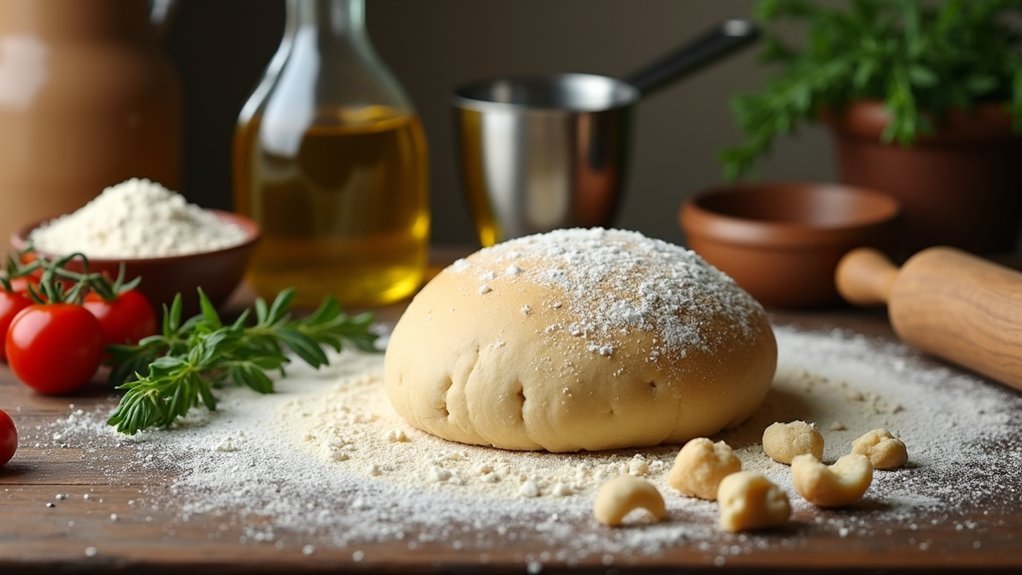
Making whole wheat pizza dough is a fantastic way to enjoy a healthier twist on your favorite pizza. Whole wheat flour is packed with nutrients and fiber, giving you a more wholesome base for your toppings while maintaining that delicious pizza flavor. This simple recipe will have you creating a satisfying crust that’s both crispy and chewy, perfect for any pizza night.
To make this dough, you’ll need a few basic ingredients, and the process is straightforward. You can easily customize the dough to your liking by adding herbs or spices to enhance the flavor. Once you have your dough ready, let it rise and develop its texture. You’ll be able to craft a delicious pizza that’s not just a treat for your taste buds but also a nourishing option for meals.
Ingredients:
- 2 cups whole wheat flour
- 1 cup all-purpose flour
- 1 packet (2 ¼ teaspoons) active dry yeast
- 1 teaspoon salt
- 1 tablespoon olive oil
- 1 tablespoon honey or sugar
- 1 cup warm water (110°F or 45°C)
Instructions:
In a large mixing bowl, combine the warm water, honey (or sugar), and yeast. Let it sit for about 5-10 minutes until it becomes frothy. In another bowl, mix the whole wheat flour, all-purpose flour, and salt. Gradually add the flour mixture to the yeast mixture, stirring until a dough begins to form. Knead the dough on a floured surface for about 5-7 minutes until smooth and elastic. Place the dough in a greased bowl, cover it with a damp cloth, and let it rise in a warm place for about 1 hour or until it doubles in size.
Extra Tips:
For the best results, make certain your water is warm but not hot, as too much heat can kill the yeast. If you want to add flavor to your crust, consider incorporating dried herbs like oregano or basil into the flour mixture. Additionally, if you’d like a thinner crust, you can roll the dough out more, and for a thicker crust, let it rise a little longer after shaping your pizza. Make sure to preheat your oven to a high temperature (around 475°F or 245°C) for excellent baking of your pizza. Enjoy your healthy homemade pizza!
Cooking Steps
Now that we’ve gathered our ingredients, let’s jump into the cooking steps for our whole wheat pizza dough. First, I’ll show you how to mix the dry ingredients together, then we’ll gradually add warm water to create the perfect consistency. After that, it’s all about kneading the dough thoroughly and letting it rise, setting us up for some delicious homemade pizzas!
Step 1. Mix Dry Ingredients Together
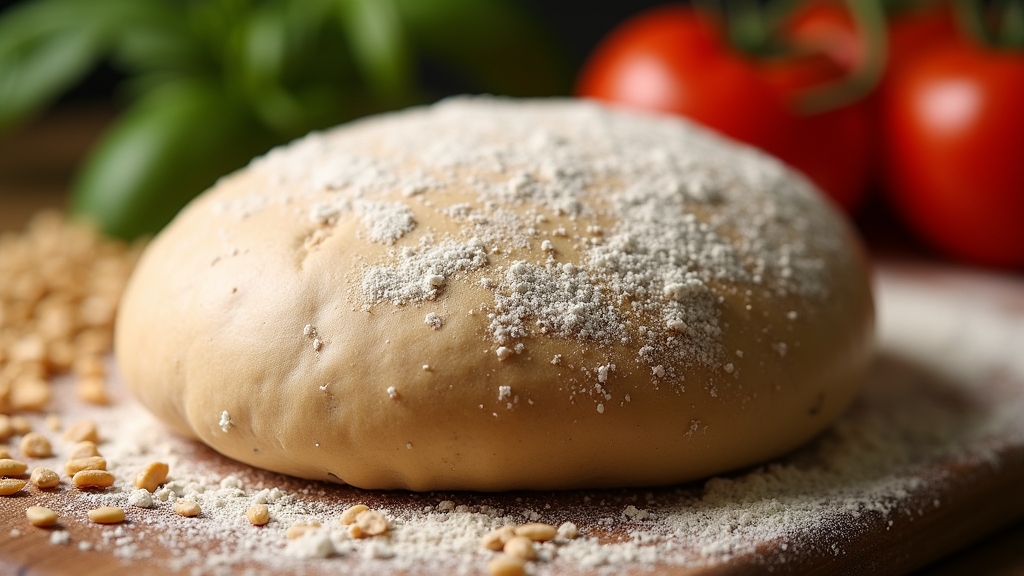
To kick off our whole wheat pizza dough, we’ll start by mixing the dry ingredients together. In a large bowl, I combine the whole wheat flour, yeast, salt, and a hint of sugar. It’s vital to get the ingredient ratios just right, as this will set the foundation for our dough. I like to whisk them together, ensuring everything’s evenly distributed. This step is significant because it allows the yeast to activate properly later on. The earthy aroma of whole wheat flour fills the air, sparking excitement for the delicious pizza to come. Once everything’s mixed, I can already envision the crispy crust and flavorful toppings. Let’s keep the momentum going as we move forward in this delicious journey!
Step 2. Add Warm Water Gradually
With the dry ingredients all mixed together, it’s time to bring them to life by adding warm water gradually. I like to start with water at about 110°F, as this temperature helps activate the yeast effectively. Pour in a little water at a time; this way, I can control the hydration levels of the dough. It’s amazing how just the right amount of water makes a difference in texture and flavor. As I mix, I can feel the dough starting to form, becoming smooth and elastic. If it feels too dry, I add a splash more. This process is all about patience and attention, so don’t rush—your future pizza deserves it!
Step 3. Knead the Dough Thoroughly
As I plunge into the kneading process, I can’t help but feel a sense of anticipation for the delicious pizza that awaits. Using a combination of classic kneading techniques, I fold, press, and turn the dough, ensuring it develops a smooth, elastic texture. This is where the magic happens! I focus on achieving the right dough consistency, feeling for that perfect balance between tacky and dry. If it sticks too much, I add a sprinkle of flour; if it feels too dry, a hint of water does the trick. I knead for about 8 to 10 minutes, letting my hands guide me. The more I engage, the more I connect with my creation, crafting a base that’s ready to rise!
Step 4. Let Dough Rise Covered
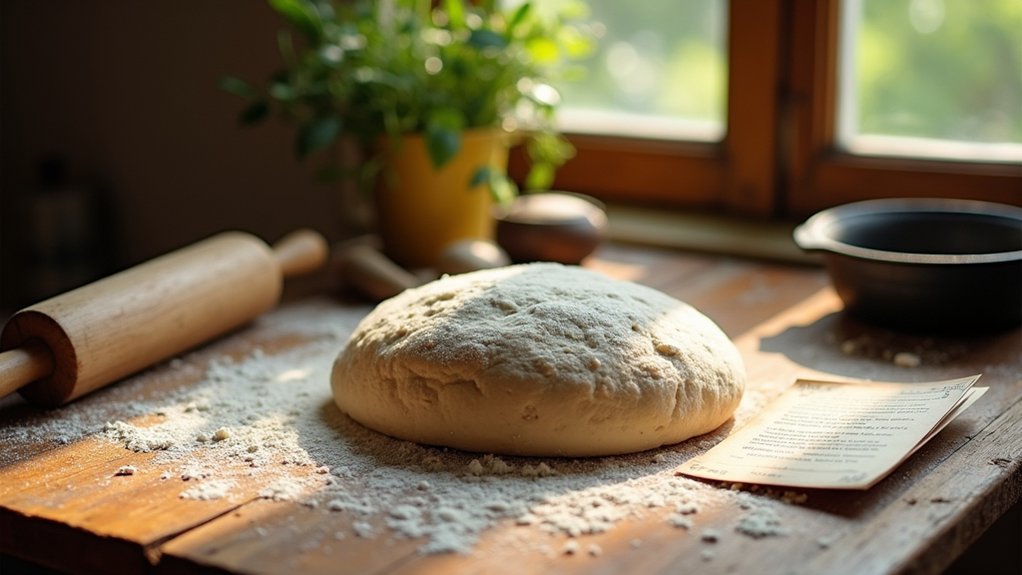
Once the dough has been kneaded to perfection, it’s time for a little patience as we let it rise. I like to cover the bowl with a damp cloth or plastic wrap, creating a cozy environment for the dough fermentation to take place. This step is essential for yeast activation, allowing those little organisms to work their magic, creating airy pockets that make our pizza crust delightful. I usually place the bowl in a warm spot, like near my oven, which is preheating for the pizza. The dough needs about one to two hours to double in size, so grab a book or sip some coffee while the dough transforms. Trust me, the wait will be worth it when you taste that crust!
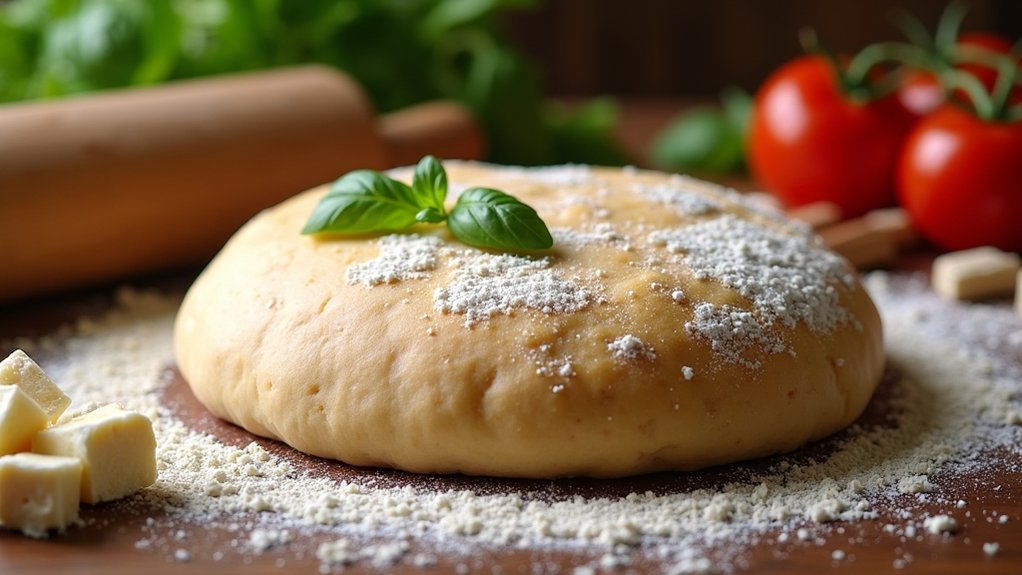
Step 5. Shape the Dough Into Pizzas
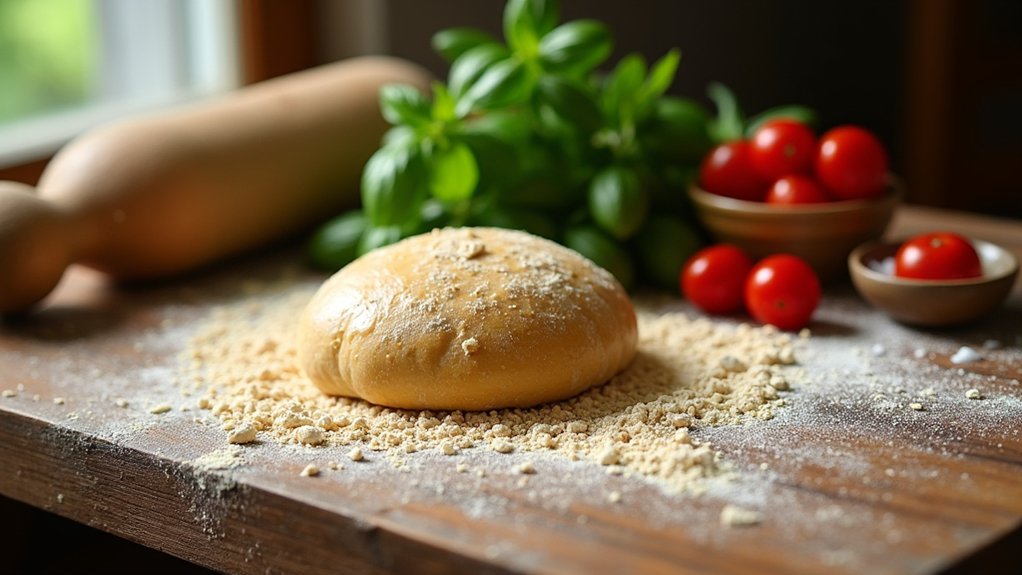
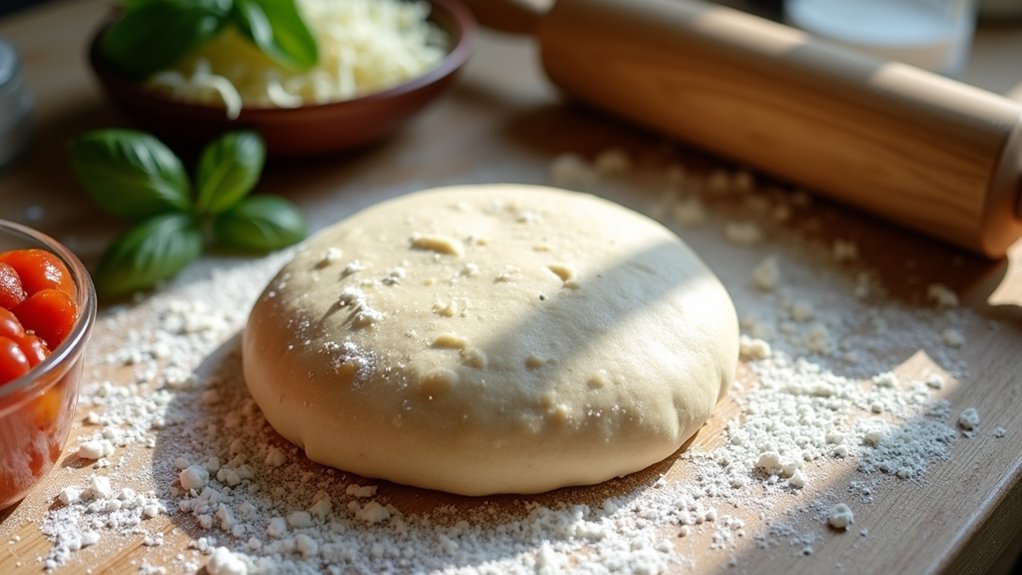
Shaping the dough into pizzas is where the fun truly begins! After letting it rise, I like to punch it down gently, releasing the air. Now, I divide the dough into smaller portions, perfect for personal pizzas or a family feast. With a rolling pin or my hands, I stretch each portion into various pizza shapes—round, square, or even heart-shaped for a special touch! The best part? Choosing the toppings! I love experimenting with fresh veggies, gourmet cheeses, and savory meats. Whether I’m craving classic pepperoni or a creative pesto delight, the possibilities are endless. It’s exciting to see how each shape and topping choice brings a unique flair to the table, making pizza night a delicious adventure!
Nutritional Guide
When it comes to making whole wheat pizza dough, understanding its nutritional benefits can make the process even more rewarding. Whole wheat flour packs a punch with its caloric content, offering a healthier alternative to white flour. Plus, it’s rich in fiber and nutrients, which can contribute to various health benefits, like better digestion and sustained energy levels.
Here’s a simple breakdown:
| Nutritional Aspect | Whole Wheat Flour | Regular Flour |
|---|---|---|
| Calories (per 100g) | 340 | 364 |
| Fiber (g) | 12.2 | 2.7 |
| Protein (g) | 13.2 | 10.3 |
Final Thoughts
Making whole wheat pizza dough is not just about creating a delicious base for your favorite toppings; it’s also an opportunity to embrace healthier eating habits. I love how simple it is to incorporate whole grains into my meals, and the health benefits are undeniable. Not only does it increase fiber content, but it also adds a nutty flavor that elevates the entire pizza experience. To make the most of your dough, don’t forget these cooking tips: let it rise properly for that perfect crust and experiment with herbs for extra flavor. So, next time you’re in the kitchen, remember that making this dough can be both fun and rewarding, inspiring you to create memorable meals for family and friends.
Frequently Asked Questions
Can I Substitute Whole Wheat Flour With Other Flours?
I’ve experimented with alternative flours like almond and oat, and they offer unique flavors and nutritional benefits. If you’re feeling adventurous, try mixing them for a creative twist on your recipes!
How Do I Store Leftover Pizza Dough?
I store leftover dough by wrapping it tightly in plastic wrap and placing it in an airtight container. This method guarantees dough preservation and keeps it fresh for up to three days in the fridge.
Can I Freeze the Pizza Dough?
Absolutely, I can freeze the pizza dough! Just wrap it tightly to prevent freezer burn, and it’ll retain its texture. When you’re ready, let it thaw in the fridge for the best results. Happy baking!
How Long Does the Dough Need to Rise?
The dough needs to rise for about 1 to 2 hours. I’ve found that a longer rising time enhances the dough texture, making it airy and perfect for innovative toppings. Experiment and enjoy the process!
What Toppings Pair Well With Whole Wheat Pizza?
When I crafted my first whole wheat pizza, I realized healthy toppings like spinach, roasted red peppers, and feta create vibrant flavor combinations. Each bite ignites creativity, proving nutritious choices can be deliciously innovative and satisfying.
Conclusion
In the end, making whole wheat pizza dough is a delightful blend of health and indulgence. While it’s easy to reach for store-bought options, there’s something special about creating it from scratch. The aroma fills your kitchen, and you can customize it just the way you like. So, roll up your sleeves, gather your ingredients, and enjoy the process! You’ll find that each bite is not just a meal, but a piece of home shared with loved ones.