If you’re looking for the best pizza dough recipe, you’re in luck! I love mixing warm water with yeast to get things started. Knead the dough for about 8-10 minutes until it’s smooth and elastic. Let it rise for 1-2 hours, then shape it into balls and let them rest. When you’re ready to bake, preheat your oven to 475°F for that perfect crispy crust. Keep exploring; I can’t wait to share more tips with you!
Contents
History

When I think about pizza dough, I can’t help but feel a sense of nostalgia, as it connects us to centuries of culinary tradition. Its ancient origins trace back to the Mediterranean, where people first combined flour and water to create flatbreads. Over time, these simple creations evolved into the beloved pizza we enjoy today. I love how different regions put their spin on pizza dough, from the thick and chewy crusts of Chicago to the thin and crispy varieties of Naples. Each regional variation tells a story, reflecting local ingredients and tastes. Exploring these historical roots inspires me to innovate in my own kitchen, blending traditions while creating something uniquely my own. After all, that’s what food is all about—connection and creativity!
Recipe
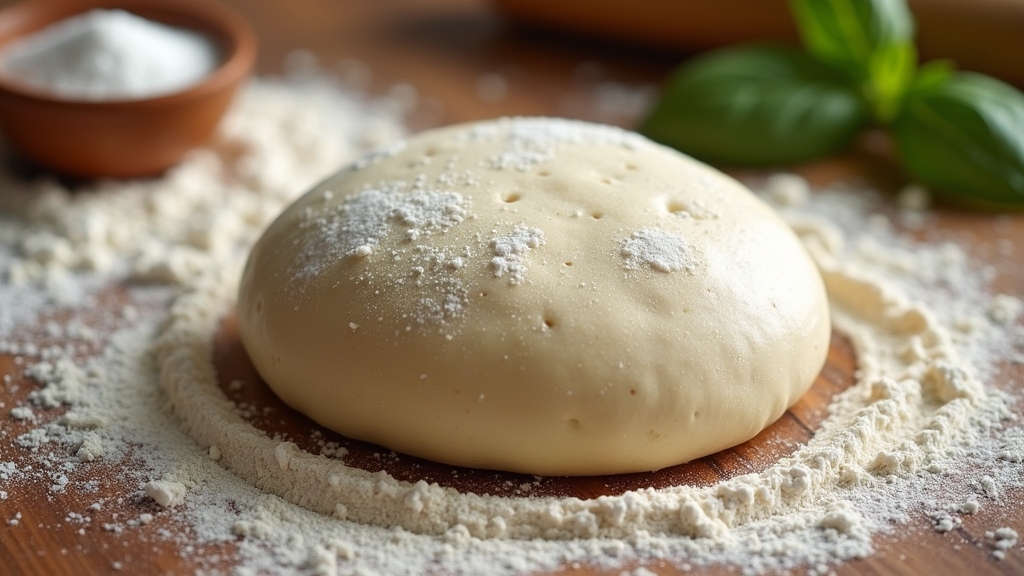
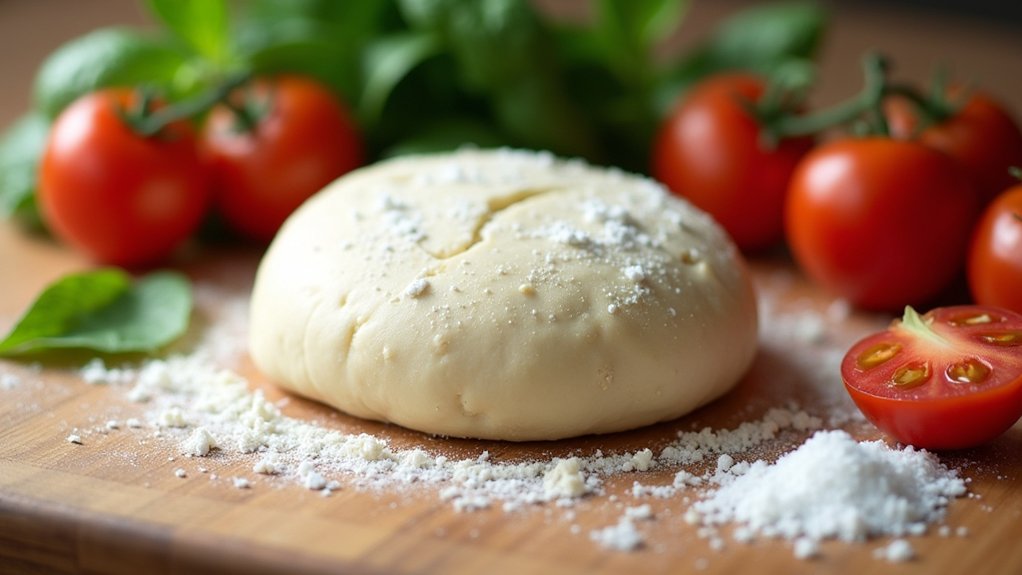
Making the perfect pizza dough is essential to creating a delicious homemade pizza. A well-prepared dough lays the foundation for all the toppings you wish to add, and it can elevate your pizza experience considerably. This recipe will guide you through the process of making a classic pizza dough that is both easy to work with and yields a crispy crust. Whether you’re a novice or an experienced cook, you’ll find this recipe straightforward and rewarding.
To achieve the best results, it’s important to use high-quality ingredients and to give your dough enough time to rise. The kneading process is crucial as it develops the gluten, giving the dough its elasticity. Allowing the dough to rise properly guarantees a light and airy crust. Once you master this recipe, you’ll be able to customize it with your favorite toppings and sauces, making every pizza night a unique culinary experience.
Ingredients:
- 2 cups all-purpose flour
- 1 cup warm water (about 110°F)
- 1 packet (2 1/4 teaspoons) active dry yeast
- 1 tablespoon sugar
- 1 teaspoon salt
- 1 tablespoon olive oil
Instructions:
In a large mixing bowl, combine the warm water, sugar, and yeast, stirring gently. Allow the mixture to sit for about 5-10 minutes until it becomes frothy, indicating that the yeast is activated. Next, add the flour, salt, and olive oil to the yeast mixture. Stir until a rough dough forms, then turn it out onto a floured surface. Knead the dough for about 8-10 minutes until it becomes smooth and elastic. Place the dough in a lightly oiled bowl, cover it with a damp cloth, and let it rise in a warm area for about 1-2 hours, or until it has doubled in size.
Extra Tips:
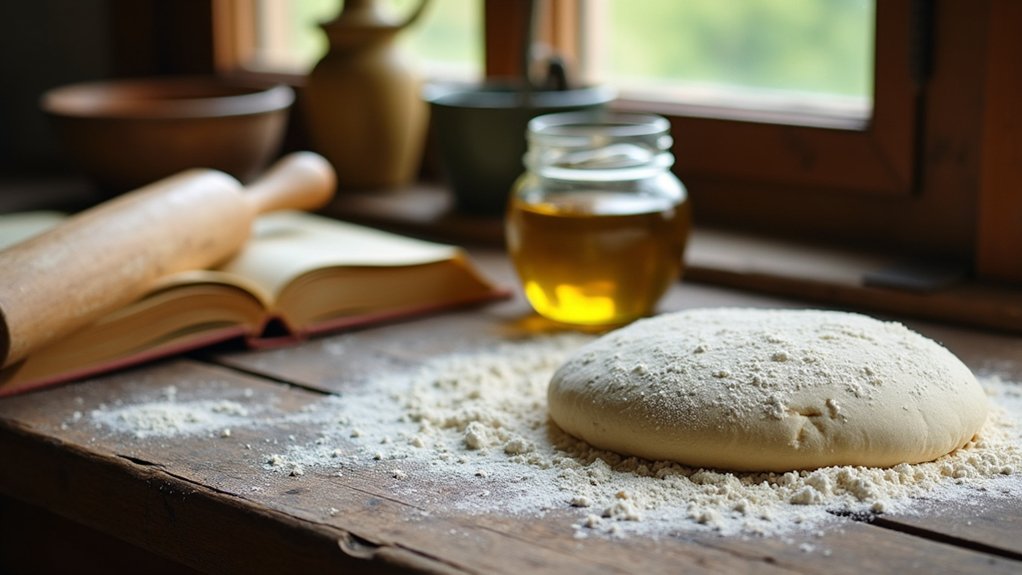
For the best flavor, consider letting your dough rest in the refrigerator for a few hours or overnight; this slow fermentation process enhances the taste. Also, be sure to preheat your oven to its highest setting before baking your pizza to achieve that crispy crust. If you have a pizza stone, use it! This will help in evenly distributing the heat and giving your crust that perfect crunch. Finally, don’t be afraid to experiment with different flour types, such as bread flour for a chewier texture. Enjoy your pizza-making adventure!
Cooking Steps
Now that we’ve got our ingredients ready, let’s jump into the cooking steps that’ll bring our pizza dough to life. First, we’ll mix warm water with yeast to kickstart the magic, and then it’s all about kneading the dough until it’s smooth. Once we let it rise in a warm spot, we’ll shape it into balls and get the oven roaring at 475°F for that perfect bake!
Step 1. Mix Warm Water and Yeast
To kick off the pizza dough-making process, I like to start by mixing together warm water and yeast. The water temperature is essential here; it should be around 105°F to 110°F. If it’s too hot, it can kill the yeast, and if it’s too cool, yeast activation won’t happen effectively. I pour the warm water into a bowl and sprinkle the yeast on top, giving it a gentle stir. As I watch the bubbles form, I can feel the excitement building—this is where the magic begins! Waiting a few minutes for the yeast to bloom transforms the simple mixture into a frothy concoction, signaling it’s ready to join the flour. Trust me, this step sets the foundation for an amazing pizza experience!
Step 2. Knead the Dough Thoroughly
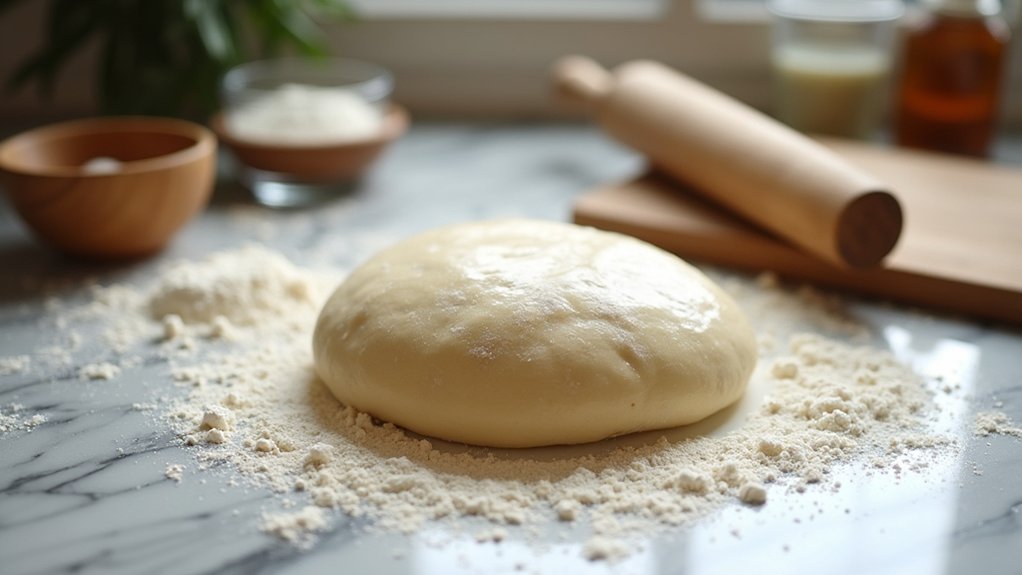
With my hands dusted in flour, I plunge into kneading the dough, an undeniably satisfying step in the pizza-making journey. I can feel the dough’s texture transform under my fingers, and it’s essential to achieve the right dough consistency. Using a combination of pushing, folding, and stretching, I employ various kneading techniques to develop the gluten structure. I knead for about 8 to 10 minutes, enjoying the rhythmic motion as the dough becomes smooth and elastic. If it feels too sticky, I sprinkle in a bit more flour, but I avoid overdoing it. This hands-on experience not only energizes me, but it guarantees the perfect foundation for my homemade pizza, ready to rise to the occasion!
Step 3. Let Dough Rise Warmly
After kneading the dough to perfection, it’s time to let it rise warmly. I like to find a cozy spot in my kitchen, where the temperature hovers around 75 to 80 degrees Fahrenheit—this is the ideal temperature for the dough to expand beautifully. Cover it with a damp cloth or plastic wrap, which keeps the moisture in and prevents a crust from forming. Now, patience is key! I usually let my dough rise for about one to two hours, depending on how lively my yeast is feeling that day. You’ll know it’s ready when it’s doubled in size and looks puffy. Just imagine the delicious pizza that’s waiting to be created! It’s all part of the joy of making pizza from scratch.
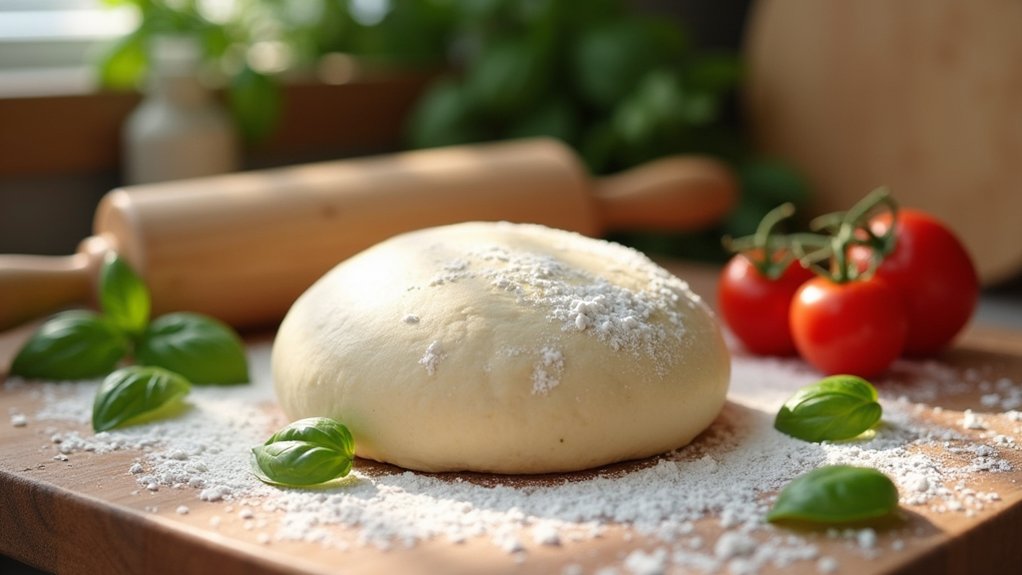
Step 4. Shape the Dough Into Balls
Now it’s time to shape the dough into balls, and trust me, this part is both fun and satisfying! First, check the dough consistency; it should be smooth and slightly tacky. Lightly flour your work surface, then divide the dough into equal portions. Depending on your pizza preferences, aim for ball sizes that suit your cravings—smaller for personal pizzas, larger for family-style pies. Gently tuck the edges of each portion under, creating a smooth surface on top. Feel free to experiment with sizes; it adds a personal touch to each pizza! Once you’ve shaped them all, let the dough balls rest for about 30 minutes. This step is essential for achieving that perfect crust, so don’t rush it!
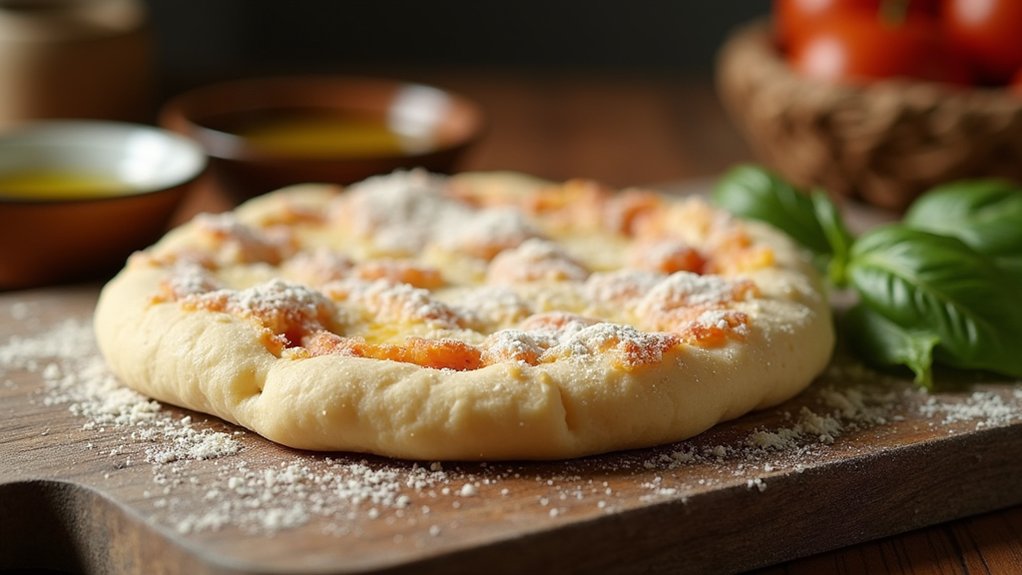
Step 5. Preheat Oven to 475°F
Preheating the oven to 475°F is an essential step that sets the stage for a delicious pizza. This oven temperature guarantees that your crust gets that perfect golden-brown finish, locking in all those delightful flavors. While the oven heats up, I often think about innovative baking techniques, like using a pizza stone or steel for ideal heat distribution. These tools can elevate your pizza-making game considerably. Once the oven’s ready, it’s time to slide in your beautifully topped pizza and let the magic happen. Trust me, the anticipation builds as the aroma fills your kitchen, and soon enough, you’ll have a mouthwatering masterpiece to share. So, let’s get that oven fired up and ready for action!
Nutritional Guide
When you’re whipping up a batch of pizza dough, it’s not just about the delicious end product; it’s also important to take into account its nutritional value. Understanding ingredient ratios can enhance the nutritional benefits of your dough, making your pizza not only tasty but also a healthier option. Here’s a quick guide:
| Ingredient | Nutritional Benefits | Recommended Ratio |
|---|---|---|
| Flour | High in carbs, fiber | 2 cups |
| Olive Oil | Healthy fats | 2 tablespoons |
| Yeast | Aids digestion | 1 packet |
| Salt | Regulates hydration | 1 teaspoon |
Final Thoughts
As you wrap up your pizza-making adventure, it’s important to reflect on the joy that comes from creating something delicious at home. Each bite of that homemade pizza carries not just flavor, but also the heart of your creativity. Embrace the thrill of future experiments, whether it’s trying out unique toppings or adjusting the dough’s texture to suit your personal preferences. Don’t be afraid to tweak the recipe to make it truly yours! Cooking is all about exploration, so savor the process and share it with friends and family. I hope this pizza dough recipe inspires you to continue your culinary journey and discover new favorites along the way. Trust me, the possibilities are endless!
Frequently Asked Questions
Can I Use Whole Wheat Flour Instead of All-Purpose Flour?
Absolutely, I’ve used whole wheat flour instead of all-purpose flour! It adds nutritional benefits and gives the dough a heartier texture. Just remember, it may need a bit more water for the right consistency.
How Long Can I Store Pizza Dough in the Fridge?
When I tuck my pizza dough into the fridge, it stays fresh for about three days. For ideal pizza dough storage, I use airtight containers—like a cozy blanket—ensuring it’s ready for my next delicious creation.
What Type of Yeast Is Best for Pizza Dough?
I prefer using instant yeast for pizza dough because it works quickly and doesn’t require proofing. Active dry yeast’s great too, but it takes a bit longer. Both can create delicious, innovative pizzas!
Can I Freeze Pizza Dough for Later Use?
Absolutely, I freeze my pizza dough using smart freezing techniques. After proper dough storage in airtight bags, it stays fresh for weeks. Just thaw it overnight before use, and you’re ready to create something amazing!
How Do I Know When the Dough Has Risen Enough?
I watch my dough like a gardener tending a seedling. When it’s doubled in size, feels airy to the touch, and springs back gently, I know it’s risen enough. Those are my rising indicators.
Conclusion
In the end, making your own pizza dough can really transform your cooking experience. I remember the first time I made it for my friends; the smell filled the kitchen, and we couldn’t wait to dig in! With just a few simple ingredients and a little patience, you can create something delicious and memorable. So grab your apron, roll up your sleeves, and let’s get that dough rising. Trust me, your taste buds will thank you!