

Making easy pizza dough is a fun and rewarding experience! You’ll need 2 ¼ teaspoons of active dry yeast, warm water, all-purpose flour, salt, and olive oil. Mix the yeast with warm water until frothy, then combine the dry ingredients and knead until smooth. Let it rise for about an hour, and you’ll have dough ready for delicious homemade pizza! Join me as we explore more cooking tips and toppings to make your pizza nights unforgettable.
Contents
History

When I think about pizza, I can’t help but feel a sense of nostalgia, as it brings back memories of family gatherings and cozy nights in. Its story is fascinating, stretching back to ancient origins in places like Greece and Italy. The early versions were simple flatbreads, topped with whatever ingredients were available. As I learned more, I discovered regional variations, from the thick crusts of Chicago to the thin, foldable slices of New York. Each style tells a unique story, reflecting local tastes and traditions. Exploring these variations not only sparks my creativity in the kitchen but also connects me to cultures around the world. Pizza isn’t just food; it’s a culinary adventure waiting to be shared!
Recipe
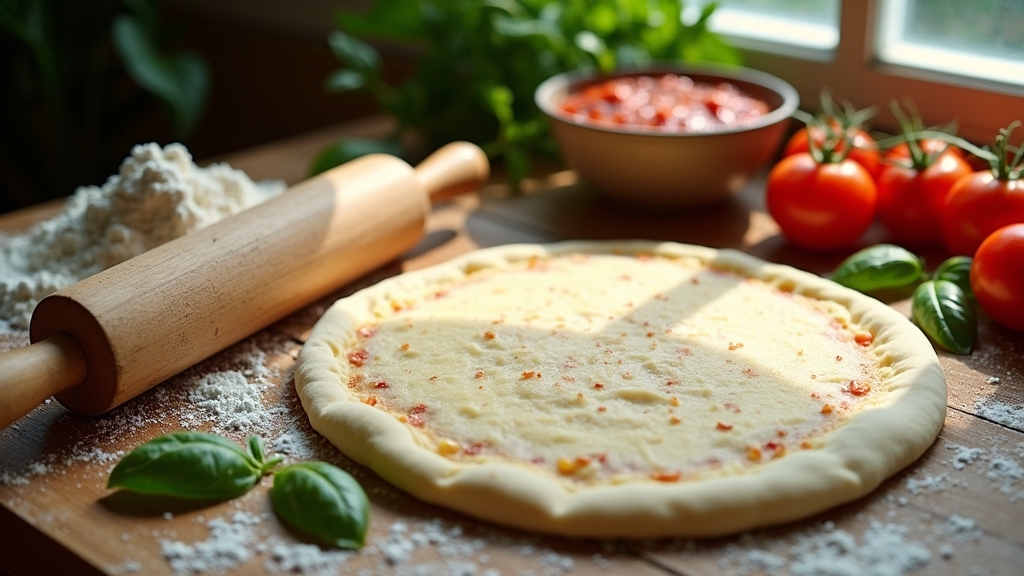
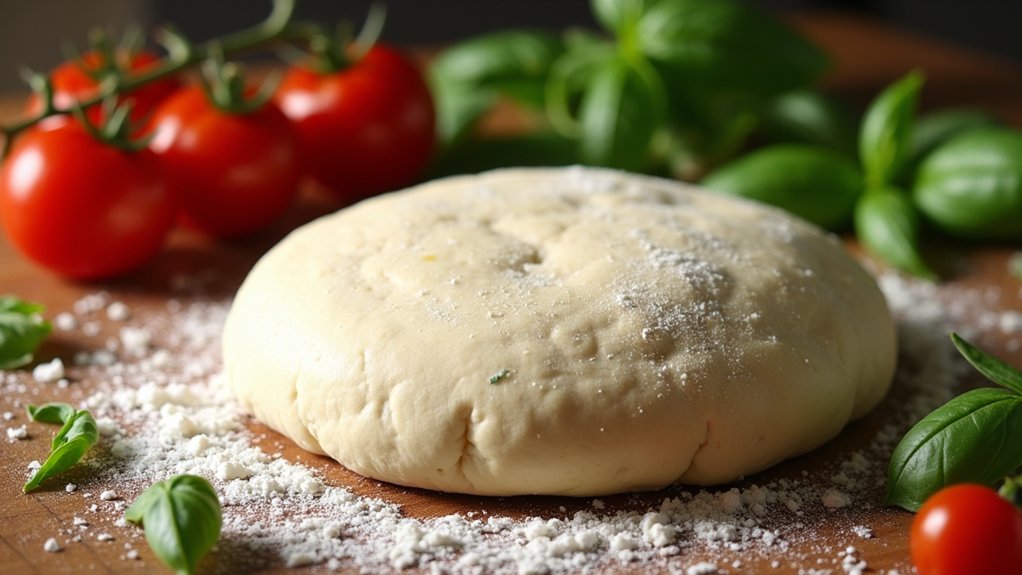
Making pizza dough at home is a simple and rewarding process that allows you to customize your pizza to your liking. With just a few basic ingredients, you can create a delicious, chewy crust that serves as the perfect base for your favorite toppings. Whether you prefer a classic Margherita or a loaded meat feast, this easy pizza dough recipe will have you covered.
Making your own pizza dough is an easy and fulfilling way to craft a personalized pizza with a chewy, delicious crust.
To get started, you’ll need to gather your ingredients and tools. A mixing bowl, measuring cups, and a clean surface for kneading will be essential. This recipe yields enough dough for two medium pizzas, so you can easily invite friends or family over for a pizza night. Follow these straightforward steps, and you’ll be enjoying homemade pizza in no time!
Ingredients:
- 2 ¼ teaspoons active dry yeast
- 1 teaspoon sugar
- 1 ½ cups warm water (about 110°F or 43°C)
- 4 cups all-purpose flour
- 2 teaspoons salt
- 2 tablespoons olive oil
Cooking Instructions:
In a small bowl, combine the yeast, sugar, and warm water. Let it sit for about 5-10 minutes until it becomes frothy. In a large mixing bowl, combine the flour and salt. Make a well in the center and pour in the yeast mixture along with the olive oil. Stir until a dough begins to form, then transfer it to a floured surface. Knead the dough for about 8-10 minutes until it’s smooth and elastic. Place the dough in a greased bowl, cover it with a clean cloth, and let it rise in a warm place for about 1 hour or until it has doubled in size.
Extra Tips:
For an even better flavor, consider letting the dough rise in the refrigerator overnight; this slow fermentation process enhances the taste. When you’re ready to make your pizza, preheat your oven to the highest temperature possible, ideally around 475°F (245°C), and use a pizza stone if you have one to achieve a crispier crust. Don’t forget to dust your pizza peel or baking sheet with flour or cornmeal to prevent sticking. Enjoy your homemade pizza night!
Cooking Steps
Now that we’ve got our ingredients ready, let’s jump into the cooking steps that’ll turn those ingredients into delicious pizza dough. First, I always make sure to measure the warm water accurately because it’s key to activating the yeast. Once we add the yeast and mix in the flour gradually, we’ll be on our way to kneading the dough until it’s nice and smooth!
Step 1. Measure Warm Water Accurately
To kick off our pizza dough adventure, measuring warm water accurately is vital since it activates the yeast, setting the stage for a delicious crust. The perfect water temperature is essential—ideally between 100°F and 110°F. I love using a kitchen thermometer for precision, but if you don’t have one, you can test it with your finger; it should feel warm, not hot. When it comes to measuring techniques, a liquid measuring cup is my go-to. Pour the water in and check at eye level to verify it’s accurate. Remember, even slight variations can affect dough texture and rise. Getting this step right will make all the difference in your pizza-making experience, so let’s get that water ready!
Step 2. Add Yeast to Water
With the warm water ready, it’s time to add the yeast, and this part is where the magic starts to happen. I gently sprinkle the yeast into the warm water, paying close attention to the water temperature; it should be around 110°F, perfect for yeast activation. At this moment, I often feel a wave of anticipation, knowing that those tiny granules are about to transform my dough. I let the mixture sit for about five to ten minutes, watching as bubbles form and the yeast awakens. This bubbly reaction is the yeast working its wonders, creating that airy texture we all love in pizza. Trust me, this step is essential, and it sets the stage for some delicious homemade pizza!
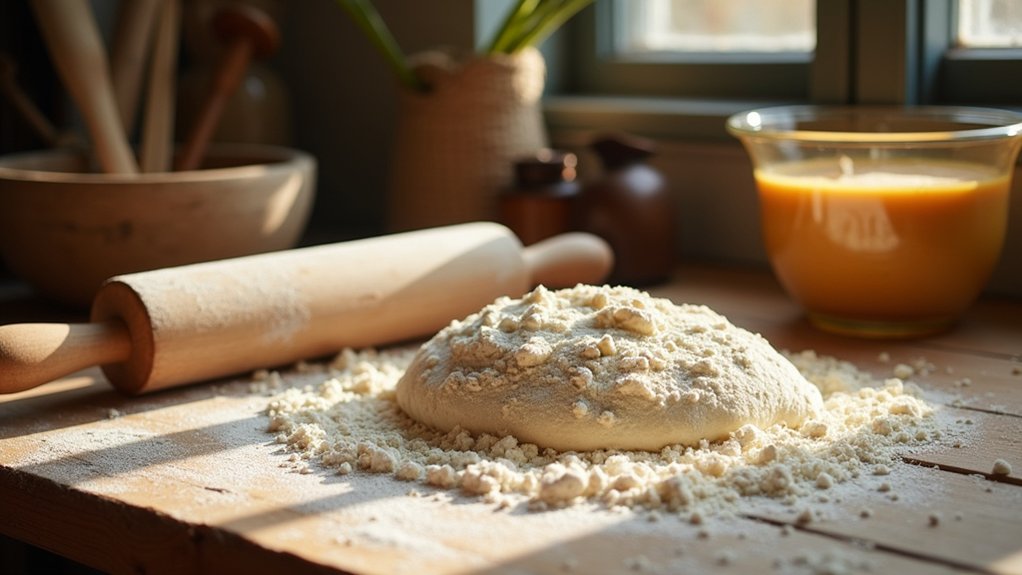
Step 3. Mix in Flour Gradually
As the yeast mixture bubbles away, I grab my flour and prepare to mix it in gradually. I start by adding a cup of flour to the yeast, stirring gently to combine. This mixing technique is essential; it helps me gauge the dough consistency without overwhelming the mixture. I watch as the flour absorbs the liquid, creating a silky base. Once it’s well blended, I continue adding flour, about half a cup at a time, mixing thoroughly between each addition. This gradual approach guarantees I achieve the perfect balance—too much flour at once can lead to a dry dough. By the end, I’m excited to see the dough coming together, ready for the next steps in our pizza-making adventure!
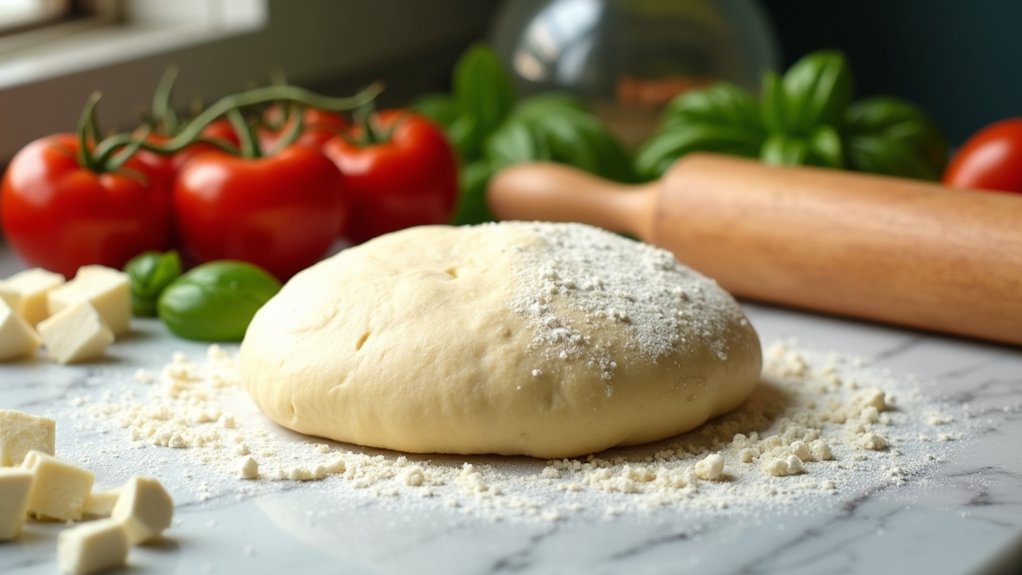
Step 4. Knead Dough Until Smooth
Now that the flour is mixed in and the dough is starting to take shape, it’s time to knead it until smooth. I love this part! Using my hands, I gently push and fold the dough, employing various kneading techniques. You want that perfect dough texture, so don’t be shy about putting some muscle into it. Keep kneading for about 8 to 10 minutes, until the dough feels elastic and slightly tacky, but not sticky. If it sticks to your hands, sprinkle a little flour—just a pinch! This tactile experience is grounding and satisfying, reminding me of baking with family. Once your dough is smooth and supple, you’ll know it’s ready for the next exciting step in our pizza-making adventure!
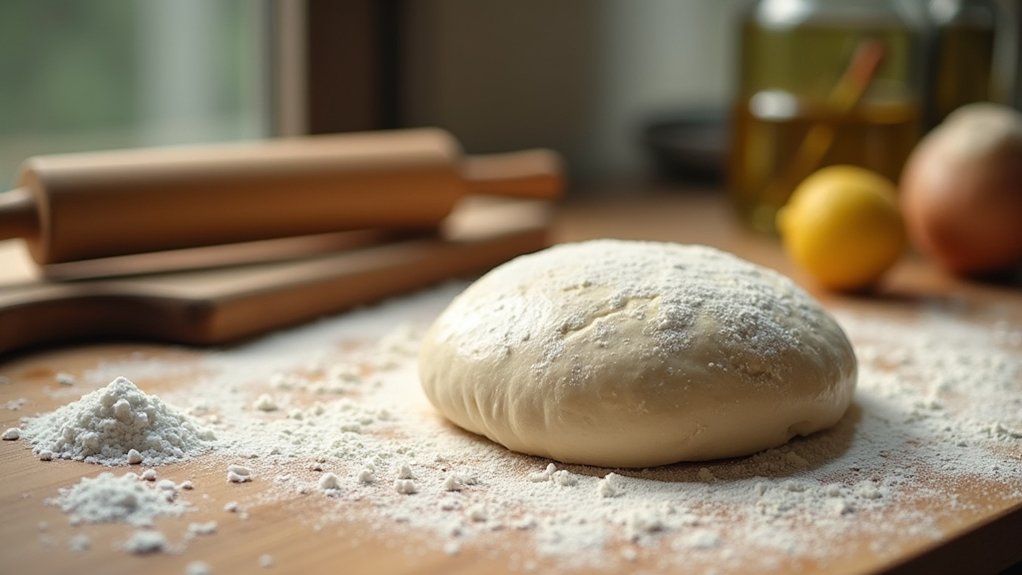
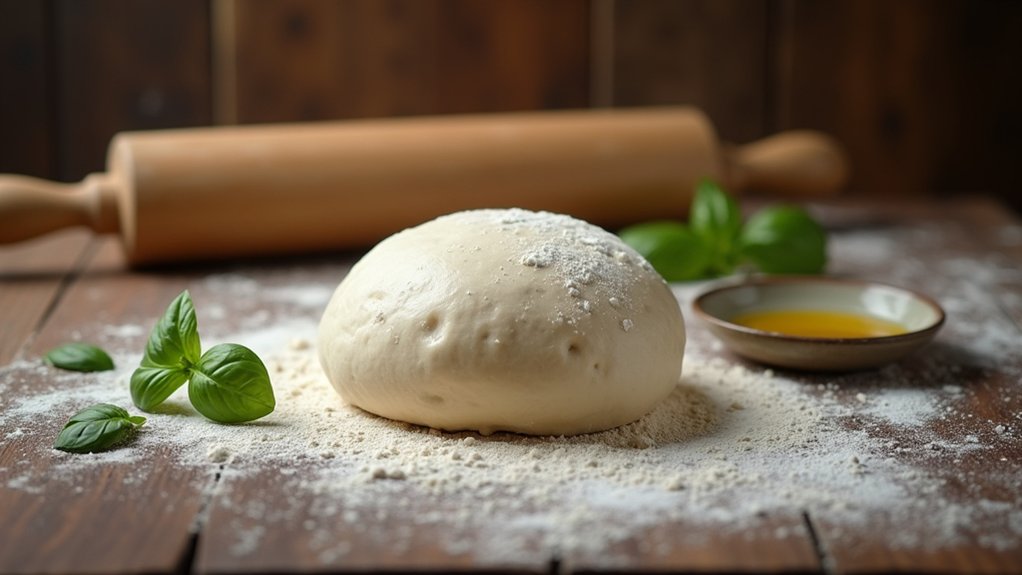
Step 5. Let Dough Rise Properly
Once you’ve kneaded your dough to perfection, it’s time to let it rise, which is where the magic really happens! I like to place my dough in a warm, draft-free spot, covering it with a clean kitchen towel. This helps maintain the right dough consistency, ensuring it rises beautifully. Typically, I let it sit for about 1 to 2 hours, depending on the temperature of my kitchen. You’ll know it’s ready when it’s doubled in size; that’s the sign of a successful rising time! The anticipation builds as I imagine the delicious pizza to come. Once it’s risen, I can’t wait to punch it down, shape it, and get creative with toppings. Trust me, it’s worth the wait!
Nutritional Guide
When you whip up a batch of homemade pizza dough, it’s not just about the delicious end result; it’s also important to take into account what’s going into it. Understanding the caloric content and ingredient benefits can enhance your pizza experience. Here’s a quick nutritional guide:
| Ingredient | Caloric Content (per serving) | Benefits |
|---|---|---|
| All-purpose flour | 100 | Provides carbohydrates for energy |
| Olive oil | 120 | Heart-healthy fats |
| Yeast | 10 | Aids in digestion |
| Salt | 0 | Enhances flavor |
Final Thoughts
As you wrap up your pizza-making adventure, it’s hard not to feel a sense of accomplishment and excitement for the delicious meal ahead. You’ve created your own dough, and now the possibilities are endless! Don’t hesitate to experiment with dough variations, like whole wheat or gluten-free options, to suit your taste and dietary needs. Remember, cooking tips like letting your dough rest and preheating your oven can elevate your pizza game. Whether you’re crafting a classic margherita or a daring BBQ chicken delight, each bite will be a reflection of your creativity. So gather your friends and family, share your homemade masterpiece, and relish the joy of cooking together. Happy pizza-making, and enjoy every slice!
Frequently Asked Questions
Can I Use Whole Wheat Flour Instead of All-Purpose Flour?
Absolutely, I’ve used whole wheat flour instead of all-purpose. It adds great flavor and health benefits, though the texture may be denser. Experimenting with ratios can yield delicious results, so don’t hesitate to innovate!
How Long Can I Store Leftover Pizza Dough?
I typically store leftover pizza dough in the refrigerator for up to three days. To maintain dough freshness, I wrap it tightly in plastic. Trust me, it’s worth the effort for delicious homemade pizza later!
Is It Necessary to Rest the Dough Before Rolling?
Yes, resting the dough’s essential! It enhances dough elasticity and allows the fermentation process to develop flavors. I always let my dough rest; it transforms the texture and makes rolling a breeze. You won’t regret it!
Can I Freeze the Pizza Dough for Later Use?
Absolutely, I freeze my pizza dough all the time! Using proper freezing techniques not only preserves the dough but also keeps it fresh for future culinary adventures. Trust me, it’s a game changer for busy nights!
What Toppings Work Best With This Pizza Dough?
I love using classic combinations like pepperoni and mozzarella, but I also enjoy unique flavors like fig and goat cheese. Seasonal toppings and vegan options, such as roasted vegetables, make every pizza a delightful adventure!
Conclusion
So there you have it, a simple pizza dough recipe that’s sure to impress your friends and family. As you knead and shape, remember that each pizza is a canvas waiting for your unique touch. Whether you pile it high with toppings or keep it classic, the joy of sharing a homemade pizza is unbeatable. So roll up your sleeves, let your creativity flow, and enjoy the delicious results of your hard work! Happy cooking!