If you’re craving pizza but don’t have yeast, I’ve got a simple no-yeast dough recipe for you! Just mix 2 cups of flour, a tablespoon of baking powder, and some salt. Add a cup of plain yogurt and a bit of olive oil, then knead it for a minute or two. Roll it out, pop it in a preheated oven at 450°F for about 15 minutes, and you’ll enjoy a quick, delicious pizza in no time. Stick around, and I’ll share more tips!
Contents
History

When you think about pizza, you might picture a bustling Italian kitchen, where the aroma of freshly baked dough fills the air. But did you know pizza has ancient origins? It traces back to flatbreads enjoyed by the Greeks and Romans, who topped them with various ingredients. Over time, this simple dish evolved, embracing regional flavors and creativity. I find it fascinating how each culture added its twist, leading to the diverse styles we savor today. Whether it’s the classic Neapolitan or a modern fusion, each slice tells a story of culinary evolution. So, as you begin your pizza-making journey, remember the rich history behind it, and let it inspire your innovative creations in the kitchen!
Recipe
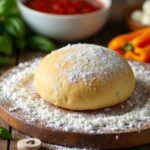
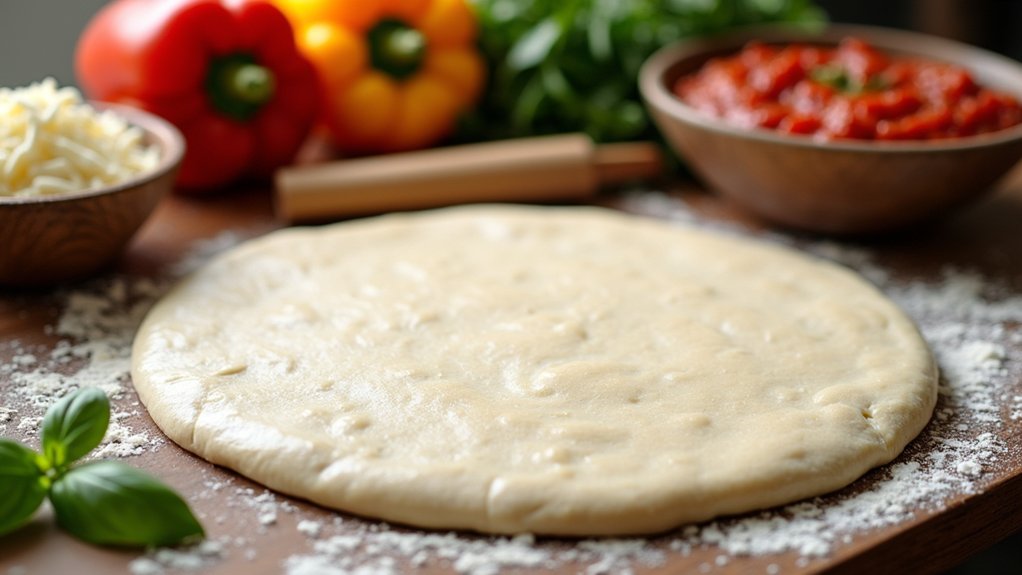
Making pizza dough without yeast is a simple and quick alternative for those who want to enjoy homemade pizza without the wait. This no-yeast recipe is perfect for a last-minute pizza night or when you’re low on ingredients. You’ll achieve a delightful crust that’s perfect for holding all your favorite toppings, and the best part is that it takes minimal time and effort to whip up.
This pizza dough is versatile and can be used for various styles of pizza, whether you prefer a classic Margherita, a veggie-loaded delight, or a meat feast. The key to this recipe is the combination of baking powder and yogurt, which gives the dough a nice rise and fluffy texture, all without the need for yeast. With just a few simple ingredients, you’ll have a delicious base ready in no time.
Ingredients:
- 2 cups all-purpose flour
- 1 tablespoon baking powder
- 1/2 teaspoon salt
- 1 cup plain yogurt
- 2 tablespoons olive oil
Cooking Instructions:
In a mixing bowl, combine the flour, baking powder, and salt. Gradually add the yogurt and olive oil to the dry ingredients, mixing until a dough forms. If the dough is sticky, sprinkle a little more flour as needed. Once combined, knead the dough on a floured surface for about 1-2 minutes until smooth. Roll out the dough to your desired thickness and shape, then transfer it to a pizza stone or baking sheet. Preheat your oven to 450°F (230°C), add your favorite sauce and toppings, and bake for 12-15 minutes or until the crust is golden and cooked through.
Extra Tips:
For a more flavorful dough, consider adding herbs or spices to the flour mixture, such as garlic powder, oregano, or Italian seasoning. If you want a crispier crust, pre-bake the rolled-out dough for 5 minutes before adding toppings. Additionally, you can experiment with different types of yogurt, such as Greek yogurt for a richer flavor, or even try adding a bit of honey for a touch of sweetness. Enjoy your homemade pizza night!
Cooking Steps
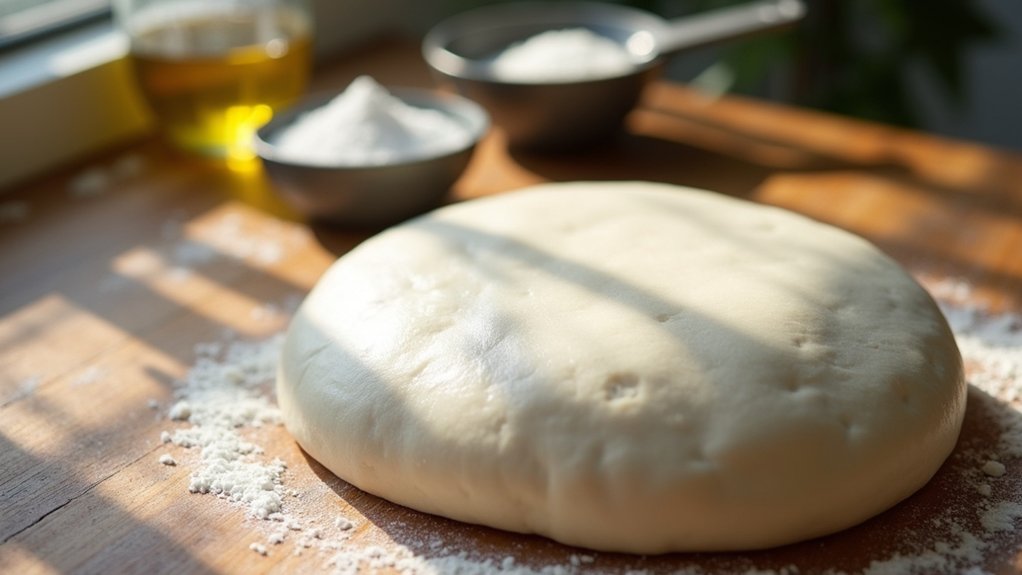
Now that we’ve got our ingredients ready, it’s time to get cooking! I’ll guide you through the steps, starting with mixing the dry ingredients together before adding the wet ones gradually. Trust me, kneading the dough until it’s smooth and rolling it out is where the magic begins, so let’s jump right in!
Step 1. Mix Dry Ingredients Together
To kick things off, let’s gather our dry ingredients and mix them together, because this step is vital for creating a tasty pizza dough. I usually start with all-purpose flour, but feel free to experiment with other flour types like whole wheat or gluten-free blends. For a perfect balance, I suggest a 2:1 ratio of flour to baking powder, which gives the dough just the right lift. Don’t forget a pinch of salt, as it enhances the flavor beautifully. Once you’ve measured everything out, grab a whisk or fork and combine them thoroughly in a bowl. This guarantees an even distribution of flavors and helps prevent any clumps. Trust me, this simple yet vital step makes all the difference in your pizza-making adventure!
Step 2. Add Wet Ingredients Gradually
With the dry ingredients all mixed and ready, it’s time to bring the dough to life by adding the wet ingredients. This is where the magic happens! Using innovative wet ingredient techniques makes all the difference. I like to incorporate them gradually, ensuring everything blends beautifully. Here’s how I do it:
- Start by pouring in your olive oil.
- Next, add the water slowly, mixing as you go.
- If you’re using any herbs or spices, sprinkle them in right now.
- Finally, stir until everything’s just combined.
This gradual mixing helps create a cohesive dough, ensuring it’s neither too sticky nor too dry. Embrace this moment; it’s the first step toward your delicious homemade pizza!
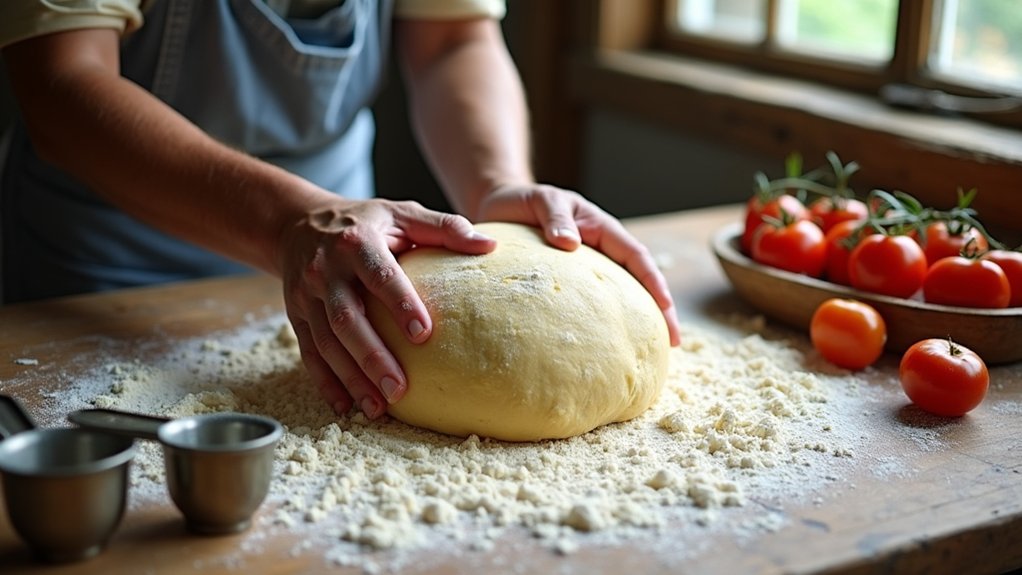
Step 3. Knead Dough Until Smooth
Kneading the dough is where the fun really begins! I love this part because it transforms the mixture into something special. Using your hands, you’ll want to press and fold the dough, applying a little pressure. This kneading technique helps develop the gluten, which creates a fantastic dough texture. As you work, you might notice the dough becoming smoother and more elastic. If it feels sticky, just sprinkle a bit of flour on your countertop; this will help keep things manageable. Aim for about 5 to 10 minutes of kneading, until it feels soft and pliable. It’s a hands-on experience that connects you to the food, making it all the more rewarding when you finally create that delicious pizza!
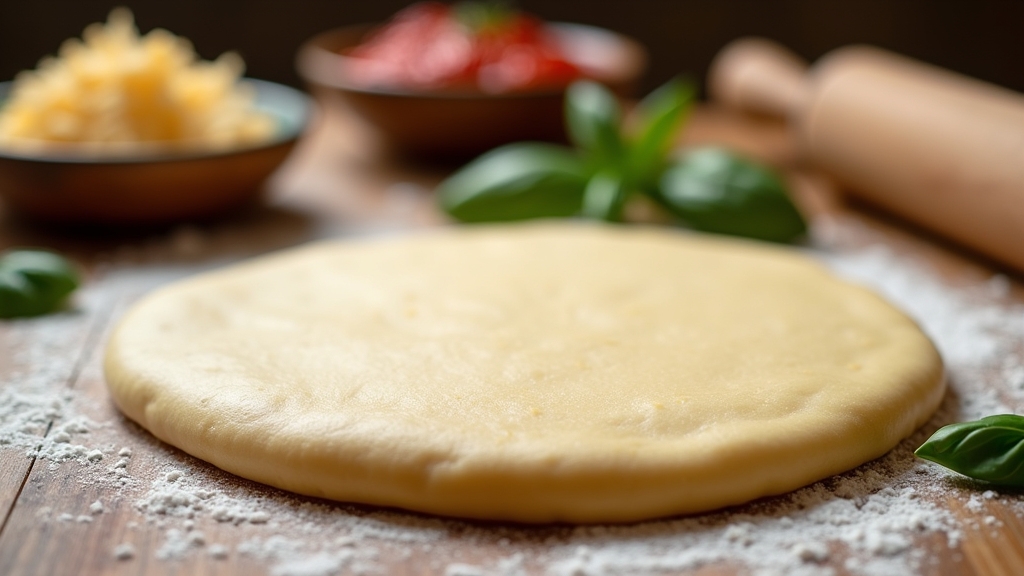
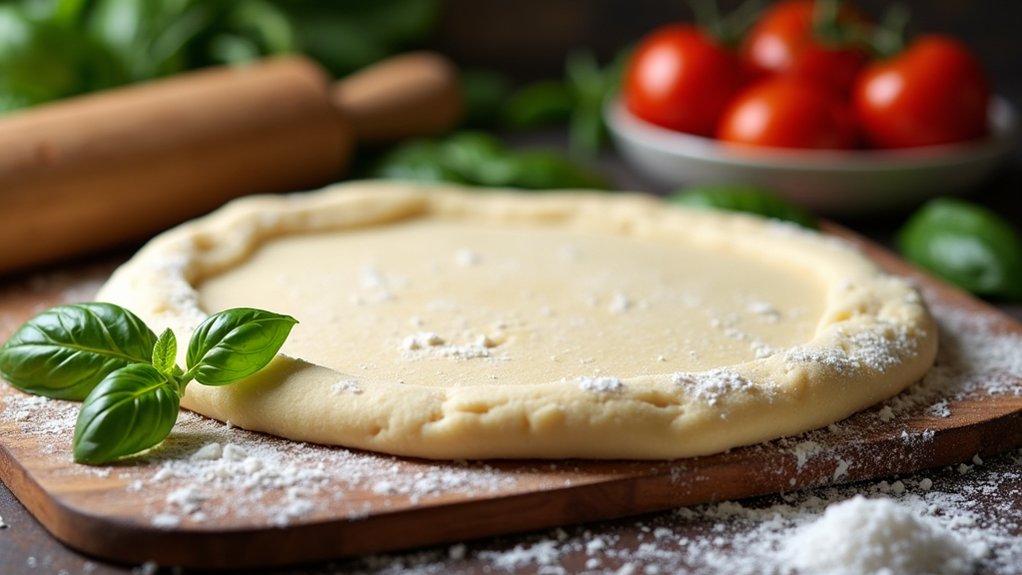
Step 4. Roll Out the Dough
Rolling out the dough is where the magic happens! It’s the moment you transform your kneaded creation into a canvas for delicious toppings. To achieve the perfect roll thickness and guarantee a delightful dough texture, follow these steps:
- Lightly flour your work surface to prevent sticking.
- Place your dough ball in the center and flatten it slightly with your hands.
- Using a rolling pin, start from the center, rolling outward, applying even pressure.
- Check that the thickness is about ¼ inch, adjusting as necessary.
Don’t stress if it’s not perfect; a little rustic charm adds character! Just remember, this is your pizza adventure, and every roll brings you closer to a delightful meal.
Step 5. Add Toppings Before Baking
Now that you’ve rolled out your dough, it’s time to release your creativity and add toppings before baking! This is where the fun truly begins. I love experimenting with unique topping combinations—how about a classic margherita with fresh basil, or a zesty BBQ chicken with red onions? Get bold with your choices! Just remember to balance flavors and textures for a delightful bite.
When it comes to baking techniques, I recommend preheating your oven to a high temperature for that crispy crust we all adore. If you want extra crispiness, consider par-baking your dough for a few minutes before adding toppings. Whatever you choose, your pizza will shine with personality and deliciousness. Let’s get topping!
Nutritional Guide
When I think about pizza, I often imagine the joy of sharing a delicious slice with family and friends. But let’s not forget the nutritional side! Understanding the caloric content and ingredient benefits can elevate our pizza experience. Here’s a quick guide to help you make informed choices:
| Nutrient | Amount per Serving |
|---|---|
| Calories | 150 |
| Protein | 4g |
| Fiber | 2g |
Using whole wheat flour and olive oil enhances flavor and adds healthy fats. Each ingredient contributes to both taste and nutrition, making our no-yeast pizza not just a treat but a wholesome option. So, let’s savor every bite while feeling good about what we eat!
Final Thoughts

After exploring the nutritional benefits of our no-yeast pizza, it’s clear this dish can be both delicious and wholesome. I love how it opens up a world of possibilities in the kitchen. Here are a few innovative pizza variations you might enjoy:
- Cauliflower Crust – Perfect for a low-carb option.
- Whole Wheat Dough – Adds fiber and nutrients.
- Chickpea Flour Base – A protein-packed twist.
- Zucchini Crust – Great for sneaking in veggies!
Each option not only highlights unique flavors but also brings various health benefits. So, whether you’re planning a family night or a solo cooking adventure, this no-yeast pizza recipe is bound to impress. Jump in, get creative, and enjoy sharing these delightful pizzas with loved ones!
Frequently Asked Questions
Can I Freeze the No Yeast Pizza Dough?
Yes, I can freeze no yeast pizza dough! For ideal pizza dough storage, I use airtight bags and flatten the dough before freezing. This technique guarantees it stays fresh and ready for my next creative culinary adventure!
What Flour Types Work Best for This Recipe?
I’ve found that all-purpose flour gives a light, airy texture, while whole wheat adds a hearty flavor. Experimenting with both can lead to a deliciously innovative twist on your favorite dough recipe!
How Should I Store Leftover Dough?
I store leftover dough by wrapping it tightly in plastic wrap and placing it in the refrigerator. This dough preservation method keeps it fresh for a few days, allowing me to whip up delicious meals later!
Can I Add Herbs to the Dough for Flavor?
I love adding herb combinations like basil and oregano to my dough for flavor enhancement. Picture that aromatic blend wafting through your kitchen—it transforms the ordinary into something extraordinary and downright delicious!
How Does No Yeast Dough Differ in Texture?
No yeast dough has a denser, crumblier texture compared to traditional yeast dough, which offers more elasticity. I love experimenting with it, as it brings a unique mouthfeel that’s perfect for innovative recipes.
Conclusion
I hope you’re excited to try this no-yeast pizza dough recipe! It’s a fun and simple way to whip up a delicious meal without the wait. Did you know that nearly 83% of Americans eat pizza at least once a month? So, why not make your own? Sharing homemade pizza with family and friends can create special memories. Grab your ingredients, roll up your sleeves, and enjoy the process—your taste buds will thank you!