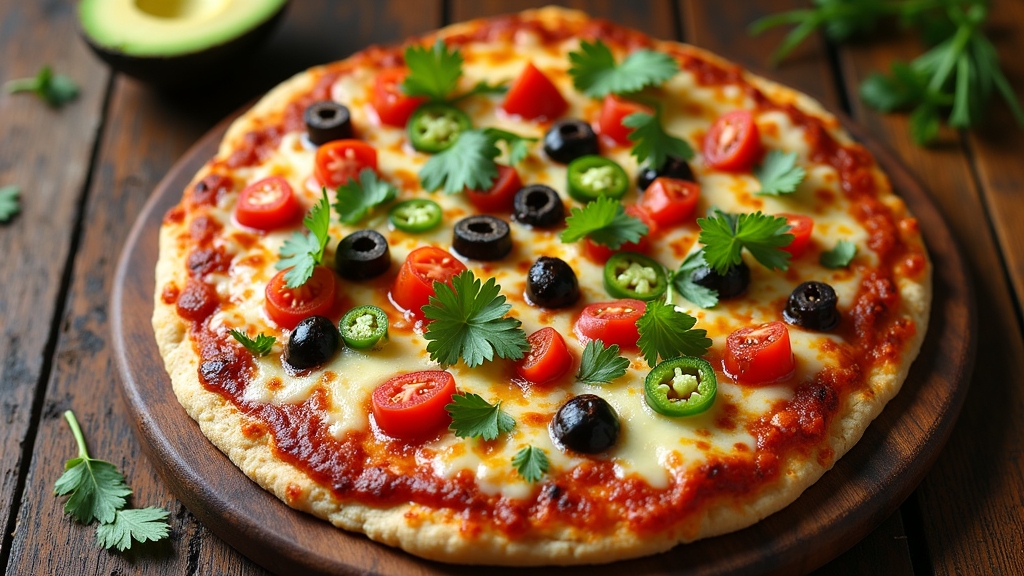
If you’re looking to whip up a delicious Mexican pizza, it’s super easy! Start with two large flour tortillas and layer them with ground beef seasoned with taco spices, refried beans, and loads of cheese. Don’t forget toppings like diced tomatoes and sliced black olives! Pop it in a preheated oven at 425°F for about 10-15 minutes until golden and bubbly. This dish is perfect for sharing, and there’s so much more to explore on customization and toppings!
Contents
History

When I think about the history of Mexican pizza, I can’t help but feel a sense of nostalgia, as it represents a delightful fusion of cultures and flavors. Its roots trace back to Mexican origins, where traditional ingredients like beans, cheese, and spicy salsa came together. As the dish traveled north, it evolved, blending with Italian pizza concepts. I find it fascinating how this cultural fusion created something entirely new, a canvas for culinary creativity. The crispy crust serves as a base, inviting toppings that reflect diverse tastes, from zesty jalapeños to savory ground beef. This innovative dish not only satisfies cravings but also tells a story of shared culinary heritage, encouraging us to explore and celebrate our diverse food traditions.
Recipe
Mexican Pizza is a delicious fusion of traditional Mexican flavors and classic pizza elements, making it a crowd-pleasing dish for any occasion. This recipe combines a crispy tortilla base topped with seasoned ground beef, zesty beans, fresh vegetables, and a medley of cheeses. The result is a savory delight that can be enjoyed as a snack, appetizer, or main course, perfect for a family dinner or a fun get-together with friends.
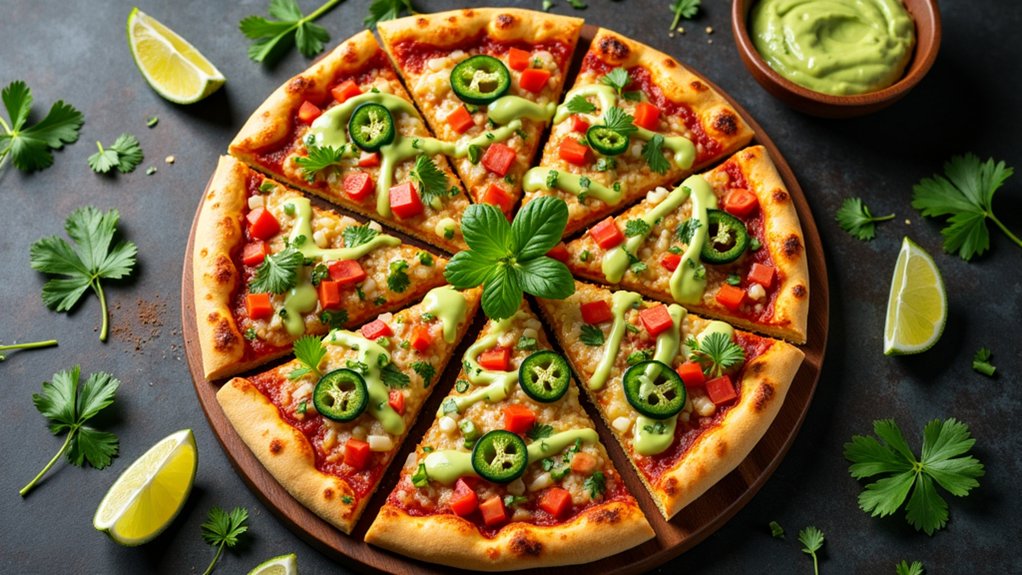
To make your Mexican Pizza even more enjoyable, feel free to customize the toppings according to your taste preferences. You can add jalapeños for a spicy kick, or opt for veggies like bell peppers and corn for a fresh crunch. This recipe is not only easy to follow but also allows you to get creative in the kitchen, making it a perfect choice for both novice cooks and experienced chefs alike.
Ingredients:
- 2 large flour tortillas
- 1 pound ground beef
- 1 packet taco seasoning
- 1 cup refried beans
- 1 cup shredded cheddar cheese
- 1 cup shredded Monterey Jack cheese
- 1 cup diced tomatoes
- 1/2 cup sliced black olives
- 1/2 cup chopped green onions
- 1/2 cup sour cream (for serving)
- Fresh cilantro (for garnish)
Instructions:
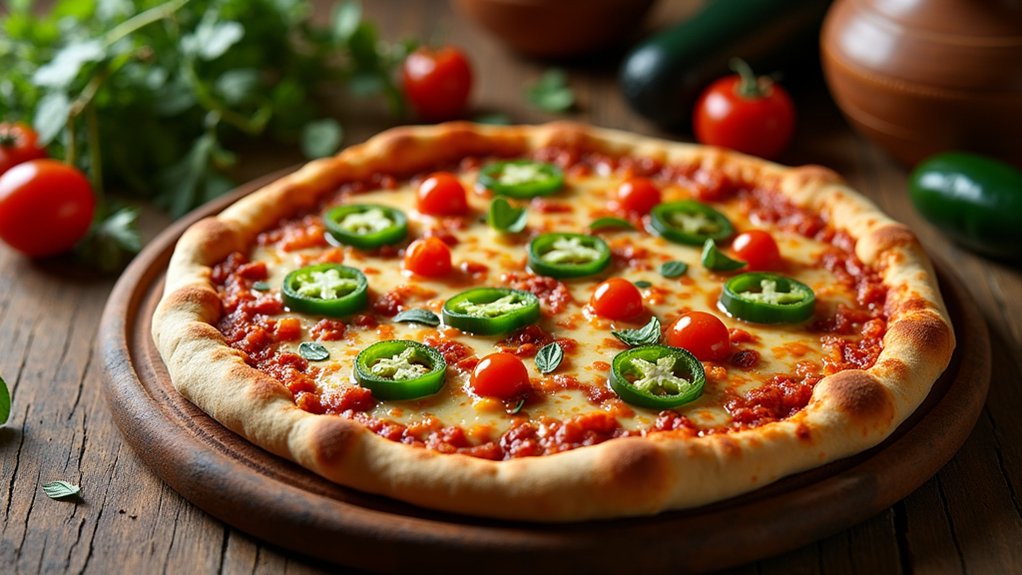
Preheat your oven to 400°F (200°C). In a skillet over medium heat, brown the ground beef and drain any excess fat. Stir in the taco seasoning along with a splash of water, and let it simmer for about 5 minutes. On a large baking sheet, lay out one flour tortilla and spread a layer of refried beans, followed by the seasoned beef, diced tomatoes, black olives, and both types of cheese. Top with the second tortilla and repeat the layering process. Bake the assembled pizza in the preheated oven for 10-15 minutes, or until the tortillas are golden brown and the cheese is bubbling. Remove from the oven, slice, and serve with sour cream and fresh cilantro.
Extra Tips:
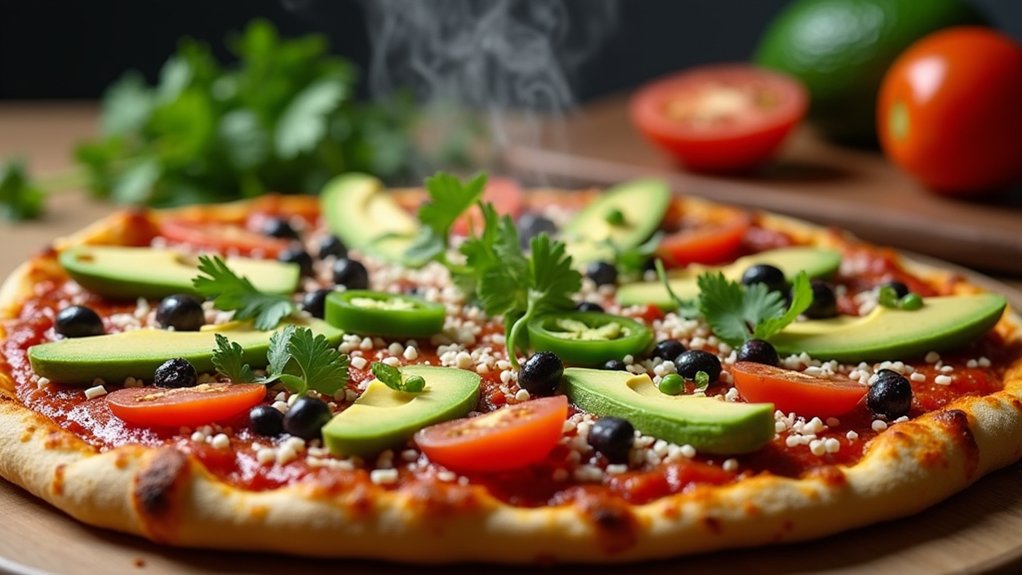
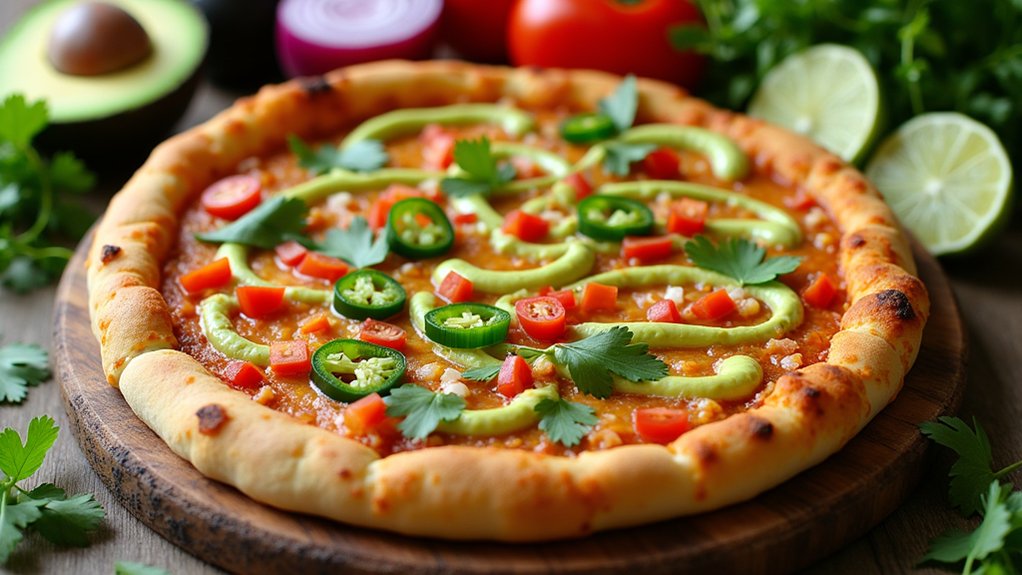
For an added crunch, consider pre-baking the tortillas for a few minutes before assembling the pizza to guarantee they retain their crispiness. Additionally, if you prefer a vegetarian option, you can substitute the ground beef with grilled vegetables or a plant-based meat alternative. Experiment with different toppings like avocado, salsa, or even a drizzle of hot sauce to tailor the dish to your liking. Enjoy your culinary adventure with this delicious Mexican Pizza!
Cooking Steps
Now that we’ve got our ingredients ready, let’s jump into the cooking steps! I’ll guide you through preheating the oven and adding those delicious toppings evenly to create the perfect Mexican pizza. After baking it to perfection, you’ll be slicing and serving it hot, so get ready to impress your family and friends!
Step 1. Preheat Oven to 425°F
To kick off our delicious Mexican pizza, let’s preheat the oven to a sizzling 425°F. This oven temperature is key for achieving that perfect, crispy crust we all crave. I love using this baking technique because it not only cooks the pizza evenly but also locks in all those vibrant flavors. While the oven warms up, I can almost smell the spices and toppings in my mind, building that anticipation. It’s a little moment of excitement before diving into the fun part of creating the pizza masterpiece. So, let’s make sure our oven is nice and hot, setting the stage for a culinary treat that’ll impress everyone at the table. Trust me, you won’t want to skip this step!
Step 2. Add Toppings Evenly
Adding toppings evenly is essential for creating a delicious Mexican pizza that everyone will love. When I’m layering my toppings, I focus on topping distribution to guarantee each bite is bursting with flavor. I start with a generous spread of beans and salsa, followed by a sprinkle of cheese, making sure to cover every corner. Next, I add fresh veggies like bell peppers and onions, spreading them out thoughtfully. This attention to detail not only enhances the visual appeal but also maintains a perfect flavor balance. I find that uneven topping can lead to some bites being overloaded while others fall flat. So, take your time and enjoy the process—your efforts will pay off in a beautifully crafted pizza!
Step 3. Bake for 10-15 Minutes
Once your Mexican pizza is topped to perfection, it’s time to slide it into the oven for a mouthwatering transformation. I love using innovative baking techniques that elevate this dish to new heights. Set your oven to 400°F and let it work its magic for 10-15 minutes. Keep an eye on it; you want that cheese to melt beautifully and the edges to get that golden crispiness. This is where you can experiment with pizza variations, adding spices or herbs to create your signature touch. The aroma filling your kitchen will have everyone excitedly anticipating their first bite. Trust me, the wait will be worth it as you prepare to savor your culinary masterpiece!
Step 4. Slice and Serve Hot
Grab a sharp knife and get ready to dig into your delicious Mexican pizza! Once your pizza is out of the oven, let it shine with some creative garnishes. Here’s how to slice and serve it hot:
- Cut the pizza into wedges, ensuring each slice has a perfect balance of toppings.
- Consider garnish options like fresh cilantro, diced jalapeños, or a drizzle of sour cream for that extra flavor kick.
- Serve it on a colorful platter to impress your guests—you can even add some lime wedges for a zesty touch!
Step 5. Cool for Five Minutes
After pulling that mouthwatering Mexican pizza out of the oven, it’s essential to let it cool for about five minutes. This cooling time not only helps the toppings settle but also prevents burns when it’s time to dig in. I like to use a wire rack as one of my favorite cooling techniques; it allows air to circulate around the pizza, keeping the crust crisp. While it cools, think about your serving suggestions! You could top it with fresh cilantro, a dollop of sour cream, or even some sliced jalapeños for a spicy kick. Letting it rest enhances the flavors, and soon you’ll be ready to slice it up and share this delicious dish with friends and family!
Nutritional Guide
When it comes to making a delicious Mexican pizza, knowing the nutritional aspects can really enhance your cooking experience. Understanding the caloric breakdown and ingredient benefits helps you create a dish that’s not only tasty but also nutritious. Here’s a quick nutritional guide to get you started:
| Ingredient | Calories per Serving | Benefits |
|---|---|---|
| Whole Wheat Tortilla | 130 | High in fiber |
| Black Beans | 110 | Great protein source |
| Avocado | 160 | Loaded with healthy fats |
| Cheese | 110 | Calcium-rich |
| Salsa | 20 | Packed with vitamins |
Final Thoughts

As you wrap up your journey to create a delicious Mexican pizza, it’s important to reflect on the joy this dish can bring to your table. Not only does it celebrate the cultural significance of Mexican cuisine, but it also allows for exciting flavor variations. Here are a few tips to elevate your pizza experience:
- Experiment with toppings—think beyond traditional ingredients and try things like grilled veggies or spicy chorizo.
- Don’t shy away from sauces—adding a drizzle of chipotle crema or salsa verde can bring a new dimension.
- Make it a family affair—let everyone customize their own sections, creating a unique masterpiece.
Embrace the innovation, share the love, and savor every bite of your homemade Mexican pizza!
Frequently Asked Questions
Can I Use Gluten-Free Tortillas for This Recipe?
Absolutely, I’ve used gluten-free tortillas before, and they work great! Brands like Mission and Banza offer fantastic gluten-free options. I encourage you to experiment and find the perfect tortilla that suits your taste!
How Can I Customize Toppings for My Mexican Pizza?
If you think pizza can’t be spicy, you’re missing out! I love experimenting with jalapeños and pepper jack cheese options. Toss on some avocado for flair, or go wild with unexpected toppings. Let your taste buds decide!
What Beverages Pair Well With Mexican Pizza?
I love pairing my meals with innovative drinks! For Mexican pizza, I recommend a crisp lager, a revitalizing lime soda, a fruity sangria, or a spicy margarita. These choices elevate the flavors and enhance the overall experience.
Can I Make Mexican Pizza Ahead of Time?
Absolutely, I can make Mexican pizza ahead of time! I love meal prepping, so I usually assemble it, then store it in the fridge. For best results, I follow these storage tips to keep it fresh.
Is There a Vegetarian Version of Mexican Pizza?
Absolutely, I’ve crafted delicious vegetarian versions using fresh ingredients like black beans, corn, and avocado. Did you know over 25% of pizza lovers prefer veggie toppings? It’s time to explore innovative pizza alternatives together!
Conclusion
Making a Mexican pizza is like throwing a fiesta in your kitchen. Just like I remember my grandmother gathering everyone around the table, this recipe brings friends and family together, creating delicious memories. With each slice, you’re not just enjoying a meal; you’re sharing joy and laughter. I hope you’re as excited to try this as I was when I first made it. Grab your ingredients, and let the fun begin!