If you’re looking to bake a delicious sponge cake, I’ve got a simple recipe for you! Start by preheating your oven to 350°F. Beat 4 eggs with 1 cup of sugar until thick. Gently fold in 1 cup of flour and 1 teaspoon of baking powder, then mix in 1/4 cup of melted butter. Pour the batter into a greased pan and bake for 25-30 minutes. Trust me, this will be a hit! Keep reading to discover tips and variations to make it your own!
Contents
History
When I think about the history of sponge cake, I can’t help but feel a sense of nostalgia and excitement. The cake’s origins trace back to the Renaissance, where it was born from a mix of creativity and necessity. Early baking techniques were simple, relying on air whipped into eggs for that light, fluffy texture we all love. It’s fascinating to reflect on how bakers experimented with ingredients and methods, paving the way for innovations that transformed the dessert landscape. With each new twist, sponge cake has evolved, inspiring countless variations. Today, we can honor that rich history while exploring our own creativity in the kitchen. So, let’s plunge into this delightful journey and bake something extraordinary together!
Recipe
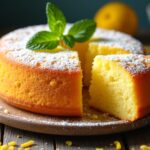
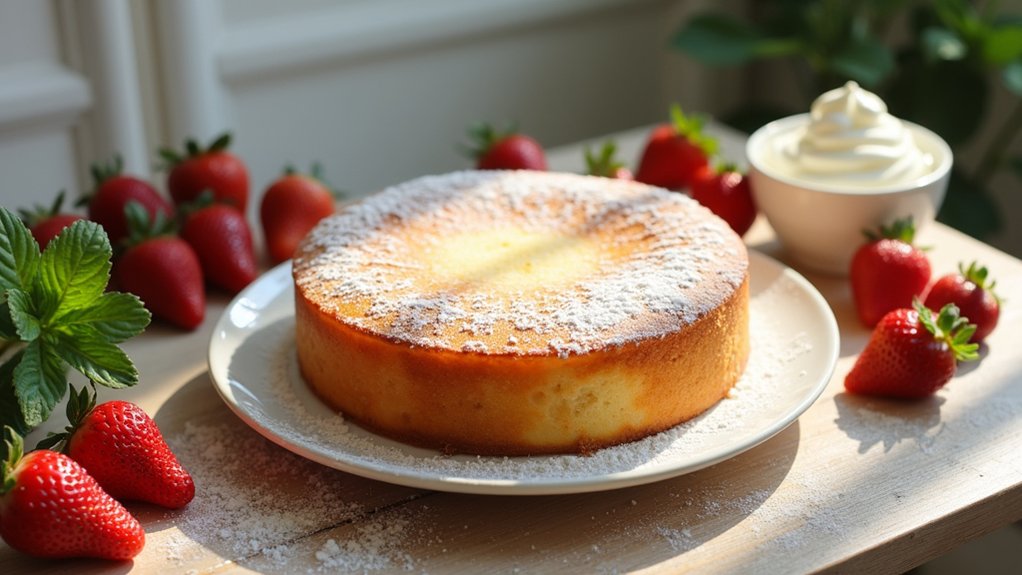
Sponge cake is a light and fluffy dessert that is perfect for any occasion, whether it’s a birthday party, a tea gathering, or simply a delightful treat at home. The beauty of sponge cake lies in its simplicity, using just a few basic ingredients to create a deliciously airy texture. This cake can be enjoyed on its own, or it can be layered with fruits, whipped cream, or even chocolate for a more decadent experience.
To make the perfect sponge cake, it’s crucial to incorporate air into the batter, which is usually achieved by whipping the eggs and sugar together until they reach a pale, thick consistency. This process is what gives the cake its lightness and volume. Once baked, sponge cake can be easily adapted to suit your tastes by adding flavors such as vanilla, lemon, or almond extract.
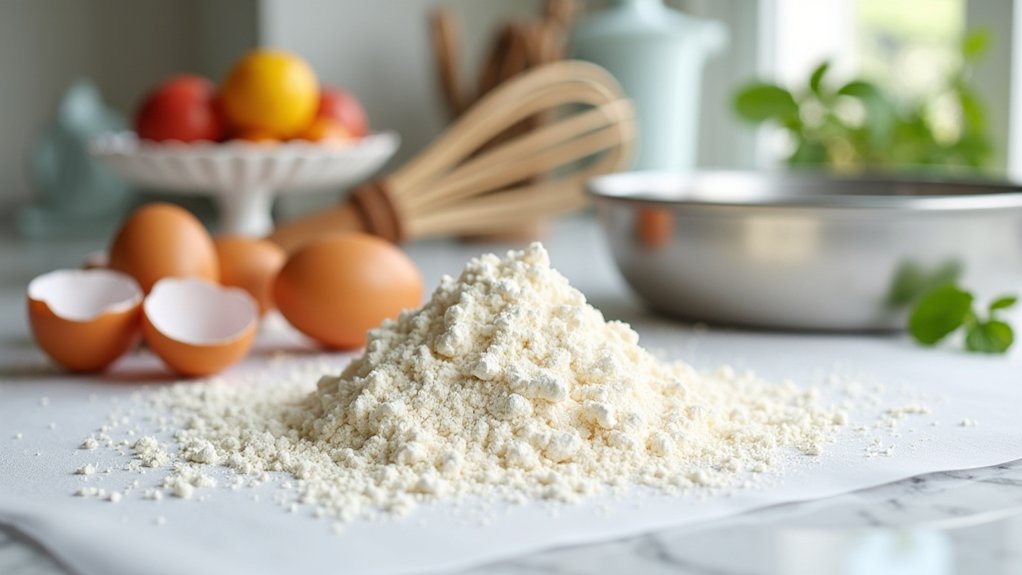
Ingredients:
- 4 large eggs
- 1 cup granulated sugar
- 1 cup all-purpose flour
- 1 teaspoon baking powder
- 1/4 teaspoon salt
- 1/4 cup unsalted butter, melted
- 1 teaspoon vanilla extract
- Powdered sugar for dusting (optional)
Instructions:
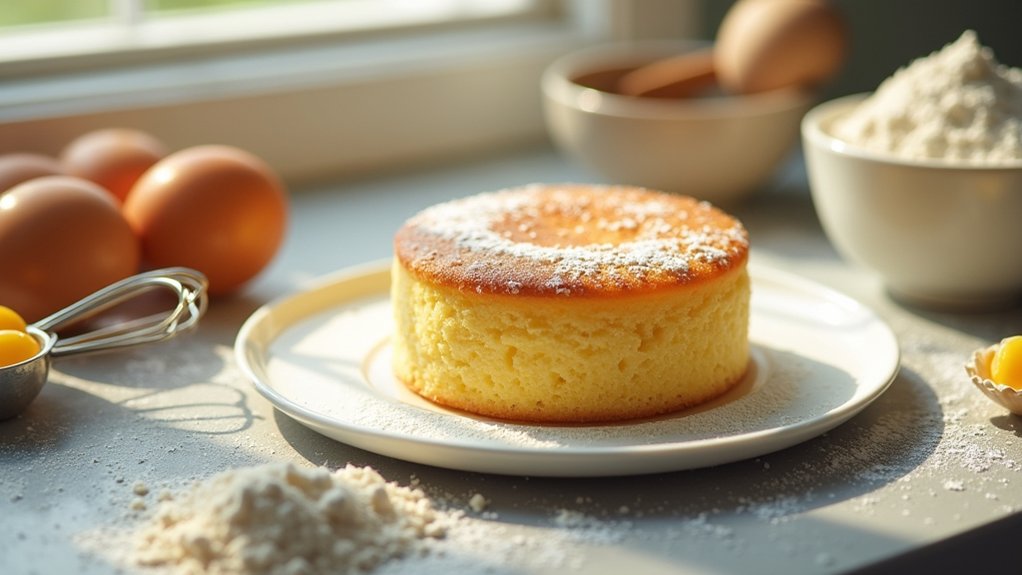
Preheat your oven to 350°F (175°C) and grease and flour an 8-inch round cake pan. In a large mixing bowl, beat the eggs and granulated sugar together until the mixture is thick and pale, about 5-7 minutes. Gently fold in the sifted flour, baking powder, and salt, being careful not to deflate the batter. Once the dry ingredients are incorporated, add the melted butter and vanilla extract, mixing until just combined. Pour the batter into the prepared cake pan and smooth the top. Bake for 25-30 minutes or until a toothpick inserted in the center comes out clean. Remove the cake from the oven and let it cool in the pan for about 10 minutes before transferring it to a wire rack to cool completely.
Extra Tips:
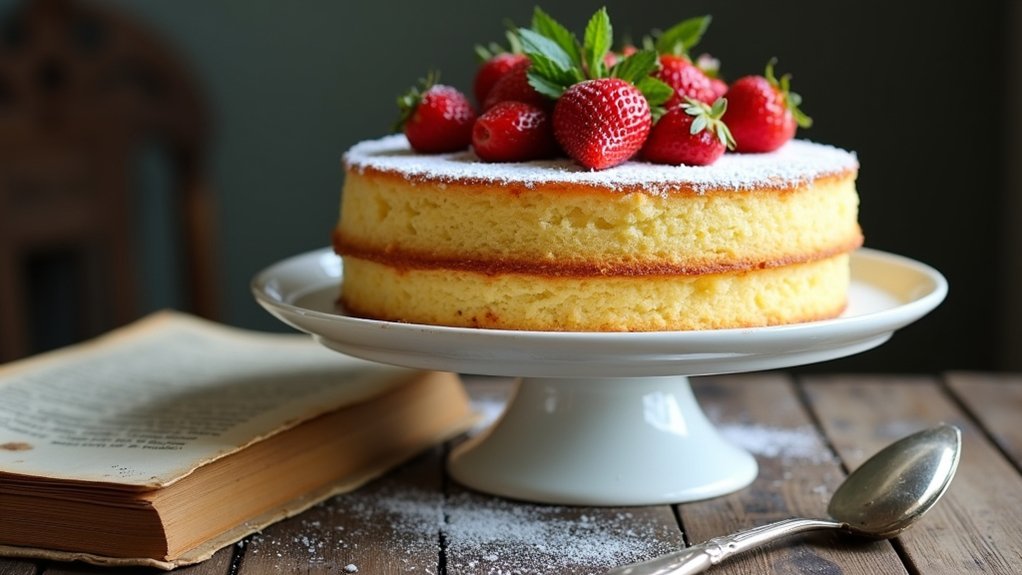
To achieve the best texture for your sponge cake, verify all your ingredients are at room temperature before you start. This helps with better emulsification and air incorporation during mixing. Be careful not to overmix the batter after adding the flour, as this can lead to a dense cake. Additionally, you can experiment with different flavorings or add a touch of citrus zest to elevate the taste. For a beautiful presentation, dust the cooled cake with powdered sugar or top it with fresh fruit and whipped cream just before serving. Enjoy your baking!
Cooking Steps
Now that we have our ingredients ready, let’s get cooking! I always start by preheating my oven to 350°F so it’s nice and warm when my batter’s ready. After that, we’ll beat the eggs and sugar together until they’re fluffy, and I promise, it’s going to smell amazing!
Step 1. Preheat the Oven to 350°F
Getting the oven ready is one of the first steps in making a delicious sponge cake, and I always find that preheating it to 350°F sets the stage for baking success. This specific oven temperature is essential for ensuring your cake rises perfectly and develops that light, airy texture we all love. Here are a few tips to keep in mind while you preheat:
- Make sure the oven rack is positioned in the middle for even heat distribution.
- Use an oven thermometer to confirm the temperature if your oven’s calibration seems off.
- Don’t rush! Give your oven ample time to reach the desired temperature before popping in your batter.
With these baking techniques, you’re well on your way to sponge cake perfection!
Step 2. Beat Eggs and Sugar
With the oven preheated and ready to go, it’s time to tackle one of the most important steps in making a sponge cake: beating the eggs and sugar. First, make sure your eggs are at room temperature; this helps them whip to a lovely volume. I often grab a mixing bowl and start whisking vigorously—using the right whisking techniques can make all the difference. I’ll beat the eggs and sugar together until the mixture turns pale and fluffy, which usually takes about five to seven minutes. The goal here is to incorporate air, creating that light texture we all love in sponge cakes. Just remember, patience is key. The more air you beat in, the better your cake will rise!
Step 3. Fold in Flour Gently
As you prepare to fold in the flour, remember that this step requires a gentle touch, ensuring that all that lovely air you whipped into the eggs and sugar isn’t lost. I like to use a spatula for this, carefully incorporating the flour without deflating my mixture. Here are some tips to keep in mind:
- Use the right flour types, such as cake flour for a lighter texture.
- Embrace the whipping technique; fold in thirds to maintain airiness.
- Make smooth, circular motions, lifting from the bottom to the top.
Taking your time during this process guarantees a fluffy sponge cake, perfect for any occasion. Trust me, it’s worth the effort!
Step 4. Add Vanilla Extract
Now that we’ve gently folded in the flour, it’s time to add that wonderful burst of flavor—vanilla extract! I love using pure vanilla extract, as it brings a rich aroma and a depth of flavor that really elevates the sponge cake. But don’t be afraid to explore different extract varieties, like almond or hazelnut, for a unique twist. The vanilla benefits extend beyond taste; it can enhance the cake’s sweetness without adding sugar. Just a teaspoon or two is all you need to transform our batter into something truly special. So go ahead, pour that extract in, and mix it in gently. You’ll be amazed at how such a small ingredient can make a big difference in our delicious creation!
Step 5. Bake for 25 Minutes
It’s time to pop that lovely batter into the oven and let it work its magic! As I slide the cake into my preheated oven, I can almost smell the delightful aroma that’s about to fill my kitchen. Don’t forget these baking tips to guarantee your sponge cake rises perfectly:
- Keep an eye on the oven temperature: Ideally, it should be around 350°F (175°C).
- Avoid opening the oven door too soon: This can cause your cake to collapse.
- Use a toothpick to check doneness: Insert it into the center; it should come out clean after 25 minutes.
Set your timer, relax, and resist the urge to peek—trust me, it’ll be worth the wait! Get ready for a delicious treat!
Nutritional Guide

When whipping up a classic sponge cake, it’s important to contemplate the nutritional aspects to make informed choices for ourselves and our loved ones. Understanding the caloric content and ingredient benefits helps us innovate while baking. Here’s a quick glance at what goes into your delicious treat:
| Ingredient | Benefits |
|---|---|
| Eggs | High in protein and vitamins |
| Sugar | Quick energy source |
| Flour | Provides structure and fiber |
| Butter | Adds moisture and flavor |
| Baking Powder | Helps cake rise and stay fluffy |
Final Thoughts
As you wrap up your sponge cake adventure, it’s essential to reflect on the joy and satisfaction that comes from creating something delicious. Baking can be a delightful way to express your creativity, and I hope you feel inspired to try out different cake variations. Here are some baking tips to keep in mind for your next venture:
Reflect on the joy of baking and let your creativity shine with unique cake variations!
- Experiment with flavors like lemon or chocolate for a unique twist.
- Don’t forget to use the right flour; it makes all the difference!
- Always preheat your oven to guarantee even baking.
I can’t wait for you to share your creations, and remember, every sponge cake is a chance to innovate. Happy baking, and enjoy every bite of your sweet success!
Frequently Asked Questions
Can I Use a Gluten-Free Flour for Sponge Cake?
Absolutely, I’ve used gluten-free options like almond or coconut flour as substitutes in sponge cake. They yield a unique texture and flavor, bringing innovation to traditional recipes. Just adjust your ratios for the best results!
How Can I Make a Chocolate Sponge Cake?
To make a chocolate sponge cake, I mix cocoa powder into my batter and adjust baking times. For chocolate variations, I often add melted chocolate or chocolate chips. Trust me, these baking tips elevate the flavor!
What Is the Best Way to Store Leftover Sponge Cake?
I store leftover sponge cake in airtight containers to maintain freshness. For innovative cake preservation methods, I sometimes wrap individual slices in plastic wrap before placing them in the container. It keeps them moist and delicious!
Can I Freeze Sponge Cake for Later Use?
Absolutely, I can freeze sponge cake! By using proper freezing techniques, I preserve that delightful cake texture. Just wrap it well, and when you’re ready, it’ll taste just as fresh and fluffy as before!
How Do I Prevent My Sponge Cake From Sinking?
To prevent my sponge cake from sinking, I guarantee my eggs are at room temperature for better incorporation. I also whip the batter enough to create a strong cake structure, supporting it during baking.
Conclusion
So, there you have it—a delightful sponge cake that’s sure to impress! As you pull it from the oven, the aroma will transport you back to cherished moments spent in the kitchen. Just imagine the smiles on your loved ones’ faces as they take that first bite. Are you ready to whip up this treat and create your own sweet memories? Grab your ingredients, and let’s get baking—because the best moments are just a cake away!