Baking a simple cake is one of the joys of my kitchen! With just 1 ½ cups of flour, 1 cup of sugar, ½ cup of softened butter, 2 eggs, and 1 cup of milk, you can create a delicious treat. First, mix the dry ingredients, then add the wet ones gradually. Bake at 350°F for about 30-35 minutes, and you’ll have a delightful cake to share. Stick around, and I’ll share tips for customizing your cake further!
Contents
History
When I think about the history of cake, I can’t help but feel a sense of nostalgia, as it connects us to generations of bakers before us. The cake origins trace back to ancient civilizations, where simple mixtures of grains and honey were baked over open flames. Over time, baking evolution took us from these humble beginnings to the fluffy, layered delights we enjoy today. Each era brought innovations, like the introduction of refined sugar and baking powder, transforming the way we create and celebrate cake. I love how each bite tells a story, reflecting culture and creativity. As I bake, I feel linked to those who came before me, making every cake an opportunity to honor this delicious legacy.
Recipe
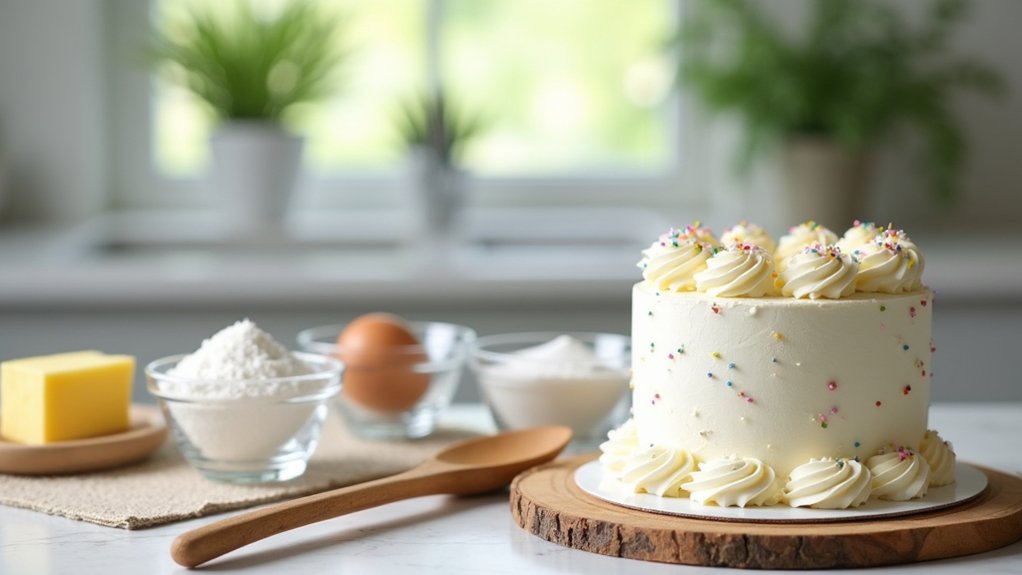
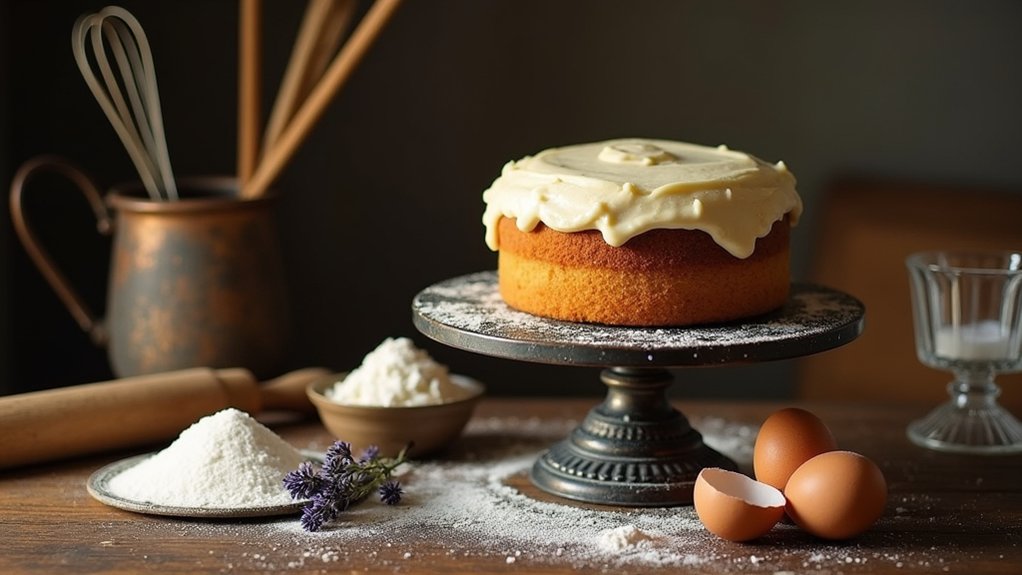
Baking a cake is a delightful way to celebrate special occasions or simply enjoy a sweet treat at home. This simple cake recipe is perfect for beginners or anyone looking for a quick and easy dessert. With just a few basic ingredients and minimal effort, you can create a delicious cake that is sure to please everyone. Whether you’re baking for a birthday, an anniversary, or just a weekend treat, this recipe is versatile enough to accommodate various flavors and decorations.
Baking a cake is an enjoyable way to celebrate any occasion with a simple and delicious dessert.
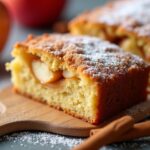
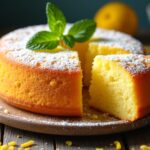
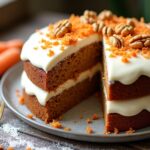
The beauty of this simple cake recipe lies in its adaptability. You can enjoy it plain, frost it with your favorite icing, or enhance it with fruits and nuts. It’s a great base for endless variations, allowing you to get creative with flavors like vanilla, chocolate, or lemon. Let’s get started with the ingredients you’ll need and the straightforward steps to bake this delightful cake.
Ingredients:
- 1 ½ cups all-purpose flour
- 1 cup granulated sugar
- ½ cup unsalted butter, softened
- 2 large eggs
- 1 cup milk
- 2 teaspoons baking powder
- 1 teaspoon vanilla extract
- ½ teaspoon salt
Cooking Instructions:
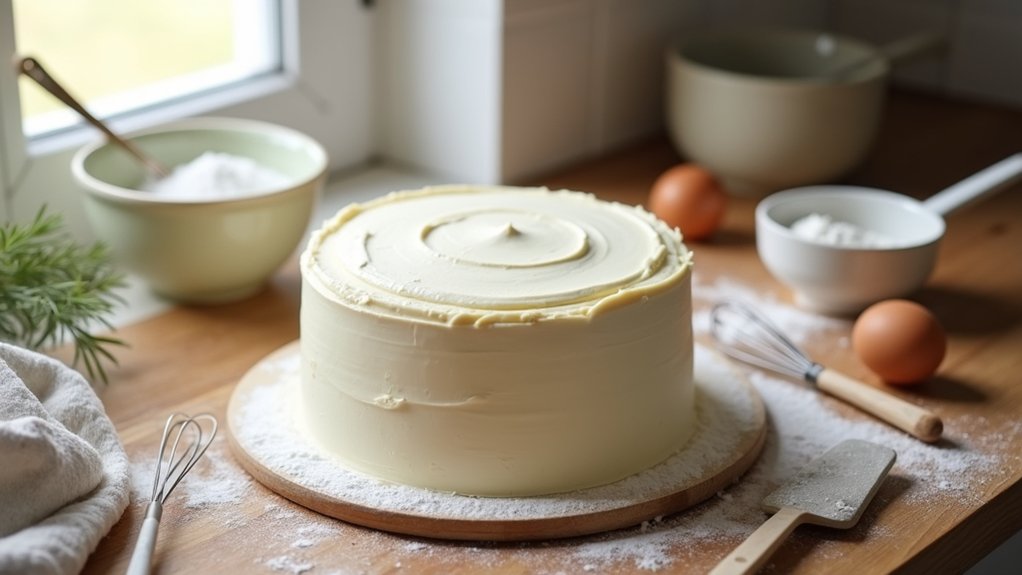
Preheat your oven to 350°F (175°C) and grease a 9-inch round cake pan. In a large mixing bowl, cream together the softened butter and sugar until light and fluffy. Add eggs one at a time, mixing well after each addition. Stir in the vanilla extract. In another bowl, combine the flour, baking powder, and salt. Gradually add the dry ingredients to the wet mixture, alternating with milk, and mix until just combined. Pour the batter into the prepared cake pan and bake for 30-35 minutes or until a toothpick inserted in the center comes out clean. Allow the cake to cool in the pan for 10 minutes before transferring it to a wire rack to cool completely.
Extra Tips:
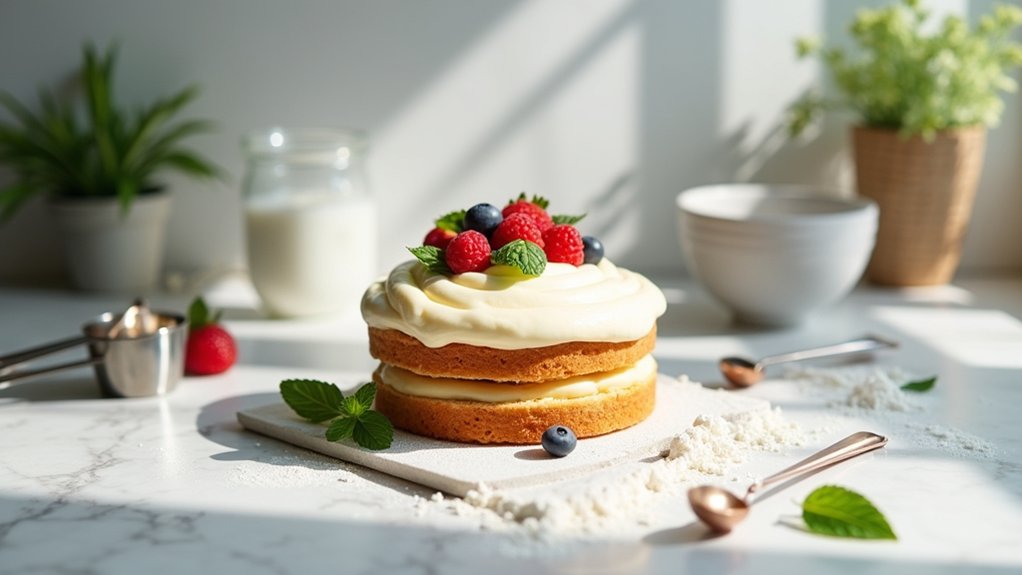
To enhance the flavor of your cake, consider adding a pinch of cinnamon or nutmeg to the dry ingredients. For a moister cake, you can substitute part of the milk with yogurt or sour cream. If you want to create a layered cake, simply double the recipe and bake in two round pans. Don’t forget to let the cake cool completely before frosting it to avoid melting your icing. Finally, feel free to experiment with different flavors by adding cocoa powder for a chocolate cake or lemon zest for a revitalizing twist!
Cooking Steps
Now that we have our ingredients ready, let’s jump into the cooking steps! First, I always start by preheating the oven to 350°F, which sets the perfect stage for our cake. Once that’s done, we’ll mix the dry ingredients thoroughly before adding the wet ones, and I promise, it’ll all come together beautifully!
Step 1. Preheat Oven to 350°F
Before diving into mixing ingredients, let’s get that oven warmed up to 350°F. This oven temperature is essential for our cake to rise perfectly and develop that lovely golden crust we all adore. As I preheat my oven, I often think about how this simple step can make or break our baking experience. A well-preheated oven guarantees even baking, so don’t rush it! While you’re at it, grab those baking tips you love—maybe a pinch of creativity or a dash of your favorite flavor. Once the oven reaches that sweet spot of 350°F, you’ll be ready to create something delicious. Trust me, your cake will thank you for this extra care as you begin this baking adventure!
Step 2. Mix Dry Ingredients Thoroughly
Mixing dry ingredients thoroughly is vital for achieving a well-balanced cake, so let’s get right to it! First, let’s talk about dry ingredient importance. Each component, whether it’s flour, baking powder, or cocoa powder, plays an essential role in the cake’s structure and flavor. I like to use a whisk or a sifter to combine these ingredients. This not only guarantees even distribution but also aerates the mixture, which can give your cake a delightful lightness. When using mixing techniques like these, you’re setting a solid foundation for your batter. Remember to be meticulous; the more evenly mixed your dry ingredients are, the better your cake will rise and taste. Let’s make something amazing together!
Step 3. Add Wet Ingredients Gradually
As you plunge into adding wet ingredients, remember that patience is key; rushing this step can lead to a lumpy batter. I like to incorporate them gradually, pouring in a little at a time. This allows for smooth, even mixing, ensuring that each component blends beautifully. Start with your eggs or milk, whichever you’re using, and give it a gentle stir. I find that using a whisk helps break up any clumps, creating a silky texture. Once the first portion’s mixed in well, add the next bit of wet ingredients. This gradual mixing not only enhances the batter’s consistency but also builds excitement as you see it transform. Trust me, your cake will thank you for this careful approach!
Step 4. Fold in Chocolate Chips
Now that your batter is smooth and creamy, it’s time to fold in those irresistible chocolate chips. This step is essential, as it adds a burst of flavor and texture that elevates your cake. I love experimenting with different chocolate varieties, like dark, milk, or even white chocolate chips for an innovative twist. Here’s how I do it:
- Gently Mix: Using a spatula, slowly incorporate the chocolate chips into the batter, ensuring even distribution without overmixing.
- Choose Wisely: Consider using flavored chocolate chips, like mint or espresso, to surprise your taste buds.
- Visual Appeal: Don’t forget to reserve a handful of chips to sprinkle on top before baking for an inviting look!
This simple baking technique makes all the difference!
Step 5. Bake for 30 Minutes
With those delicious chocolate chips folded into your batter, it’s time to get that cake in the oven and let the magic happen. Preheat your oven to 350°F (175°C) if you haven’t already, then gently place your cake pan inside. Now, here’s an important baking tip: set a timer for 30 minutes. This is the moment when your kitchen will start to smell amazing! Keep an eye on your cake; you’ll know it’s done when a toothpick inserted in the center comes out clean. This baking time is essential for achieving that perfect cake texture—light and fluffy. Once it’s ready, let it cool for a few minutes before serving. Trust me, it’ll be worth the wait!
Nutritional Guide
When you plunge into baking a simple cake, it’s essential to contemplate the nutritional aspects, especially if you’re sharing it with friends or family. Understanding the caloric content and ingredient benefits can enhance your experience, making it more enjoyable for everyone.
Here’s a quick glimpse at the nutritional highlights:
| Ingredient | Benefits |
|---|---|
| Flour | Provides energy through carbohydrates |
| Sugar | Offers sweetness and quick energy boost |
| Eggs | Adds protein and richness |
| Butter | Contributes flavor and moisture |
| Baking Powder | Helps the cake rise and become fluffy |
Each bite can be a delightful blend of taste and nourishment, so let’s embrace the joy of baking with a mindful approach!
Final Thoughts
Baking a cake isn’t just about following a recipe; it’s about creating memories that linger long after the last slice is gone. I truly believe that each cake has a story to tell and a moment to celebrate. Here are a few ideas to inspire your next baking adventure:
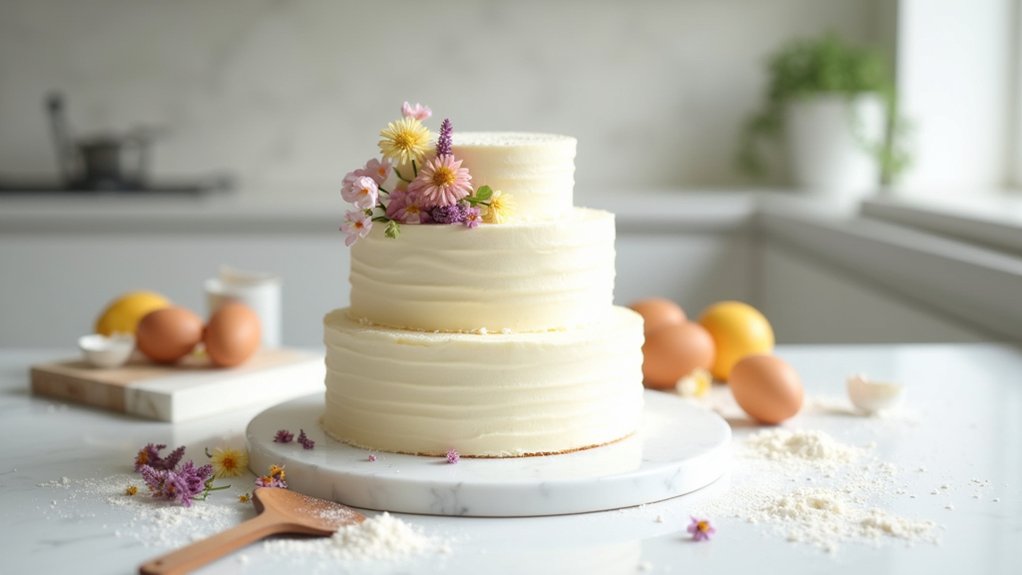
- Explore cake variations: Try adding flavors like lemon or almond to make your cake unique.
- Experiment with textures: Incorporate nuts or layers for a delightful surprise in every bite.
- Creative serving suggestions: Dress it up with fresh fruit, whipped cream, or a drizzle of chocolate sauce.
Frequently Asked Questions
Can I Use Gluten-Free Flour for This Cake Recipe?
Absolutely, I’ve used gluten-free flour alternatives in my baking. They work wonders! Just make sure you adjust other ingredients for the best texture. Exploring gluten-free options can lead to delicious, innovative results you won’t regret!
How Can I Make the Cake Vegan-Friendly?
To make the cake vegan-friendly, I use plant-based alternatives like applesauce or flaxseed meal as egg substitutes. They keep the texture moist while adding unique flavors, making the cake innovative and deliciously surprising!
What Is the Best Way to Store Leftover Cake?
To keep my cake fresh, I wrap it tightly in plastic wrap and store it in an airtight container. It’s like a treasure chest, preserving the deliciousness for days, ready for my next indulgence!
Can I Substitute Butter With Oil in This Recipe?
Absolutely, I’ve substituted butter with baking oil in my recipes. It’s a fantastic butter alternative that keeps cakes moist and tender. Just remember to adjust the quantity since oil is more liquid than butter!
How Do I Know When My Cake Is Done Baking?
I check my cake’s doneness by monitoring the baking time and performing the toothpick test. When the toothpick comes out clean, I know it’s ready, ensuring a perfectly baked treat every time!
Conclusion
Baking a simple cake is like creating a little piece of joy that you can share with others. I remember my first cake—an explosion of flour, sugar, and a few giggles as I tried not to make a mess. Each slice brings back memories, whether it’s a birthday celebration or a cozy afternoon with friends. So, grab your ingredients and jump in! You’re not just baking; you’re crafting moments that will sweeten your life and those around you.