If you’re looking for an easy red velvet cake recipe, I’ve got just the thing for you! Start by mixing 2 ½ cups of flour, 1 ½ cups of sugar, and some cocoa powder. Then, blend in buttermilk, vegetable oil, eggs, and red food coloring for that stunning hue. Bake it at 350°F for about 30 minutes, and don’t forget the cream cheese frosting on top! Trust me, this cake is perfect for celebrations, and there’s more to explore!
Contents
History
When you think about red velvet cake, you might picture a slice of dessert that’s both striking and delicious, but did you know its history is just as rich? This cake has roots in the southern United States, where its vibrant color and unique flavor first captured hearts. Originally, it was a simple chocolate cake, but through culinary evolution, bakers began adding buttermilk and vinegar, giving it that signature tang and tenderness. The cake’s distinctive hue? It’s thanks to cocoa powder and sometimes beet juice, which adds a touch of whimsy. As we’ve embraced this dessert over the decades, red velvet has become a symbol of celebration, bringing people together around the table. Isn’t that a sweet legacy?
Recipe
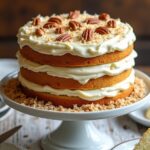
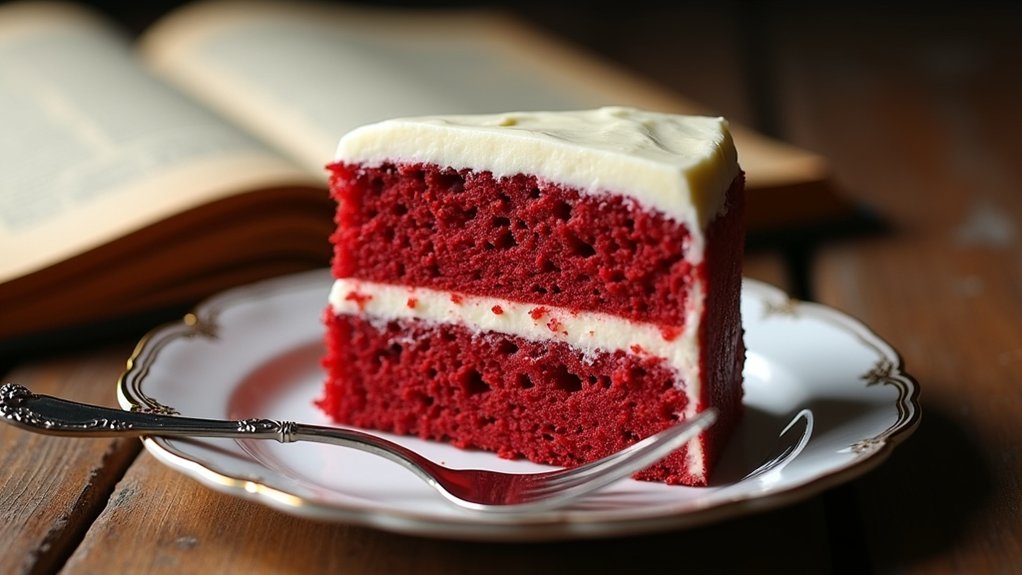
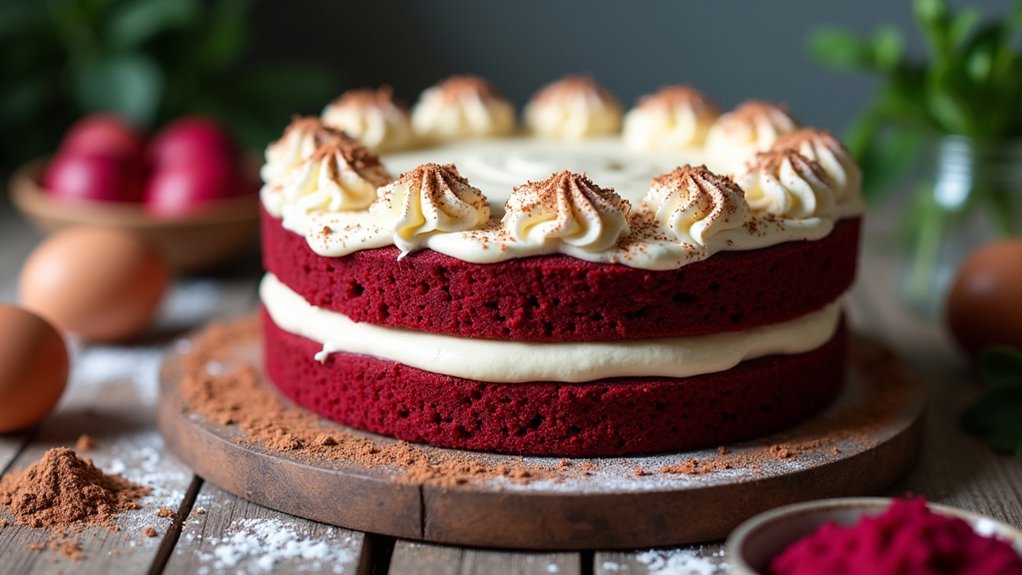
Red velvet cake is a beloved dessert known for its striking red color and rich flavor. With its soft, moist texture and a hint of cocoa, this cake is often paired with a creamy cream cheese frosting that balances out the sweetness beautifully. Originating in the southern United States, red velvet cake has become a popular choice for celebrations, from birthdays to weddings and everything in between.
Making a red velvet cake from scratch is easier than you might think. The key to achieving that vibrant color lies in the use of red food coloring, which gives the cake its signature hue. Additionally, the combination of buttermilk and vinegar not only adds to the cake’s moistness but also enhances the flavor, creating a deliciously unique dessert that will impress your friends and family.
Ingredients:
- 2 ½ cups all-purpose flour
- 1 ½ cups granulated sugar
- 1 teaspoon baking soda
- 1 teaspoon salt
- 1 teaspoon cocoa powder
- 1 ½ cups vegetable oil
- 1 cup buttermilk, room temperature
- 2 large eggs, room temperature
- 2 tablespoons red food coloring
- 1 teaspoon vanilla extract
- 1 teaspoon white vinegar
Instructions:
Preheat your oven to 350°F (175°C) and grease two 9-inch round cake pans. In a large mixing bowl, sift together the flour, sugar, baking soda, salt, and cocoa powder. In another bowl, combine the vegetable oil, buttermilk, eggs, red food coloring, vanilla extract, and vinegar. Mix the wet ingredients until well combined. Gradually add the dry ingredients to the wet mixture, stirring until just combined and smooth. Divide the batter evenly between the prepared pans and bake for 25 to 30 minutes, or until a toothpick inserted into the center comes out clean. Let the cakes cool in the pans for 10 minutes before transferring them to a wire rack to cool completely.
Extra Tips:
For the best flavor and texture, make sure all your ingredients are at room temperature before you start. This helps the batter to mix more evenly. When frosting your cake, allow it to cool completely to prevent the cream cheese frosting from melting. If you want to enhance the color, you can add more food coloring to the batter, but be cautious not to overpower the other flavors. Finally, this cake can be stored in an airtight container in the refrigerator for up to a week, and it often tastes even better the next day as the flavors meld together.
Cooking Steps
Now that we’ve got our ingredients ready, let’s get into the cooking steps! First, I always start by preheating my oven to guarantee it’s nice and hot when it’s time to bake. Then, I mix the dry ingredients thoroughly before adding the wet ones gradually—this way, I get that perfect red velvet texture we all love.
Step 1. Preheat Your Oven
To kick off our delicious red velvet cake adventure, let’s set the stage by preheating our oven to 350°F (175°C). This oven temperature is vital, as it guarantees our cake bakes evenly and rises beautifully. While the oven warms up, I like to take a moment to gather my ingredients and mentally prepare for the delightful process ahead. Preheating usually takes about 10-15 minutes, giving me the perfect opportunity to get in the zone. By the time I’m ready to mix everything together, my oven will be just right for the baking time we’ll need later. Trust me, starting with a properly preheated oven sets the foundation for a cake that’s not just good, but spectacular.
Step 2. Mix Dry Ingredients Thoroughly
Before diving into the mixing bowl, it’s essential to verify that all your dry ingredients are combined thoroughly. This step is important for achieving that luscious red velvet flavor and texture we all crave. I like to use innovative mixing techniques, like whisking together flour, cocoa powder, baking soda, and salt in a large bowl. This guarantees the ingredient ratios are spot on and evenly distributed. Don’t rush this process—take your time! I recommend sifting the dry ingredients to break up any clumps and enhance the overall mixing. As you mix, you’ll notice the inviting aroma starting to rise, sparking excitement for what’s to come. Trust me, a solid foundation of dry ingredients makes all the difference in your cake’s success!
Step 3. Add Wet Ingredients Gradually
Having mixed the dry ingredients to perfection, it’s time to bring in the wet ones. This is where the magic happens! I like to add my wet ingredients gradually, starting with the buttermilk and oil. Pour a little in, mix it up, and watch those dry bits transform. This gradual addition guarantees a silky batter, preventing any lumps from sneaking in. Next, I toss in the eggs and vanilla extract, blending them until everything’s well combined. It’s like a dance, coaxing the ingredients to unite harmoniously. This step not only flavors the cake but also gives it that signature moistness we crave. So, take your time, enjoy the process, and let that vibrant red hue shine through!
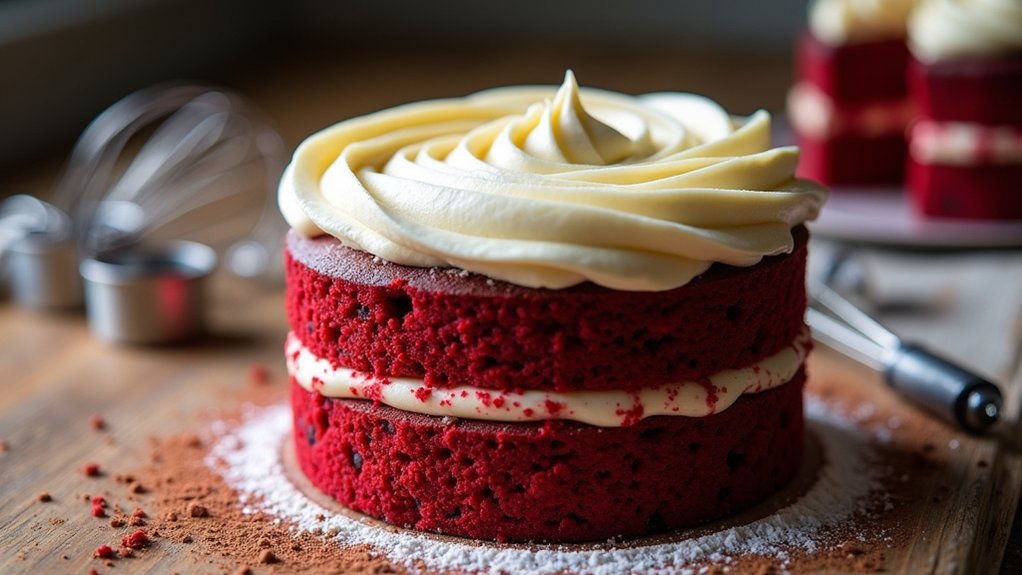
Step 4. Fold in Colorful Frosting
Once your cake layers have cooled, it’s time to bring some color and flair to your creation by folding in colorful frosting. I love using vibrant hues to create a stunning visual display that really pops! First, grab your favorite frosting techniques—like piping or spreading—then divide your frosting into separate bowls. Add food coloring to each bowl, mixing until you achieve that rich, eye-catching shade. Now, gently fold the colorful frosting into your cake, layering it between the cake layers for an artistic touch. For added flair, consider using colorful decorations like sprinkles or edible glitter on top. This way, your red velvet cake not only tastes divine but also looks like a masterpiece, ready to impress everyone at your gathering!
Step 5. Bake for 30 Minutes
Now it’s time to bake those beautifully layered cakes! Setting the timer for 30 minutes is an exciting moment in our red velvet journey. Here are some baking tips to guarantee your cakes turn out perfect:
- Preheat your oven to 350°F (175°C) for even baking.
- Use the toothpick test; insert it in the center—if it comes out clean, your cakes are ready!
- Rotate the pans halfway through baking to avoid uneven cooking.
- Experiment with cake variations by adding different extracts or flavors, like almond or coconut!
Once the timer goes off, I can’t wait to see those vibrant layers! Just remember, every bake is a chance to innovate and create something uniquely yours. Happy baking!
Nutritional Guide
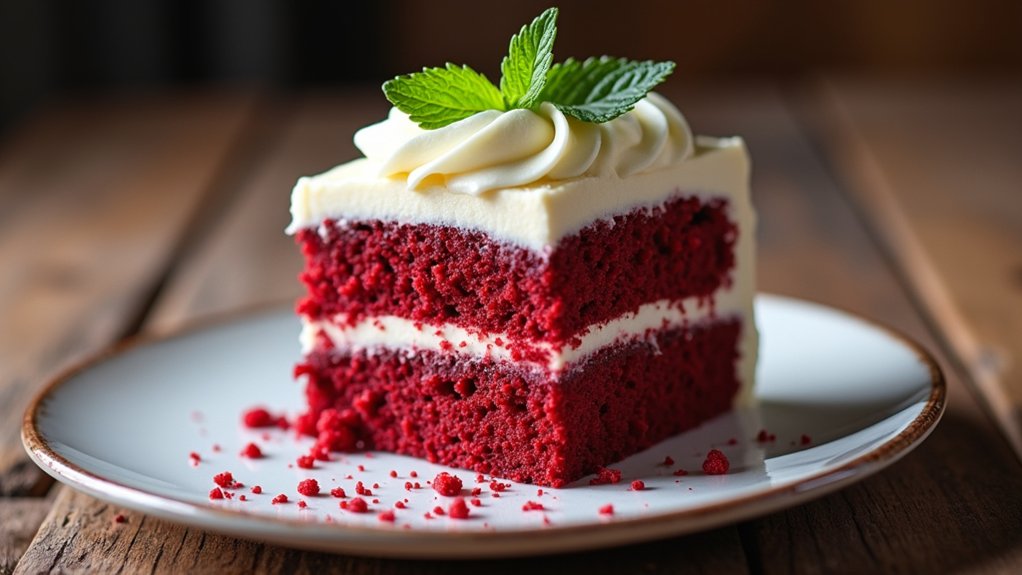
When it comes to enjoying a slice of red velvet cake, understanding its nutritional profile can help you make informed choices. This cake is not just a treat; it’s a blend of ingredients that offers some benefits. While it’s essential to be mindful of the caloric content, knowing what’s in it can enhance your baking experience.
Here’s a quick nutritional guide to get you started:
| Ingredient | Caloric Content (per slice) | Ingredient Benefits |
|---|---|---|
| Flour | 120 | Provides structure |
| Sugar | 90 | Adds sweetness and energy |
| Cocoa Powder | 10 | Rich in antioxidants |
| Buttermilk | 30 | Aids in digestion |
Now that you have the facts, you can enjoy your cake guilt-free!
Final Thoughts
As you wrap up your journey with this delightful red velvet cake recipe, it’s important to savor not just the flavors, but also the memories created in the kitchen. Each slice carries a story, and there are so many ways to innovate this classic treat. Here are a few baking tips and cake variations to inspire your next baking adventure:
Savor the flavors and memories of your red velvet cake journey, and explore innovative twists for your next baking adventure.
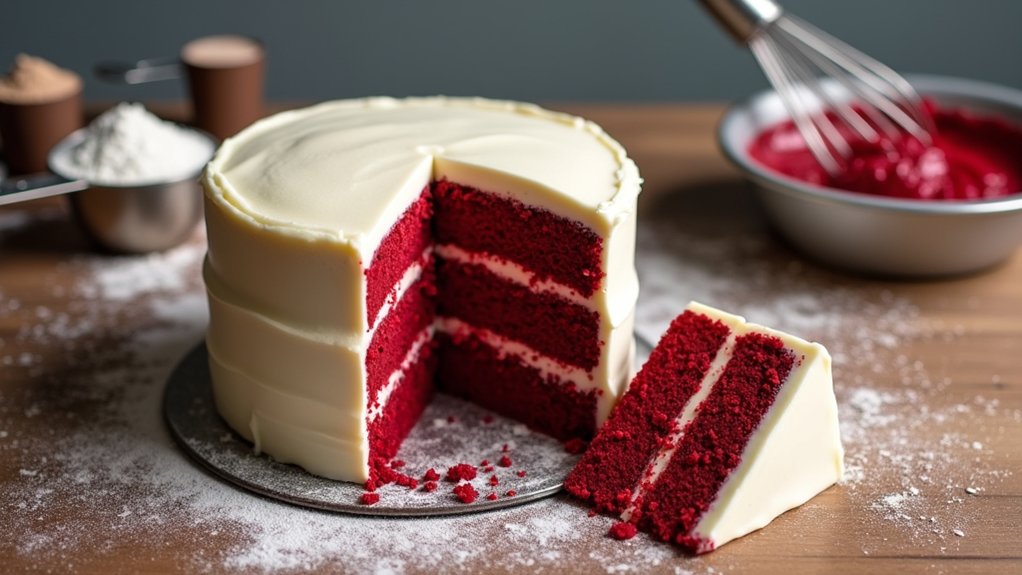
- Cream Cheese Swirl: Add a swirl of cream cheese filling for extra richness.
- Layer It Up: Bake multiple layers for an impressive presentation.
- Flavor Infusions: Experiment with different extracts like almond or vanilla.
- Decorative Toppings: Top with fresh berries or edible glitter for a festive touch.
Frequently Asked Questions
Can I Use a Cake Mix for Red Velvet Cake?
Absolutely, I use cake mix options for red velvet cake all the time! Just add a few baking tips like extra cocoa or buttermilk to elevate the flavor. It’s a fun twist on tradition!
What Can I Substitute for Buttermilk in the Recipe?
If buttermilk’s playing hard to get, I’ve got you! Try mixing almond milk with vinegar or lemon juice for a dairy-free option. Honestly, who knew innovation could taste this good? Let’s get baking, my friend!
How Should I Store Leftover Red Velvet Cake?
I store leftover cake by wrapping it tightly in plastic wrap, then placing it in an airtight container. This method guarantees ideal cake preservation, keeping it fresh and delicious for future indulgence. Enjoy your creative treats!
Can I Make Red Velvet Cupcakes Instead of a Cake?
Absolutely, I can whip up red velvet cupcakes instead! I love exploring cupcake variations, using unique baking techniques to elevate them. It’s like painting on a canvas—each cupcake becomes a delicious masterpiece waiting to be savored!
What Frosting Pairs Best With Red Velvet Cake?
I love pairing my red velvet cake with cream cheese frosting; it’s rich and tangy. However, a smooth buttercream can add a delightful twist. Experimenting with both can elevate your dessert to a new level!
Conclusion
Baking a red velvet cake is like crafting a warm hug—it brings people together and creates lasting memories. As you slice into that vibrant, velvety goodness, remember that it’s not just about the cake but the joy of sharing it with loved ones. I hope you’ve enjoyed this journey and feel inspired to whip up your own masterpiece. So grab your apron, get baking, and let the sweet memories unfold! Happy baking!