To make Pizza Hut-style dough at home, combine 2 ½ cups all-purpose flour, a teaspoon of sugar, a teaspoon of salt, and a packet of instant yeast. Mix in 1 cup of warm water and 2 tablespoons of olive oil. Knead the dough for about 8-10 minutes until it’s smooth, then let it rise for 1-1.5 hours. Shape it into balls, and you’re ready to bake. Trust me, you’ll love the final result, and I’ll share more tips soon!
Contents
History

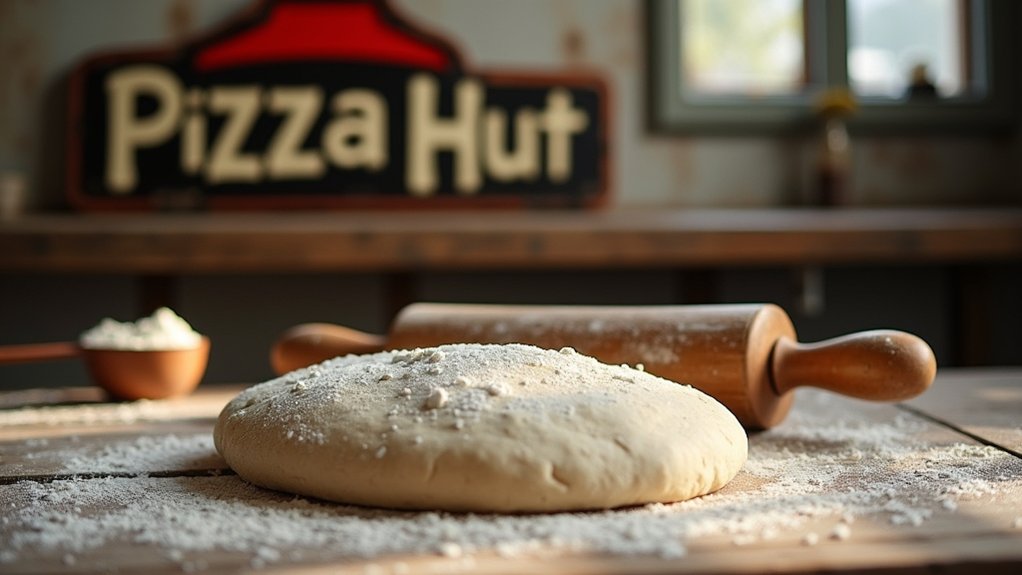
When I think about the history of Pizza Hut, it’s hard not to feel a warm wave of nostalgia wash over me. The journey of pizza origins is fascinating, revealing how simple ingredients transformed into a beloved dish worldwide. Back in 1958, two brothers opened the first Pizza Hut, paving the way for a culinary revolution. Their innovative approach to dough evolution changed everything; they experimented with thickness and flavor, creating options that catered to diverse tastes. Each bite tells a story of creativity and a passion for pizza that continues to inspire chefs today. As we explore Pizza Hut’s history, I can’t help but feel excited about the endless possibilities in our kitchens, waiting to be discovered and shared!
Recipe
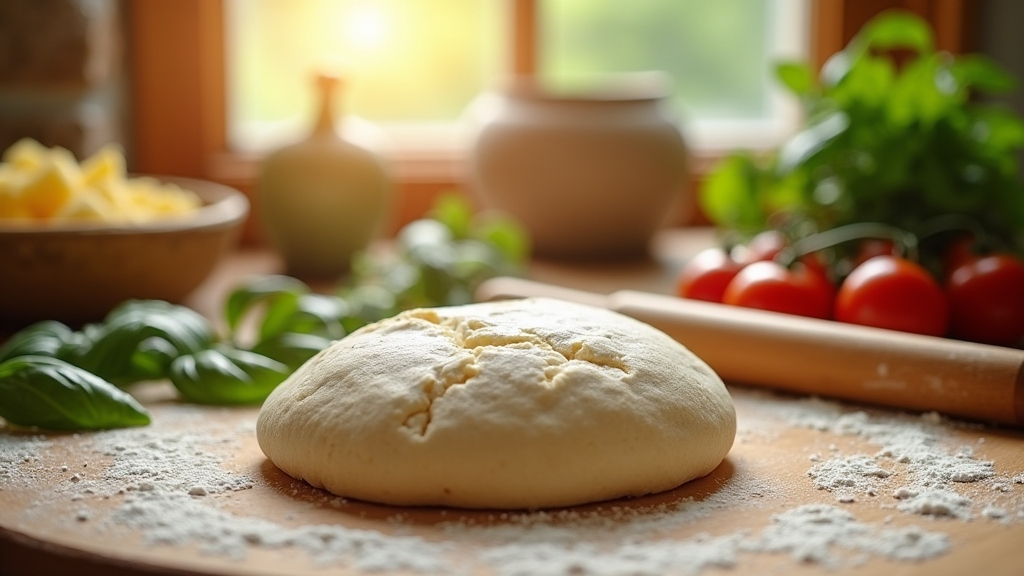
Making Pizza Hut style dough at home can be a fun and rewarding experience. This recipe will guide you through the process of creating a soft, chewy pizza crust that will serve as the perfect base for your favorite toppings. With just a few simple ingredients, you can replicate that iconic taste and texture right in your own kitchen.
Before you get started, it’s essential to recognize that the key to a great pizza dough lies in the kneading and rising process. Taking the time to let your dough rise properly will yield a crust that is light and airy. Once you master this recipe, feel free to experiment with different toppings and sauces to create your ideal pizza night at home.
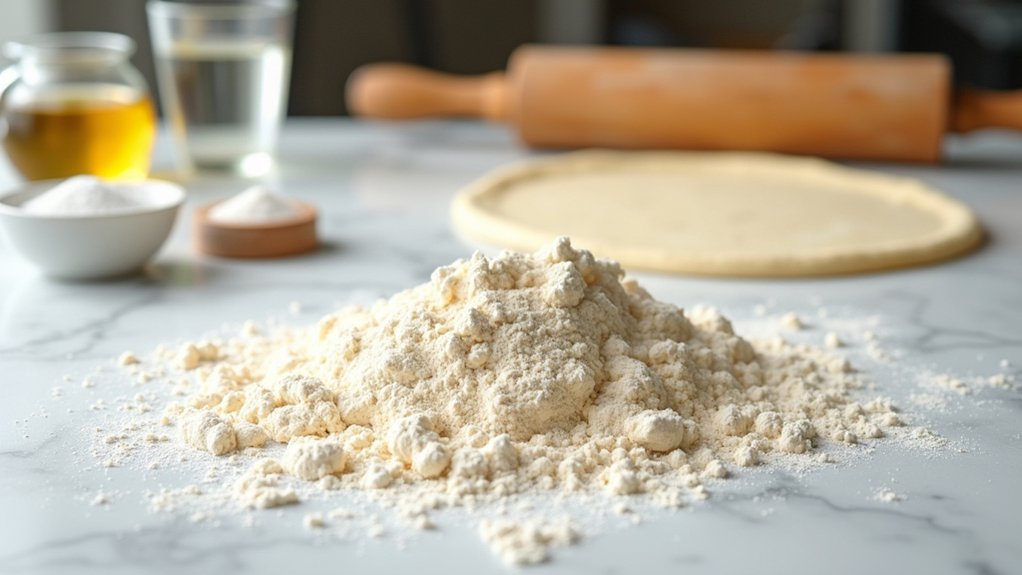
Ingredients:
- 2 ½ cups all-purpose flour
- 1 teaspoon sugar
- 1 teaspoon salt
- 1 packet (2 ¼ teaspoons) instant yeast
- 1 cup warm water (110°F)
- 2 tablespoons olive oil
- Cornmeal (for dusting)
Instructions:
In a large mixing bowl, combine the warm water, sugar, and yeast. Stir gently and let it sit for about 5 minutes until it becomes frothy. Once the yeast is activated, add the olive oil, salt, and flour gradually, mixing until a dough begins to form. Transfer the dough to a floured surface and knead for about 8-10 minutes until it’s smooth and elastic. Place the dough in a lightly greased bowl, cover it with a damp cloth, and let it rise in a warm area for about 1-1.5 hours, or until it has doubled in size. Once risen, punch down the dough, then roll it out to fit your pizza pan, dusting with cornmeal to prevent sticking.
Extra Tips:
For an even better flavor, consider letting the dough rise overnight in the refrigerator; this slow fermentation process can enhance the taste considerably. Additionally, if you prefer a crispier crust, bake your pizza on a preheated pizza stone or baking sheet. Don’t forget to preheat your oven to the highest setting for a few minutes before baking your pizza to achieve that perfect crispy texture. Enjoy your homemade pizza experience!
Cooking Steps
Now that we have our ingredients ready, let’s jump into the cooking steps to make that perfect Pizza Hut dough. First, we’ll activate our yeast mixture and knead the dough thoroughly, which is essential for that delightful texture. After letting it rise properly, we’ll shape it into balls and preheat our oven to a sizzling 475°F, gearing up for some delicious pizza magic!
Step 1. Activate Yeast Mixture
To get the perfect Pizza Hut-style dough, activating the yeast mixture is an essential step that can’t be overlooked. First, I measure about a tablespoon of yeast and mix it with warm water and a pinch of sugar. This combination encourages yeast activation, waking up those tiny organisms to start their magic. I let the mixture sit for about five to ten minutes until it’s frothy and bubbly—this is a sign that fermentation is underway. Watching that transformation is almost mesmerizing, as it signals that my dough will rise beautifully. Once it’s ready, I know I’m set for a fantastic pizza base. Trust me, taking the time to activate the yeast will elevate your homemade pizza experience!
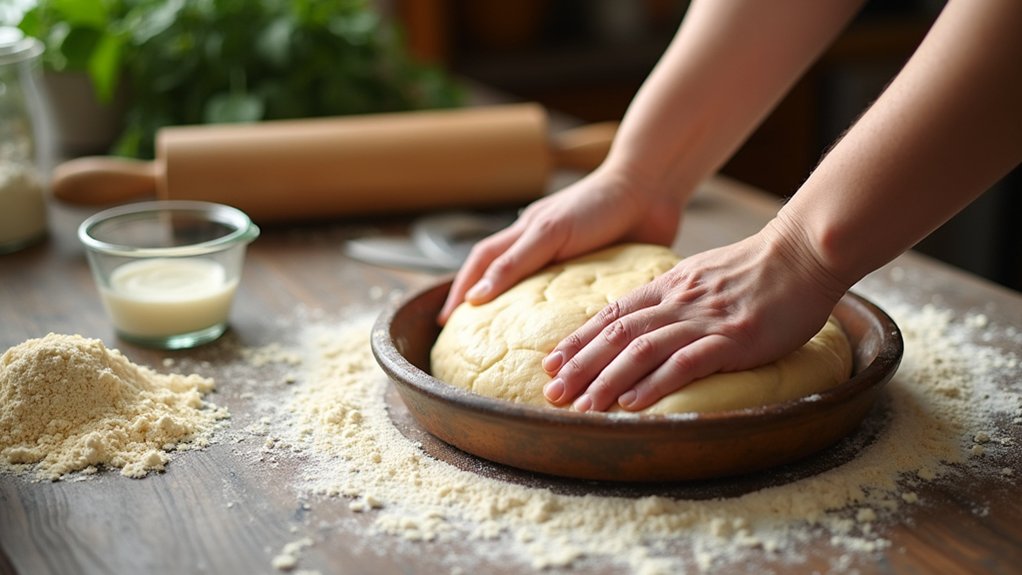
Step 2. Knead the Dough Thoroughly
With the yeast mixture fully activated and bubbling, it’s time to get your hands a little messy and knead the dough thoroughly. I love this part! Start by transferring the mixture to a floured surface, and using your palms, push the dough away from you, fold it back, and give it a good press. You’ll want to use various kneading techniques, like turning the dough and stretching it, until you achieve that perfect dough consistency—smooth and slightly tacky, but not sticky. This can take about 8-10 minutes, so don’t rush. Trust me; the effort pays off! As you knead, you’ll feel the dough transform, growing stronger and more elastic, ready to rise and become something amazing.
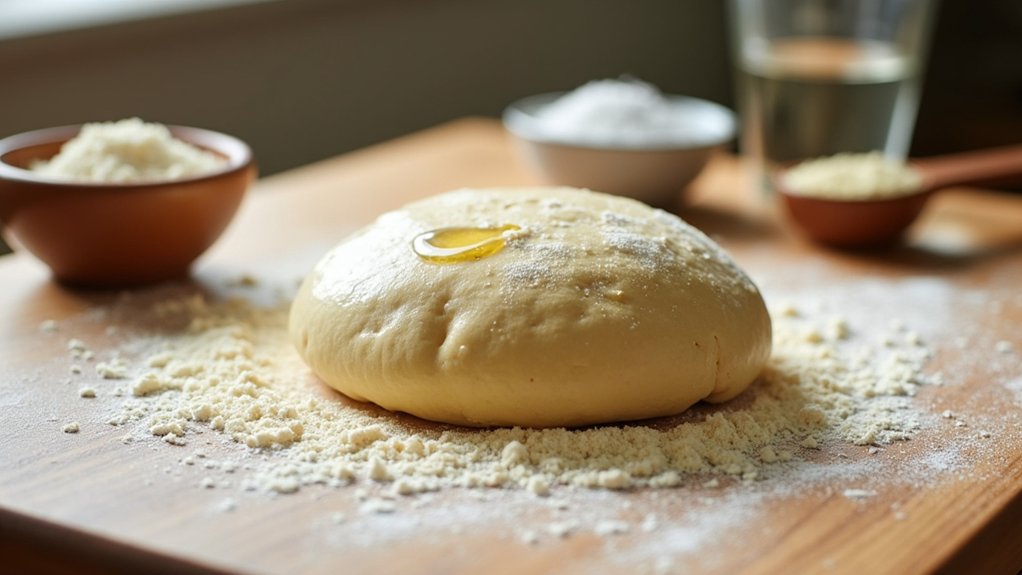
Step 3. Let Dough Rise Properly
As the dough rests in a warm, draft-free spot, it is essential to let it rise properly to achieve that delightful fluffiness we all love in a good pizza crust. I usually aim for a dough temperature around 75°F to 80°F, which helps activate the yeast effectively. During this rise time, typically one to two hours, I like to cover the bowl with a damp cloth to keep it moist. As the dough expands, I can almost feel the anticipation building for that perfect pizza night! Remember, patience is key here; rushing the process can lead to a dense crust. Once you see your dough double in size, you’ll know it’s ready for the next exciting step in our pizza-making adventure!
Step 4. Shape the Dough Into Balls
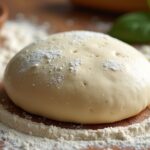
Once your dough has risen beautifully, it’s time to shape it into individual balls. This step is essential for achieving that perfect dough texture, so let’s get started! I like to take my dough and gently punch it down to release any air bubbles. Then, I divide it into equal portions, about the size of a baseball. As I roll each piece between my palms, I focus on creating a smooth surface, ensuring that the ball formation is tight and uniform. This technique helps the dough rise evenly during baking, resulting in that delightful, fluffy crust we all love. Remember, the more care you take here, the better your pizza will taste! So, let’s embrace this fun, hands-on process!
Step 5. Preheat Oven to 475°F
Preheating your oven to a sizzling 475°F is an essential step in making the perfect pizza. This oven temperature guarantees that the crust gets that delightful golden-brown finish we all crave. While your dough is rising, go ahead and turn on the oven—this way, it’ll be ready when you are. Here’s a baking tip: place your pizza stone or baking sheet inside while the oven heats up. This helps to create a crispy base, elevating your pizza game! I recommend giving your oven at least 30 minutes to reach that ideal heat. Trust me, this extra step makes all the difference in texture and flavor. So, let’s get that oven roaring and prepare for pizza perfection!
Nutritional Guide
When it comes to making your own Pizza Hut-style dough, understanding the nutritional aspects can really enhance your cooking experience. Knowing the caloric content and ingredient benefits helps me make informed choices, and it can guide you too. Here’s a quick look at what you’re working with:
| Ingredient | Caloric Content | Benefits |
|---|---|---|
| All-purpose flour | 455 calories/100g | Provides structure and texture |
| Yeast | 105 calories/100g | Adds flavor and aids fermentation |
| Olive oil | 884 calories/100g | Healthy fats and moisture |
Final Thoughts

As you wrap up your journey into creating your own Pizza Hut-style dough, it’s hard not to feel a sense of accomplishment and excitement. You’ve experimented with flavors, textures, and crust variations, tailoring each batch to your unique pizza preferences. Whether you love a thick, chewy crust or a thin, crispy base, this recipe empowers you to innovate. Remember, the joy of cooking lies in personalization; don’t hesitate to add your favorite herbs or spices to make it your own. I can’t wait for you to share this delicious creation with family and friends. So, roll up your sleeves, release your culinary creativity, and enjoy every bite of your homemade masterpiece. Happy pizza-making!
Frequently Asked Questions
Can I Use Gluten-Free Flour for the Pizza Hut Dough?
Absolutely, I’ve experimented with gluten-free substitutes in my pizza dough. While the dough texture might differ, it still turns out delicious. Just be ready for a unique twist on your favorite pizza experience!
How Long Can I Store Leftover Dough?
I usually store leftover dough in the fridge for up to three days or freeze it for up to three months. For best results, wrap it tightly and label it. Trust me, those storage tips work wonders!
Is There a Vegan Alternative for Pizza Hut Dough?
I’ve found that using vegan substitutes like almond flour or whole wheat flour with water, yeast, and olive oil creates a fantastic dough. Experimenting with these ingredients brings delicious innovation to your pizza creations!
Can I Freeze the Dough for Later Use?
Yes, you can freeze the dough for later use! I always wrap it tightly to prevent freezer burn, and it lasts up to three months. Thaw in the fridge overnight for best results.
What Types of Toppings Pair Well With This Dough?
When crafting my pizza masterpiece, I love experimenting with bold cheese options like feta and goat cheese, alongside vibrant veggie combinations such as roasted red peppers and kale. It’s a deliciously innovative twist every time!
Conclusion
Making Pizza Hut-style dough at home is a fun and rewarding experience that brings a taste of nostalgia right into your kitchen. I remember the first time I tried this recipe for a family pizza night; the smell of fresh dough rising filled the house with warmth and excitement. So, gather your friends or family, roll up your sleeves, and enjoy creating delicious pizzas together. Trust me, there’s nothing quite like sharing a homemade pizza fresh from the oven!