Making a great pizza crust is easier than you might think! I start with simple ingredients: flour, yeast, warm water, and olive oil. After mixing, I knead the dough until it’s stretchy and let it rise in a warm spot. Once it’s doubled in size, I shape it into a round, then add my favorite toppings. By experimenting with different ingredients, I can create a unique flavor. I can’t wait to share more tips to perfect this delicious base!
Contents
History
When I think about the history of pizza crust, it’s hard not to feel a sense of nostalgia, as it connects us to centuries of culinary tradition. Pizza crust has evolved from ancient recipes, where simple ingredients like flour and water came together to create a base for toppings. These early versions held immense cultural significance, serving as a canvas for flavors and stories unique to each region. As I explore this rich history, I’m inspired by how people have embraced innovation, transforming pizza crust into a platform for creativity. Whether it’s a traditional Neapolitan style or a gluten-free alternative, each bite reflects generations of culinary artistry, inviting us to celebrate the past while experimenting with new ideas in our own kitchens.
Recipe
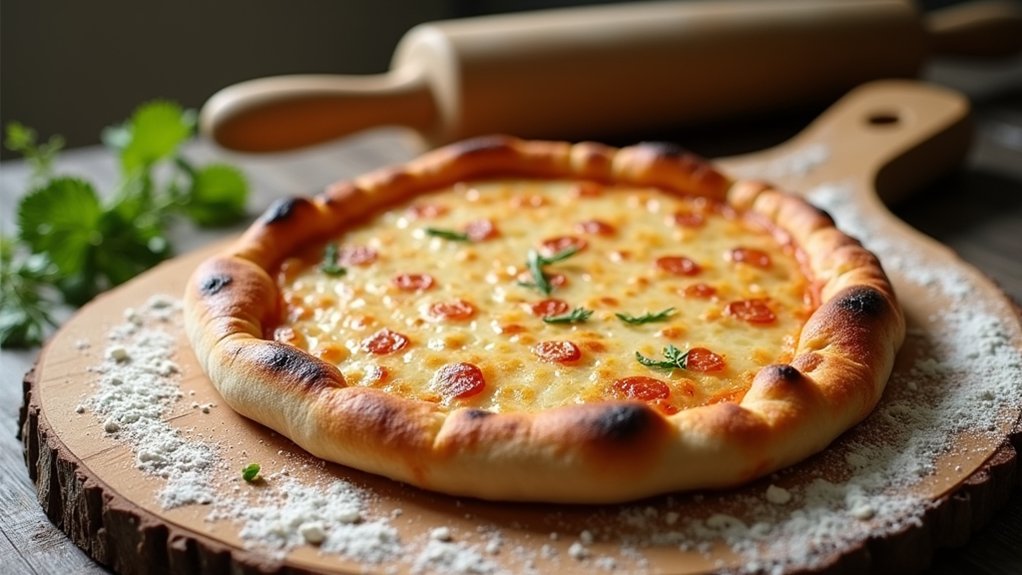
Creating the perfect pizza crust at home can be a delightful experience that transforms your pizza nights. The crust serves as the foundation for your favorite toppings, and getting it just right can take your homemade pizza from good to great. With just a few simple ingredients, you can achieve a deliciously crispy and chewy crust that will impress family and friends alike.
Transform your pizza nights with a homemade crust that’s crispy, chewy, and sure to impress!
This pizza crust recipe is straightforward and requires minimal effort, making it perfect for beginners or seasoned cooks. The key to a great crust is allowing the dough to rise properly, which enhances its texture and flavor. Once you master this recipe, feel free to experiment with different toppings and sauces to create your ideal pizza.
Ingredients:
- 2 ¼ teaspoons active dry yeast
- 1 ½ cups warm water (110°F)
- 3 ½ to 4 cups all-purpose flour
- 2 tablespoons olive oil
- 1 teaspoon sugar
- 1 teaspoon salt
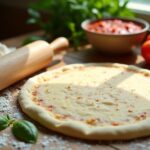
To make the pizza crust, start by dissolving the yeast and sugar in warm water and let it sit for about 5 minutes until it becomes frothy. In a large mixing bowl, combine 3 ½ cups of flour and salt. Gradually add the yeast mixture and olive oil to the flour, mixing until a dough begins to form. If the dough is too sticky, add additional flour as needed. Knead the dough on a floured surface for about 5-7 minutes until smooth and elastic. Place the dough in a lightly oiled bowl, cover it with a damp cloth, and let it rise in a warm place for about 1 hour or until it doubles in size. Once risen, punch down the dough and roll it out on a floured surface to your desired thickness.
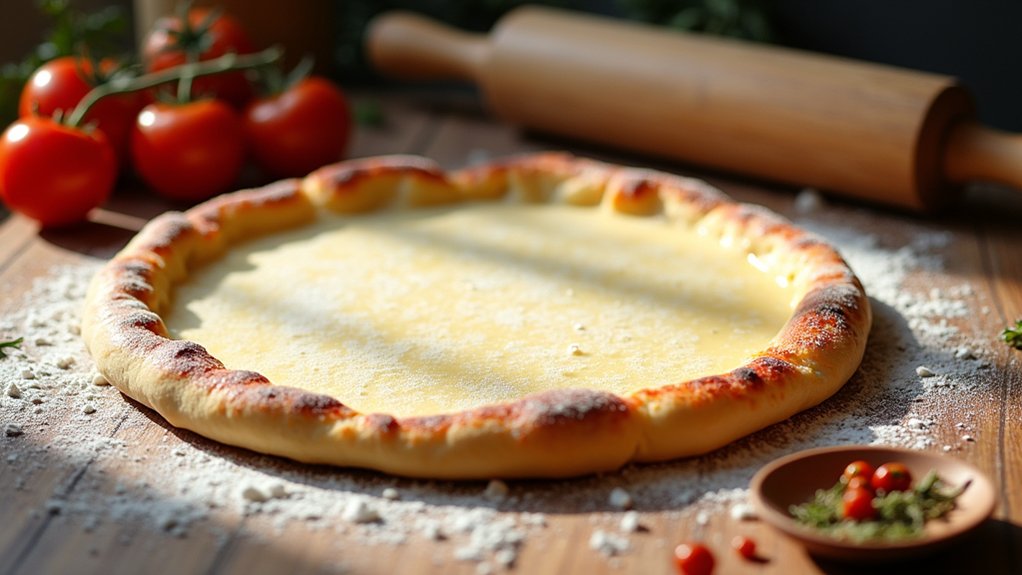
For best results, preheat your oven to its highest setting, usually around 475°F (245°C), and if you have a pizza stone, place it in the oven to heat up as well. Bake the pizza for about 10-15 minutes or until the crust is golden brown and cooked through. If you like a crispier crust, you can bake it a few extra minutes. Remember to keep an eye on it to prevent burning.
When making pizza crust, one helpful tip is to let the dough rest after kneading; this relaxes the gluten and makes it easier to roll out. Additionally, you can experiment with different types of flour, such as bread flour, for a chewier texture. If you want to infuse more flavor into your crust, consider adding herbs, garlic powder, or even grated cheese to the dough. Finally, don’t forget to pre-bake your crust slightly before adding toppings if you prefer a crisper base!
Cooking Steps

Now that we have our ingredients ready, let’s jump into the cooking steps for our pizza crust. First, I’ll activate the yeast mixture and knead the dough thoroughly, which is essential for that perfect texture. Once the dough rises properly, we’ll shape it into a circle and get ready to add our favorite toppings!
Step 1. Activate Yeast Mixture
To kick off the process of making delicious pizza crust, I like to start by activating the yeast mixture, which is an essential step that brings your dough to life. First, I combine warm water with sugar, stirring until it dissolves. Then, I sprinkle the yeast over the surface and let it sit for about 5 to 10 minutes. This is where the magic happens—yeast activation! You’ll know it’s ready when it bubbles and froths, signaling that it’s alive and kicking. Using proper proofing techniques guarantees your dough rises beautifully, leading to that perfect crust we all crave. Trust me, this step sets the stage for a delightful pizza experience that’ll have everyone coming back for more!
Step 2. Knead Dough Thoroughly
Once the yeast mixture is all bubbly and frothy, it’s time to knead the dough thoroughly, which is where the fun really begins! Kneading is essential for developing dough elasticity, ensuring your crust turns out perfectly chewy and delicious. Here’s how I do it:
- Flour Your Surface: Lightly dust your countertop with flour to prevent sticking.
- Push and Fold: Using the palm of your hand, push the dough away from you, then fold it over.
- Rotate: Give the dough a quarter turn and repeat the push and fold technique.
- Knead for 8-10 Minutes: Keep going until the dough feels smooth and elastic.
Don’t rush this step! The more you knead, the better your pizza crust will be. Enjoy the process!
Step 3. Let Dough Rise Properly
After kneading the dough, the next step is letting it rise properly, which is where the magic happens. This process transforms the dough’s consistency, making it light and airy. I like to place my dough in a warm, draft-free area, ideally around 75-80°F, to encourage yeast activity. Covering the bowl with a damp cloth helps keep the moisture in, ensuring a perfect rise. You’ll want to let it rise until it doubles in size, which usually takes about an hour. If you’re feeling adventurous, try experimenting with different rising temperatures—lower temps can develop deeper flavors! Remember, patience is key. Once it’s risen beautifully, you’ll be one step closer to that perfect pizza crust!
Step 4. Shape Dough Into Circle
Shaping the dough into a circle is where the fun really begins! I love this part of the pizza-making process, as it allows for some creativity and personalization. Here’s how I do it using simple dough shaping techniques:
- Flour your surface: Lightly dust your countertop to prevent sticking.
- Gently press the dough: Start from the center, pushing outward to create an even round shape.
- Rotate and stretch: Turn the dough as you stretch it, ensuring it stays circular and evenly thick.
- Use your hands: If you’re feeling bold, try tossing the dough into the air for that classic pizzeria flair!
With these pizza techniques, you’ll create a perfect base that’s ready for those delicious toppings ahead!
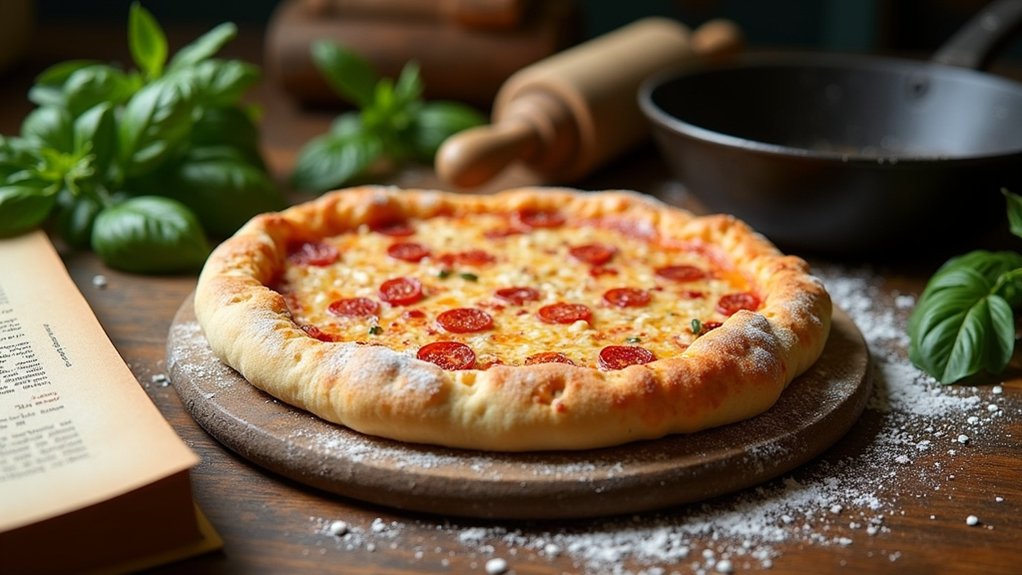
Step 5. Add Toppings Generously
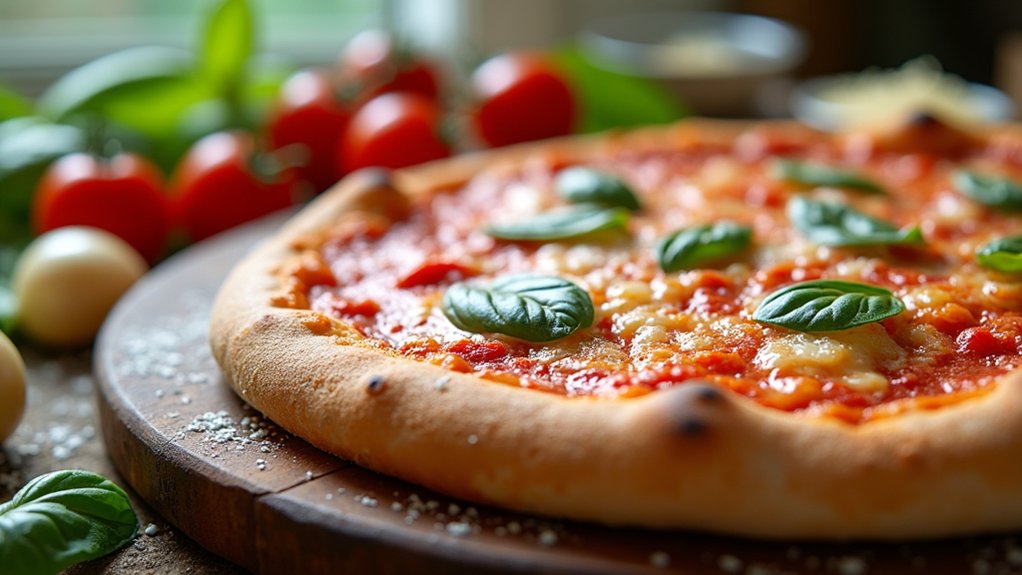
Now that you’ve shaped your dough into a perfect circle, it’s time to release your creativity by adding toppings generously! I always start with a layer of marinara or pesto as my base, then I explore exciting topping combinations. Think outside the box—try roasted vegetables, spicy sausage, or even fresh fruits like figs! Just remember, achieving flavor balance is essential; mixing savory and sweet can create a delightful harmony. Don’t be shy—pile on your favorites, but be mindful not to overload it. A well-balanced pizza allows each ingredient to shine through. As I stand back to admire my masterpiece, I can’t help but feel a sense of joy, knowing I’ll soon share this delicious creation with friends and family.
Nutritional Guide
When you’re whipping up a delicious pizza crust, it’s not just about the taste; the nutritional content plays a big role too. Understanding the caloric content and ingredient benefits can elevate your pizza experience. Here’s a quick breakdown:
| Ingredient | Caloric Content (per serving) |
|---|---|
| Whole Wheat Flour | 100 |
| Olive Oil | 120 |
| Yeast | 20 |
Using whole wheat flour not only adds fiber but also enhances the crust’s texture. Olive oil provides healthy fats that keep the crust moist. By focusing on these ingredient benefits, you can create a pizza crust that’s not only tasty but also nutritious. So, let’s get creative and innovative with our ingredients!
Final Thoughts
Creating a pizza crust that’s both delicious and nutritious is a rewarding experience, and I hope you feel inspired to experiment with your own variations. Embrace your personal preferences and don’t hesitate to innovate! Here are a few ideas for future variations:
Creating a nutritious and tasty pizza crust is fulfilling—embrace your creativity and try new variations!
- Herb-Infused Dough: Add garlic powder, oregano, or basil for a burst of flavor.
- Alternative Flours: Experiment with almond flour or whole wheat for different textures.
- Stuffed Crust: Fill the edges with cheese or veggies for a fun surprise.
- Sweet Crust: Mix in a hint of honey or cinnamon for dessert-style pizzas.
Frequently Asked Questions
Can I Use Gluten-Free Flour for the Pizza Crust?
Absolutely, I’ve tried gluten-free options, and they work well! Just remember, different flour types can change the texture, so experiment with blends for the best results. You’ll find a perfect combination that suits your taste!
How Long Can I Store Leftover Pizza Crust?
I usually store leftover crust in an airtight container for up to three days. To keep its freshness, I sometimes freeze it. Just reheat when I’m ready for a delicious pizza night!
What Toppings Pair Well With Different Crust Styles?
I believe crust styles are like canvases, inviting creative topping combinations. A thin crust sings with fresh veggies, while a deep dish cradles rich meats. Innovate boldly, and let your palate paint a masterpiece!
Is It Possible to Freeze the Pizza Dough?
Absolutely, I’ve frozen pizza dough before! Using proper freezing techniques, I wrap it tightly in plastic and store it in a labeled bag. This way, I make certain my dough stays fresh for future culinary adventures.
How Do I Prevent My Crust From Getting Soggy?
To prevent a soggy crust while pizza baking, I always pre-bake the crust for a few minutes and use less sauce. It’s a simple trick that guarantees a crispy, delicious base for my toppings.
Conclusion
So, there you have it—the secrets to pizza crust greatness! Who knew that with just a little flour and some elbow grease, we could whip up a crust that rivals the fancy pizzeria down the street? Next time you’ve got that craving, remember: you’re just a few ingredients away from culinary glory. Now, go ahead and impress your friends! Just don’t let them know it took you two attempts to get that perfect dough. Happy baking!