If you’re looking to make a Jello cake, start with a box of yellow or vanilla cake mix, and prepare it as directed. Then, dissolve a box of flavored Jello in boiling water, mix in cold water, and once everything’s cooled, poke holes in the baked cake and pour the Jello over it. Let it set in the fridge for a yummy treat. Trust me, it’s a fun and colorful dessert that’ll brighten any gathering, and there’s even more to explore ahead!
Contents
History
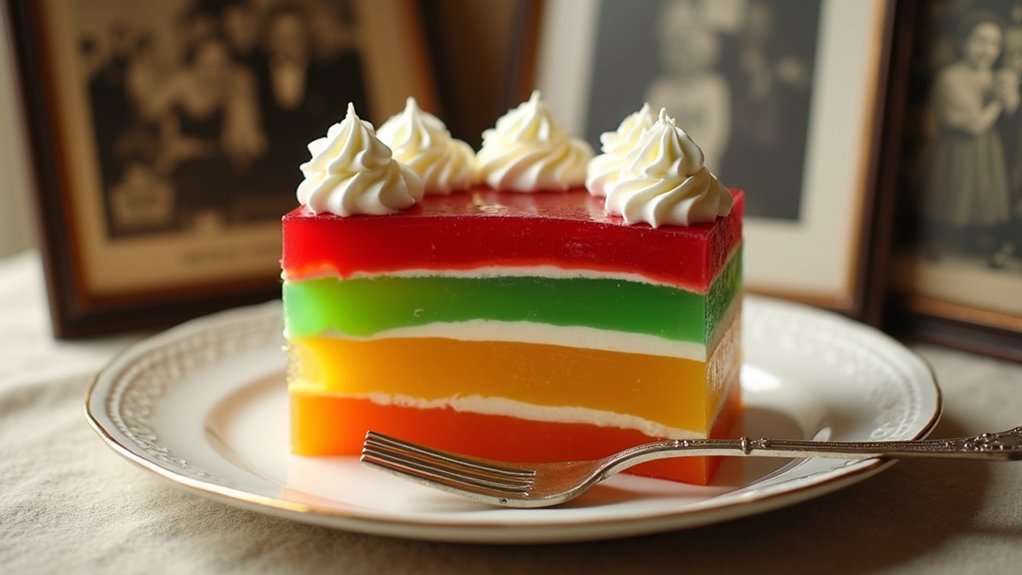
When I think about Jello cake, I can’t help but feel a wave of nostalgia wash over me, as it’s a dessert that’s been delighting families for decades. Its origins trace back to the late 19th century when Jello was first introduced as a gelatin dessert. This simple creation sparked a dessert evolution, inspiring countless variations that have graced our tables. Over the years, Jello cake has transformed from a mere novelty into a beloved staple, especially at birthdays and gatherings. The vibrant colors and playful textures invite creativity, making it a canvas for bakers like us. I love how this dessert combines tradition with innovation, allowing us to experiment while honoring its rich history.
Recipe
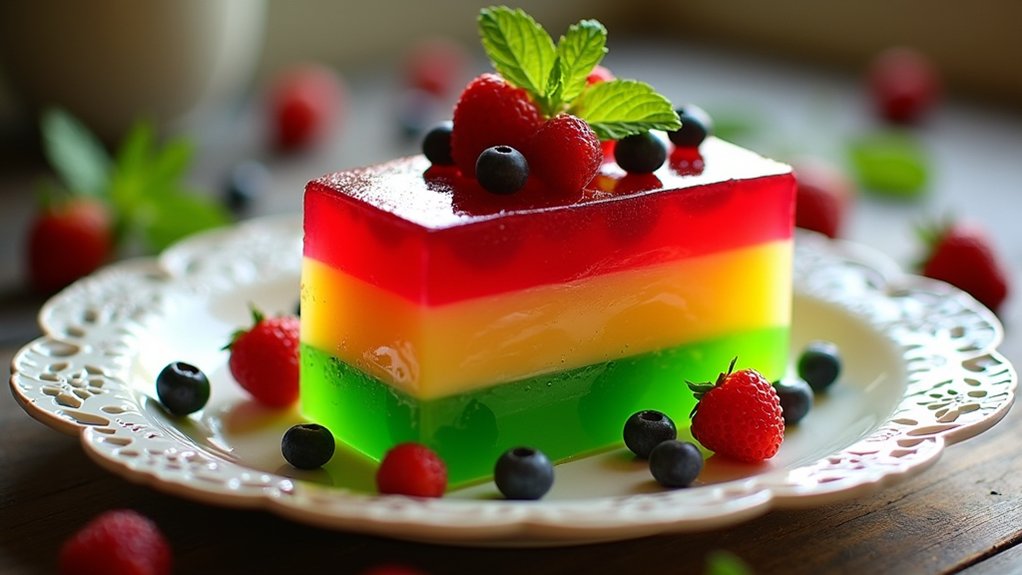
Jello cake is a delightful dessert that combines the light, fluffy texture of cake with the vibrant colors and flavors of Jello. This visually appealing treat is perfect for parties, gatherings, or simply as a sweet indulgence at home. Its versatility allows for various flavor combinations, making it a favorite for both kids and adults. Whether you choose a classic cherry or go for a tropical twist with pineapple, jello cake promises to bring a burst of joy to your taste buds.
Making Jello cake is a straightforward process that requires minimal ingredients and time, making it an ideal choice for bakers of all skill levels. The cake base is typically a simple vanilla or yellow cake mix, which serves as a canvas for the jello-infused layers. Once baked and cooled, the cake is soaked with flavored Jello, allowing it to absorb the sweetness and color, resulting in a moist and flavorful dessert. Topped with whipped cream or frosting, this cake is sure to impress everyone at the table.
Ingredients:
- 1 box of yellow or vanilla cake mix
- Ingredients required for cake mix (usually eggs, water, and oil)
- 1 box of flavored Jello (your choice of flavor)
- 2 cups boiling water
- 1 cup cold water
- Whipped cream or frosting for topping (optional)
To prepare the Jello cake, start by preheating your oven according to the instructions on the cake mix box. Grease and flour a 9×13 inch baking pan. Prepare the cake batter according to the package instructions, pour it into the prepared pan, and bake for the time specified on the box. Once baked, allow the cake to cool completely in the pan. In a separate bowl, dissolve the Jello powder in 2 cups of boiling water, stirring well until fully dissolved. Then, add in 1 cup of cold water. Once the cake has cooled, poke holes throughout the surface using a fork or skewer, and pour the Jello mixture evenly over the cake, allowing it to seep into the holes. Refrigerate the cake for at least 4 hours or until the Jello is set. Finally, top with whipped cream or frosting before serving.
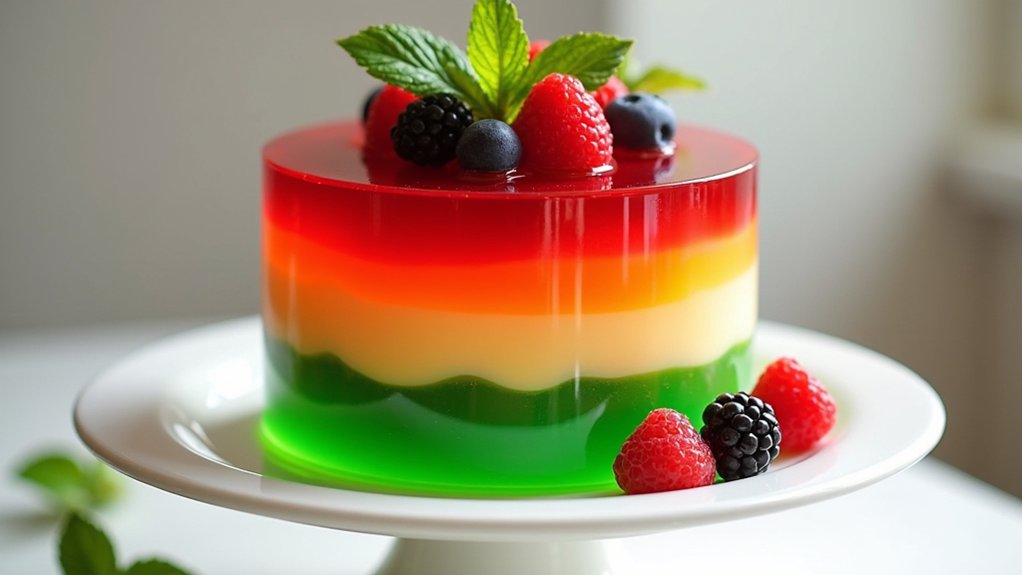
When making Jello cake, remember that the flavor of the Jello will greatly influence the final taste, so choose a flavor you enjoy. It’s also essential to let the cake cool completely before pouring the Jello mixture to prevent it from melting. If you’re feeling creative, consider adding fresh fruit or sprinkles on top of the whipped cream for an extra touch. Ultimately, for a unique twist, try using different layers of Jello with varying flavors and colors to create a visually stunning cake. Enjoy your delicious creation!
Cooking Steps
Now that we’ve got our ingredients ready, let’s jump into the cooking steps. First, I’ll show you how to prepare the cake base, and then we’ll chill our jello mixture to get that perfect texture. Trust me, following these steps will make your jello cake a delightful treat that everyone will love!
Step 1. Prepare the Cake Base
Creating the cake base is the foundation of your delightful Jello cake, and trust me, it’s easier than it sounds! First, gather your cake ingredients: flour, sugar, eggs, butter, and baking powder. I start by mixing the dry ingredients in one bowl while creaming the butter and sugar in another. Then, I add the eggs one at a time, ensuring everything blends smoothly. Gradually, I combine both mixtures, using simple baking techniques like folding to keep the batter light and airy. Pour it into a greased pan and bake at 350°F for about 25-30 minutes. The aroma wafting through your kitchen will make your mouth water! Once it’s golden brown, let it cool before moving to the next step.
Step 2. Chill the Jello Mixture
Once your cake base has cooled, it’s time to whip up that vibrant Jello mixture that’ll bring a burst of flavor and color to your dessert. Start by dissolving the Jello powder in boiling water, stirring until it’s completely mixed. Then, add cold water to the mixture and give it a gentle stir. Here’s a chilling tip: pour the Jello into a shallow dish to speed up the cooling process. This way, you’ll achieve that perfect Jello texture—smooth and ready for your cake! I like to pop it in the fridge for about 30 minutes, keeping an eye on it. Once it thickens but isn’t set, you’re all set for the next exciting step of this delicious journey!
Step 3. Add Jello to Cake
As you prepare to add the Jello to your cake, imagine the delightful surprise it’ll bring to every slice. This step is where the magic happens! Depending on your chosen cake types, the Jello flavors can create vibrant layers that burst with flavor. Here’s how I do it:
- Choose Your Jello Flavor: Pick a flavor that complements your cake, like strawberry with vanilla or lime with lemon.
- Combine the Mixtures: Gently fold the chilled Jello into your cake batter, ensuring even distribution for that colorful surprise.
- Pour and Bake: Once mixed, pour the batter into your pan and bake according to your cake recipe, letting those flavors meld beautifully.
Trust me, this twist will add an unforgettable zing to your dessert!
Step 4. Refrigerate Until Set
After mixing in that vibrant Jello, it’s time to set the stage for the next step: refrigerating your cake until it’s beautifully firm. I like to use effective refrigeration techniques to guarantee the Jello consistency is just right. Place your cake in the refrigerator and let it chill for at least four hours, or even overnight if you can wait! This allows the Jello to fully set, creating that delightful jiggle we all love. Keep an eye on the temperature; a consistent coolness helps the flavors meld together beautifully. Once it’s firm, you’ll be rewarded with a slice that’s not only visually stunning but also a treat for the taste buds. Trust me, it’s worth the wait!
Step 5. Serve With Whipped Cream
Since the cake is perfectly set, it’s time to elevate your Jello cake experience by serving it with a generous dollop of whipped cream. Trust me, this simple addition makes all the difference! Here are some innovative serving suggestions to inspire you:
- Flavor Fusion: Try mixing in extracts like vanilla, almond, or even a hint of mint to create unique whipped cream flavors.
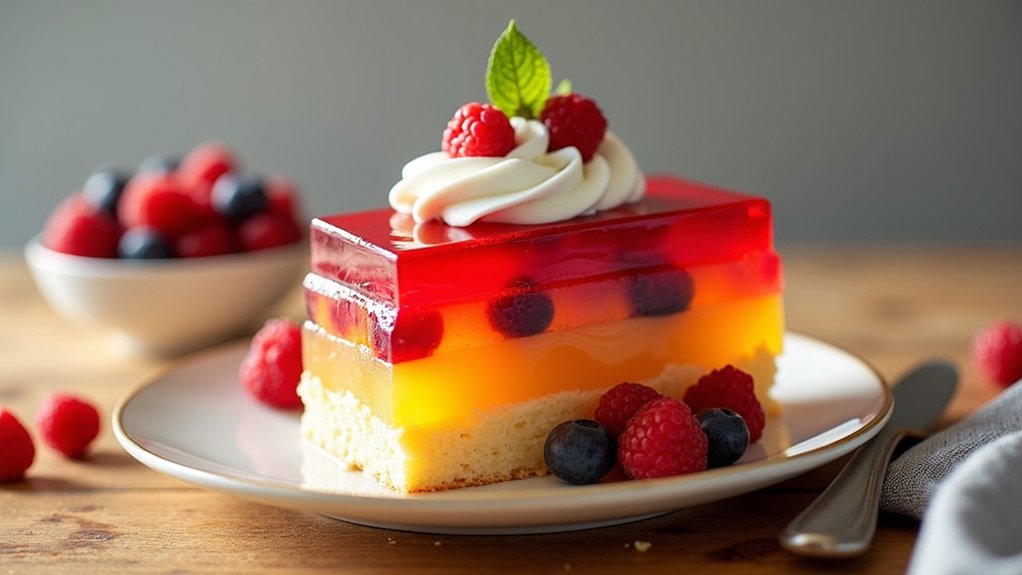
- Fruit Toppings: Top your whipped cream with fresh berries or sliced bananas for an extra burst of color and taste.
- Garnish Galore: Sprinkle some crushed nuts or a drizzle of chocolate syrup over the whipped cream for a decadent finish.
With these ideas, your Jello cake will not only look stunning but taste amazing too! Enjoy every bite!
Nutritional Guide
While I love indulging in a slice of Jello cake, it’s just as important to understand what’s going into it. The caloric content can vary based on the ingredients, but knowing the benefits can help you make informed choices. Here’s a quick look at some key components:
| Ingredient | Caloric Content | Ingredient Benefits |
|---|---|---|
| Jello (1 serving) | 80 calories | Low in calories, fun flavors |
| Cake mix (1 slice) | 150 calories | Provides structure and texture |
| Whipped cream (1 tbsp) | 52 calories | Adds creaminess and richness |
Final Thoughts
As I reflect on making Jello cake, I can’t help but feel a wave of nostalgia wash over me. This delightful dessert offers endless possibilities, and it’s so much fun to experiment with different cake variations and flavor combinations. Here are a few tips to keep in mind for your next creation:
Reflecting on Jello cake brings nostalgia, showcasing endless possibilities for delightful flavor combinations and fun kitchen experiments.
- Mix flavors: Combine cherry and lime Jello for a rejuvenating twist.
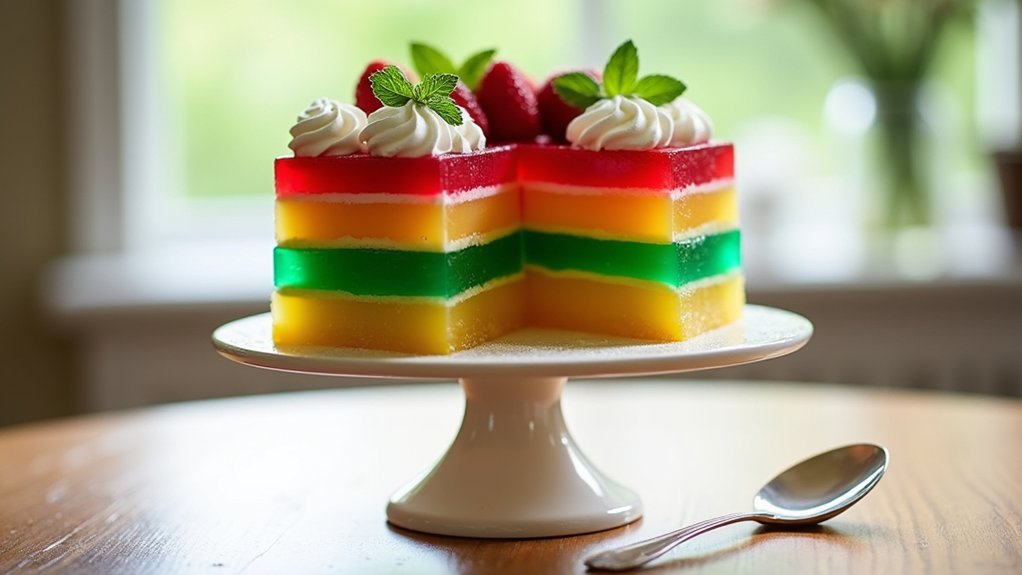
- Layer it up: Alternate layers of different Jello colors for a stunning presentation.
- Add toppings: Whipped cream, fresh fruit, or even sprinkles can elevate your Jello cake.
Trying out these ideas not only brings joy to your kitchen but also creates sweet memories to share with loved ones. So go ahead, get creative, and enjoy every bite!
Frequently Asked Questions
Can I Use Sugar-Free Jello for This Recipe?
Absolutely, I’ve used sugar-free options in my recipes before. Sugar-free Jello makes a fantastic substitute, giving you that same vibrant flavor without the extra sugar. It’s a creative twist that’s both delicious and healthier!
How Can I Make a Vegan Version of Jello Cake?
To create a vegan jello cake, I use plant-based alternatives like agar-agar instead of gelatin. This transformation feels like turning a dream into reality, allowing me to savor deliciousness while embracing a compassionate lifestyle.
What Types of Cakes Pair Best With Jello?
I’ve found that chocolate cake and vanilla sponge pair brilliantly with jello. The richness of chocolate contrasts beautifully with jello’s sweetness, while vanilla sponge offers a light, airy balance. It’s a fun flavor adventure!
Can I Freeze Jello Cake Leftovers?
Absolutely, I’ve frozen jello cake leftovers before! Just use proper freezing techniques to wrap it tightly. For jello storage, make certain it’s airtight. It’s a delicious way to keep that vibrant flavor alive for later enjoyment!
How Long Does Jello Cake Last in the Fridge?
Jello cake usually lasts about 3 to 5 days in the fridge if stored properly. I always keep it covered to maximize its shelf life and maintain that delightful texture. Enjoy every innovative bite!
Conclusion
In the end, making a jello cake is more than just following a recipe; it’s about creating sweet memories to share with loved ones. As they say, “The best things in life are the people we love and the memories we make.” So, I encourage you to immerse yourself in this colorful creation, let your creativity shine, and enjoy every bite. After all, there’s nothing quite like the joy of sharing a slice of happiness with friends and family!