
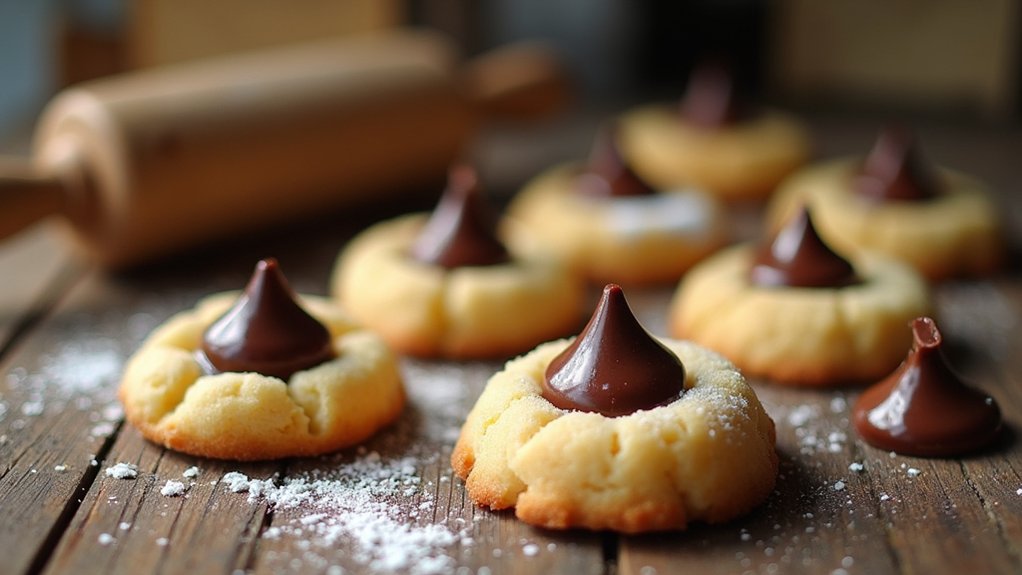
I love making Hershey Kiss Cookies—they’re a delightful treat! Start by creaming together butter, granulated sugar, and brown sugar. Then, add in eggs and vanilla. Mix in flour, baking soda, and salt, and roll the dough into balls. Coat them in sugar, place them on a baking sheet, and bake until just golden. Once out of the oven, top each cookie with a Hershey Kiss while they’re still warm, creating that perfect melty chocolate experience. Discover more about this beloved recipe!
Contents
History

When I think of Hershey Kiss cookies, I’m reminded of the delightful blend of history and nostalgia that surrounds this beloved treat. The cookie evolution has been fascinating, tracing back to the early 20th century when chocolate first became widely accessible. Hershey’s iconic chocolate origins are rooted in Milton S. Hershey’s vision of affordable, high-quality chocolate for everyone. These cookies emerged as a creative way to showcase the rich, melty goodness of Hershey Kisses, becoming a staple at gatherings and holidays. The combination of a soft, chewy cookie with a chocolate centerpiece captures the essence of comfort and joy. Each bite tells a story, connecting generations through a shared love for this innovative yet classic dessert.
Recipe
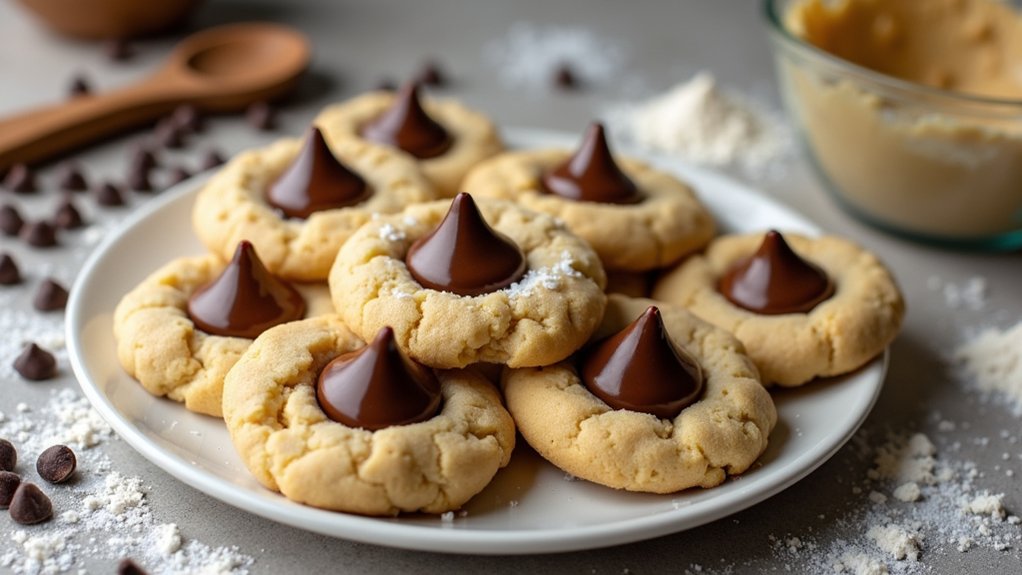
Hershey Kiss Cookies are a delightful treat that combines the rich, chocolatey goodness of Hershey’s Kisses with a soft, buttery cookie base. Perfect for any occasion, these cookies are not only simple to make but also a hit with both kids and adults alike. The contrast between the sweet, melty chocolate on top and the slightly crisp cookie beneath creates a satisfying treat that is hard to resist.
Hershey Kiss Cookies blend rich chocolate with a buttery cookie base, making them a delightful treat for all ages.
Making Hershey Kiss Cookies is a fun and enjoyable activity, especially when baking with family or friends. These cookies are versatile, allowing you to experiment with different flavors and toppings. Whether you’re preparing them for a holiday gathering, a bake sale, or simply to enjoy at home, they are sure to bring smiles all around. So gather your ingredients and get ready to whip up a batch of these delicious cookies!
Ingredients:
- 1 cup unsalted butter, softened
- 1 cup granulated sugar
- 1 cup brown sugar, packed
- 2 large eggs
- 2 teaspoons vanilla extract
- 3 cups all-purpose flour
- 1 teaspoon baking soda
- 1 teaspoon salt
- 1 cup granulated sugar (for rolling)
- 36 Hershey’s Kisses, unwrapped
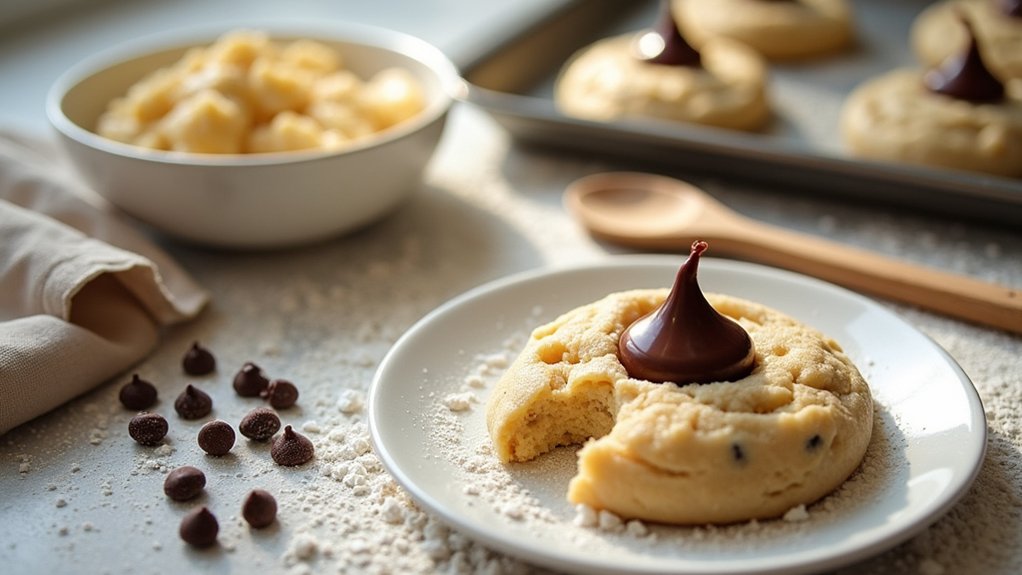
To make the Hershey Kiss Cookies, start by preheating your oven to 350°F (175°C) and lining a baking sheet with parchment paper. In a large mixing bowl, cream together the softened butter, granulated sugar, and brown sugar until light and fluffy. Beat in the eggs one at a time, followed by the vanilla extract. In a separate bowl, whisk together the flour, baking soda, and salt. Gradually add the dry ingredients to the wet mixture, stirring until just combined. Scoop out tablespoon-sized portions of dough, roll them into balls, and then roll each ball in granulated sugar. Place the dough balls on the prepared baking sheet about 2 inches apart. Bake for 8 to 10 minutes, or until the edges are golden. Remove from the oven and immediately press a Hershey’s Kiss into the center of each cookie. Allow the cookies to cool on the baking sheet for a few minutes before transferring them to a wire rack to cool completely.
When making Hershey Kiss Cookies, verify your butter is at room temperature for easier creaming with the sugars. You can also experiment by using different flavors of Hershey’s Kisses, such as caramel or almond, for a unique twist. If you want to add a festive touch, consider sprinkling some colored sugar on top of the cookies before baking. Finally, be careful not to overbake the cookies; they should be soft in the center and will continue to firm up as they cool. Enjoy your delicious creations!
Cooking Steps
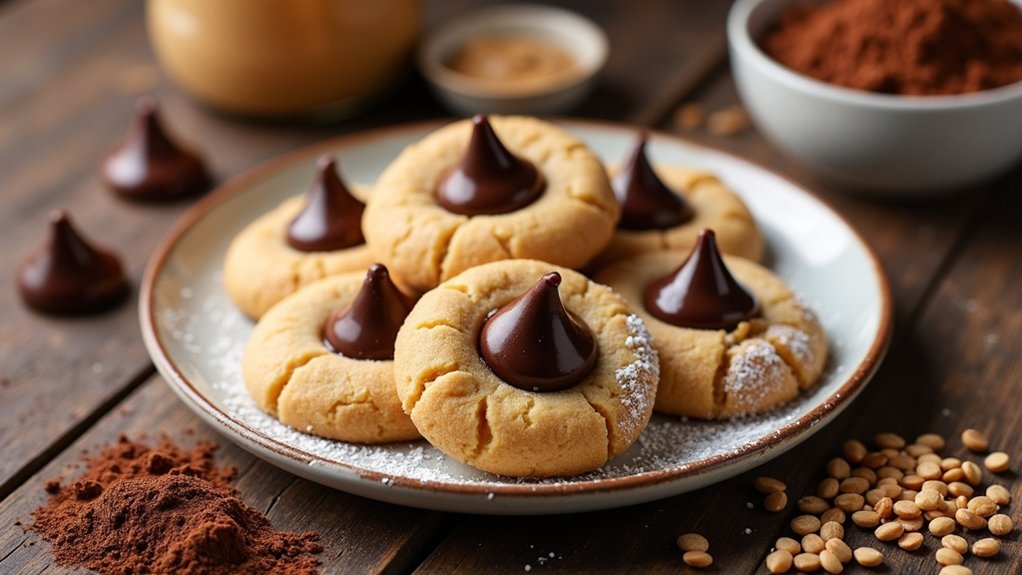
Let’s get started on making these delightful Hershey Kiss cookies! First, I preheat my oven to 350°F to guarantee it’s nice and warm for baking. Then, it’s time to mix in the flour and cocoa, setting the stage for that rich chocolate flavor.
Step 1. Preheat Oven to 350°F
To kick off baking these delightful Hershey Kiss cookies, I always start by preheating my oven to 350°F. This oven temperature is essential for achieving that perfect balance between a chewy center and a slightly crispy edge. While the oven heats, I like to gather all my ingredients, ensuring everything’s ready to go for a seamless baking experience. One key baking tip I’ve discovered is to give the oven ample time to reach the right temperature; this helps cookies bake evenly. If you’re using a convection oven, remember to adjust the temperature slightly lower for best results. With the oven ready, I’m excited to move on to the next steps and create these irresistible treats!
Step 2. Add Flour and Cocoa
Once the oven is preheated and the ingredients are gathered, it’s time to add the flour and cocoa to the mixing bowl. I like to use a combination of all-purpose flour and a bit of whole wheat flour for a nutty flavor and added nutrients. Sifting the flour not only removes lumps but also aerates it, creating a lighter texture in the cookies. Next, I sprinkle in the cocoa powder, rich in antioxidants and providing that deep, decadent chocolate flavor we crave. The cocoa benefits don’t just stop at taste—they also add a hint of elegance to our cookies. Mixing these two ingredients together creates a beautiful foundation, setting the stage for the sweetness to come!
Step 3. Add Sugar and Eggs
With the flour and cocoa perfectly blended, it’s time to sweeten the deal by adding sugar and eggs. I like to use a mix of granulated sugar and brown sugar types to create that delightful moisture and depth of flavor. As I whisk them together, the mixture transforms into a creamy dream. If you’re looking for egg substitutes, feel free to explore options like applesauce or flaxseed, which can maintain that essential binding quality. Once I’ve combined the sugars and eggs, the batter becomes rich and luscious, setting the stage for those iconic Hershey Kisses to shine. This step not only enhances the texture but also paves the way for that heavenly cookie experience you’re craving!
Step 4. Fold in Chocolate Chips
Now that the batter is beautifully blended, it’s time to fold in the chocolate chips. I love experimenting with different chocolate varieties, so I often mix semi-sweet, dark, and even white chocolate chips to create a delightful contrast in flavors. Using a rubber spatula, I gently incorporate the chips, ensuring they’re evenly distributed without overmixing. This simple folding technique helps maintain the batter’s airy texture, which is essential for that perfect cookie consistency. The moment the chocolate hits the warm batter, it begins to melt slightly, creating tiny pockets of gooey goodness. Trust me, this step is where innovation meets tradition, as it elevates your Hershey Kiss cookies to a whole new level of deliciousness!
Step 5. Shape Dough Into Balls
Let’s plunge into shaping the dough into balls, an essential step for your Hershey Kiss cookies. First, I check the dough consistency; it should be soft yet manageable, not too sticky. If it’s too loose, I refrigerate it briefly to firm it up. Using my hands, I scoop a tablespoon of dough and gently roll it into a smooth ball, applying a light pressure to avoid cracks. This rolling technique guarantees an even shape that bakes perfectly. I place each ball on the baking sheet, leaving space for expansion. As I create these little spheres of goodness, I can’t help but imagine the melted chocolate kisses waiting to top them. Trust me, this step lays the foundation for delightful cookies!
Nutritional Guide
While baking Hershey Kiss Cookies can be a delightful experience, understanding their nutritional profile is essential for making informed choices. These cookies may be a sweet treat, but I love knowing how they fit into a balanced diet.
Here’s a quick nutritional guide to get you started:
| Ingredient | Calories (per serving) | Health Benefits |
|---|---|---|
| All-purpose flour | 100 | Energy source |
| Sugar | 50 | Quick energy boost |
| Butter | 100 | Healthy fats (in moderation) |
| Hershey Kisses | 22 | Antioxidants from chocolate |
| Ingredient alternatives | Varies | Lower sugar, gluten-free options |
Exploring ingredient alternatives can enhance health benefits without sacrificing taste. Enjoy these cookies mindfully!
Final Thoughts

As you savor the joy of baking and sharing Hershey Kiss Cookies, it’s important to reflect on how these treats fit into our lives. They’re more than just cookies—they’re a canvas for creativity. With a few baking tips, you can elevate your classic recipe by incorporating flavors like peppermint, caramel, or even peanut butter. Experimenting with cookie variations allows you to cater to different tastes, making each batch uniquely delightful. Whether you’re hosting a gathering or simply indulging yourself, these cookies bring smiles and warmth. Remember, the process of baking is just as enjoyable as the final product. So, embrace your culinary instincts, and let your Hershey Kiss Cookies become a cherished tradition in your home!
Frequently Asked Questions
Can I Substitute Ingredients for Dietary Restrictions?
I love experimenting with ingredient swaps for dietary alternatives. Whether it’s gluten-free flour or vegan chocolate, I’ve found that creative substitutions can yield delicious results without sacrificing flavor or texture. Let’s get innovative together!
How Long Do These Cookies Stay Fresh?
These cookies stay fresh for about a week if stored properly. I suggest keeping them in an airtight container at room temperature. For longer freshness, consider freezing them—just make sure to thaw before enjoying!
Can I Freeze Hershey Kiss Cookies?
Absolutely, you can freeze Hershey Kiss cookies! They freeze well for up to three months. Just wrap them tightly. When you’re ready, thaw them at room temperature for that fresh-baked taste again. Enjoy!
What Size Should I Make the Cookie Dough Balls?
I usually make cookie dough balls about one inch in size. This guarantees they bake evenly, achieving a delightful texture. Adjusting the baking time slightly might be necessary if you choose a different size. Happy baking!
Are There Any Variations of Hershey Kiss Cookies?
I love experimenting with chocolate variations, like using dark or white chocolate kisses. For holiday themes, I’ll add festive sprinkles or peppermint. It always elevates the cookies, making them a delightful treat for any occasion!
Conclusion
In summary, making Hershey Kiss cookies is not just a delightful treat, but a nostalgic journey for many. Did you know that over 70 million Hershey Kisses are produced every day? That’s a whole lot of chocolate waiting to be enjoyed! So, whether you’re baking for a special occasion or just indulging yourself, these cookies are sure to bring a smile to your face. Immerse yourself in this sweet experience, and let your taste buds celebrate!