
I’ve discovered the joy of making Forgotten Cookies, a delightful treat that’s both simple and nostalgic. With just egg whites, sugar, and chocolate chips, these cookies bake in the residual heat of the oven, creating a soft and chewy texture. Every bite evokes cherished memories and warmth. Plus, they’re easy to whip up, perfect for busy days. If you’re curious about the best ways to enjoy these timeless cookies, there’s plenty more to explore!
Contents
History


When I first stumbled upon the history of forgotten cookies, I was amazed at how this simple treat has roots that stretch back generations. Their historical origins trace back to the home kitchens of resourceful bakers who used residual oven heat to create something delicious without wasting energy. This innovative approach not only reflects a clever use of resources but also speaks to a time when every crumb counted.
The cultural significance of forgotten cookies is profound; they symbolize a blend of practicality and creativity that resonates across various culinary traditions. These cookies remind us of the joy found in simplicity and the stories that each batch carries, connecting us to the past while inspiring new generations to embrace this delightful tradition.
Recipe

Forgotten cookies are a delightful and easy treat that offers a unique twist to the traditional cookie-making process. These cookies are made by combining simple ingredients and then allowing them to bake in a turned-off oven, creating a soft and chewy texture that melts in your mouth. The beauty of forgotten cookies is that they require minimal hands-on time, making them perfect for busy bakers or those looking for a low-effort dessert.
Forgotten cookies offer a magical twist on traditional baking, requiring minimal effort for a soft, chewy treat that melts in your mouth.
The name “forgotten cookies” comes from the method of baking: you prepare the mixture, drop spoonfuls onto a baking sheet, and then place them in an oven that has been turned off. The residual heat gently bakes the cookies, resulting in a deliciously light and airy treat that feels like a bit of magic. Whether you choose to add chocolate chips, nuts, or dried fruit, these cookies are sure to please anyone with a sweet tooth.
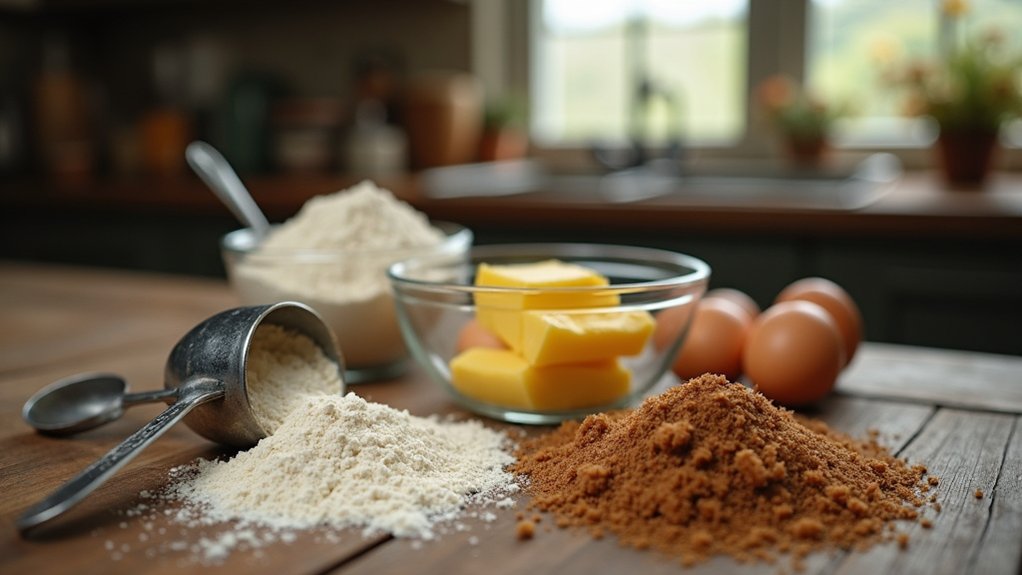
Ingredients:
- 2 egg whites
- 1 cup sugar
- 2 cups powdered sugar
- 1 teaspoon vanilla extract
- 2 cups chocolate chips (or nuts, if desired)
- 1/4 teaspoon salt
Instructions:
Preheat your oven to 350°F (175°C). In a large mixing bowl, beat the egg whites until they form soft peaks. Gradually add the granulated sugar, continuing to beat until the mixture is glossy and holds stiff peaks. Gently fold in the powdered sugar, vanilla extract, salt, and chocolate chips (or nuts) until well combined. Drop spoonfuls of the mixture onto a parchment-lined baking sheet, leaving space between each cookie. Once all the cookies are on the sheet, place them in the preheated oven and immediately turn off the heat. Leave the cookies in the oven for at least 6 hours, or overnight, without opening the door.
Extra Tips:
To achieve the best results, make sure that your egg whites are at room temperature before beating, as this helps them to whip up to maximum volume. Additionally, for a fun twist, try adding different flavors such as almond extract, or experiment with various mix-ins like dried fruit or coconut flakes. Keep in mind that the longer the cookies sit in the oven, the more they will set, so feel free to adjust the resting time based on your desired texture. Enjoy your delightful forgotten cookies!
Cooking Steps
To kick off the cooking steps, I always start by preheating my oven to a cozy 350°F. Next, I mix the dry ingredients thoroughly, ensuring every bit of flavor is evenly distributed. Once that’s done, I fold in the chocolate chips, and I can already smell the deliciousness coming together!
Step 1. Preheat Oven to 350°F
Preheating the oven to 350°F is an essential first step in baking these delightful forgotten cookies. This specific oven temperature guarantees that the cookies bake evenly, achieving that perfect golden-brown hue we all crave. As I turn the dial, I can almost smell the sweet aroma that will fill my kitchen. Proper baking techniques, like preheating, can make all the difference in texture and flavor. Remember, if the oven isn’t hot enough, your cookies may spread too much or become too chewy. Once the oven reaches that ideal temperature, it’s the perfect moment to gather my ingredients and prepare for the next steps. Trust me; this little detail sets the stage for cookie perfection!
Step 2. Mix Dry Ingredients Thoroughly
With the oven now warmed to that perfect 350°F, it’s time to focus on mixing the dry ingredients thoroughly. This step is essential for achieving the right texture and flavor in our forgotten cookies. I start by measuring my flour, baking soda, and salt, paying close attention to the dry ingredient ratios; precision here makes all the difference. Using a whisk, I mix these ingredients together, ensuring an even distribution. This method not only incorporates air but also helps prevent clumping. I might even experiment with sifting for a lighter finish. Remember, the goal is to create a harmonious blend that serves as a solid foundation for our upcoming ingredients. Let’s embrace these mixing techniques; they’re key to cookie perfection!
Step 3. Fold in Chocolate Chips
Now comes the fun part—folding in the chocolate chips! I carefully choose a mix of chocolate varieties, like dark, milk, and even white chocolate, to create a symphony of flavors. With a spatula in hand, I gently fold the chips into the dough, ensuring even distribution without overmixing. This step is essential, as it influences the final cookie textures. I love how the melted chocolate will contrast with the softness of the cookie, creating delightful pockets of gooeyness. The key is to keep it light and airy, maintaining that perfect balance. As I fold, I can’t help but imagine those warm, decadent cookies fresh from the oven, ready to impress anyone lucky enough to indulge!
Step 4. Scoop Dough Onto Baking Sheet
Scooping the dough onto the baking sheet is a moment I always look forward to. The texture is perfect, and I can already imagine the delightful aroma that’ll fill my kitchen. Using a cookie scoop, I choose different scoop sizes to create a variety of cookie experiences. For larger, chewy cookies, I opt for a generous scoop, while smaller ones yield crispier treats. As I place each scoop on the baking sheets, I make sure to leave enough space between them, allowing for that perfect spread. The excitement builds as I envision the final product—golden edges, soft centers. Each scoop is a step closer to that deliciously nostalgic cookie, and I can’t wait to see them bake to perfection.
Step 5. Chill Dough for 30 Minutes
Chilling the dough for 30 minutes is an essential step that I never skip. This short wait transforms the dough, enhancing its consistency and flavor. When I chill the dough, it allows the fats to solidify, which means my cookies bake evenly and maintain their shape. The chilling benefits are twofold: not only do I achieve a firmer dough, but the flavors also meld beautifully, creating a richer taste. As I wait, I can envision those perfectly baked cookies, crisp on the outside and chewy on the inside. Trust me, this step is worth it. So, pop that dough in the fridge and take a moment—your future self will thank you when you savor those divine treats!
Nutritional Guide

When it comes to enjoying Forgotten Cookies, understanding the nutritional aspects can enhance your experience. These delightful treats not only satisfy your sweet cravings but also offer various ingredient benefits. Here’s a quick breakdown of their caloric content and nutritional highlights:
| Ingredient | Caloric Content (per cookie) | Benefits |
|---|---|---|
| Almonds | 50 | Rich in healthy fats and protein |
| Egg Whites | 17 | Low-calorie source of protein |
| Sugar | 30 | Quick energy boost |
Final Thoughts

As I reflect on the delightful experience of making Forgotten Cookies, I can’t help but appreciate how their unique combination of flavors and textures brings joy to any occasion. These cookies, with their chewy centers and crisp edges, are a reflection of the beauty of simplicity in baking. If you’re looking to innovate, consider experimenting with various cookie variations—try adding nuts, dried fruits, or even a hint of spice to elevate the flavor profile. Remember my baking tips: let the meringue sit undisturbed in the oven for that perfect texture. These cookies remind us that sometimes, the best recipes are those we forget about, only to rediscover them, bringing a wave of nostalgia and warmth with every bite.
Frequently Asked Questions
Can I Use Gluten-Free Flour for This Recipe?
Absolutely, I love experimenting with gluten-free options! You can use almond flour or coconut flour as substitutes. Just adjust the liquid slightly, and you’ll still enjoy delicious, chewy cookies without the gluten.
How Long Can I Store Forgotten Cookies?
I’ve found that storing cookies in an airtight container keeps their freshness intact for about a week. For longer storage, freeze them! It’s a delightful way to savor that homemade taste later.
What Variations Can I Try With This Recipe?
I love experimenting with variations! You can swap in nut butter alternatives like almond or sunflower seed butter, and add flavor enhancements such as vanilla extract or cocoa powder to create unique, delicious twists on the classic cookies.
Can I Freeze the Cookie Dough?
Absolutely, I freeze my cookie dough using airtight containers for ideal dough storage. Just scoop portions onto parchment paper, freeze, then transfer to bags. This freezing technique keeps them fresh, ready for baking whenever I crave cookies!
What Type of Chocolate Works Best in Forgotten Cookies?
Imagine a canvas of flavors—dark chocolate chips create a bold masterpiece, while milk chocolate chunks add creamy harmony. I love mixing both for a delightful contrast that elevates my cookies to delicious innovation.
Conclusion
As I savor a forgotten cookie, I can’t help but appreciate its rich history and comforting flavors. Did you know that cookies date back to the 7th century AD in Persia, evolving through centuries to become the beloved treats we enjoy today? Baking these delightful morsels isn’t just about following a recipe; it’s about connecting with generations of tradition. So, whether for nostalgia or a sweet treat, I encourage you to try making these cookies and share in their delicious legacy!