Snowball cookies are one of my favorite treats to make! They’re buttery, melt-in-your-mouth delights coated in powdered sugar. I cream together softened butter and powdered sugar, then mix in flour and finely chopped nuts. After rolling them into balls, I bake them until lightly golden. Once cooled, I give them a good roll in more powdered sugar. These cookies are perfect for sharing and creating sweet memories. If you’re curious about variations or tips, there’s so much more to discover!
Contents
History

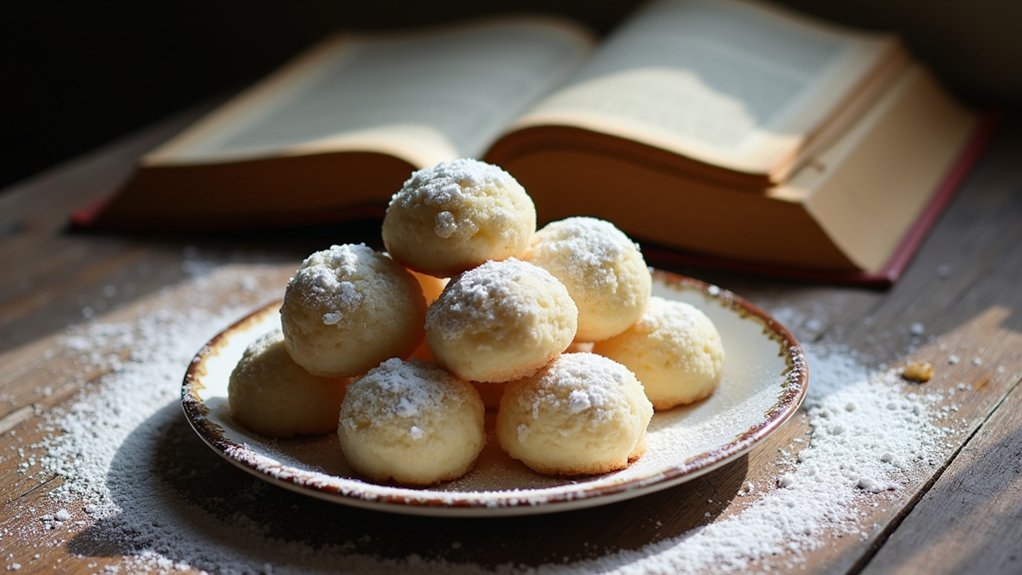
When I think about snowball cookies, I can’t help but feel a sense of nostalgia, as these delightful treats have a rich history that dates back centuries. Their cookie origins trace back to various cultures, with similar recipes appearing in Europe and the Middle East. Often called Russian Tea Cakes or Mexican Wedding Cookies, their names reflect the cultural significance they hold across different traditions. Each variant brings its unique twist, yet they all share that signature melt-in-your-mouth texture. I love how these cookies have transcended borders, uniting people through shared experiences and celebrations. As we innovate in the kitchen today, it’s essential to honor this legacy, creating new memories while savoring the timeless joy snowball cookies bring to our tables.
Recipe
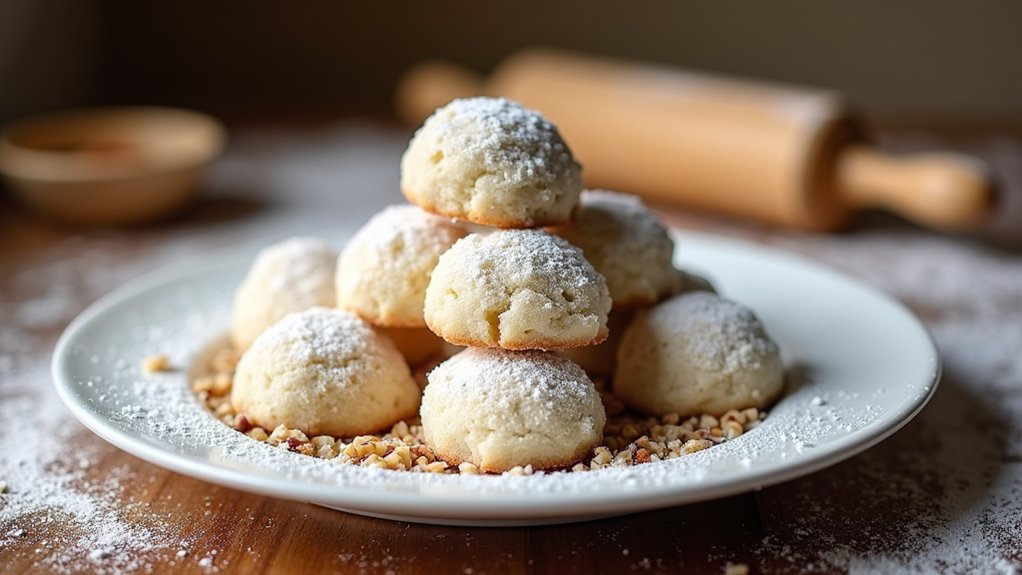
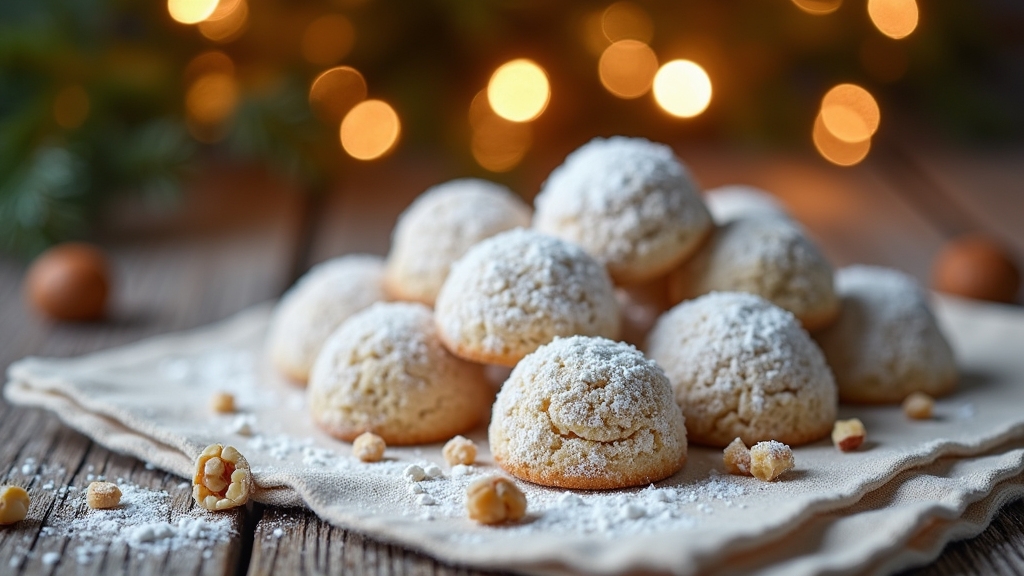
Snowball cookies, also known as Russian tea cakes or Mexican wedding cookies, are delightful bite-sized treats that are perfect for any occasion. These cookies are characterized by their melt-in-your-mouth texture and are rolled in powdered sugar, giving them a snowy appearance that is both festive and inviting. The combination of buttery goodness and finely chopped nuts makes for a deliciously rich flavor that pairs wonderfully with a cup of tea or coffee.
Snowball cookies are delightful, melt-in-your-mouth treats that offer a rich flavor, perfect for pairing with tea or coffee.
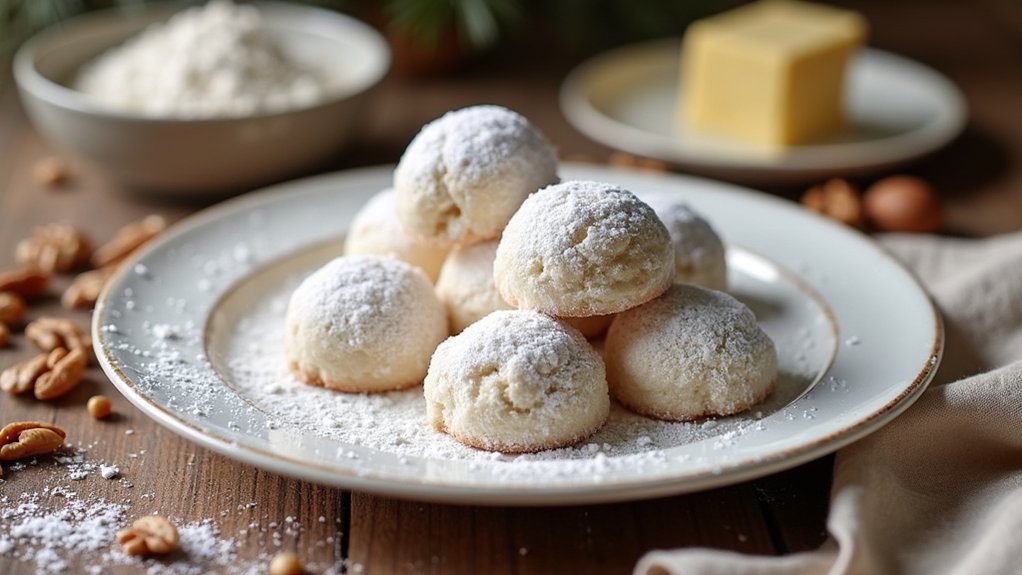
Making snowball cookies is a simple and enjoyable process that can be shared with family and friends. The dough comes together quickly, and the cookies bake to a beautiful golden hue before being rolled in powdered sugar. Once prepared, these cookies can be stored for days, making them a great make-ahead treat for holidays or gatherings.
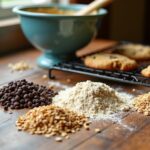
Ingredients:
- 1 cup unsalted butter, softened
- 1/2 cup powdered sugar
- 1 teaspoon vanilla extract
- 2 cups all-purpose flour
- 1/4 teaspoon salt
- 1 cup finely chopped nuts (walnuts or pecans)
- Extra powdered sugar for rolling
Cooking Instructions:
In a large bowl, cream together the softened butter and powdered sugar until light and fluffy. Mix in the vanilla extract, then gradually add the flour and salt, stirring until just combined. Fold in the chopped nuts until evenly distributed. Preheat your oven to 350°F (175°C) and line a baking sheet with parchment paper. Scoop tablespoons of dough and roll them into balls, placing them on the prepared baking sheet about 2 inches apart. Bake for 12-15 minutes or until the bottoms are lightly golden. Allow the cookies to cool for a few minutes on the sheet before rolling them in powdered sugar, then transfer to a wire rack to cool completely.
Extra Tips:
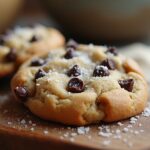
For best results, verify that your butter is at room temperature for easy creaming. You can customize these cookies by experimenting with different types of nuts or even adding chocolate chips for a twist. If you’d like a stronger flavor, consider adding a pinch of almond extract along with the vanilla. These cookies can be stored in an airtight container for up to a week, and they freeze well too, making them perfect for preparing in advance for holiday celebrations or special occasions.
Cooking Steps
Let’s get started on making these delightful snowball cookies! First, I always preheat my oven to 350°F, so it’s ready when my dough is shaped. Then, I mix the butter and sugar until it’s creamy, adding a splash of vanilla extract for that irresistible flavor.
Step 1. Preheat Oven to 350°F
To kick off the snowball cookie baking process, I always make certain to preheat my oven to a perfect 350°F. This oven temperature is essential for achieving that delightful melt-in-your-mouth texture we all crave. While the oven warms up, I take a moment to gather my ingredients, envisioning the fluffy, buttery goodness that’s about to unfold. Preheating isn’t just about heat; it’s a key baking tip that guarantees even cooking and prevents those dreaded flat cookies. I often use an oven thermometer to double-check the temperature, confirming accuracy. Once my oven signals it’s ready, I’m filled with anticipation, knowing that those luscious snowball cookies are just a few steps away from delighting my taste buds!
Step 2. Mix Butter and Sugar
Creaming together the butter and sugar is where the magic begins. I always choose unsalted butter for better control over the sweetness, but feel free to experiment with different butter types like coconut or vegan options for a unique twist. I whip the butter until it’s soft and creamy, then gradually add in my preferred sugar variations—granulated for a classic touch or powdered sugar for a melt-in-your-mouth texture. The key is to blend them until the mixture is light and fluffy, which creates the perfect base for those delicate snowball cookies. This step not only enhances the flavor but also incorporates air, ensuring a wonderfully tender cookie. Trust me, this is the stage where the cookies start to come alive!
Step 3. Add Vanilla Extract
With the butter and sugar beautifully creamed together, it’s time to elevate the flavor profile by adding vanilla extract. I love how this simple addition transforms the mixture, infusing it with a rich, warm vanilla flavor that makes every bite irresistible. I typically reach for pure vanilla extract, but if I’m feeling adventurous, I might try extract alternatives like almond or hazelnut for a unique twist. Just a teaspoon is all it takes to enhance the cookie dough, creating a delightful aroma that fills the kitchen. Stir it in gently, ensuring it’s well incorporated; this step is essential for achieving that perfect balance of sweetness and depth in your snowball cookies. Trust me, your taste buds will thank you!
Step 4. Form Dough Into Balls
Now, let’s plunge into shaping our cookie dough into delightful little balls! With the right dough consistency, this step is both fun and rewarding. I like to aim for a cookie size that’s just right—think bite-sized, not too big, not too small. Here’s how I do it:
- Scoop: Use a small cookie scoop or your hands to take portions of dough.
- Roll: Gently roll the dough between your palms until it forms a smooth ball.
- Place: Arrange the balls on a baking sheet, ensuring there’s enough space between them for even baking.
As I shape each ball, the anticipation builds. These little gems are about to transform into something truly magical!
Step 5. Roll in Powdered Sugar
Once the cookies are baked to a golden perfection, it’s time for the fun part—rolling them in powdered sugar! This step isn’t just about aesthetics; it offers delightful powdered sugar benefits, enhancing the cookies’ sweetness while providing a beautiful, snowy finish. I grab a bowl filled with the fine sugar and gently roll each warm cookie, allowing the sugar to cling perfectly to every nook and cranny.
To master rolling techniques, I recommend using a light touch to guarantee an even coating without crushing the delicate cookies. After the first roll, I let them cool briefly, then give them a second roll for that extra indulgent layer of sweetness. Trust me; this final touch transforms your snowball cookies into irresistible treats!
Nutritional Guide
Although indulging in snowball cookies can be a delightful experience, it’s essential to evaluate their nutritional value. Understanding the caloric content and ingredient benefits can help you enjoy these treats mindfully. Here’s a quick guide to what’s inside:
| Nutrient | Amount per Cookie |
|---|---|
| Calories | 100 |
| Total Fat | 6g |
| Sugars | 8g |
| Protein | 1g |
| Fiber | 0.5g |
The blend of nuts adds healthy fats and protein, while the butter contributes richness and flavor. Keep in mind that moderation is key. With this knowledge, you can savor each bite while appreciating the tasty benefits snowball cookies bring!
Final Thoughts

As I reflect on the joys of baking and sharing snowball cookies, I can’t help but appreciate how these delightful treats bring warmth and happiness to any gathering. They’re not just cookies; they’re little bites of joy that spark connections. Here are a few baking tips to elevate your snowball cookie experience:
- Experiment with cookie variations by adding chopped nuts, dried fruits, or even chocolate chips.
- Use flavored extracts like almond or coconut for a unique twist.
- Don’t rush the cooling process; letting them sit enhances their texture.
These cookies are versatile, allowing you to innovate while still enjoying the classic charm. I hope you embrace these ideas and create sweet memories with every batch you bake!
Frequently Asked Questions
Can I Use Alternative Flours for Snowball Cookies?
I’ve experimented with alternative flour types like almond and coconut flour. They create unique cookie texture differences, making them delightful. Just remember, adjusting ratios might be necessary for the perfect balance in flavor and consistency.
How Should I Store Leftover Snowball Cookies?
Like treasure hidden in a chest, I store leftover cookies in an airtight container at room temperature. This way, their freshness stays intact, allowing me to savor each bite, like a sweet memory that lingers.
Can I Freeze Snowball Cookies?
Absolutely, I can freeze snowball cookies! Just make sure to wrap them tightly to preserve their delicate texture. When you’re ready to enjoy, let them thaw slowly for the best flavor and consistency. Happy freezing!
What Variations Can I Make to the Recipe?
Oh, because plain’s just too boring, right? I’ve added chocolate chips for sweetness and experimented with nut varieties like pecans or almonds. Each bite’s a delightful twist, making my cookies truly unforgettable and innovatively delicious!
Are Snowball Cookies Gluten-Free?
Yes, snowball cookies can easily be gluten-free! I love using almond flour or gluten-free all-purpose blends for a delightful twist. It keeps the texture light and buttery while catering to gluten-free options. You’ll enjoy every bite!
Conclusion
As I reflect on the delightful experience of making snowball cookies, I can’t help but appreciate their rich history—these treats have been enjoyed since the 18th century! Did you know that a staggering 90% of Americans love holiday baking? It’s an indication of how these delicious, buttery bites bring us together during festive times. So, whether you’re sharing them with family or savoring them alone, snowball cookies are sure to sprinkle a little magic into your day!