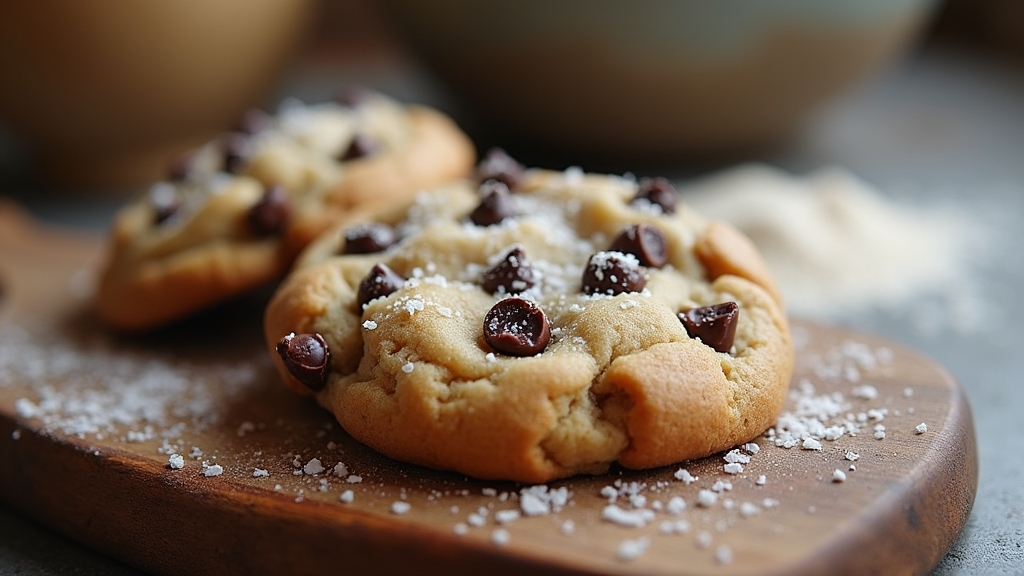
I’ve perfected a chewy chocolate chip cookie recipe that brings comfort and nostalgia with every bite. Start by mixing 2 1/4 cups of flour, 1/2 tsp baking soda, and a pinch of salt. Cream 1 cup of softened butter with 1 cup of packed brown sugar, then add in 2 cups of semisweet chocolate chips. Chill the dough for at least 30 minutes before baking at 350°F (175°C). Trust me; the little details really make a difference! You’ll want to keep learning more.
Contents
History


The history of chocolate chip cookies is a delightful tale that starts in the 1930s, when Ruth Wakefield, a nutritionist and owner of the Toll House Inn in Massachusetts, decided to invent a new treat for her guests. She combined classic baking traditions with a twist, incorporating broken chocolate bars into her buttery dough, creating an instant sensation. This innovative blend marked the cookie origins we cherish today. The cookies quickly gained popularity, and soon, the recipe was printed on Nestlé chocolate packages, solidifying their status in American culture. I can’t help but admire how Ruth’s simple creativity has influenced countless bakers like me, inspiring variations and new flavors while keeping the essence of that original cookie alive.
Recipe
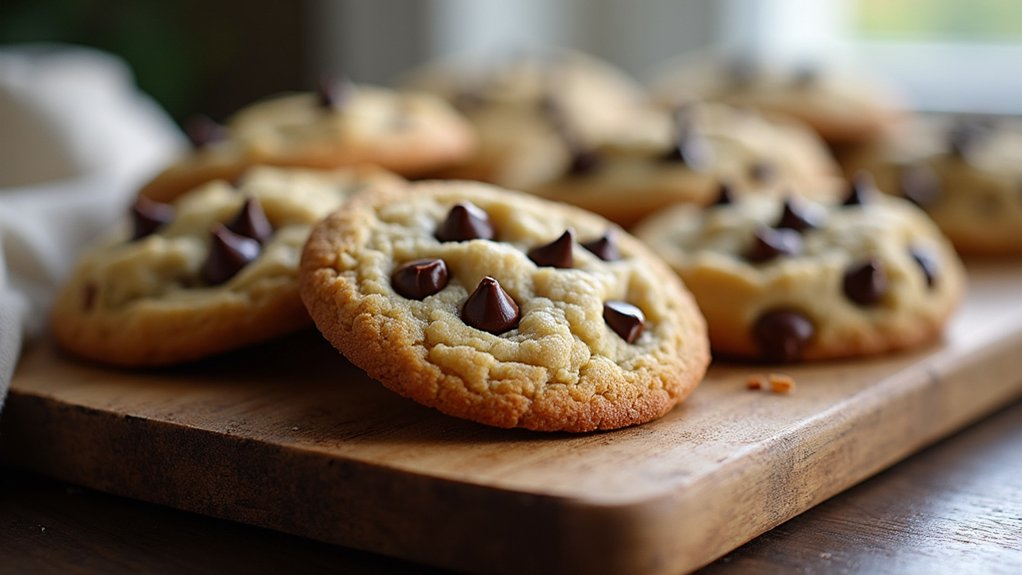
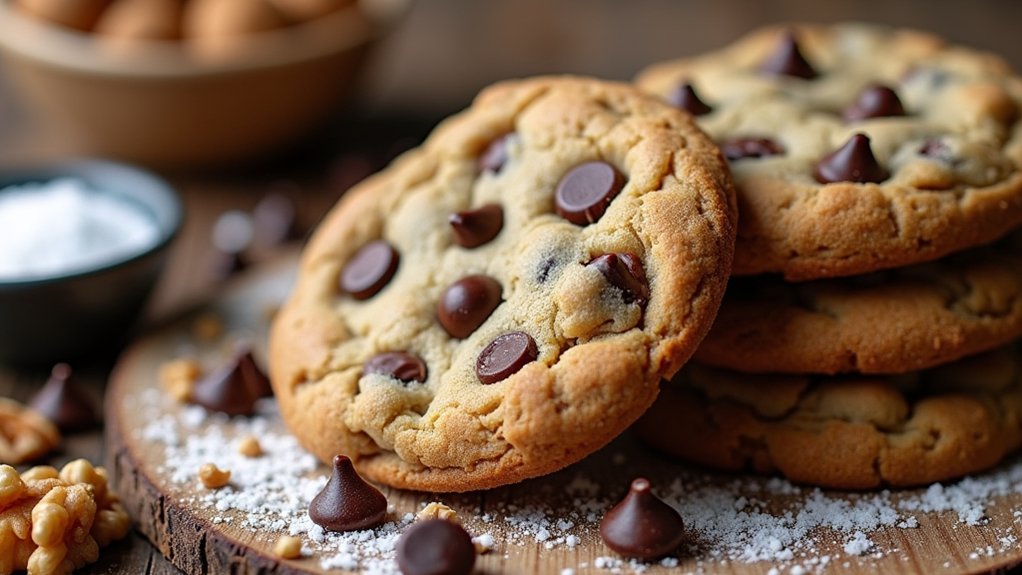
Indulging in homemade chewy chocolate chip cookies is a delightful experience that can transform any ordinary day into a special occasion. The combination of buttery dough, rich chocolate chips, and a hint of vanilla creates a treat that is hard to resist. Whether you are baking for a family gathering, a cozy night in, or just to satisfy your sweet tooth, this recipe will guide you to cookie perfection.
The beauty of these cookies lies in their simplicity and the balance of flavors that come together in each bite. With the right techniques and a bit of patience, you can achieve that perfect chewy texture that keeps everyone coming back for more. So, preheat your oven, gather your ingredients, and get ready to bake some delicious memories!
Ingredients:
- 2 1/4 cups all-purpose flour
- 1/2 teaspoon baking soda
- 1 cup unsalted butter, room temperature
- 1 cup brown sugar, packed
- 1/2 cup granulated sugar
- 1 teaspoon salt
- 2 teaspoons pure vanilla extract
- 2 large eggs
- 2 cups semisweet chocolate chips
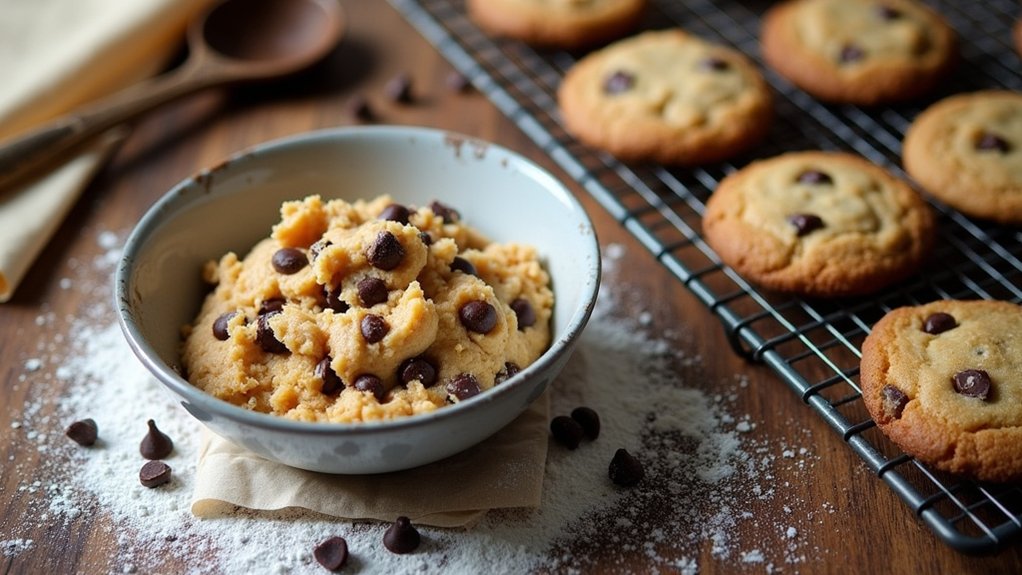
To start, preheat your oven to 350°F (175°C) and line two baking sheets with parchment paper. In a small bowl, whisk together the flour and baking soda, then set aside. In a large mixing bowl, cream together the softened butter, brown sugar, granulated sugar, and salt until light and fluffy. Beat in the vanilla extract and eggs, one at a time, making sure everything is well combined. Gradually add the flour mixture to the wet ingredients, mixing until just combined. Fold in the chocolate chips. Drop rounded tablespoons of dough onto the prepared baking sheets, spacing them about 2 inches apart. Bake for 10-12 minutes or until the edges are golden brown. Allow the cookies to cool on the baking sheets for a few minutes before transferring them to wire racks to cool completely.
For best results, make certain your butter is at room temperature to guarantee proper creaming with the sugars. Do not overmix the dough once you add the flour, as this can lead to tougher cookies. If you prefer a more intense chocolate flavor, consider using a mix of different types of chocolate chips, such as dark or milk chocolate. Feel free to experiment with adding nuts or a sprinkle of sea salt on top before baking for an added crunch and flavor contrast. Enjoy your baking!
Cooking Steps
Let’s get started with the cooking steps that will lead us to those delicious chewy cookies. First, I’ll guide you through preheating the oven and mixing the dry ingredients, setting the stage for the perfect dough. With each step, we’ll build layers of flavor and texture, so let’s jump right in!
Step 1. Preheat Oven to 350°F
Starting the baking process with a perfectly preheated oven is essential for achieving those chewy chocolate chip cookies we all love. I always set my oven temperature to 350°F, a sweet spot that balances browning and softness. As it heats up, I can prepare my ingredients, knowing that my baking techniques will shine. An accurately preheated oven guarantees even heat distribution, allowing the cookies to rise perfectly and develop that irresistible chewy texture. I often use an oven thermometer to confirm the temperature, as this small step can make all the difference. Trust me, taking the time to preheat not only enhances flavor but elevates your baking game to new heights! So let’s get that oven fired up!
Step 2. Mix Dry Ingredients Together
Once the oven’s preheated, it’s time to focus on mixing the dry ingredients. I start by selecting my flour types—typically all-purpose flour for its versatility, but I love experimenting with a bit of whole wheat for added depth. In my bowl, I combine the flour with baking soda and a pinch of salt, ensuring the ingredient ratios are just right. This balance is essential; too much baking soda can lead to a metallic taste, while too little might leave the cookies flat. I whisk everything together thoroughly, allowing those ingredients to harmonize before they meet the wet elements. This step not only enhances the texture but also sets the stage for that perfect chewy consistency we’re all after.
Step 3. Add Wet Ingredients Gradually
As I prepare to add the wet ingredients, I can already envision the rich, creamy texture that will transform the dry mixture. I start by combining my eggs and melted butter, ensuring a perfect balance in the wet ingredient ratios. Pouring the mixture slowly into the bowl, I focus on gradual mixing, allowing the dry ingredients to absorb the moisture fully. This method keeps the texture light and enhances the overall chewiness of the cookies. I gently stir, watching as the flour begins to come together, creating a luscious dough. It’s essential to be patient here—too fast, and I risk a clumpy result. With each addition, the dough evolves, promising delicious cookies that are worth every step.
Step 4. Fold in Chocolate Chips
With a flourish, I reach for the bowl of chocolate chips, their glossy surfaces promising indulgence. I can’t resist exploring various chocolate varieties, from rich dark to creamy milk chocolate. Using gentle mixing techniques, I carefully fold the chips into my dough, ensuring even distribution without deflating its airy texture.
- Choose high-quality chocolate for maximum flavor impact
- Experiment with semi-sweet and white chocolate combinations
- Use a spatula to avoid overmixing
- Incorporate nuts for added texture
- Don’t rush; savor the process for the best results
As the chocolate melds with the dough, I can already imagine the delightful aroma wafting through my kitchen. This step is where the magic truly begins!
Step 5. Chill Dough for 30 Minutes
To achieve the perfect cookie texture, I always make it a point to chill the dough for at least 30 minutes. This simple step is a game changer! Chilling allows the fats to solidify, which helps prevent spreading during baking. As a result, you’ll enjoy a thicker, chewier cookie with a delightful dough texture. Plus, this resting period enhances the flavors, allowing the sugars to meld beautifully for a richer taste. I find that the chocolate chips also become more integrated, creating a harmonious blend of flavor in every bite. So, resist the urge to skip this step; your future self will thank you for those irresistibly chewy, flavorful cookies! Trust me, it’s worth the wait!
Nutritional Guide
When you take a bite of a chewy chocolate chip cookie, you’re experiencing more than just a delightful treat; you’re also indulging in a mix of nutrients that can be both satisfying and energizing. Each ingredient plays a role in contributing to its caloric content and health benefits.
| Ingredient | Benefits |
|---|---|
| Flour | Provides carbohydrates for energy |
| Chocolate Chips | Rich in antioxidants and mood boosters |
| Butter | Contains healthy fats for satisfaction |
| Sugar | Quick energy source |
Understanding these ingredient benefits can help you appreciate your cookie even more. While they’re indulgent, each bite offers a unique combination of nutrition that fuels your day and satisfies your cravings, making them a delightful addition to any treat repertoire.
Final Thoughts

As I reflect on the joy of baking chewy chocolate chip cookies, I can’t help but appreciate how these treats bring a sense of comfort and nostalgia. Whether you’re making them for a special occasion or just to indulge yourself, there’s something magical about the aroma wafting through the kitchen. Here are some baking tips and cookie variations to elevate your experience:
- Experiment with different types of chocolate (dark, milk, or white)
- Add a sprinkle of sea salt for a flavor boost
- Substitute half of the all-purpose flour with almond flour for a nutty twist
- Mix in oats for a chewy texture
- Try incorporating dried fruits or nuts for added depth
Embrace your creativity, and happy baking!
Frequently Asked Questions
Can I Use Dark Chocolate Instead of Milk Chocolate Chips?
Swapping in dark chocolate not only enhances the cookie’s flavor but also adds health benefits. Its rich, robust taste elevates the experience, making each bite a delightful adventure for your taste buds!
What Type of Flour Is Best for Chewy Cookies?
For chewy cookies, I prefer using all-purpose flour for versatility, but bread flour adds a delightful chewiness thanks to its higher protein content. Experimenting with both can lead to deliciously innovative results!
How Can I Store Leftover Cookies for Freshness?
You’d think cookies would magically stay fresh, but they don’t! For cookie storage, I seal them in an airtight container with a slice of bread. Trust me, those freshness tips work wonders for extending their life!
Can I Freeze the Cookie Dough for Later Use?
Absolutely, I freeze cookie dough using airtight containers or freezer bags for ideal dough storage. I portion it out first, which makes baking fresh cookies a breeze whenever I crave that warm, gooey goodness!
What Kitchen Tools Are Essential for Making Cookies?
Did you know 75% of bakers swear by quality measuring cups? I can’t agree more. For perfect cookies, I always grab my sturdy mixing bowls and reliable measuring cups—essential tools that elevate my baking game every time.
Conclusion
As I savor the last bite of my chewy chocolate chip cookie, I can’t help but appreciate the joy these treats bring to so many. Did you know that Americans consume around 7 billion chocolate chip cookies each year? That’s a lot of sweet moments shared! Baking these cookies not only fills your kitchen with the delightful aroma of melted chocolate but also creates memories with loved ones. So, grab your ingredients and enjoy this classic favorite—it’s worth every crumb!