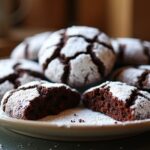
I love making chocolate chip cookies! You just need 2 1/4 cups of flour, 1 cup of softened butter, sugars, eggs, vanilla, and plenty of chocolate chips. Mix those dry ingredients, then fold in the chocolate. Scoop dough onto a baking sheet and pop it in the oven at 375°F for about 10 minutes. The result? Soft, chewy cookies that melt in your mouth, perfect for sharing. There’s so much more to explore about this timeless treat!
Contents
History

When I think about the origins of chocolate chip cookies, I’m always fascinated by how a simple recipe became an American classic. It all started in the 1930s when Ruth Wakefield, a clever chef, decided to experiment with a chocolate bar, breaking it into bits and adding it to her butter cookie dough. This innovative twist marked a significant moment in cookie origins, forever altering our dessert landscape. As chocolate evolved from bitter to sweet, it perfectly complemented the buttery, chewy texture of cookies. Wakefield’s creation quickly gained popularity, and its legacy continues today. With each delicious bite, we savor not just a treat, but a slice of history shaped by creativity and the joy of indulgence.
Recipe
Chocolate chip cookies are a timeless treat that brings joy to both the baker and the eater. Soft, chewy, and bursting with melty chocolate chips, these cookies are perfect for any occasion, whether it’s a cozy night in or a gathering with friends and family. The beauty of homemade chocolate chip cookies lies not only in their delicious flavor but also in the simple process of creating them, making them an ideal project for bakers of all skill levels.
Chocolate chip cookies are a delightful treat that brings happiness to every occasion, perfect for bakers of all levels.
To achieve the perfect balance of sweetness and texture, it’s essential to measure your ingredients accurately and follow the steps closely. This classic recipe uses brown sugar for a hint of caramel flavor and a soft texture, while granulated sugar adds a slight crispness to the edges. With just a few pantry staples, you can whip up a batch of cookies that are sure to impress and satisfy any sweet tooth.
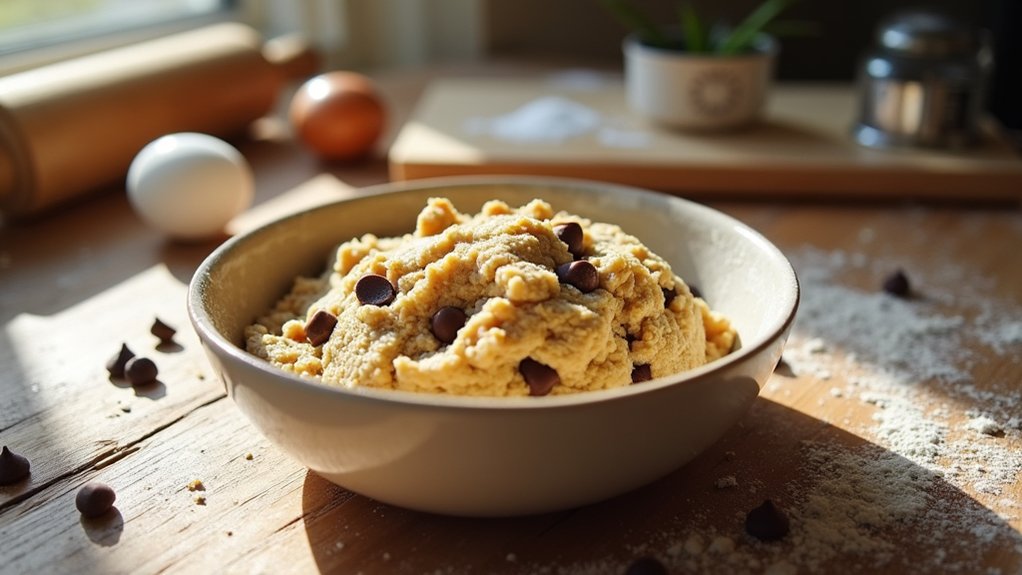
Ingredients:
- 2 1/4 cups all-purpose flour
- 1/2 teaspoon baking soda
- 1 cup unsalted butter, softened
- 1/2 cup granulated sugar
- 1 cup packed brown sugar
- 1 teaspoon salt
- 2 teaspoons vanilla extract
- 2 large eggs
- 2 cups semisweet chocolate chips
- 1 cup chopped nuts (optional)
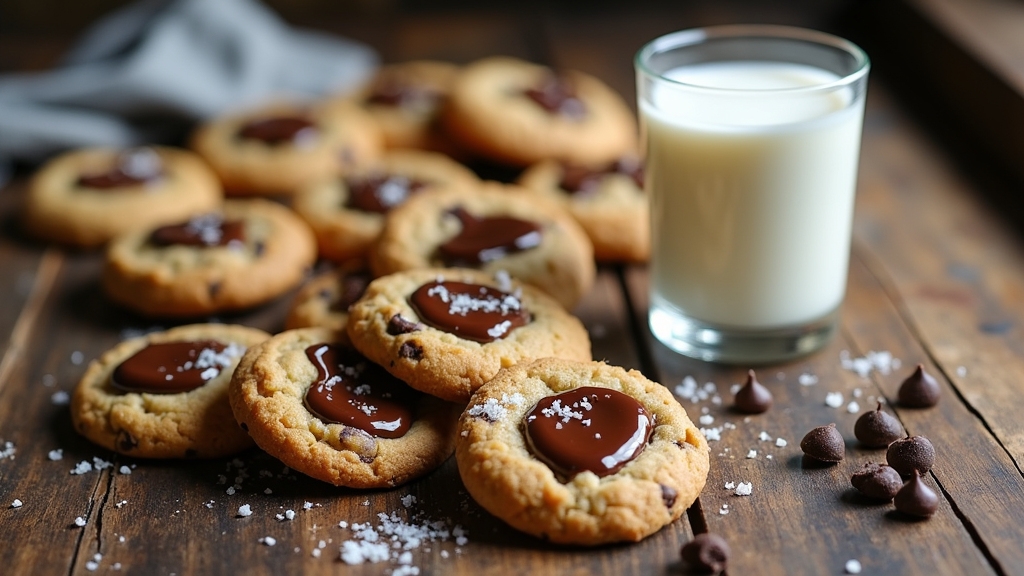
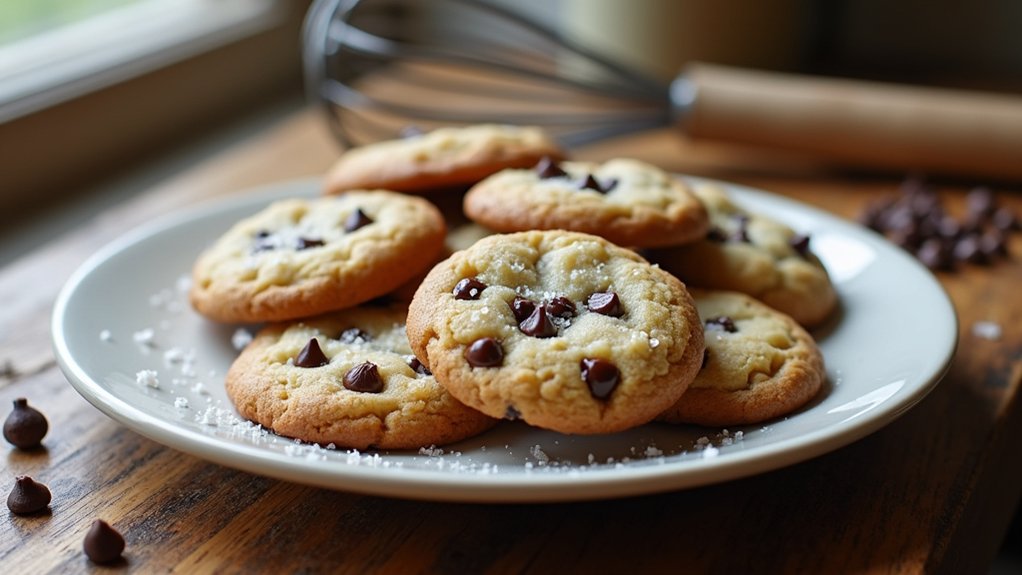
To make the cookies, preheat your oven to 375°F (190°C). In a small bowl, combine the flour and baking soda, and set it aside. In a large bowl, beat together the softened butter, granulated sugar, brown sugar, and salt until creamy. Add the vanilla extract and eggs, one at a time, mixing well after each addition. Gradually blend in the flour mixture and stir until just combined. Fold in the chocolate chips and nuts, if using. Drop rounded tablespoons of dough onto ungreased baking sheets, spacing them about 2 inches apart. Bake for 9 to 11 minutes or until golden brown, then cool on wire racks.
For the best results, make sure to let your butter soften at room temperature for about an hour before starting. This helps achieve the right consistency when creaming the butter and sugars together. If you prefer softer cookies, consider slightly underbaking them, as they will continue to cook on the baking sheet after being removed from the oven. Additionally, for an extra flavor boost, you can experiment by adding a sprinkle of sea salt on top of the cookies before baking or incorporating different types of chocolate chips, such as dark or white chocolate, to cater to your taste preferences. Enjoy your delicious homemade chocolate chip cookies!
Cooking Steps
Now that we’ve got our ingredients ready, let’s get started on the cooking steps! First, I’ll preheat the oven to 350°F to guarantee it’s nice and hot for baking. Then, I’ll mix the dry ingredients thoroughly to create a solid foundation for those delicious chocolate chips.
Step 1. Preheat Oven to 350°F
To kick off the cookie-baking process, I always preheat the oven to 350°F. This oven temperature is essential for achieving that perfect balance of crispy edges and chewy centers. While waiting for the oven to warm up, I take a moment to gather my ingredients and visualize the delicious cookies ahead. Here are a few baking techniques I find helpful during this time:
- Double-check your oven’s calibration for accuracy.
- Use an oven thermometer if you’re unsure about the temperature.
- Keep the oven door closed to maintain heat.
- Prepare your baking sheets with parchment paper.
- Set a timer to avoid distractions.
With everything ready, I can’t wait to plunge into the mixing and baking that follows!
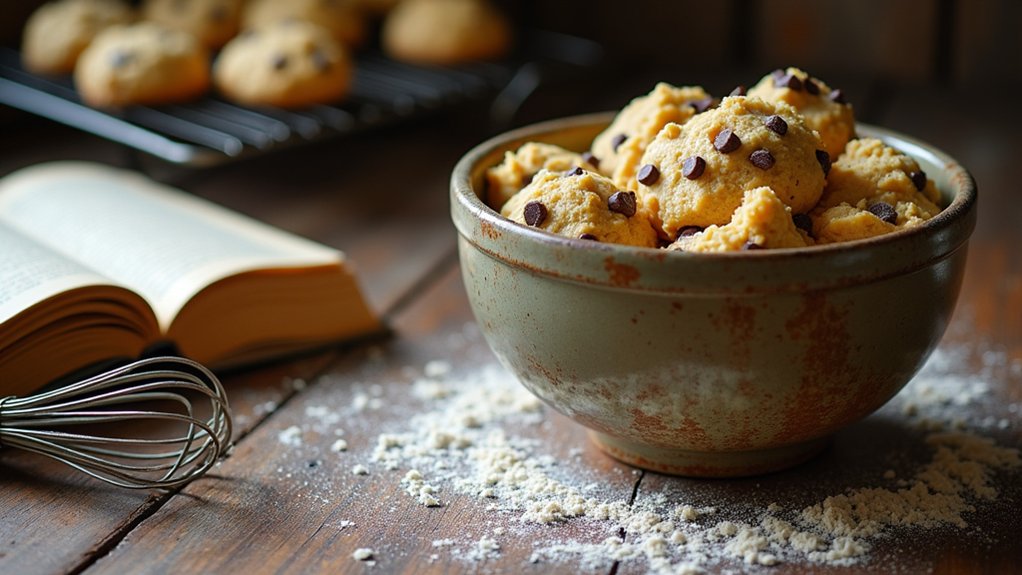
Step 2. Mix Dry Ingredients Thoroughly
Gathering my dry ingredients is like laying the foundation for a delicious cookie masterpiece. I carefully measure out flour, baking soda, salt, and a sprinkle of cornstarch, guaranteeing I hit the perfect ingredient ratios to achieve that chewy texture we all crave. Using innovative mixing techniques, I whisk the dry ingredients together until they’re harmoniously blended, creating a uniform mixture that prevents any clumps. This step is essential; it guarantees that the baking soda and salt are evenly distributed throughout, enhancing the flavor and texture of every bite. I take a moment to appreciate the science behind it—how these simple ingredients transform into something extraordinary. With my dry mix ready, I’m one step closer to cookie perfection!
Step 3. Add Chocolate Chips Evenly
Adding chocolate chips is the moment when my cookie dough truly comes alive. To achieve that perfect cookie texture, it’s essential to guarantee even distribution of those delightful morsels. I carefully fold in the chocolate chips, making sure they’re well dispersed throughout the dough. This step isn’t just about adding sweetness; it’s about creating a balanced flavor in every bite.
- Use semi-sweet or dark chocolate for a rich taste.
- Consider adding a mix of chips, like milk chocolate and butterscotch.
- Don’t be shy—add a little extra for indulgence!
- Gently fold, avoiding overmixing to keep the dough light.
- Let the dough rest for a few minutes for ideal flavor melding.
With this method, your cookies will be a true masterpiece!
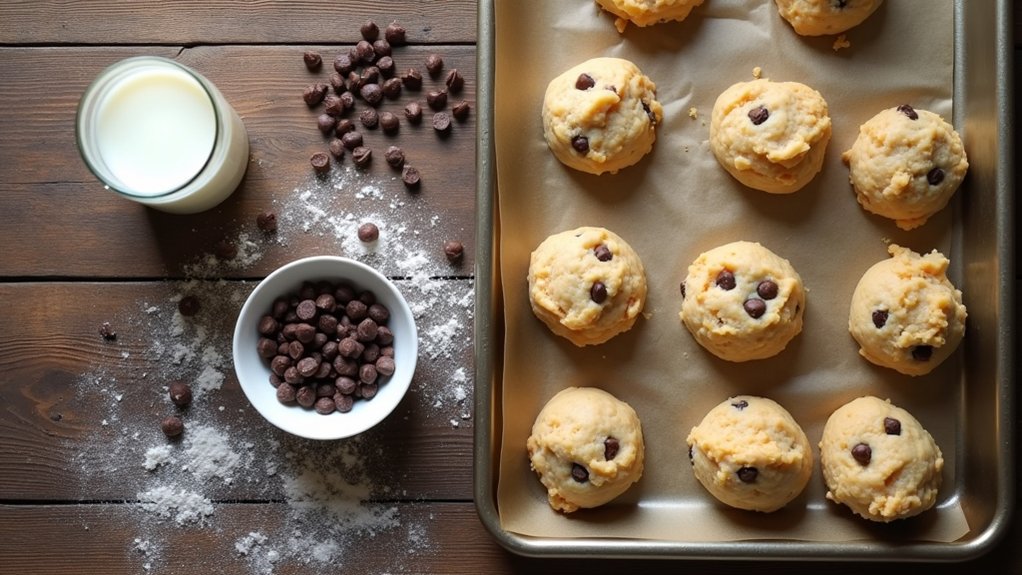
Step 4. Scoop Dough Onto Baking Sheet
With a sturdy cookie scoop in hand, I enthusiastically portion out the dough onto the prepared baking sheet. Using effective scoop techniques, I create uniform dollops that promise perfectly shaped cookies. I find that a consistent size not only guarantees even baking but also elevates the visual appeal. As I press the scoop into the chilled dough, it glides smoothly, thanks to the non-stick properties of my baking tools. I space the dough balls about two inches apart, allowing room for expansion. The anticipation builds as I see the chocolate chips peeking through, hinting at the deliciousness to come. This step is where creativity meets precision, setting the stage for cookie perfection in every bite!
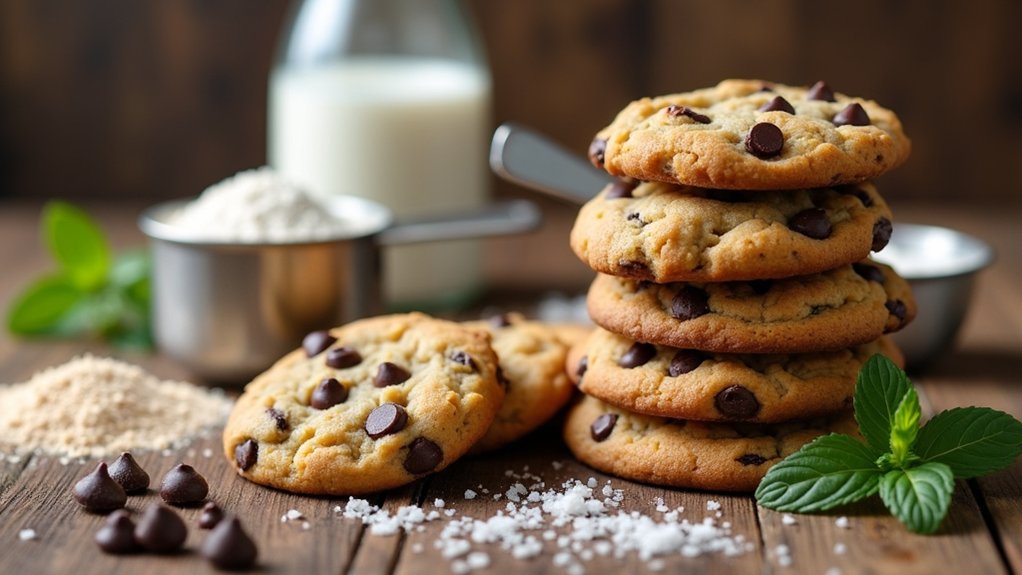
Step 5. Bake for 10-12 Minutes
Now it’s time to bake those delightful cookie dough mounds! Preheat your oven and place the baking sheet in. Keep an eye on them; the perfect baking time is essential for achieving that ideal cookie texture. I usually set a timer for 10-12 minutes, but it’s wise to check for that golden-brown edge.
- The aroma will fill your kitchen.
- Watch for the dough to puff slightly.
- A soft center is a sign of perfection.
- Don’t forget to rotate the sheet halfway!
- Allow them to cool before indulging.
Trust me, this step transforms the cookie dough into irresistible treats. You’ll love how they look and taste once they come out of the oven!
Nutritional Guide
While enjoying a warm chocolate chip cookie, I often consider the nutritional aspects that come with this beloved treat. Each bite holds not just flavor but also a blend of caloric content and ingredient benefits. Here’s a quick look at what goes into my cookie:
| Ingredient | Benefits |
|---|---|
| All-purpose flour | Provides carbohydrates for energy |
| Brown sugar | Adds moisture and minerals |
| Butter | Contributes healthy fats |
| Chocolate chips | Rich in antioxidants |
While these cookies can be indulgent, they also offer some nutritional perks. Balancing enjoyment with awareness makes every bite feel even better. So, savor your cookie, knowing it contains both sweetness and substance!
Final Thoughts
As I reflect on the joy that a freshly baked chocolate chip cookie brings, it’s clear that this treat transcends mere indulgence. The aroma wafting through the kitchen, the gooey chocolate melting in your mouth—it’s pure bliss. With some baking tips and cookie variations, you can elevate this classic to new heights.
Here are a few ideas to inspire your next batch:
- Experiment with different types of chocolate: dark, milk, or white.
- Add a pinch of sea salt for an unexpected twist.
- Swap out half the flour for almond flour for a nutty flavor.
- Try incorporating oats or dried fruit for texture.
- Make mini cookies for a delightful bite-sized treat.
Baking cookies is about creativity—so don’t hesitate to make it your own!
Frequently Asked Questions
Can I Substitute Butter With Margarine in This Recipe?
Yes, you can substitute margarine for butter! I’ve found margarine offers a lighter texture and lower fat content. However, it may lack that rich, buttery flavor we love, so keep that in mind when baking.
How Can I Make Cookies Chewier or Crispier?
To achieve a chewy texture, I add more brown sugar and an extra egg yolk. For crispy edges, I use less moisture and increase baking time slightly. Experimenting’s the key to perfecting your cookies!
What Is the Best Way to Store Leftover Cookies?
To keep cookie freshness, I store leftover cookies in an airtight container at room temperature. If I want them to last longer, I freeze them, ensuring they stay chewy and delicious for future cravings!
Can I Freeze the Cookie Dough for Later Use?
Absolutely, I freeze cookie dough like it’s gold! Using proper freezing techniques, I scoop and store dough in airtight containers. This way, I’ve got delicious future treats ready whenever I crave something sweet.
What Variations Can I Add to the Classic Recipe?
I love experimenting with variations! You can add nutty additions like walnuts or pecans for crunch, and dried fruits like cranberries or apricots for a sweet twist. It transforms the classic into something uniquely delicious!
Conclusion
As I savor the warm, gooey chocolate chip cookie, I’m reminded of childhood memories filled with laughter and the sweet aroma of baking. Yet, in this simple treat lies a contrast: the fleeting joy of indulgence against the backdrop of moderation. Each bite offers comfort, but it also whispers a reminder to appreciate balance in life. So, let’s cherish these moments—both the sweetness of today and the wisdom of tomorrow—as we navigate our own recipes for happiness.