Baking 100 cookies is an exciting challenge I can’t resist! I love experimenting with classic flavors like chocolate chip and oatmeal raisin, while adding unique twists to keep things interesting. The aroma fills my kitchen, creating an irresistible atmosphere. Each step, from preheating the oven to chilling the dough, is essential for achieving the perfect texture and flavor. Trust me; there’s so much more to explore about recipes and techniques that make each batch special!
Contents
History

When I plunge into the history of cookies, I can’t help but marvel at how this simple treat has evolved over centuries. The cookie’s origins trace back to 7th century Persia, where sugar was first used, but it was the European bakers who transformed it into the delightful morsels we cherish today. As I explore the baking evolution, I discover how cookies progressed from hard, unleavened biscuits to the soft, chewy varieties we enjoy now. Each culture added its flair, from the Italian biscotti to the French macaroon. It’s fascinating to see how innovation in ingredients and techniques has shaped cookies into a global phenomenon, uniting taste buds and inspiring countless recipes across the world.
Recipe
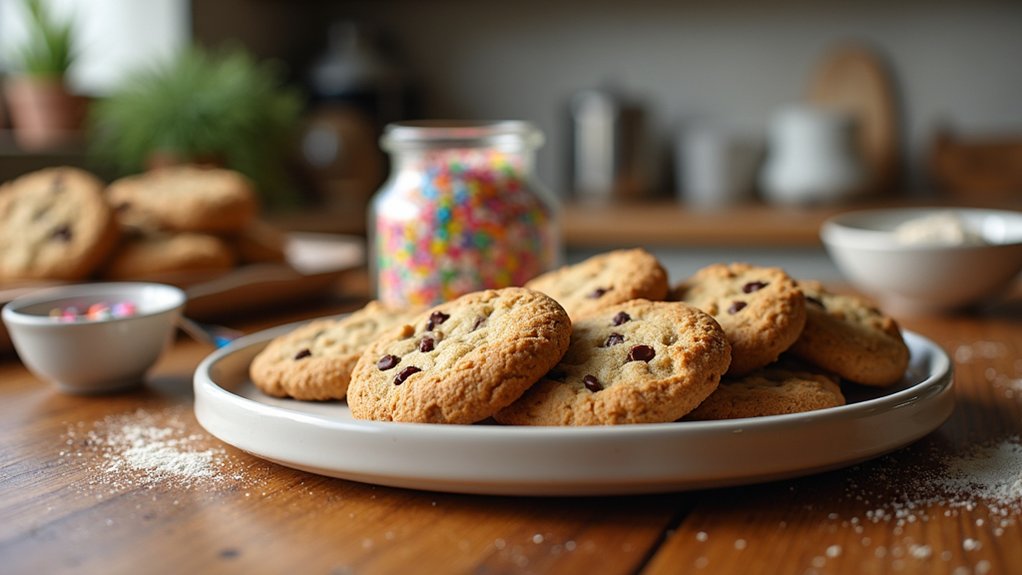
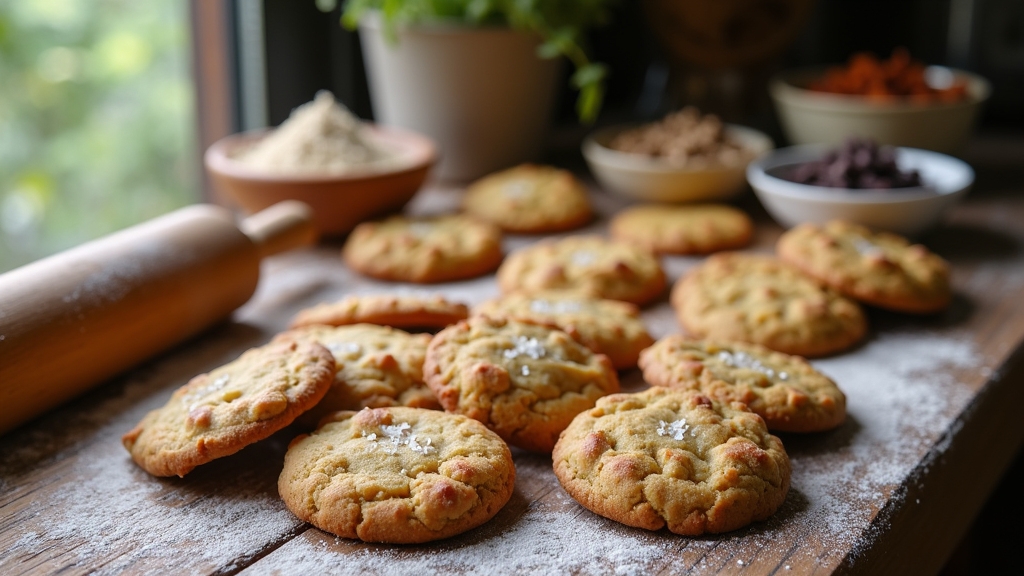
Baking cookies is a delightful way to fill your kitchen with sweet aromas and create a treat that can be enjoyed by everyone. Whether you prefer classic chocolate chip, oatmeal raisin, or peanut butter cookies, the process of making them is often just as enjoyable as eating them. This simple cookie recipe is perfect for both beginners and seasoned bakers, providing a base that can be customized with your favorite add-ins like nuts, chocolate chunks, or dried fruits.
Baking cookies fills your home with sweet aromas and creates a delightful treat for everyone to enjoy.
To get started, gather your ingredients and prepare your workspace. Preheating your oven is vital, as it guarantees that your cookies bake evenly and achieve that perfect golden-brown color. The key to delicious cookies lies in the balance of ingredients, so measuring accurately is important. Once you have everything ready, you can begin the fun part—mixing, shaping, and baking your cookies to perfection!
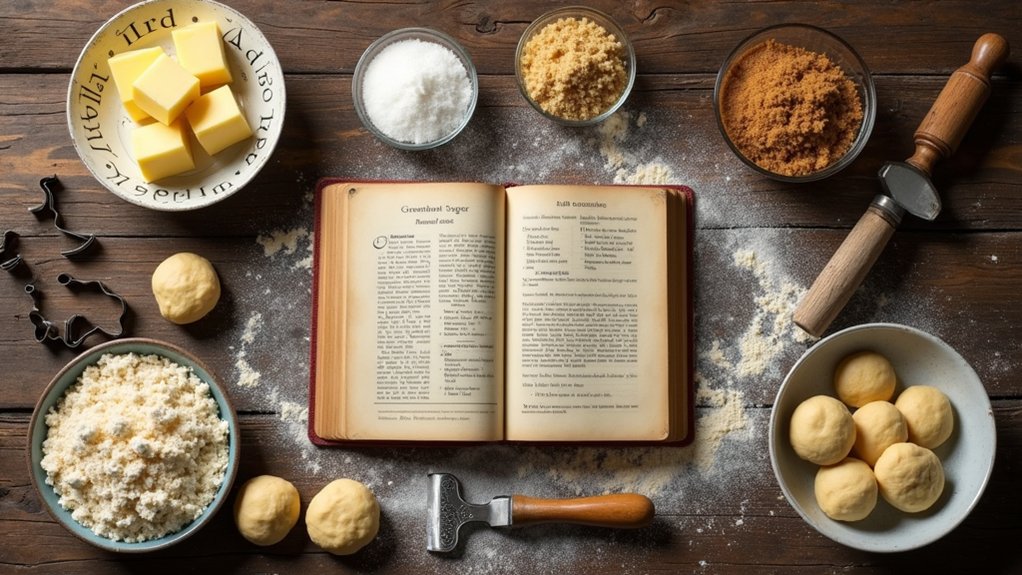
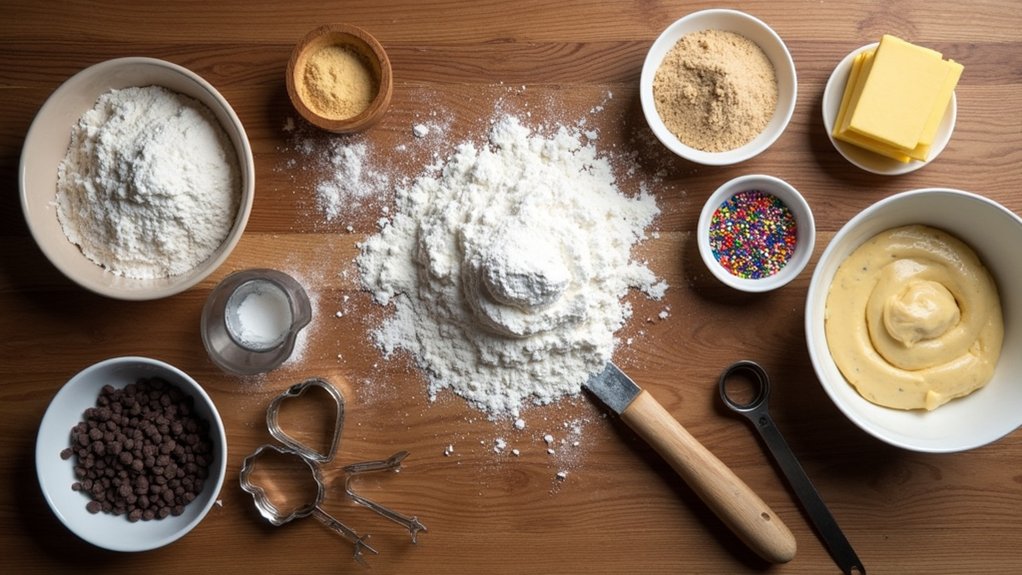
Ingredients:
- 2 1/4 cups all-purpose flour
- 1/2 teaspoon baking soda
- 1 cup unsalted butter, softened
- 1 1/2 cups granulated sugar
- 1 cup packed brown sugar
- 1 teaspoon salt
- 2 teaspoons pure vanilla extract
- 2 large eggs
- 2 cups chocolate chips
To prepare the cookies, first, preheat your oven to 350°F (175°C). In a small bowl, whisk together the flour and baking soda, then set aside. In a large mixing bowl, cream together the softened butter, granulated sugar, brown sugar, and salt until light and fluffy. Beat in the vanilla extract and eggs, one at a time, mixing well after each addition. Gradually add the flour mixture, stirring until just combined. Finally, fold in the chocolate chips. Drop rounded tablespoons of dough onto ungreased baking sheets, spacing them about 2 inches apart. Bake in the preheated oven for 10-12 minutes or until edges are lightly golden. Allow to cool on the baking sheets for a few minutes before transferring to wire racks to cool completely.
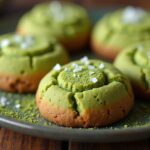
When making cookies, one important tip to remember is to avoid overmixing the dough after adding the flour, as this can lead to tough cookies. Also, for chewier cookies, try chilling the dough for at least 30 minutes before baking; this allows the flavors to meld and can enhance the texture. Experiment with different mix-ins or toppings, such as sea salt or sprinkles, to create your own unique variation. Happy baking!
Cooking Steps
Let’s get started with the cooking steps that will bring our cookie creation to life! First, I’ll preheat my oven to 350°F, setting the stage for that perfect bake. Then, I’ll mix the dry ingredients together, and you’ll see how easy it is to create something delicious right in your own kitchen.
Step 1. Preheat Oven to 350°F
Preheating the oven to 350°F is an essential step in baking perfect cookies. This specific oven temperature creates an ideal environment for the cookies to rise beautifully while guaranteeing they bake evenly. I always set my oven ahead of time; it gives me a moment to gather my ingredients and get excited about the baking process. An accurate oven temperature is critical for achieving that delightful golden-brown hue and soft center. By utilizing proper baking techniques, like preheating, I make certain my cookies don’t spread too thin or remain doughy inside. This simple yet significant step can elevate your cookie game, transforming your creations into mouthwatering masterpieces that everyone will adore. Trust me, your cookies will thank you!
Step 2. Mix Dry Ingredients Together
Mixing dry ingredients is an essential step that sets the foundation for delicious cookies. I start by selecting my flour types, often a blend of all-purpose and cake flour to achieve that perfect balance of chewiness and tenderness. Next, I measure out my sugar ratios; using a combination of granulated and brown sugar not only adds sweetness but also depth of flavor. I whisk these ingredients together, ensuring they’re well combined to avoid any clumps. If I’m feeling adventurous, I toss in a pinch of sea salt and a dash of baking soda to enhance the cookie’s overall taste. This meticulous preparation creates a harmonious blend, ready to welcome the wet ingredients in our next step. Let’s keep that momentum going!
Step 3. Add Wet Ingredients Gradually
With the dry ingredients perfectly blended, it’s time to invite the wet ingredients into the mix. I start by gently pouring in the melted butter, followed by the eggs and a splash of vanilla extract. It’s essential to make this a gradual addition, allowing the dry ingredients to absorb the moisture evenly. I stir gently, watching as the mixture transforms into a beautiful, creamy dough. Each addition enhances the texture, making it rich and decadent. Remember, rushing this step can lead to clumps or uneven consistency, so take your time. As I mix, I can already envision the delightful cookies that await—crispy edges and chewy centers, all thanks to this careful blending of wet ingredients into our dry foundation.
Step 4. Chill Dough for 30 Minutes
Chilling the dough for 30 minutes is an essential step that I never skip. This brief pause in the process offers numerous chilling benefits that elevate my cookies to another level. As the dough cools, the fat solidifies, which helps the cookies hold their shape during baking. I’ve noticed that this waiting period enhances the cookie texture, resulting in a chewy center and crispy edges that are simply irresistible. Plus, allowing the flavors to meld during chilling creates a richer taste profile that delights every palate. Trust me, if you want to innovate your cookie game, don’t rush this step. Embrace the chill, and your cookies will thank you with every delicious bite!
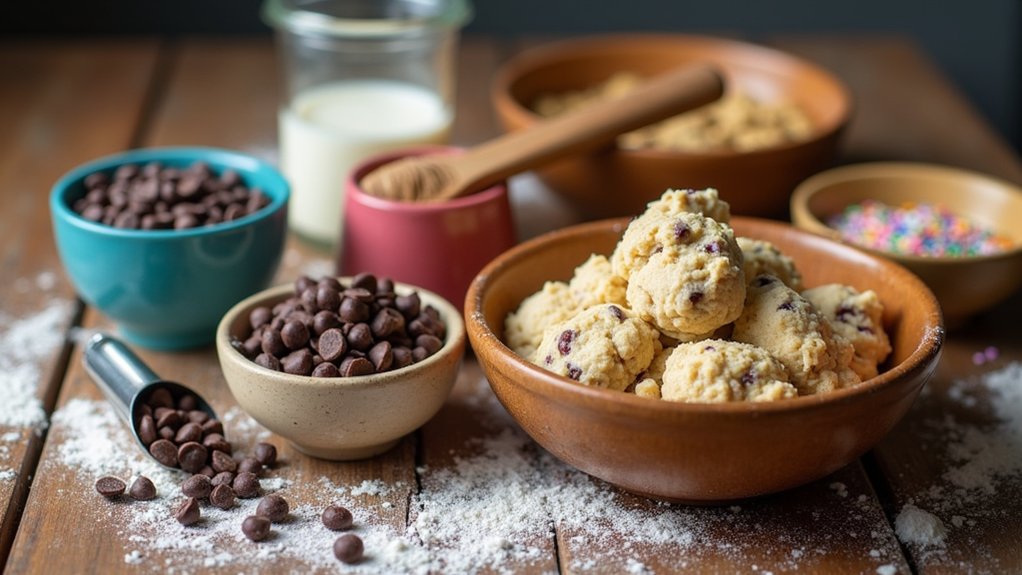
Step 5. Scoop Dough Onto Baking Sheet
Once the dough has chilled to perfection, it’s time to scoop it onto the baking sheet. I grab my trusty cookie scoop, a game-changer in cookie-making. Using it guarantees uniformity, so every cookie bakes evenly. For precision, I recommend filling the scoop generously but not overflowing—this is one of my favorite dough portioning tips. With a gentle squeeze, I release each mound onto the lined sheet, giving them enough space to spread. If you’re feeling adventurous, try varying the scoop size for a fun mix of large and small cookies. Remember, cookie scoop techniques aren’t just about aesthetics; they enhance the texture and flavor profile. Each scoop is a step closer to cookie bliss!
Nutritional Guide
When it comes to enjoying cookies, understanding their nutritional content can enhance your experience and help you make informed choices. I’ve found that knowing the caloric content and ingredient benefits can turn a sweet treat into a mindful indulgence. Here’s a quick breakdown:
| Ingredient | Caloric Content (per serving) | Ingredient Benefits |
|---|---|---|
| Flour | 100 | Provides structure and energy |
| Butter | 120 | Adds richness and flavor |
| Sugar | 50 | Boosts sweetness and enjoyment |
Final Thoughts
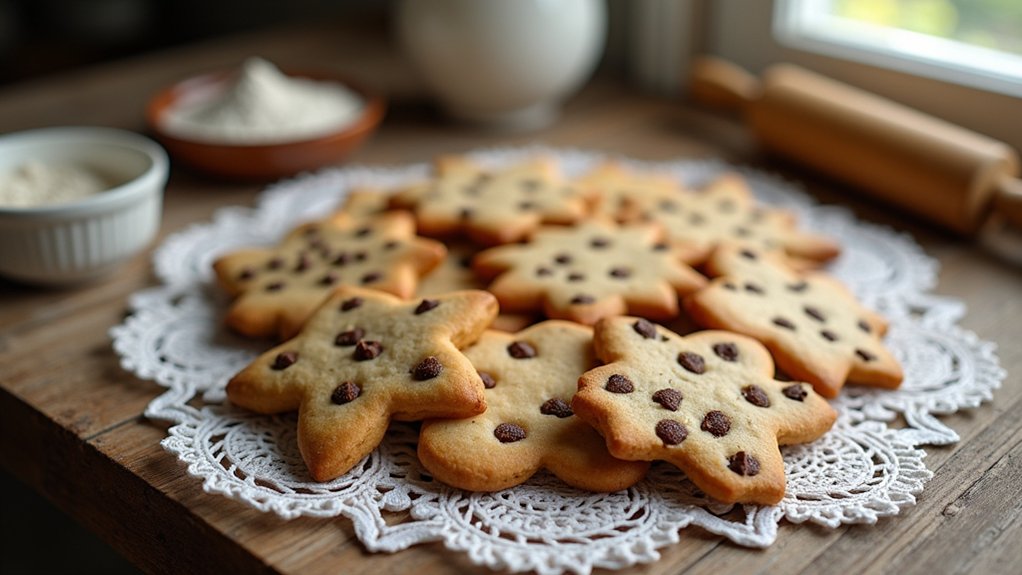
As I reflect on the joy of baking cookies, it becomes clear that this delightful experience goes beyond simply mixing ingredients. It’s an opportunity to release creativity through endless cookie variations. From classic chocolate chip to adventurous lavender-infused delights, the possibilities are truly exciting. I’ve learned that following a few essential baking tips, like measuring accurately and using room temperature ingredients, can transform a good cookie into a great one. Don’t shy away from experimenting with spices or unexpected mix-ins; innovation often leads to the best recipes. Remember, the process is just as important as the result. So, roll up your sleeves, gather your loved ones, and begin this sweet journey—your kitchen is your canvas!
Frequently Asked Questions
Can I Freeze the Cookie Dough for Later Use?
I love using freezing methods for dough storage. Just scoop the dough into portions, wrap it tightly, and store it in an airtight container. It keeps well, making baking fresh cookies super convenient later!
What Is the Best Way to Store Baked Cookies?
To store baked cookies, I use airtight containers. For freshness, I separate flavors with parchment paper. This method keeps my cookies soft and chewy, preserving their deliciousness while showcasing my innovative approach to cookie storage.
Can I Substitute Ingredients for Dietary Restrictions?
I love experimenting with ingredient swaps for dietary restrictions. You can use baking alternatives like almond flour instead of wheat or flaxseed instead of eggs. These changes can create deliciously unique treats without compromising flavor!
How Long Do These Cookies Stay Fresh?
Cookies can keep their delightful texture for about a week when stored properly. I’ve found that airtight containers help maintain freshness, ensuring those sweet treats remain scrumptious and satisfying for several days, if not longer!
Can I Use Different Flavors or Add-Ins for These Cookies?
I love experimenting with flavor combinations and creative add-ins. Try mixing in nuts, dried fruits, or even spices like cinnamon. It’s a fun way to personalize each batch and discover new favorites!
Conclusion
In summary, baking these 100 cookies is like releasing a sweet symphony that dances through your kitchen, filling the air with the irresistible aroma of homemade goodness. Each bite is a delightful journey, showcasing the perfect blend of flavors and textures that’ll have everyone clamoring for more. So, gather your ingredients, embrace the joy of baking, and create delicious memories. Trust me, these cookies will become the stars of every gathering, leaving a lasting impression on all who taste them!