Heart cookies are a delightful way to express love, perfect for occasions like Valentine’s Day or weddings. To make them, I mix 2 ¾ cups of flour, 1 teaspoon of baking powder, and ½ teaspoon of salt with 1 cup of softened butter and 1 ½ cups of sugar. Rolling them out and cutting into heart shapes is the fun part! Baking them at 350°F creates a sweet, buttery treat. Stick with me to uncover exciting variations and icing techniques!
Contents
History


When I think about heart cookies, I can’t help but marvel at their rich history, which dates back centuries. These delightful treats aren’t just tasty; they embody cultural significance that transcends borders. Originating from various baking traditions, heart cookies symbolize love and affection, often shared during celebrations like Valentine’s Day and weddings. I find it fascinating how each culture adds its unique touch, whether it’s a sprinkle of spices or a particular icing technique. These cookies have evolved, blending innovation with tradition, reflecting our changing tastes while honoring their roots. As I bake, I feel connected to those who came before me, embracing both the artistry and the emotion that heart cookies represent in our lives.
Recipe

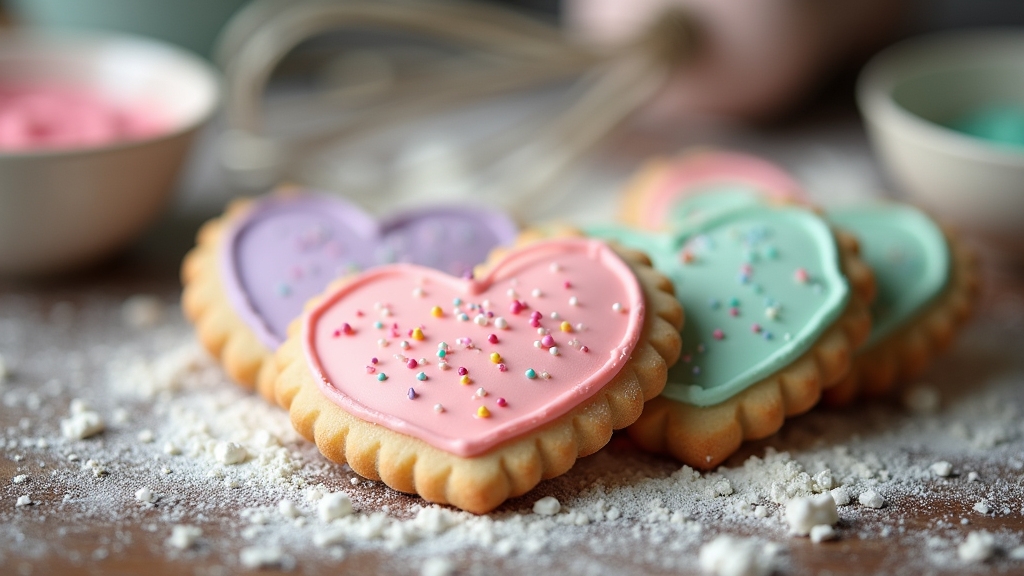
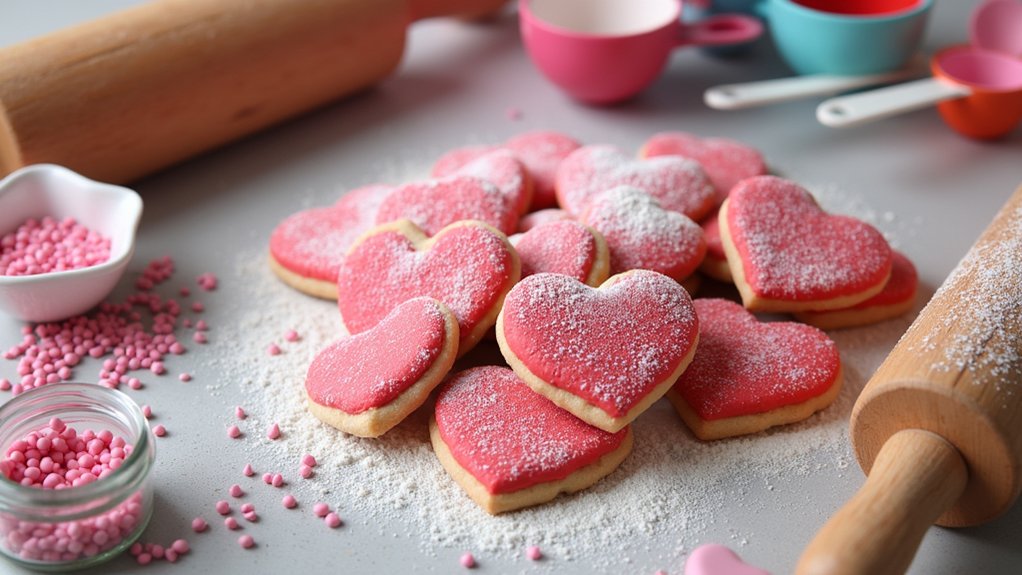
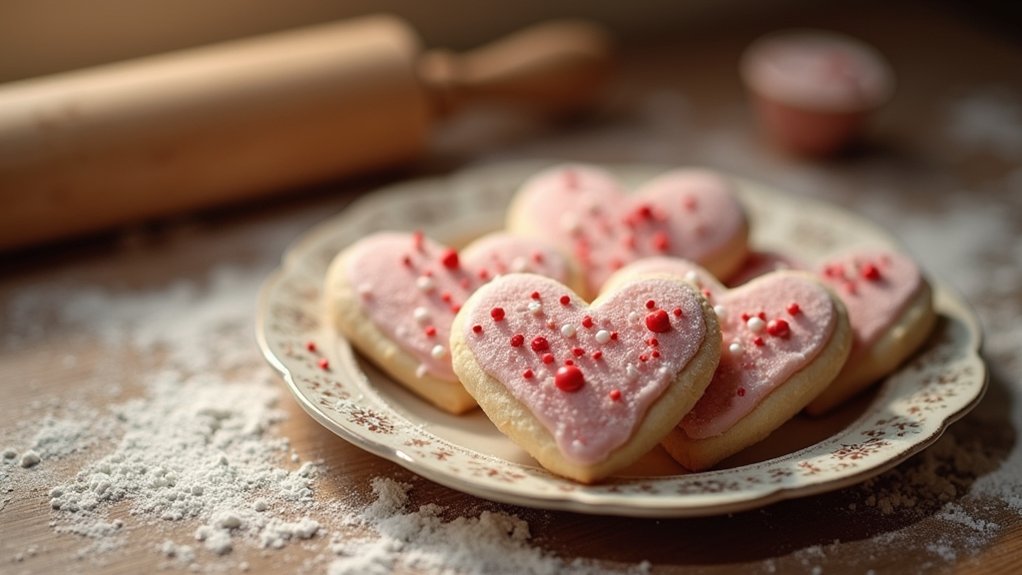
Heart-shaped cookies are a delightful treat that can be enjoyed on various occasions, especially during Valentine’s Day or anniversaries. These charming cookies not only look adorable but also taste delicious, making them the perfect gift for loved ones or a fun activity to share with family. With their sweet buttery flavor and soft texture, heart cookies are bound to bring a smile to anyone who bites into them.
Making heart cookies is simple and requires just a few basic ingredients. Once you have mastered the recipe, feel free to experiment with different flavors or decorations, such as icing or sprinkles, to personalize your cookies for any special occasion. Whether you’re an experienced baker or a beginner, this recipe will guide you through the process of creating beautiful and tasty heart-shaped cookies that everyone will adore.
Ingredients:
- 2 ¾ cups all-purpose flour
- 1 teaspoon baking powder
- ½ teaspoon salt
- 1 cup unsalted butter, softened
- 1 ½ cups granulated sugar
- 1 large egg
- 1 teaspoon vanilla extract
- ½ teaspoon almond extract (optional)
- Icing or royal icing (for decoration)
Instructions:
In a large mixing bowl, whisk together the flour, baking powder, and salt. In another bowl, cream the softened butter and granulated sugar until light and fluffy. Add the egg, vanilla extract, and almond extract, mixing until well combined. Gradually incorporate the dry ingredients into the wet mixture, stirring until a dough forms. Wrap the dough in plastic wrap and refrigerate for at least 1 hour. Preheat the oven to 350°F (175°C). Roll out the chilled dough on a lightly floured surface to about ¼-inch thickness and use a heart-shaped cookie cutter to cut out the cookies. Place them on a baking sheet lined with parchment paper and bake for 8-10 minutes until the edges are lightly golden. Let them cool before decorating with icing.
Extra Tips:
For the best results, make sure your butter is at room temperature before creaming it with sugar, as this helps to achieve a light and fluffy texture. Don’t skip the chilling step, as it’s essential for making the dough easier to handle and prevents the cookies from spreading too much while baking. Feel free to get creative with your decorations—use food coloring in the icing or add sprinkles to give your heart cookies a festive touch.
Cooking Steps
Let’s get started on these heart cookies! First, I preheat my oven to 350°F to guarantee it’s nice and hot when the cookies are ready. Then, I mix the dry ingredients together before gradually adding the wet ingredients, creating a delightful dough that’s perfect for cutting out heart shapes.
Step 1. Preheat the Oven to 350°F
To kick off our heart cookies adventure, preheating the oven to 350°F is essential. This oven temperature is a sweet spot for baking cookies, ensuring they come out perfectly golden and chewy. As I set the dial, I can feel the anticipation build; the warmth will soon envelop my kitchen, creating a cozy atmosphere ripe for baking magic.
An important baking tip is to allow the oven to fully reach this temperature before popping in your cookies. This way, they’ll bake evenly, avoiding any doughy surprises. While the oven warms up, I take a moment to gather my ingredients, knowing that this initial step sets the stage for delicious heart cookies that will surely impress. Let’s get ready for some baking fun!
Step 2. Mix Dry Ingredients Together
As the oven warms, I gather my dry ingredients, enthusiastic to blend them into a harmonious mixture that lays the foundation for our heart cookies. First, I measure out flour, baking powder, and a pinch of salt, ensuring I respect the ingredient ratios for balanced flavor and texture. Using a whisk, I gently aerate the flour, an essential baking technique that helps create a light, tender cookie. Next, I incorporate granulated sugar and a sprinkle of cinnamon, adding depth to our sweet creation. Mixing these elements thoroughly allows the flavors to meld, setting the stage for the delightful heart-shaped treats to come. With my dry ingredients ready, I can’t wait to introduce the wet ones for that perfect cookie dough!
Step 3. Add Wet Ingredients Gradually
With the dry ingredients perfectly mixed, it’s time to bring everything together by adding the wet ingredients. This step’s essential for achieving that delightful cookie texture, and I love to be strategic about it. I like to pour the liquids in gradually, using effective mixing techniques to guarantee an even consistency. Here’s how I do it:
- Start with the eggs; they’ll create a rich base.
- Add the vanilla extract for that aromatic touch.
- Slowly drizzle in melted butter for a luscious finish.
- Mix thoroughly after each addition to avoid lumps.
Step 4. Cut Out Heart Shapes
Now that the dough is ready, it’s time to cut out those adorable heart shapes that will make these cookies truly special. I flour my work surface lightly to prevent sticking and roll out the dough to about a quarter-inch thickness. Using a heart-shaped cookie cutter, I press down firmly, ensuring each cookie design captures that perfect heart outline. If I want to get creative, I sometimes mix it up with smaller cutters for layered designs or even add some decorative details. Once I’ve cut out a batch, I carefully transfer them to a baking sheet lined with parchment paper. It’s so satisfying to see these charming heart shapes lined up, ready to be baked into delicious treats!
Step 5. Bake for 10-12 Minutes
After arranging the heart-shaped cookies on the baking sheet, I preheat the oven to 350°F (175°C). As the oven warms up, I prepare myself for the magic of baking, knowing these cookies will soon transform into delightful treats. I pop them in for 10-12 minutes, carefully monitoring the time to achieve the perfect cookie textures.
Here are some baking techniques I rely on during this essential step:
- Position the rack in the middle for even heat distribution.
- Rotate the baking sheet halfway through for uniform baking.
- Look for a golden edge and soft center to guarantee they’re just right.
- Allow them to cool slightly on the sheet before transferring to a wire rack.
Trust me, patience is key!
Nutritional Guide

While indulging in these heart-shaped cookies, it’s essential to contemplate their nutritional impact on our diet. Understanding the caloric content and ingredient benefits can help us enjoy them mindfully. Here’s a quick overview of what you’re biting into:
| Ingredient | Caloric Content (per serving) | Key Benefits |
|---|---|---|
| Almond Flour | 100 | Rich in healthy fats |
| Coconut Oil | 120 | Boosts metabolism |
| Maple Syrup | 50 | Natural sweetener |
| Dark Chocolate | 170 | High in antioxidants |
These ingredients not only bring joy but also provide nutrients that can support our health. So, as you savor each bite, know you’re making a delicious choice!
Final Thoughts
As we wrap up our exploration of these delightful heart cookies, it’s clear that they’re more than just a tasty treat. They embody creativity and love, making them perfect for special occasions. Whether you’re a seasoned baker or just starting out, these cookies offer endless possibilities for innovation.
Here are some baking tips to elevate your heart cookie game:
- Experiment with flavors like lavender or matcha.
- Use various icing techniques for unique designs.
- Try different cookie variations, such as gluten-free or vegan.
- Add fun toppings like sprinkles or edible glitter.
Embrace your creativity, and don’t hesitate to adapt the recipe to fit your taste. Happy baking, and enjoy sharing your heart cookies with those you love!
Frequently Asked Questions
Can I Use Gluten-Free Flour for Heart Cookies?
Absolutely, I’ve used gluten-free flour for heart cookies before! Just remember to adjust your ratios and consider adding xanthan gum. Experimenting with gluten-free options can lead to delicious surprises—trust me, it’s worth it!
How Should I Store Leftovers?
I store leftover cookies in an airtight container at room temperature to maintain their freshness. If I want them to last longer, I freeze them, ensuring they stay delicious and ready for indulgence whenever I crave!
What Are Some Decoration Ideas for Heart Cookies?
Have you ever tried using piping techniques for cookie decorations? I love adding edible glitter for a magical touch! Swirls, hearts, and flowers transform my cookies into delightful treats that impress everyone at gatherings.
Can These Cookies Be Frozen?
Absolutely, I can freeze these cookies! Using proper freezing techniques, I wrap them tightly to guarantee cookie preservation. This way, I enjoy their deliciousness later, keeping that fresh-baked taste intact for special moments.
What Are Common Variations for Heart Cookies?
Did you know 80% of bakers love experimenting with flavors? I enjoy adding citrus zest to sugar cookies or making chocolate hearts filled with raspberry jam. These variations keep things fresh and exciting in the kitchen!
Conclusion
Baking heart cookies isn’t just about creating a treat; it’s about pouring love into every step. As the sweet aroma fills your kitchen, you’ll feel warmth enveloping you, like a cozy hug on a chilly day. These cookies are perfect for any occasion, spreading joy and sweetness to everyone who bites into them. So, don’t hesitate—roll up your sleeves and whip up a batch. Trust me, your heart (and taste buds) will thank you!