If you’re looking for a delicious caramel cake recipe, you’re in for a treat! This cake combines rich butteriness with sweet caramel frosting, creating layers of moist goodness. With ingredients like flour, sugar, butter, and warm caramel, it’s simple yet satisfying. Once you mix your dry and wet ingredients, bake it until golden brown. The best part? Baking brings people together and creates memorable moments. Let’s explore how to make this delightful dessert that will surely impress!
Contents
History
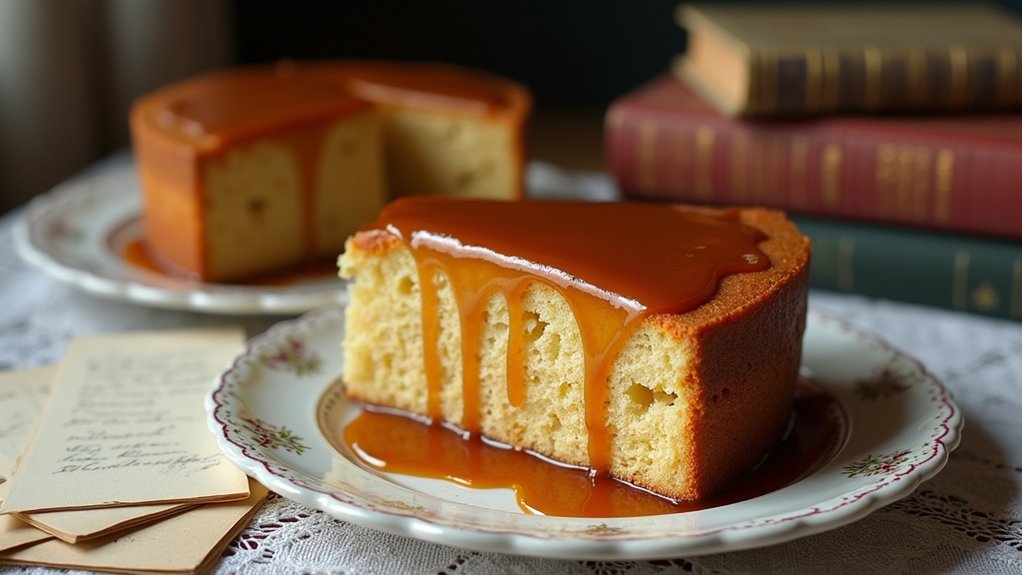
When I think about caramel cake, I can’t help but feel a wave of nostalgia wash over me. This dessert, with its rich Southern origins, has evolved into a beloved treat that captures the essence of home. I remember my grandmother whipping up this cake, her hands moving with a blend of tradition and creativity. It’s fascinating how caramel cake has transformed over the years, adapting to modern tastes while still honoring its roots. Each layer tells a story, reflecting the deep culinary history of the South. As I share this cake with friends and family, I’m reminded of how food connects us, bridging generations and sparking joy. Let’s embrace this evolution and keep the tradition alive!
Recipe
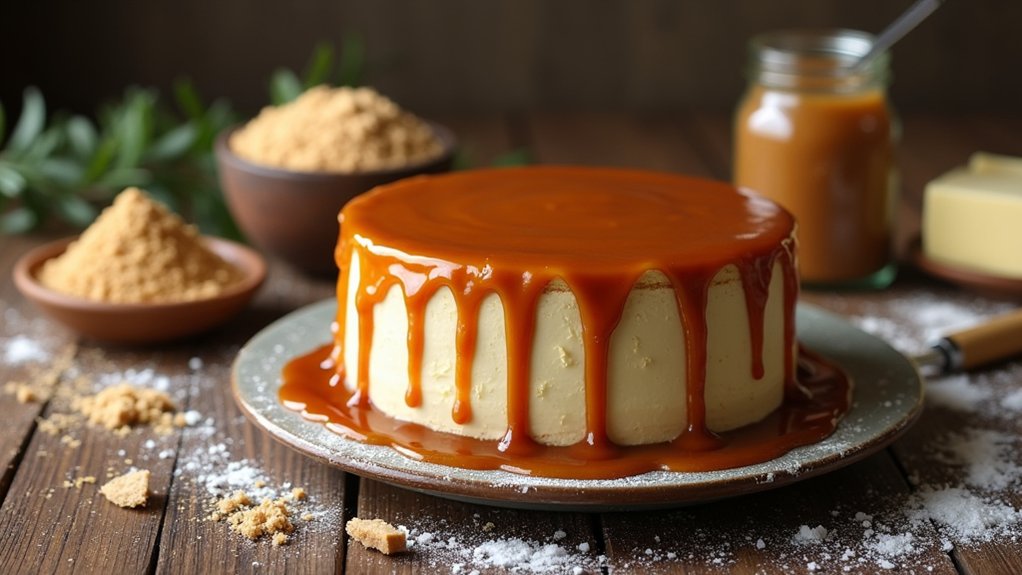
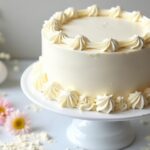
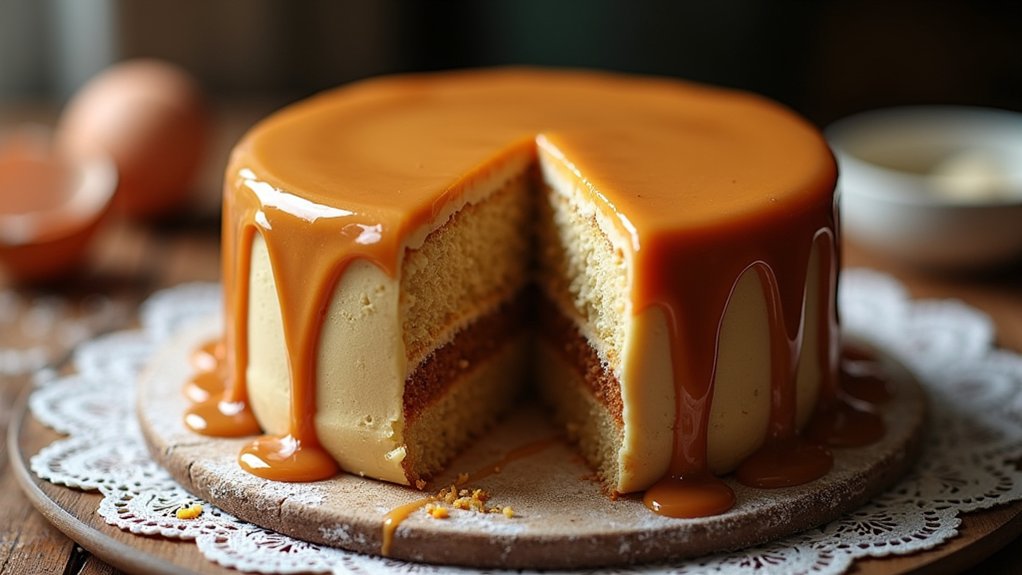
Caramel cake is a delightful dessert that combines the rich, buttery flavor of a classic cake with the sweet, sticky goodness of caramel. This cake is perfect for any occasion, whether it’s a family gathering, birthday celebration, or just a treat for yourself. The layers of moist cake are complemented by a luscious caramel frosting that adds an indulgent richness to every bite. With its beautiful golden hue and inviting aroma, caramel cake is sure to impress your guests and leave them craving more.
Making caramel cake doesn’t require advanced baking skills, making it accessible for bakers of all levels. The key to achieving the perfect caramel flavor lies in the careful cooking of the sugar until it reaches a beautiful amber color. Once you master the caramel, the rest of the cake comes together quite easily. Gather your ingredients, and let’s get started on this sweet adventure!
Ingredients:
- 2 cups all-purpose flour
- 1 ½ cups granulated sugar
- ½ cup unsalted butter, softened
- 1 cup whole milk
- 3 large eggs
- 2 teaspoons baking powder
- 1 teaspoon vanilla extract
- ¼ teaspoon salt
- 1 cup brown sugar
- ½ cup heavy cream
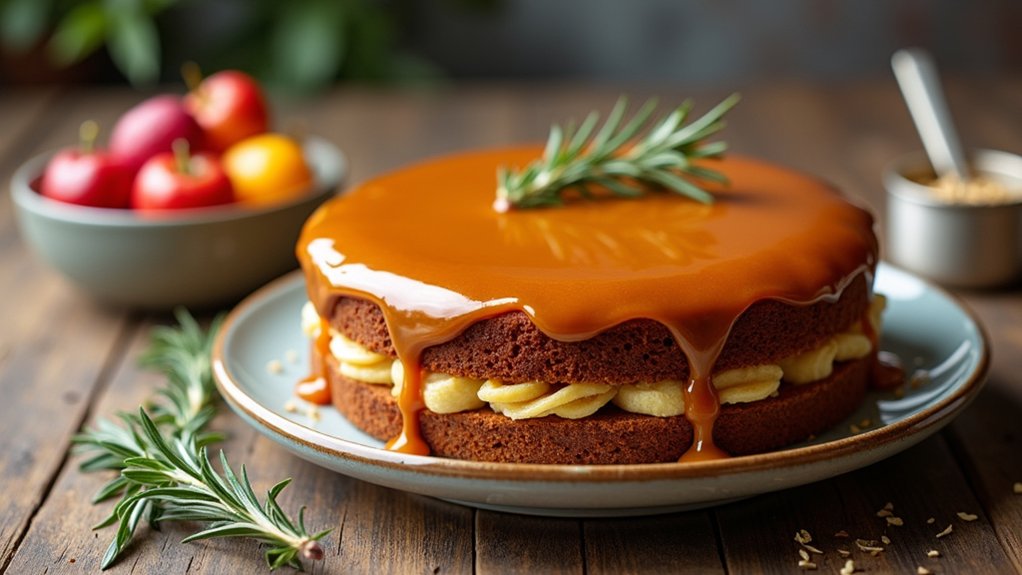
To prepare the caramel cake, preheat your oven to 350°F (175°C) and grease two 9-inch round cake pans. In a large mixing bowl, cream together the softened butter and granulated sugar until light and fluffy. Add the eggs one at a time, mixing well after each addition, then stir in the vanilla. In another bowl, whisk together the flour, baking powder, and salt. Gradually add the dry ingredients to the wet mixture, alternating with the milk, and mix until just combined. Divide the batter evenly between the prepared pans and bake for 25-30 minutes, or until a toothpick inserted into the center comes out clean. While the cakes cool, prepare the caramel frosting by melting the brown sugar and heavy cream in a saucepan over medium heat, stirring constantly until the mixture thickens. Once the cakes are completely cool, frost the top of one layer, place the second layer on top, and frost the entire cake with the caramel frosting.
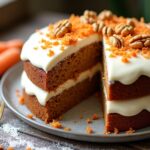
When making caramel cake, it’s crucial to keep an eye on the caramel as it cooks to prevent burning. If your caramel starts to crystallize or seize up, you can add a splash of water to help smooth it out. For a touch of elegance, consider garnishing the cake with chopped nuts or drizzling extra caramel sauce on top before serving. Enjoy your delicious caramel cake with a cup of coffee or tea for the perfect pairing!
Cooking Steps
Let’s get started on making that delicious caramel cake! First, I’ll show you how to preheat your oven and mix the dry ingredients thoroughly, ensuring everything blends perfectly. Trust me, following these cooking steps will set you up for a cake that’s sure to impress!
Step 1. Preheat Your Oven
To kick off your caramel cake adventure, you’ll want to preheat your oven to 350°F (175°C). This vital step sets the right oven temperature, ensuring your cake bakes evenly and achieves that perfect golden-brown color. While the oven warms up, take a moment to gather your ingredients and tools. It’s amazing how a little anticipation can amp up the excitement! Once the oven reaches the desired temperature, you’ll be ready to plunge into the mixing process. Remember, the baking time will depend on your unique oven, so keep an eye on your cake as it rises. Trust me, that delightful aroma filling your kitchen will be worth the wait, making your caramel cake journey a memorable one!
Step 2. Mix Dry Ingredients Thoroughly
Mixing dry ingredients thoroughly is essential for achieving a well-balanced caramel cake, and it really only takes a few minutes. When I engage in this step, I focus on blending the flavors and ensuring the right ingredient ratios. Here’s how I do it:
- Use a whisk: This helps break up any clumps and mixes everything evenly.
- Sift flour and powdered sugar: This adds air, making the cake lighter and fluffier.
- Combine leavening agents: Baking powder or soda needs to be evenly distributed for that perfect rise.
- Incorporate spices or cocoa: These small additions can elevate your cake to something extraordinary.
Step 3. Add Wet Ingredients Gradually
As you begin adding the wet ingredients to your dry mixture, you’ll want to do it slowly and deliberately, ensuring everything combines seamlessly. I like to pour in the wet ingredients in a steady stream, mixing as I go. This gradual mixing allows your batter to develop a smooth, luscious texture without any lumps. It’s like watching a beautiful transformation happen right before your eyes! Remember to scrape down the sides of the bowl occasionally; you don’t want any dry bits hiding away. The aroma of the wet ingredients mingling with the dry is simply divine and filled with promise. So, take your time with this step, and get ready to create a cake that’s as delightful as it is innovative!
Step 4. Fold in Caramel Sauce
Once you’ve got your batter beautifully combined, it’s time to add the star of the show: the caramel sauce. This is where the magic happens! Using a gentle folding technique, I’ll incorporate the sauce into the batter, ensuring those luscious flavors swirl together beautifully. Here’s how I do it:
- Pour in the warm caramel sauce to keep it luscious.
- Use a spatula to cut through the batter, lifting it gently.
- Rotate the bowl as I fold, letting the caramel weave through.
- Stop when I see ribbons of caramel—don’t overmix!
This step not only enhances the flavor but also creates that delightful marbling effect. Trust me, you’ll want to savor every bite of this divine creation!
Step 5. Bake for 30 Minutes
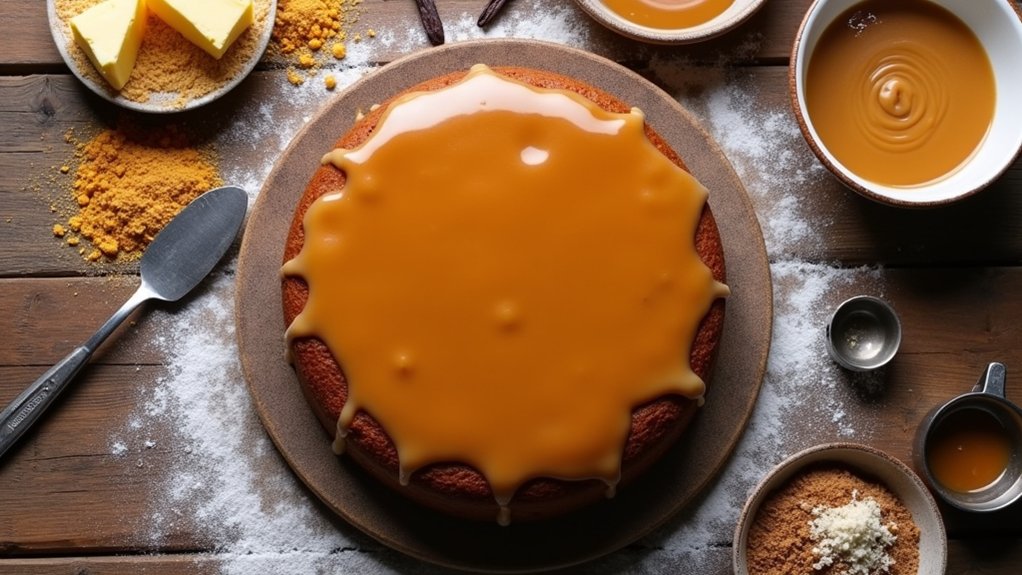
Now that we’ve got our batter perfectly swirled with that luscious caramel sauce, it’s time for the next exciting step: baking! Preheat your oven to 350°F (175°C) and pour that heavenly mixture into a greased cake pan. Using innovative baking techniques, I always make sure to gently tap the pan on the counter to release any air bubbles. This helps create a denser, more delightful cake texture. Pop it in the oven and set your timer for 30 minutes. As it bakes, the aroma of caramel will fill your kitchen, making your mouth water in anticipation. Once it’s golden brown and a toothpick comes out clean, you’ll know you’ve achieved cake perfection. Enjoy the sweet suspense!
Nutritional Guide
When it comes to enjoying a slice of caramel cake, it’s important to contemplate not just the delightful taste but also the nutritional aspects that come with it. Understanding the caloric content can help you indulge mindfully. Each ingredient brings its own benefits that enhance your experience, making it a treat worth savoring.
Here’s a quick overview of the nutritional elements in a typical caramel cake:
| Ingredient | Benefits |
|---|---|
| Flour | Source of carbohydrates for energy |
| Sugar | Quick energy boost |
| Butter | Provides healthy fats |
| Eggs | Rich in protein and vitamins |
| Milk | Calcium and hydration |
Final Thoughts
As we wrap up our journey into the world of caramel cake, I hope you’re feeling inspired to whip up this delicious treat in your own kitchen. The beauty of this cake lies in its versatility, making it perfect for any occasion. Here are some delicious ideas to spark your creativity:
As you explore the delightful world of caramel cake, let your creativity shine and make unforgettable memories with loved ones.
- Experiment with cake variations like chocolate or coconut for a unique twist.
- Pair flavors like sea salt or espresso with your caramel for an exciting contrast.
- Don’t forget to share your creations with loved ones; food brings us together.
- Capture those precious moments around the table, as caramel cake will surely create lasting memories.
Frequently Asked Questions
Can I Substitute Brown Sugar for Granulated Sugar?
Absolutely, I often substitute brown sugar for granulated sugar. It adds a rich, molasses flavor that enhances my dishes. Plus, the moisture from brown sugar brings extra softness, which I love for my baking adventures!
How Do I Store Leftover Caramel Cake?
Sweet storage secrets start with sealing your leftover cake in airtight containers. I prefer using cake containers for freshness. These storing tips keep it moist and delicious—perfect for savoring later or sharing with friends!
Can I Freeze Caramel Cake?
Yes, you can freeze caramel cake! Just wrap it tightly in plastic, but be aware texture changes may occur. I recommend trying some freezing tips like slicing first, so you can enjoy it later!
What Can I Use Instead of Eggs?
I’ve found that egg alternatives like flaxseed meal or applesauce work wonders in vegan baking. Just like a magician’s secret, these ingredients can create that perfect texture without missing a beat. Give them a try!
How Long Does Caramel Sauce Last in the Fridge?
Homemade caramel sauce lasts about two weeks in the fridge when stored in an airtight container. I always label mine with the date, ensuring I enjoy its rich flavor within that caramel sauce shelf life!
Conclusion
I hope you’re as excited to try this caramel cake recipe as I am to share it with you! Did you know that caramel dates back to the 18th century? It’s fascinating how this sweet treat has stood the test of time. Baking this cake is a wonderful way to create delicious memories with family and friends. So, roll up your sleeves, gather your ingredients, and enjoy every moment of the process. Happy baking!