If you’re looking to whip up some delicious cake frosting, I’ve got a simple recipe for you! Start with unsalted butter and beat it until it’s nice and smooth. Gradually mix in powdered sugar, then add a splash of vanilla for flavor. If the frosting’s too thick, just stir in a bit of milk. Once your cake is completely cooled, spread this heavenly mixture on top. Let’s get creative—there’s so much more to explore in frosting!
Contents
History
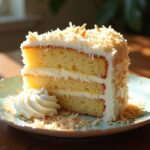
When I think about cake frosting, it brings back memories of celebrations filled with laughter and sweet treats. The frosting origins date back centuries, with early versions made from sugar and egg whites. Isn’t it fascinating how different cultures have their own take on frosting? For instance, in Italy, there’s the rich and creamy buttercream, while in Mexico, you might find a light and airy meringue. Each cultural variation adds a unique twist to our beloved desserts. I love how frosting not only enhances flavor but also transforms cakes into visual masterpieces. Whether you’re whipping up a classic chocolate ganache or experimenting with exotic flavors, there’s always room for creativity in frosting. Let’s celebrate those moments together!
Recipe
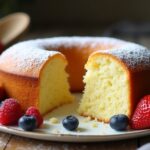
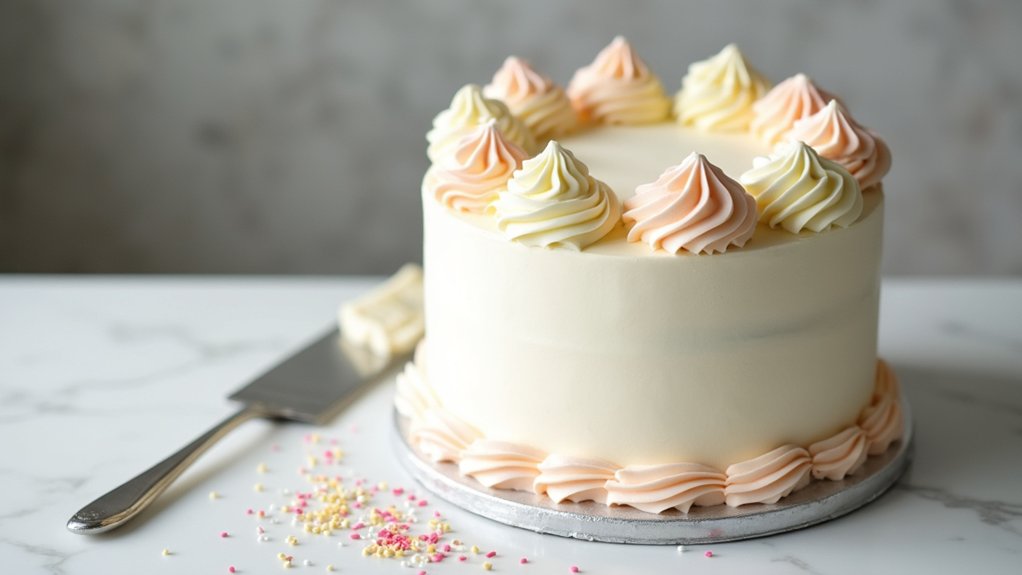
When it comes to adding the finishing touch to your cake, frosting is key. A good cake frosting not only enhances the flavor but also elevates the presentation of your baked masterpiece. Whether you’re preparing a birthday cake, a wedding cake, or just a simple dessert, a creamy, delicious frosting can make all the difference. This simple cake frosting recipe is versatile, allowing you to use it on various types of cakes, cupcakes, and cookies.
The beauty of this frosting lies in its simplicity and the quality of ingredients you use. With just a handful of items, you’ll create a rich and satisfying frosting that can be flavored or colored to suit any occasion. You can easily customize this recipe by adding vanilla, cocoa powder, or food coloring to create the perfect frosting for your needs. So, roll up your sleeves and get ready to whip up some delightful frosting!
Ingredients:
- 1 cup unsalted butter, softened
- 4 cups powdered sugar
- 1/4 cup heavy cream
- 1 teaspoon vanilla extract
- A pinch of salt
In a large mixing bowl, beat the softened butter with an electric mixer on medium speed until it’s creamy and smooth, about 2-3 minutes. Gradually add in the powdered sugar, mixing on low speed until incorporated. Once combined, increase the speed and add the heavy cream, vanilla extract, and a pinch of salt. Beat the mixture until light and fluffy, approximately 3-5 minutes, scraping down the sides of the bowl as necessary.
When making cake frosting, it’s important to verify your butter is fully softened to room temperature for the best consistency. If you want to achieve a lighter and fluffier texture, consider whipping the frosting for a few extra minutes. Additionally, you can experiment with flavorings such as almond extract or citrus zest for a unique twist. Always taste and adjust the sweetness or flavor to suit your preference, and remember that adding food coloring can enhance the presentation, especially for themed events.
Cooking Steps
Now that we’ve got our ingredients lined up, let’s get started on making that delicious frosting! I’ll walk you through each step, from mixing the butter and sugar to spreading the smooth goodness on your cooled cake. Trust me, you’re going to love how easy it is to whip up this delightful treat!
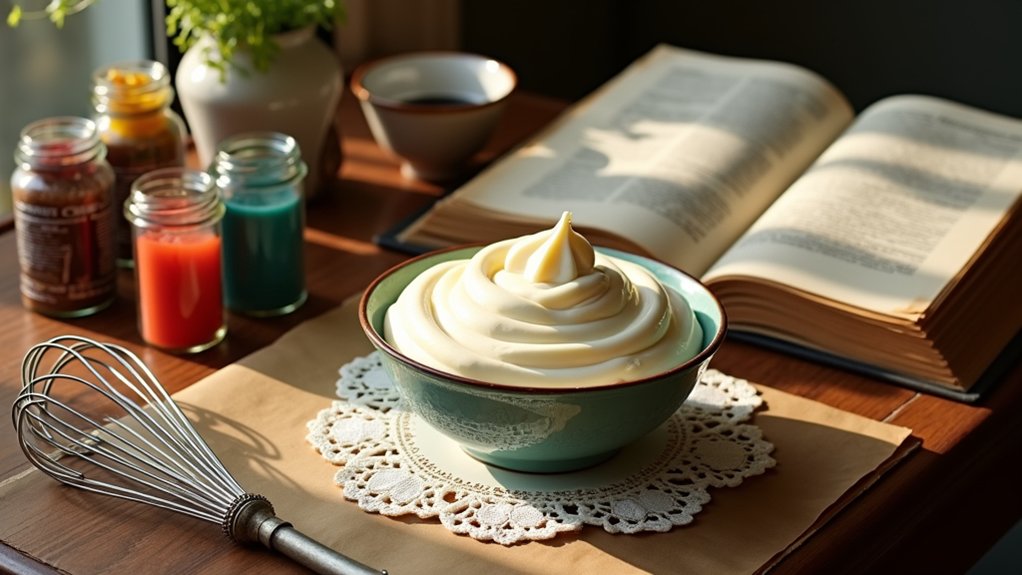
Step 1. Gather All Ingredients
Gathering all the ingredients is a crucial first step in creating the perfect cake frosting. I always start by making a list because having everything ready saves time and guarantees I won’t miss anything. For classic frosting, I need unsalted butter, powdered sugar, and vanilla extract. But don’t hesitate to explore ingredient variations! You could add cocoa powder for chocolate frosting or a splash of citrus for something zesty. Don’t forget your essential tools: a mixing bowl, spatula, and electric mixer make life easier. Once I have everything lined up, I feel a rush of excitement, knowing I’m ready to whip up something delicious. Trust me, this preparation makes the mixing process so much smoother and more enjoyable!
Step 2. Mix Butter and Sugar
To create that creamy, fluffy frosting everyone loves, I start by beating the unsalted butter until it’s soft and smooth, which usually takes about a minute. When choosing butter types, I often opt for high-quality brands, as they add richness and flavor. If you’re feeling adventurous, you can even try using a blend of salted and unsalted butter to elevate the taste. Next, I gradually add in powdered sugar, mixing until it’s fully incorporated. For a twist, I sometimes use sugar alternatives like coconut sugar or agave, which can give the frosting a unique flavor profile. The key is to keep mixing until you achieve that perfect, airy consistency, making it ready for spreading or piping on your favorite cake!
Step 3. Add Flavoring Extracts
Adding flavoring extracts is where the magic really happens in frosting! I love to enhance my frosting by adding a splash of vanilla extract; it brings a warm, comforting essence that makes everything feel homemade. For a twist, I often toss in a hint of almond flavor, which adds a delightful complexity that surprises everyone. It’s amazing how just a teaspoon or two can transform the entire bowl! When I mix these extracts in, I can already envision how the flavors will meld together, creating something truly special. So, don’t be shy—experiment with different extracts and find your favorite combination. You’ll not only elevate your frosting but also create a treat that’ll have everyone coming back for more!
Step 4. Beat Until Smooth
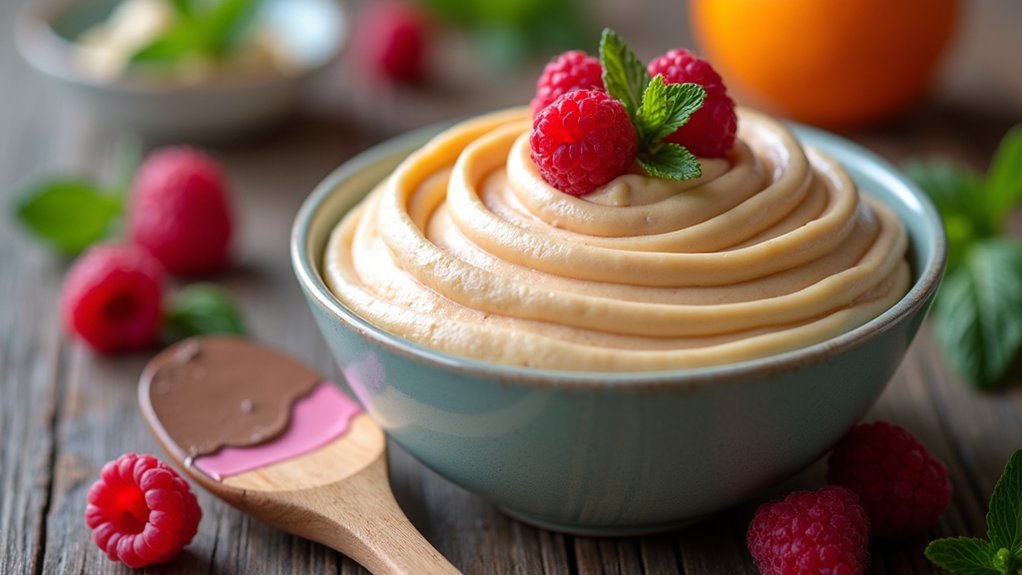
Now it’s time to beat that frosting until it’s smooth and creamy! I usually start by using an electric mixer on a medium speed, which really helps blend everything together. As I mix, I keep an eye on the frosting consistency; it should be soft but not runny. If it feels too thick, I add a splash of milk to loosen it up. I love experimenting with different mixing techniques, like incorporating air by lifting the mixer slightly while blending. This gives my frosting that delightful lightness. Don’t rush this step; take your time to achieve that perfect texture. Trust me, the effort pays off when you taste that luscious, velvety frosting!
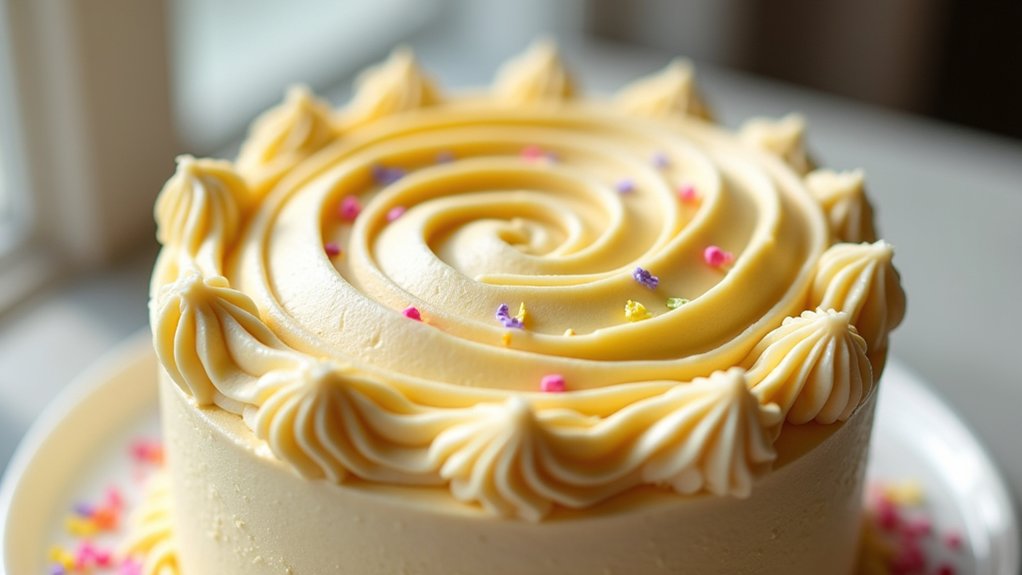
Step 5. Spread on Cooled Cake
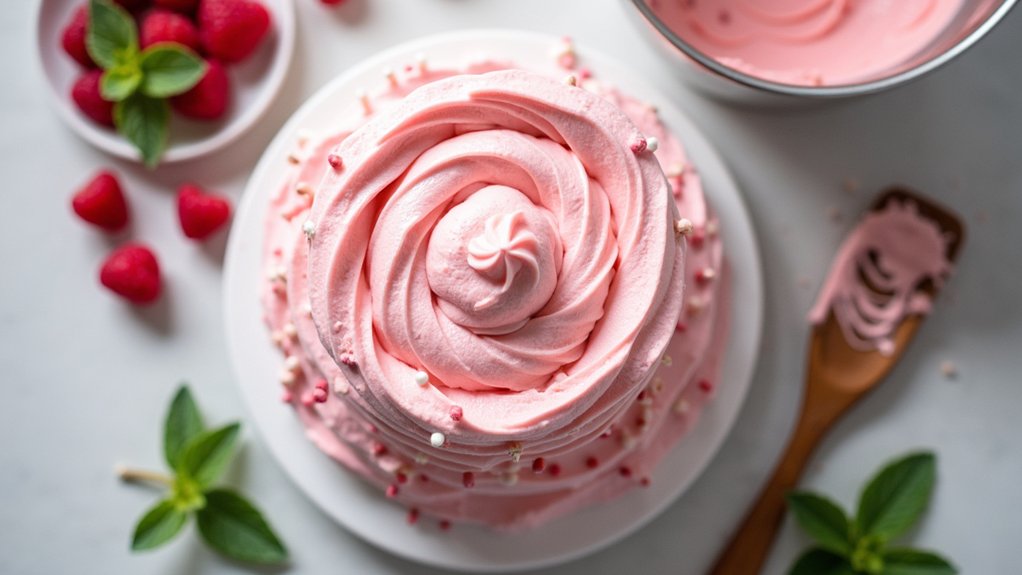
Once your cake has cooled completely, it’s time to bring that beautiful frosting to life by spreading it on top! I love to grab a good offset spatula, as it really helps me achieve that perfect layer. Start by dolloping a generous amount of frosting right in the center of the cake. Then, gently spread it outward, letting the frosting glide over the cake texture. Don’t be afraid to experiment with different frosting techniques; a swirl here or a smooth finish there can make all the difference! Remember, the goal is to create a cake that not only looks stunning but also tastes divine. Enjoy the process, and don’t forget to savor those little moments of creativity!
Nutritional Guide
When it comes to making cake frosting, understanding the nutritional aspects can really enhance your baking experience. Knowing the calorie count and the nutritional benefits can help you make informed choices, whether you’re indulging or looking for healthier options. Here’s a quick guide to get you started:
| Ingredient | Calorie Count (per serving) |
|---|---|
| Butter | 102 |
| Powdered Sugar | 120 |
| Cream Cheese | 99 |
| Cocoa Powder | 12 |
| Heavy Cream | 51 |
Final Thoughts
Understanding the nutritional aspects of cake frosting can really enhance the overall experience of baking and sharing your creations. When I think about frosting variations, it excites me to explore flavors like salted caramel or zesty lemon. Each unique twist not only tantalizes the taste buds but also adds a personal touch to cake decorating. I’ve found that experimenting with different textures and colors makes every cake feel special, whether it’s for a birthday or just a cozy family gathering. Plus, knowing how to balance sweetness and richness empowers us to create something truly memorable. So, let’s embrace our creativity, share these delightful innovations, and make each cake a celebration in its own right! Happy baking!
Frequently Asked Questions
How Can I Make Frosting Vegan-Friendly?
To make frosting vegan-friendly, I use plant-based milk and vegan butter as substitutes. I adjust the sugar for desired sweetness and whip it up for that perfect frosting consistency. Innovation in vegan baking is exciting!
What Are Common Frosting Flavor Variations?
I love experimenting with frosting flavors! Some unique combinations I’ve tried include lavender-lemon, chocolate-hazelnut, and matcha-coconut. Each variation brings a fresh twist that elevates any dessert and keeps things exciting for my taste buds!
How Do I Store Leftover Frosting?
I store leftover frosting in an airtight container, and it lasts up to two weeks in the fridge. For longer storage, I freeze it in smaller portions. Just remember to thaw it before using!
Can I Freeze Cake Frosting?
Absolutely, I can freeze cake frosting! Isn’t it great to preserve deliciousness? Just use proper freezing techniques to maintain the frosting’s consistency, and you’ll have a sweet treat ready whenever inspiration strikes.
What Tools Do I Need for Frosting Decoration?
For frosting decoration, I recommend using a piping bag, various frosting tips, and offset spatulas. These decorating tools elevate my designs, allowing me to experiment and create innovative, beautiful treats that impress everyone.
Conclusion
So there you have it—an easy cake frosting recipe that’s perfect for any occasion! Whether you’re celebrating a birthday, hosting a gathering, or simply satisfying a sweet craving, this frosting will bring joy and flavor to your homemade treats. As you whip it up, remember the fun of baking and the smiles it brings. So grab your ingredients, get creative, and enjoy every delicious bite with family and friends. Happy frosting!