To make cake flour at home, just mix 1 cup of all-purpose flour with 2 tablespoons of cornstarch. Sift them together at least twice to aerate the mixture and create that light and tender texture we all love in cakes. This easy trick will help you achieve fluffy cakes that melt in your mouth. Once you’re ready, I’ll share more tips and steps to guarantee your baking adventures are a success!
Contents
History
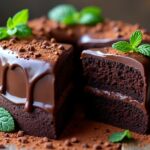
When I think about the history of cake flour, I can’t help but feel a sense of connection to generations of bakers who’ve used it to create delightful treats. The origins of cake can be traced back to ancient civilizations, where flour types varied widely, influencing texture and flavor. In the 19th century, cake flour was refined to produce a lighter, fluffier cake, revolutionizing baking. Innovators experimented with different milling techniques, leading to the creation of a finely milled, low-protein flour that became essential for cake-making. This flour allows for that delicate crumb we all love. As I bake, I think of those bakers before me, each adding their twist to a beloved tradition. Isn’t it thrilling to be part of that legacy?
Recipe
Cake flour is a finely milled flour that is essential for creating light, tender cakes with a fine crumb. Unlike all-purpose flour, cake flour has a lower protein content, which helps prevent gluten formation during mixing. This results in a softer texture, making it ideal for delicate cakes like angel food, sponge, and layer cakes. If you don’t have cake flour on hand, you can easily make your own at home using a simple recipe.
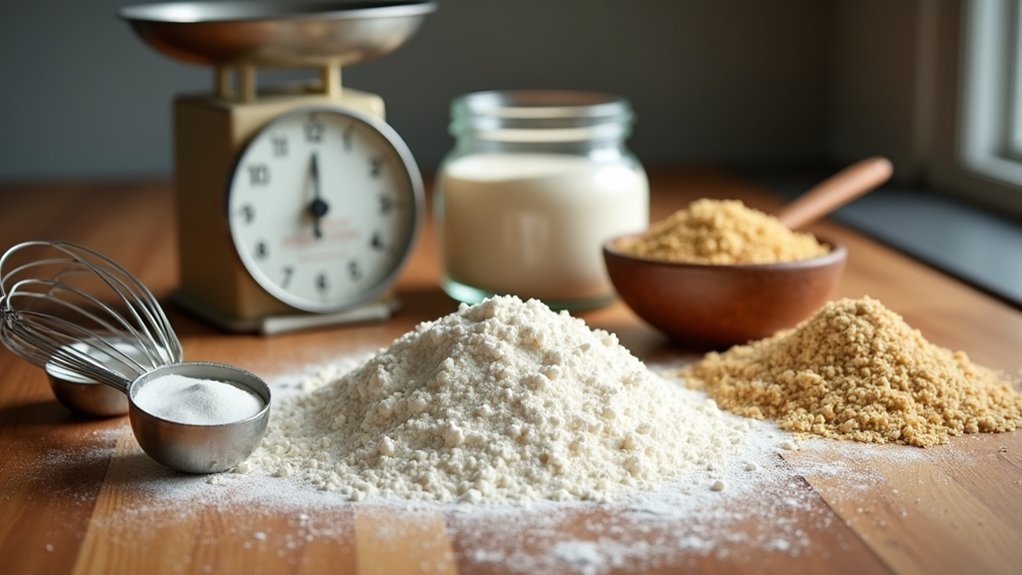
To make cake flour, you will need just two ingredients: all-purpose flour and cornstarch. The cornstarch helps to reduce the protein content of the all-purpose flour, mimicking the lightness of commercial cake flour. This homemade cake flour can be used in any recipe calling for cake flour, guaranteeing your baked goods turn out perfectly every time.
To create your own cake flour, simply combine all-purpose flour with cornstarch for a perfect baking substitute.
Ingredients:
- 1 cup all-purpose flour
- 2 tablespoons cornstarch
Instructions:
To create your homemade cake flour, measure out 1 cup of all-purpose flour and remove 2 tablespoons from it. Replace the removed flour with 2 tablespoons of cornstarch. Sift the mixture together at least twice to guarantee it is well combined and aerated. This process not only mixes the ingredients thoroughly but also gives the flour a lighter texture. Once sifted, your homemade cake flour is ready to be used in your favorite cake recipes.
Extra Tips:
When using homemade cake flour, it’s important to remember that it may not perform exactly like store-bought cake flour in every recipe. For best results, use the sifted mixture immediately in your baking. If you’re measuring by weight, 1 cup of cake flour weighs approximately 120 grams. Additionally, store your homemade cake flour in an airtight container to maintain its freshness, and always remember to sift it before measuring for the lightest results.
Cooking Steps
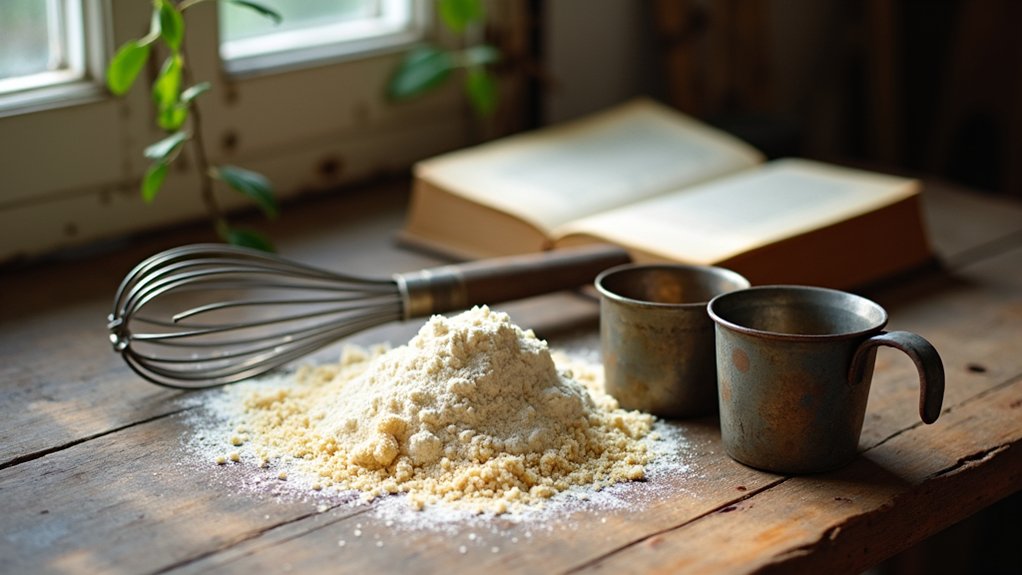
Now that we have our ingredients ready, let’s jump into the cooking steps that’ll turn that plain flour into something magical! First, I always sift the flour and cornstarch together to create that light, airy texture we love in cake. Then, it’s all about combining the dry ingredients thoroughly before we gradually introduce the wet ones—this is where the fun really begins!
Step 1. Sift Flour and Cornstarch
Sifting flour and cornstarch together is an essential step that can make a big difference in your cake’s texture. It not only aerates the mixture, but it also guarantees a light, fluffy result. Here’s how I do it using some simple sifting techniques:
- Measure the flour and cornstarch accurately.
- Use a fine-mesh sieve or sifter to combine them.
- Tap the sides gently to encourage the mix to fall through.
- Sift at least twice to maximize aeration and remove clumps.
- Enjoy the wonderful cornstarch benefits, like improved tenderness!
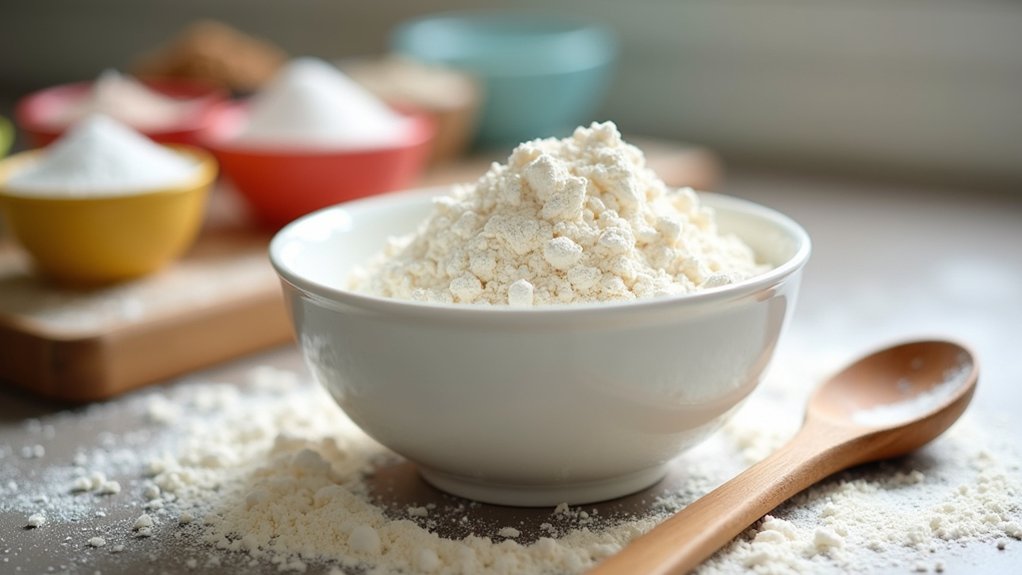
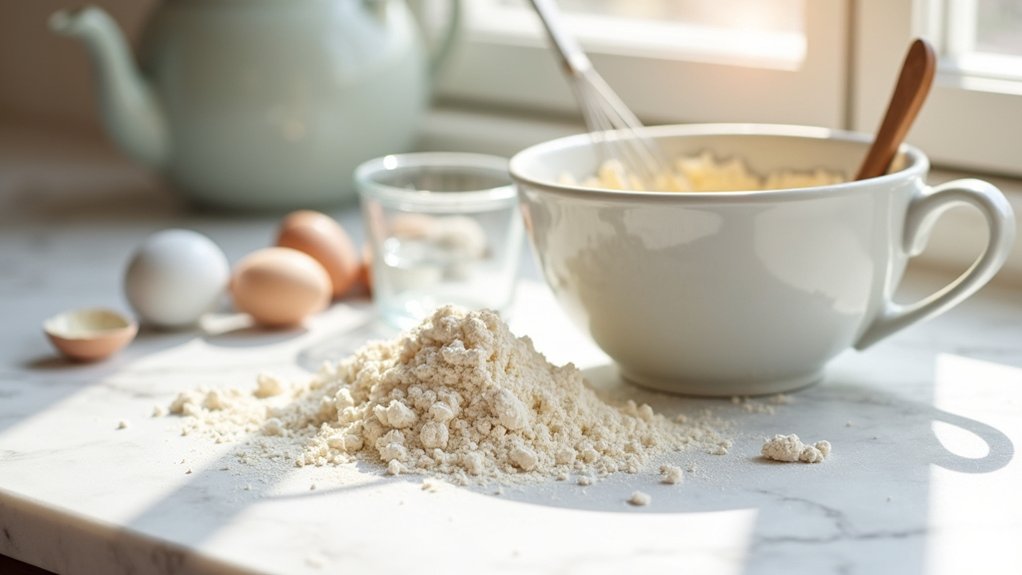
Step 2. Combine Dry Ingredients Thoroughly
After you’ve sifted the flour and cornstarch, it’s time to bring everything together. I like to use a large mixing bowl for this step—it gives me room to work. With my whisk in hand, I carefully combine the dry ingredients, ensuring they’re mixed thoroughly. This isn’t just about blending; it’s about achieving the perfect ingredient ratios to create that light, fluffy texture we crave in cake flour. I often employ different mixing techniques, like folding or gently stirring, to keep the air in the mixture. Remember, this isn’t a race; taking your time here makes a big difference. Once everything’s well-combined, you’ll have a beautiful blend ready for the next stage of your baking adventure!
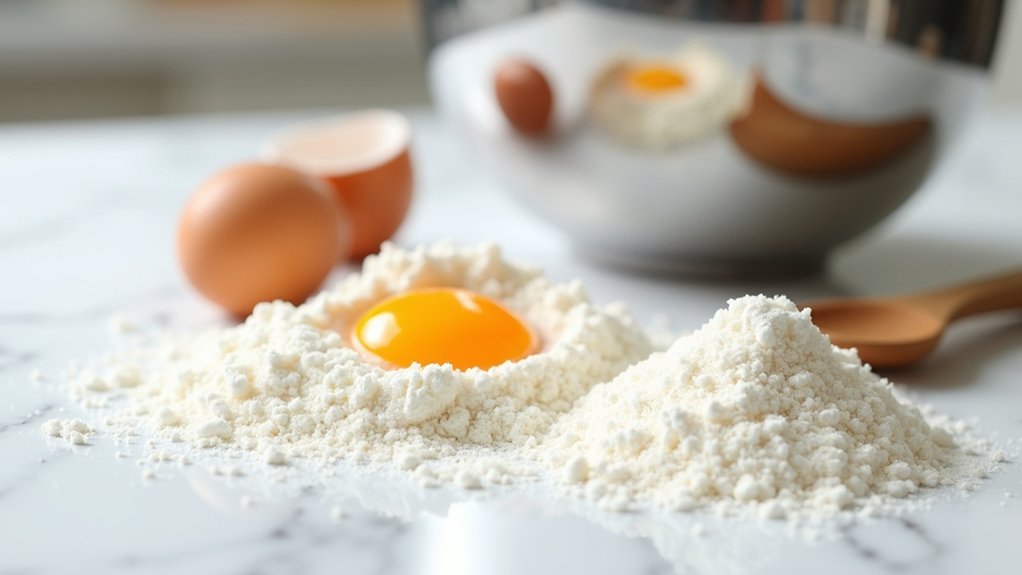
Step 3. Add Liquid Ingredients Gradually
When it comes to adding the liquid ingredients, patience is key—trust me, it makes all the difference! Gradually incorporating your liquids allows for a better blend and helps achieve the perfect texture. Remember, liquid ratios matter, and the temperature of your ingredients can affect the outcome. Here’s how I do it:
- Start with room temperature liquids for a smoother mix.
- Pour in the liquids slowly, letting the dry ingredients absorb them.
- Mix gently to avoid overworking the batter.
- Check for clumps and break them up as you go.
- Taste your batter for balance before baking!
Step 4. Fold in Wet Ingredients
Now it’s time to fold in those wet ingredients, and believe me, this step is where the magic starts to happen! With your dry ingredients patiently waiting, I grab a spatula and gently incorporate the wet mixture. Using smooth, sweeping motions, I employ mixing techniques that guarantee I don’t overwork the batter; we want it light and airy! Remember, the ingredient ratios play an important role here, so don’t rush. As I fold, I can almost feel the batter transforming, becoming something special. It’s vital to keep an eye on those little lumps of flour; they’re like hidden treasures waiting to be revealed. Let’s embrace this moment—what we create together will be delightful and unforgettable!
Step 5. Bake at 350°F
With the wet ingredients folded in and the batter feeling light and fluffy, it’s time to bring our creation to life in the oven. Preheat your oven to 350°F, the sweet spot for most baking techniques. This temperature guarantees our cake rises beautifully, creating that perfect crumb. Here’s what I do next:
- Grease and flour your cake pans to prevent sticking.
- Pour the batter evenly into the prepared pans.
- Tap the pans gently on the counter to release air bubbles.
- Bake for 25-30 minutes, or until a toothpick comes out clean.
- Let the cakes cool in the pans for about 10 minutes before transferring them to a wire rack.
Watch as your delicious creation transforms!
Nutritional Guide
Baking with cake flour is a delightful way to create light and fluffy treats that bring back memories of family gatherings and special celebrations. Understanding the nutritional aspects can inspire us to innovate in our baking. Cake flour typically has a lower protein content, which contributes to its tender texture, but it also influences the caloric content.
Here’s a quick look at some ingredient benefits:
| Ingredient | Benefits |
|---|---|
| Cake Flour | Light texture, tenderness |
| Sugar | Energy source, sweetness |
| Butter | Flavor, moisture |
These ingredients create a flavorful base for your cakes. By choosing the right proportions, you can enjoy delicious treats while keeping an eye on their nutritional value. Happy baking!
Final Thoughts
When it comes to baking, the joy of creating something from scratch is truly special. Using homemade cake flour can elevate your baking game, allowing you to explore endless cake variations. Here are some baking tips to keep in mind:
- Always sift your flour for a lighter texture.
- Experiment with different flavors like lemon zest or almond extract.
- Don’t forget to measure accurately—precision is key!
- Consider adding a pinch of salt to enhance sweetness.
- Try pairing your cakes with unique frostings for a new twist.
I hope you feel inspired to plunge into the world of baking with your own cake flour. Remember, it’s all about having fun and sharing your creations with loved ones. Happy baking!
Frequently Asked Questions
Can I Substitute All-Purpose Flour for Cake Flour?
Absolutely, you can substitute all-purpose flour for cake flour! I often use this baking tip: for every cup of all-purpose flour, remove two tablespoons and replace them with cornstarch for a lighter texture. Give it a try!
How Should I Store Homemade Cake Flour?
I store my homemade cake flour in an airtight container, keeping it in a cool, dark place. For ideal freshness, I follow these storing tips to maximize flour shelf life and maintain its quality.
What Is the Best Brand of Cake Flour?
I’ve found King Arthur and Bob’s Red Mill to be the best brands of cake flour. Their quality consistently elevates my baking, delivering that perfect texture and flavor. You won’t be disappointed with either!
Can Cake Flour Be Used for Bread?
Yes, I’ve used cake flour for bread, but it won’t yield the same texture. With lower gluten, it can result in a softer loaf. If you’re experimenting, it’s worth trying for unique results!
How Does Cake Flour Affect Cake Texture?
Cake flour creates a tender, delicate cake texture due to its lower protein content. In my baking experiments, I’ve found that understanding this baking science can elevate my creations, resulting in lighter, fluffier desserts that impress everyone.
Conclusion
In the grand kitchen of life, cake flour is the secret ingredient that makes our sweet moments rise. Just like a well-timed hug, it brings joy to our baking adventures, creating memories that linger long after the last slice is gone. So, as you begin your baking journey, remember that every sprinkle of flour carries with it a sprinkle of love. Let’s keep sharing these delicious creations, turning ordinary days into extraordinary celebrations, one cake at a time!