If you’re looking for the best vanilla cake recipe, you’ve come to the right place! This classic cake combines rich, buttery flavor with a fluffy texture, perfect for any occasion. You’ll need simple ingredients like flour, sugar, butter, eggs, and vanilla extract. Just follow the cooking steps, and you’ll have a delightful treat that’s great on its own or with frosting. Trust me, it’s a rewarding experience in the kitchen, and you might be surprised by the variations you can create!
Contents
History
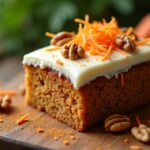
When I think about the history of vanilla cake, it feels like I’m diving into a wonderful journey through time and taste. The cake’s origins trace back to the 19th century, when bakers began experimenting with different flavors, leading to the delightful creation we adore today. Vanilla, with its rich and aromatic profile, quickly became a favorite, adding a warm touch to celebrations. I love how vanilla cake has evolved over the years, branching out into countless flavor variations that cater to modern palates. From zesty citrus twists to decadent chocolate swirls, each version tells a story of innovation and creativity. It’s exciting to think about how we can build on this legacy and create our own unique interpretations!
Recipe
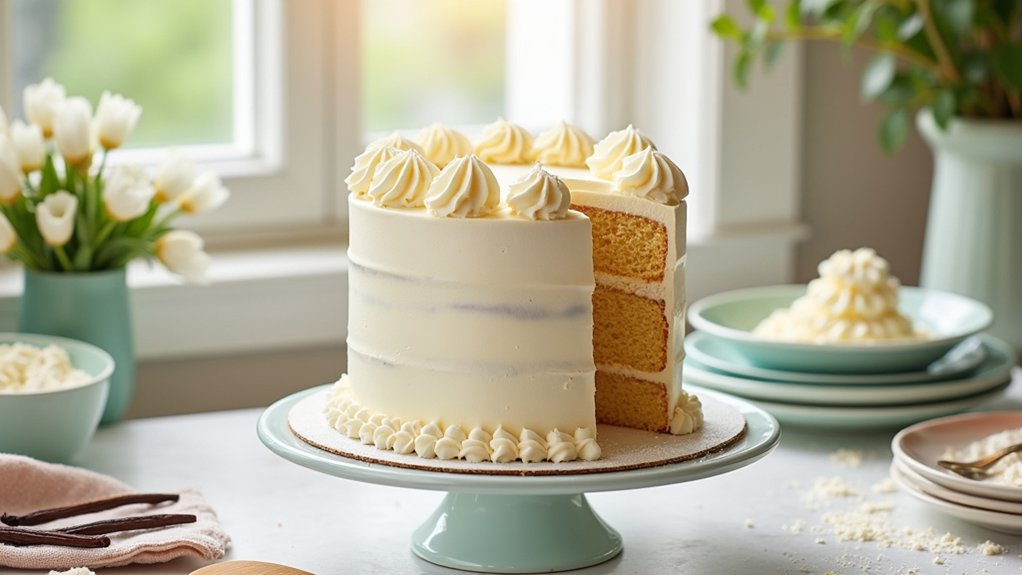
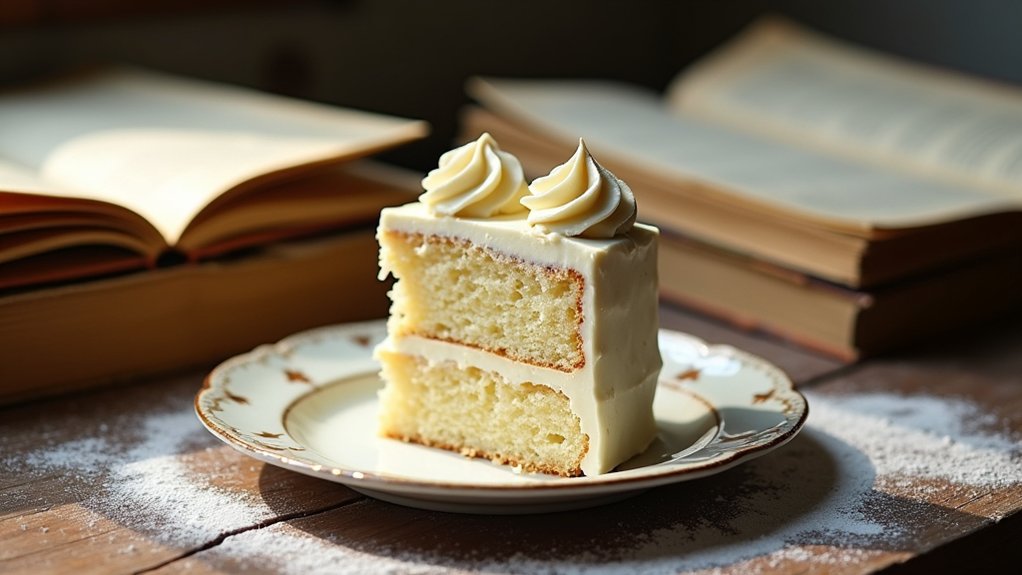
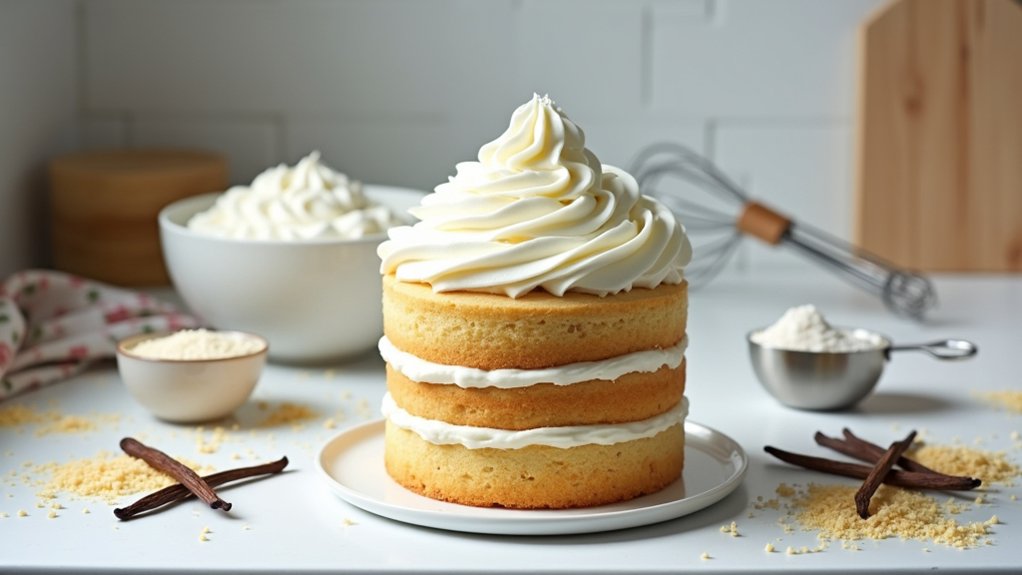
Vanilla cake is a timeless classic that brings a touch of elegance to any occasion. Whether you’re celebrating a birthday, a wedding, or simply indulging in a sweet treat, this vanilla cake recipe will not disappoint. The rich, buttery flavor combined with a hint of vanilla creates a light and fluffy texture that’s perfect for layering with your favorite frosting or enjoying on its own with a dusting of powdered sugar.
Vanilla cake is a delightful classic that adds elegance to any celebration or sweet indulgence.
This recipe is straightforward and uses simple ingredients that you may already have in your pantry. It’s perfect for beginner bakers and seasoned pros alike. With just a few steps, you’ll create a beautiful vanilla cake that will impress friends and family. So, roll up your sleeves and get ready to whip up a delightful dessert that will leave everyone asking for seconds!
Ingredients:
- 2 ½ cups all-purpose flour
- 2 ½ tsp baking powder
- ½ tsp salt
- 1 cup unsalted butter, softened
- 2 cups granulated sugar
- 4 large eggs
- 1 tbsp pure vanilla extract
- 1 cup whole milk
Instructions:
Preheat your oven to 350°F (175°C) and grease and flour two 9-inch round cake pans. In a medium bowl, whisk together the flour, baking powder, and salt. In a large mixing bowl, beat the softened butter and sugar together until light and fluffy. Add the eggs one at a time, mixing well after each addition, and then stir in the vanilla extract. Gradually add the dry ingredients to the wet mixture, alternating with the milk, and mix until just combined. Divide the batter evenly between the prepared pans and smooth the tops. Bake for 25 to 30 minutes, or until a toothpick inserted into the center comes out clean. Let the cakes cool in the pans for 10 minutes before transferring them to wire racks to cool completely.
Extra Tips:
For an even more flavorful cake, consider adding a splash of almond extract along with the vanilla. Make sure your ingredients are at room temperature for the best mixing results. Don’t be afraid to experiment with different frostings or fillings, such as a rich chocolate ganache or fresh fruit preserves, to elevate your vanilla cake to the next level. Finally, if you’re planning to bake the cake in advance, wrap it tightly in plastic wrap and store it in the freezer to preserve its freshness until you’re ready to decorate and serve.
Cooking Steps
Alright, let’s get started on making that delicious vanilla cake! First, I’ll walk you through the essential cooking steps, starting with preheating the oven to 350°F. Trust me, following these steps will set you up for a delightful baking experience, so let’s jump right in!
Step 1. Preheat Oven to 350°F
Before we plunge into mixing our ingredients, let’s get that oven fired up! Preheating your oven to 350°F is an essential step in achieving the perfect vanilla cake. This oven temperature guarantees even baking, helping your cake rise beautifully and develop that lovely golden crust we all crave.
Here are some quick baking tips to keep in mind:
- Always check your oven’s accuracy with an oven thermometer.
- Allow the oven to fully preheat before popping your cake in.
- Avoid opening the oven door too often, as this can cause temperature fluctuations.
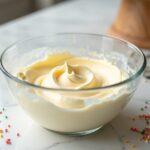
Step 2. Mix Dry Ingredients Thoroughly
Mixing the dry ingredients is an essential step in our cake-making adventure, as it sets the foundation for that fluffy texture we all love. I always start with the right flour types; all-purpose flour is my go-to, but feel free to experiment with cake flour for a lighter cake. Next, I whisk together the baking powder, baking soda, and a pinch of salt. This mixing technique guarantees even distribution, preventing any unexpected pockets of flavor. I often use a sifter, adding a bit of aeration to the mix, which can make all the difference. Remember, taking the time to mix these ingredients thoroughly isn’t just a step; it’s an investment in your cake’s success, making every slice a delightful experience!
Step 3. Add Wet Ingredients Gradually
As you plunge into adding the wet ingredients, remember that patience is key; this step can truly elevate your cake’s texture and flavor. Using effective wet ingredient techniques, I find that gradual mixing benefits the overall quality of the batter. Start by introducing your wet ingredients slowly, allowing them to merge seamlessly with the dry mix. This way, you’ll achieve a luscious, airy consistency that’s hard to resist!
- Mix in the eggs one at a time for even blending.
- Pour in the milk gradually to avoid clumps.
- Don’t rush—let each addition incorporate fully before moving on.
Trust me, taking your time here will reward you with a cake that’s moist and delightful, perfect for any occasion!
Step 4. Fold in Vanilla Extract
Now it’s time to fold in the star of our cake—the vanilla extract! This step is essential for boosting the vanilla flavoring, which is what sets our cake apart. I like to measure out a generous teaspoon of pure vanilla extract for that rich, aromatic punch. Gently pour it into the batter, and with a spatula, use a folding technique to combine the ingredients. Be careful not to overmix; we want to keep that light and airy texture. Folding helps preserve the air we’ve incorporated, which is important for a fluffy cake. Trust me, this little addition transforms the flavor profile, creating a cake that’s not just good, but memorable. Let’s get creative and embrace those baking techniques!
Step 5. Bake for 30 Minutes
Once the batter is perfectly mixed and infused with that delightful vanilla, it’s time to pour it into a prepared cake pan. I love using innovative baking techniques to guarantee my cake achieves that perfect texture. Once it’s in the oven, I set a timer for 30 minutes, and I can already smell the deliciousness wafting through the kitchen!
While you wait, it’s a great time to tidy up or prep any frosting you might be planning to use.
Here’s what I recommend while baking:
- Keep an eye on the oven’s temperature.
- Rotate the pan halfway for even baking.
- Don’t open the oven door too soon—let that magic happen!
Trust me, you’re going to love the results!
Nutritional Guide
When it comes to baking a delicious vanilla cake, understanding the nutritional aspects can turn a tasty treat into a more mindful choice. Let’s break down the caloric content and ingredient benefits, so you can enjoy this cake guilt-free!
Here’s a quick guide:
| Ingredient | Caloric Content (per serving) |
|---|---|
| All-purpose flour | 100 calories |
| Sugar | 50 calories |
| Butter | 70 calories |
| Eggs | 70 calories |
| Vanilla extract | 12 calories |
Each ingredient brings something special to the table. For instance, butter adds richness while eggs provide structure. By knowing these details, you can tweak the recipe to match your dietary goals and still enjoy that nostalgic flavor!
Final Thoughts
As you wrap up your vanilla cake adventure, it’s easy to feel a sense of accomplishment and joy. You’ve created something truly special! Remember, baking is not just about following a recipe; it’s about experimenting and expressing yourself. Here are a few baking tips to keep in mind for future projects:
- Don’t be afraid to try flavor variations, like adding lemon zest or almond extract.
- Use high-quality vanilla for an unmatched depth of flavor.
- Always measure your ingredients carefully for the best results.
Each time you bake, you’ll learn something new. So, embrace your creativity, share your delicious treats with friends, and make lasting memories in the kitchen. Happy baking, and may your next cake be even more delightful!
Frequently Asked Questions
Can I Substitute Butter With Oil in This Recipe?
Absolutely, I’ve substituted butter with oil before! Just adjust the ingredient ratios—use about ¾ the amount of oil. Trust me, it gives a moist texture. Experimenting with this baking tip can lead to delicious results!
How Can I Make My Cake More Moist?
To make my cake more moist, I tweak ingredient ratios by adding yogurt or sour cream. I also experiment with baking techniques like reducing oven temperature for a longer bake, ensuring that moisture stays locked in.
What Type of Vanilla Should I Use?
For the most heavenly flavor, I recommend using Madagascar vanilla; it’s like liquid gold! Mexican vanilla adds a unique twist, enriching your cake with depth. Trust me, you’ll elevate your baking game to extraordinary heights!
Can I Freeze the Vanilla Cake?
Absolutely, I freeze my vanilla cake often! For freezing tips, wrap it tightly in plastic wrap and then foil. Proper cake storage prevents freezer burn, ensuring it tastes fresh when you’re ready to enjoy it again!
How Long Will the Cake Stay Fresh?
A stitch in time saves nine! I find my cake stays fresh for about three days at room temperature. For longer storage, I recommend airtight containers and look for freshness indicators like texture and smell.
Conclusion
To sum up, making this vanilla cake is like creating a slice of happiness that can brighten even the cloudiest days. I hope you find joy in each step, from mixing the batter to savoring that first delicious bite. Remember, baking isn’t just about the end result; it’s about the love and memories you create along the way. So grab your apron, invite some friends, and let’s make this cake the highlight of your next gathering!