If you’re craving Buffalo Chicken Pizza, it’s a game-changer! Start by mixing shredded chicken with Buffalo sauce, then spread ranch or blue cheese dressing on your crust. Layer that delicious chicken mixture, sprinkle on mozzarella, and bake it at 475°F for about 12-15 minutes. You’ll love the spicy, cheesy goodness! Plus, you can customize it with veggies or different cheeses to suit your taste. There’s so much more to explore about this tasty dish!
Contents
History
When I think about the history of Buffalo chicken pizza, it’s hard not to feel a tingle of excitement. This delicious dish has its roots in Buffalo, New York, where the spicy chicken wings were born. As pizza lovers, we’re lucky that someone decided to combine these two culinary delights. The fusion of Buffalo origins and various pizza variations sparked a wave of creativity among chefs and home cooks alike. Over time, we’ve seen everything from classic thin crust to deep-dish versions. Each recipe tells a story, reflecting personal tastes and regional influences. It’s thrilling to think about how this innovative dish has evolved, inviting us all to experiment and share our unique takes on a beloved classic.
Recipe

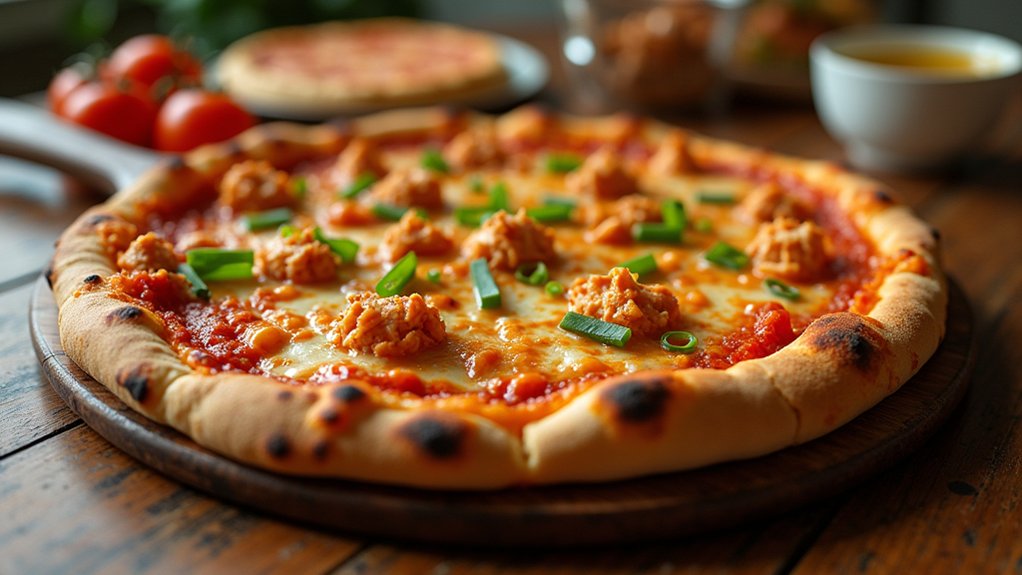
Buffalo chicken pizza is a delicious twist on traditional pizza that combines the tangy flavor of Buffalo sauce with tender chicken and gooey cheese. It’s a perfect dish for game day, family gatherings, or a cozy night in. The spicy heat from the Buffalo sauce paired with the creamy ranch or blue cheese dressing creates a flavor explosion that will have everyone coming back for seconds.
Making Buffalo chicken pizza at home is not only easy but also allows you to customize it to your taste. You can adjust the spice level by adding more or less Buffalo sauce, and you can choose your favorite type of cheese. This pizza is a crowd-pleaser and can be served as a main dish or as an appetizer cut into smaller slices. Gather your ingredients and get ready to create a pizza that’s bursting with flavor!
Ingredients:
- 1 pre-made pizza crust (or homemade)
- 1 cup cooked chicken, shredded
- 1/2 cup Buffalo sauce
- 1 cup shredded mozzarella cheese
- 1/2 cup ranch dressing or blue cheese dressing
- 1/4 cup chopped green onions
- Optional: additional toppings like diced celery or extra cheese
To make the pizza, preheat your oven to 450°F (232°C). In a bowl, mix the shredded chicken with the Buffalo sauce until well coated. Roll out the pizza crust on a floured surface if using homemade dough. Spread a layer of ranch or blue cheese dressing over the crust, then evenly distribute the Buffalo chicken mixture on top. Sprinkle the shredded mozzarella cheese over the chicken, and add any optional toppings. Bake in the preheated oven for 12-15 minutes, or until the crust is golden and the cheese is bubbly. Remove from the oven and let it cool for a few minutes before slicing.
For the best results, consider using a pizza stone to achieve a crispy crust, and preheat it in the oven before placing the pizza on it. You can also experiment with different types of cheese or add more vegetables to the mix to suit your preferences. If you like it extra spicy, drizzle some additional Buffalo sauce on top before serving. Enjoy your homemade Buffalo chicken pizza!
Cooking Steps

Let’s get started on making this delicious Buffalo chicken pizza! First, I’ll preheat the oven to 475°F, so it’s nice and hot when we’re ready to bake. Then, we’ll add the buffalo sauce mixture, cheese, and toppings before popping it in the oven for a perfect finish.
Step 1. Preheat Oven to 475°F
Before diving into the delicious world of Buffalo chicken pizza, it’s vital to get your oven ready by preheating it to 475°F. This oven temperature is essential for achieving that perfect crispy crust that we all crave. As I set my oven, I take a moment to appreciate how important baking techniques can enhance our cooking experience. A hot oven guarantees that the cheese melts beautifully while the toppings meld together, creating a symphony of flavors. I usually let my oven preheat for at least 15 minutes, which gives me just enough time to gather my ingredients and get excited about the culinary adventure ahead. Trust me, taking this step seriously will make all the difference in your pizza-making journey!
Step 2. Add Buffalo Sauce Mixture
With the oven now preheated and ready to work its magic, it’s time to whip up that flavorful Buffalo sauce mixture that’ll elevate our pizza to new heights. In a medium bowl, I combine a cup of hot sauce with melted butter, stirring until they’re harmonized. I love adding a splash of vinegar for that tangy kick, which really enhances the flavor profiles. A sprinkle of garlic powder and a pinch of cayenne pepper take it up another notch, bringing both heat and depth. Once it’s all blended, I toss in shredded chicken, ensuring every piece is coated in that vibrant sauce. This mixture not only adds excitement but also makes my pizza a crowd-pleaser that everyone will rave about!
Step 3. Add Cheese and Toppings
Next up, let’s layer on the cheese and toppings that’ll transform our Buffalo chicken pizza into a cheesy masterpiece. I love using a blend of cheese varieties to elevate the flavor. Start with a generous layer of mozzarella for that gooey goodness, then sprinkle some blue cheese crumbles for that bold kick. Feel free to get creative! Consider adding pepper jack for extra heat, or even cheddar for a different twist.
As for topping options, think about vibrant bell peppers or fresh green onions to add crunch and color. You could even toss on some cooked bacon for that savory punch. Remember, it’s all about personalizing your pizza, so go wild and make it your own!
Step 4. Bake for 12-15 Minutes
After layering on all those delicious cheeses and toppings, it’s time to bake our Buffalo chicken pizza to perfection. Preheat your oven, then slide that beauty in for 12-15 minutes. This is where the magic happens, and your kitchen fills with mouthwatering aromas!
Here are some baking techniques to keep in mind:
- Keep an eye on the crust; it should be golden brown.
- Rotate the pizza halfway for even cooking.
- Use a pizza stone for that perfect crispy base.
- Experiment with different cheese blends for innovative pizza variations.
- Allow it to cool slightly before slicing, so toppings stay in place.
Trust me, your patience will pay off when you pull out that bubbling masterpiece!
Step 5. Slice and Serve Hot
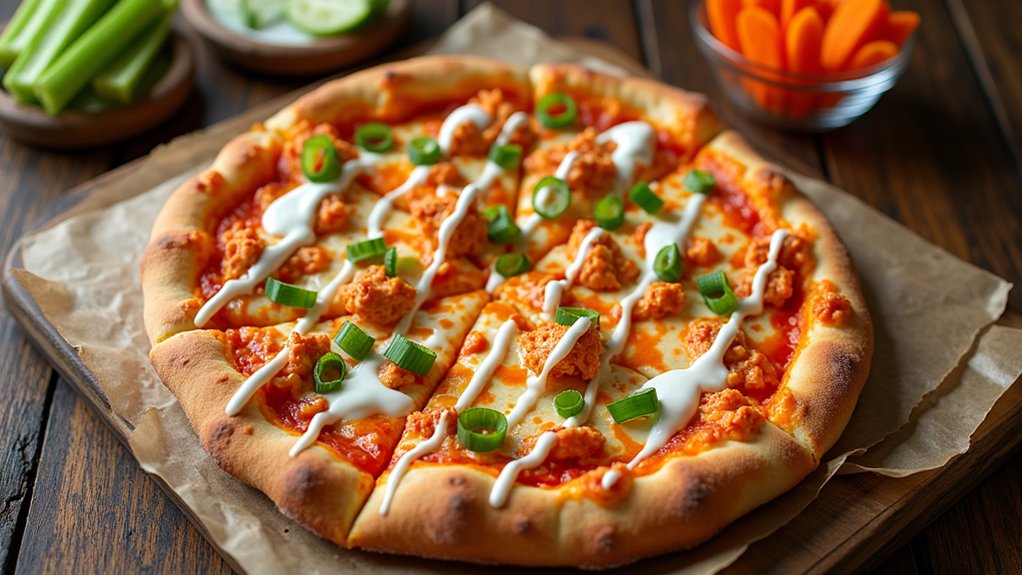
Once the pizza has cooled just a bit, it’s time to slice and serve hot! I like to use a sharp pizza cutter for a clean slice presentation, cutting into generous triangles that invite everyone to dig in. It’s all about that first bite, right? For serving suggestions, consider adding a drizzle of ranch or blue cheese dressing on top, which elevates the flavor and adds a creamy touch. Pair it with a fresh side salad or some crunchy celery sticks for a classic combo that balances the richness of the pizza. As you plate it up, don’t forget to admire your masterpiece—there’s nothing quite like sharing a delicious creation with friends and family! Enjoy every moment!
Nutritional Guide
When it comes to enjoying Buffalo chicken pizza, knowing its nutritional value can make a big difference in how you savor each slice. Understanding the caloric content and ingredient benefits helps you enjoy this dish without guilt. Here’s a quick guide:
| Nutrient | Amount per Slice |
|---|---|
| Calories | 300 |
| Protein | 20g |
| Fiber | 2g |
Each ingredient plays a role in both flavor and nutrition. The chicken provides protein, while the spicy sauce can boost your metabolism. Plus, if you use whole wheat crust, you’ll add fiber, enhancing the overall healthiness. So, as you dig into your pizza, you can appreciate not just the taste but the thoughtful choices behind it!
Final Thoughts

As you think about making Buffalo chicken pizza, I hope you feel inspired to plunge into this delicious and satisfying dish. The beauty of pizza is its versatility, and this recipe is a fantastic way to explore creative flavor combinations that can excite your taste buds.
Get ready to dive into the delightful world of Buffalo chicken pizza, where creativity and flavor come together in every bite.
Here are a few tips to elevate your pizza game:
- Experiment with different sauces for a unique twist.
- Try adding veggies for extra crunch and nutrition.
- Swap out the cheese for something bold, like feta or goat cheese.
- Don’t hesitate to mix proteins—think spicy shrimp or pulled pork!
- Make it a dessert pizza with chocolate and fruit for a fun finale.
Frequently Asked Questions
Can I Use a Gluten-Free Crust for Buffalo Chicken Pizza?
Absolutely, I love using gluten-free options! I’ve tried various crust alternatives, and they work perfectly. You’ll still get that delicious flavor and texture, making your pizza experience just as enjoyable without the gluten.
What Toppings Pair Well With Buffalo Chicken Pizza?
I love pairing buffalo chicken pizza with crunchy celery sticks and creamy blue cheese. It adds a revitalizing contrast that elevates the dish. You’ll find this combination innovative and delicious—perfect for your next pizza night!
How Can I Make Buffalo Chicken Pizza Spicier?
I love cranking up the heat! Last time, I mixed extra hot sauce into my buffalo chicken mix, boosting the spice levels considerably. You could also add sliced jalapeños for an exciting kick. Give it a try!
Can I Use Leftover Buffalo Chicken for This Recipe?
Absolutely, I love using leftover chicken in my recipes! It’s a fantastic adaptation that adds flavor and reduces waste. Just shred it up, mix in some sauce, and you’re ready to go!
What Is the Best Cheese to Use for Buffalo Chicken Pizza?
Back in the day, I’d always choose mozzarella for buffalo chicken pizza, but cheddar’s got its charm too. Both melt beautifully; mozzarella offers that stretchy goodness, while cheddar adds a sharp kick. Try mixing ’em!
Conclusion
Now that you’ve whipped up your own buffalo chicken pizza, I hope you’re as excited to dig in as I am! Each slice is a flavor explosion, reminding me of cozy gatherings with friends and family. Don’t hesitate to share your creation—it’s the perfect dish to spark joy and conversation. So, roll up your sleeves and enjoy this tasty adventure in the kitchen. Trust me, it’s worth every cheesy, spicy bite! Happy cooking!