

White cake is a classic treat that’s light and fluffy, perfect for celebrations. To make it, you’ll need all-purpose flour, granulated sugar, baking powder, salt, unsalted butter, egg whites, and milk. Start by creaming the butter and sugar together, then mix in your dry ingredients and the milk. Don’t forget to fold in those egg whites for the airy texture! If you’re curious about frosting options or decorations, stick around for more tips.
Contents
History


When I think about the history of white cake, I can’t help but feel a sense of nostalgia, as it reminds me of family gatherings and special celebrations. The cake’s origins trace back to the 19th century when bakers experimented with refined ingredients to create that pure, snowy appearance. Over time, white cake evolved in various cultures, symbolizing purity and joy during weddings and birthdays. Its cultural significance lies in its role as a centerpiece, bringing people together and marking milestones. Each slice is a connection to the past, a reminder of shared moments and traditions. As I prepare this beloved treat, I can’t wait to continue this rich legacy, blending innovation with cherished memories.
Recipe
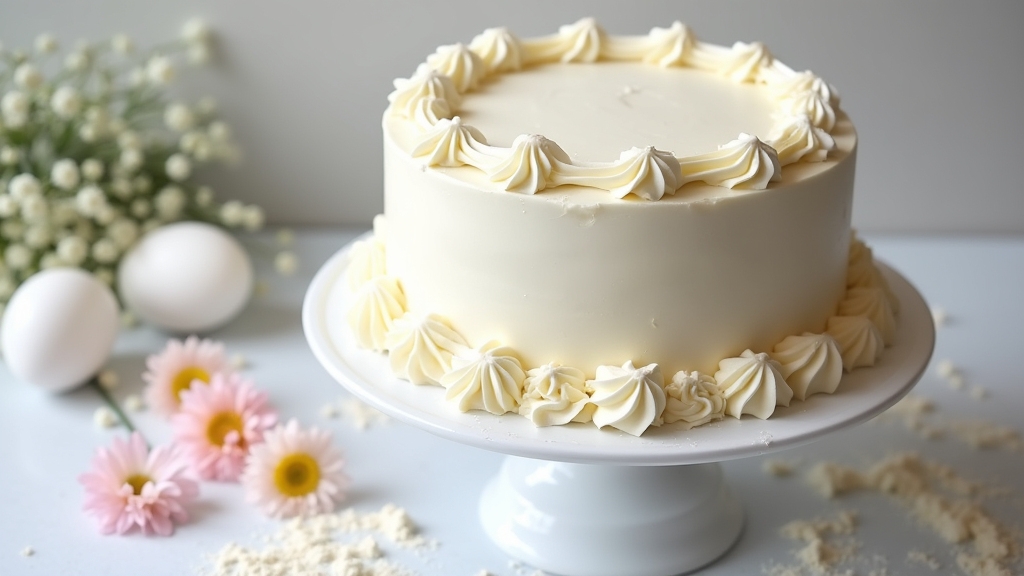
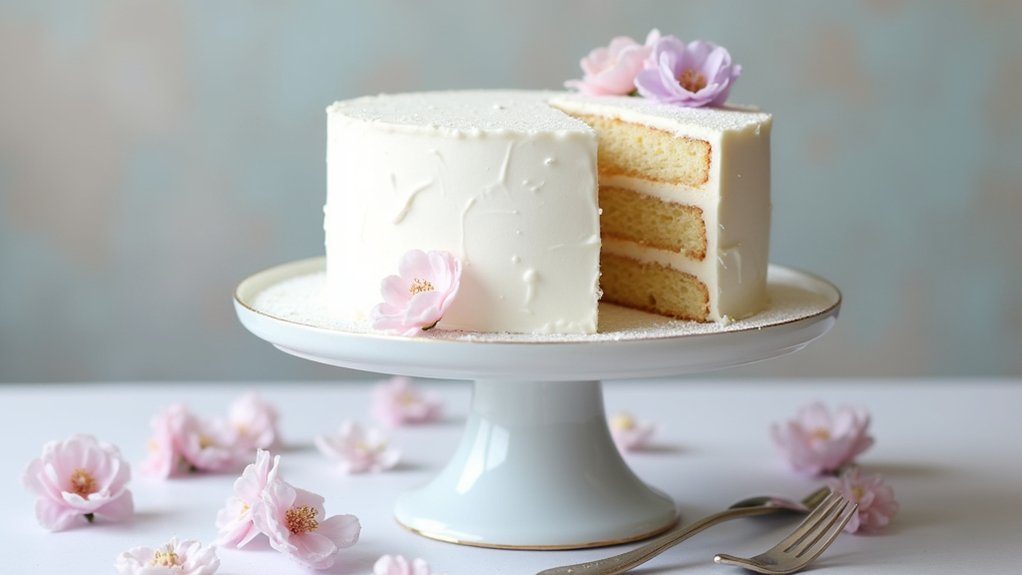
White cake is a classic dessert that is light, fluffy, and perfect for any occasion. Its delicate flavor and soft texture make it an excellent base for a variety of frostings, fillings, and decorations. Whether you’re celebrating a birthday, wedding, or any special event, this white cake recipe will surely impress your guests and leave them asking for seconds.
Crafting the perfect white cake requires the right balance of ingredients and technique. The key to a successful white cake lies in using egg whites rather than whole eggs, which contributes to its light color and airy crumb. Pair this cake with a simple buttercream frosting, fresh fruit, or even whipped cream, and you have a delightful treat that everyone will love.
Ingredients:
- 2 ¾ cups all-purpose flour
- 1 ½ cups granulated sugar
- 1 tablespoon baking powder
- ½ teaspoon salt
- ½ cup unsalted butter, softened
- 1 cup whole milk
- 4 large egg whites
- 1 teaspoon vanilla extract
Cooking Instructions:
Preheat your oven to 350°F (175°C) and grease and flour two 9-inch round cake pans. In a large mixing bowl, sift together the flour, baking powder, and salt. In another bowl, cream the softened butter and sugar until light and fluffy. Gradually add the dry ingredients to the butter mixture, alternating with the milk. In a separate bowl, beat the egg whites until stiff peaks form, then gently fold them into the batter along with the vanilla extract. Divide the batter evenly between the prepared cake pans and smooth the tops. Bake for 25-30 minutes or until a toothpick inserted into the center comes out clean. Allow the cakes to cool in the pans for 10 minutes before transferring them to wire racks to cool completely.
Extra Tips:
For a moist and flavorful cake, make sure not to overmix the batter once you add the egg whites, as this can deflate the air you’ve incorporated. Also, for added flavor, consider infusing the milk with vanilla bean or using almond extract for a subtle twist. If you’re planning to decorate the cake, make sure it is completely cool before frosting to prevent melting. Enjoy experimenting with different frostings and toppings to make this classic white cake your own!
Cooking Steps
Let’s get started on making this delicious white cake! First, I’ll preheat the oven to 350°F, so it’s nice and hot when we’re ready to bake. Then, we’ll mix the dry ingredients together before adding the wet ones gradually to create a smooth batter.
Step 1. Preheat Oven to 350°F
Before diving into mixing ingredients, it’s vital to preheat your oven to 350°F. This step might seem simple, but it’s one of those essential baking tips that can make a world of difference. A properly preheated oven guarantees that your white cake rises perfectly and bakes evenly, creating that delightful texture we all crave. So, as you gather your ingredients, go ahead and set your oven temperature to 350°F. You’ll want it nice and toasty by the time you’re ready to pop that cake in. Trust me, taking this little extra step will lead to a more successful baking experience. Plus, it builds the excitement as the sweet aroma fills your kitchen—just wait and see!
Step 2. Mix Dry Ingredients Together
Now that your oven is preheating to a cozy 350°F, it’s time to tackle the dry ingredients. Getting the dry ingredient ratios right is essential for that perfect white cake. Here’s how I do it:
- Measure flour – Use the spoon-and-level method for accuracy.
- Add baking powder – This gives your cake that lovely rise.
- Incorporate salt – Just a pinch enhances all the flavors.
- Sift together – This mixing technique guarantees everything’s well combined and airy.
As I mix these dry ingredients, I can already feel the excitement building for the cake ahead. Remember, the right ratios and techniques make all the difference in achieving that fluffy texture we all crave. Let’s make this cake unforgettable!
Step 3. Add Wet Ingredients Gradually
As I gather the wet ingredients, I can’t help but feel a rush of anticipation for the magic that’s about to happen. With my measuring cups ready, I carefully check the wet ingredient ratios—too much liquid can throw off the balance of this cake. I start by adding the milk and vanilla to the mixing bowl, letting them blend in smoothly. Gradual mixing is key here; I pour in the melted butter slowly, allowing it to merge seamlessly with the other ingredients. This method not only guarantees an even consistency but also builds that delightful texture we crave. Each addition feels like a step closer to creating something truly special, and I can’t wait to see how it all comes together!
Step 4. Fold in Egg Whites
With the wet ingredients perfectly blended, the next exciting step is folding in the egg whites. This is where the magic happens, enhancing the cake’s texture and making it light and airy!
Here’s how to do it:
- Separate the eggs: Carefully crack the eggs, keeping the whites in one bowl and the yolks in another.
- Whip the egg whites: Beat the whites until they form soft peaks; this adds volume.
- Gently fold: Using a spatula, slowly combine the whipped egg whites with the batter. Be gentle to maintain the airiness from the egg separation.
- Check consistency: You want a smooth, fluffy mixture that’s ready for baking.
This step is essential for that delightful texture you’re aiming for!
Step 5. Bake for 25 Minutes
It’s time to pop that cake into the oven and let the magic happen—baking for 25 minutes is essential for achieving that perfect rise and golden crust. During this time, your cake will undergo incredible transformations, thanks to the baking techniques we’ve employed. The heat will meld the flavors and create delightful cake textures that are light and fluffy. Keep an eye on it; the aroma will fill your kitchen with a warm, inviting scent. I like to use a toothpick to check for doneness—stick it in the center, and if it comes out clean, you’re ready to take it out. Remember, patience is key; the wait will be worth it when you slice into that gorgeous cake!
Nutritional Guide
When you plunge into baking a white cake, you might wonder about its nutritional value, especially if you’re planning to share it with family or friends. Understanding the caloric content and ingredient benefits can elevate your baking experience. Here’s a quick nutritional guide to help you navigate your choices:
| Ingredient | Caloric Content (per cup) | Benefits |
|---|---|---|
| All-purpose flour | 455 | Provides structure and texture |
| Sugar | 774 | Adds sweetness and energy |
| Butter | 1628 | Contributes moisture and flavor |
| Eggs | 144 | Binds ingredients and adds richness |
Final Thoughts
Baking a white cake isn’t just about following a recipe; it’s about creating something special that brings people together. I love how this simple cake can be a canvas for creativity. Here are some baking tips to elevate your experience:
- Use room temperature ingredients for a smoother batter.
- Experiment with flavors, like lemon zest or vanilla bean, for a unique twist.
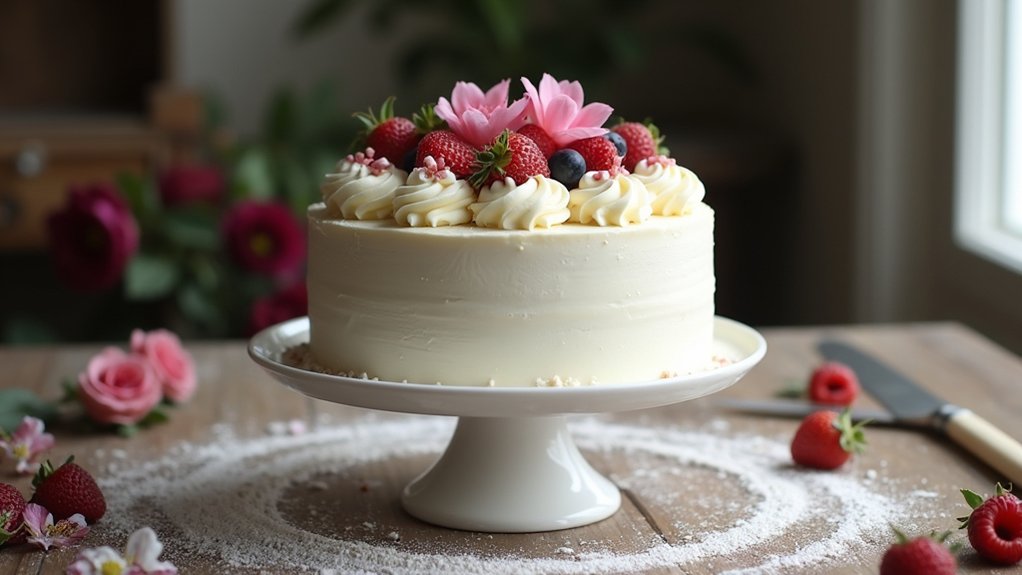
- Don’t skip the frosting; it’s where the magic happens! Try whipped cream or a fruity glaze.
- Get creative with cake decoration; think edible flowers or colorful sprinkles to bring joy to your cake.
Embrace the process, share your creation with loved ones, and enjoy every slice. After all, baking is all about connection and joy!
Frequently Asked Questions
Can I Use Cake Flour Instead of All-Purpose Flour?
I love using cake flour instead of all-purpose flour. The benefits include a lighter, softer texture that elevates my baked goods. Those flour texture differences really make a noticeable impact on the final product!
What Type of Frosting Pairs Best With White Cake?
I remember when frosting felt like a canvas. For white cake, I love pairing it with a creamy buttercream or tangy cream cheese frosting. They elevate the flavors, creating a delightful, innovative taste experience you won’t forget!
How Can I Make a Gluten-Free White Cake?
To make a gluten-free white cake, I use gluten substitutes like almond flour or coconut flour. It’s essential to balance them for a light, airy cake texture that still feels indulgent and delicious. You’ll love it!
Can I Substitute Butter With Oil in This Recipe?
I often substitute butter with oil in my recipes. Oil alternatives help maintain moisture retention, making the cake tender and delicious. Just remember, use slightly less oil than the butter amount for best results!
How Do I Store Leftover White Cake Properly?
Imagine wrapping your cake like a precious gift. For proper storage, I place leftover cake in an airtight container, keeping the freshness locked in. This way, each slice remains as delightful as the first!
Conclusion
In the end, baking a white cake is more than just a delicious treat; it’s a chance to create lasting memories. Imagine surprising your family with a freshly baked cake for a weekend gathering. As they savor each slice, laughter fills the room, and stories are shared. You’ve not only made a dessert but also a moment to cherish. So, roll up your sleeves, gather your ingredients, and let the joy of baking fill your home!

