Milk cake is a creamy, delightful Indian sweet that’s perfect for celebrations! To make it, curdle 1 liter of full-fat milk with lemon juice, then cook it with sugar and cardamom until thick. Pour into a mold to set, then enjoy your yummy treat! It’s a fun and rewarding experience, especially when you share it with loved ones. If you’re excited to whip this up, I’ve got more tips and serving ideas waiting for you!
Contents
History
When I think about the history of milk cake, I can’t help but feel a sense of nostalgia, as it reminds me of family gatherings and celebrations. This delightful Indian sweet has roots that dive deep into our culture, symbolizing joy and togetherness. Originating from the northern parts of India, milk cake, or kalakand, showcases the rich traditions of Indian sweets. It’s fascinating how this treat has evolved over time, with innovative twists emerging while still honoring its classic essence. Each bite connects us to cherished memories, making it a staple at festivals and weddings. The cultural significance of milk cake goes beyond taste—it’s a reflection of our shared heritage and love for celebrating life’s special moments.
Recipe
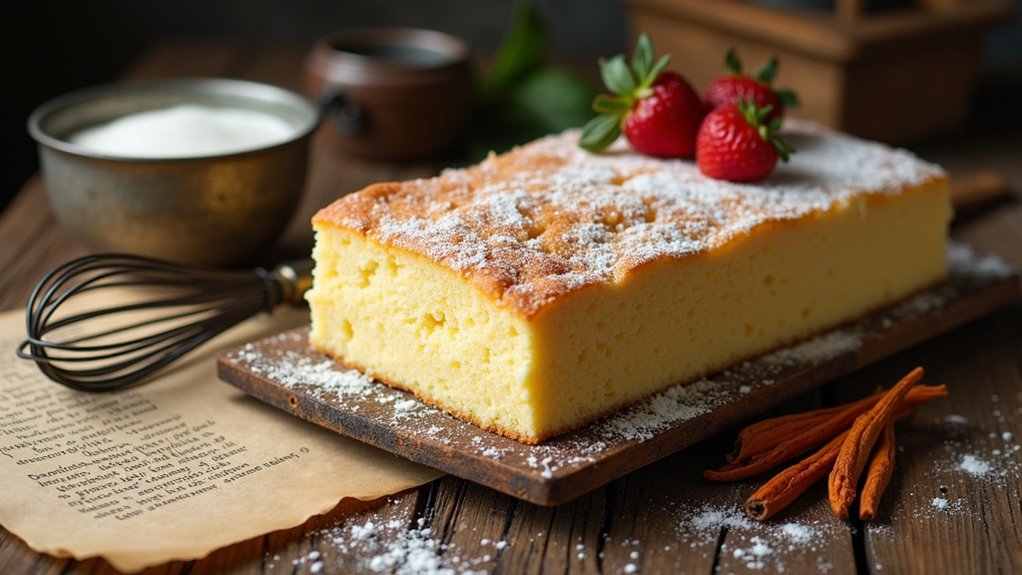
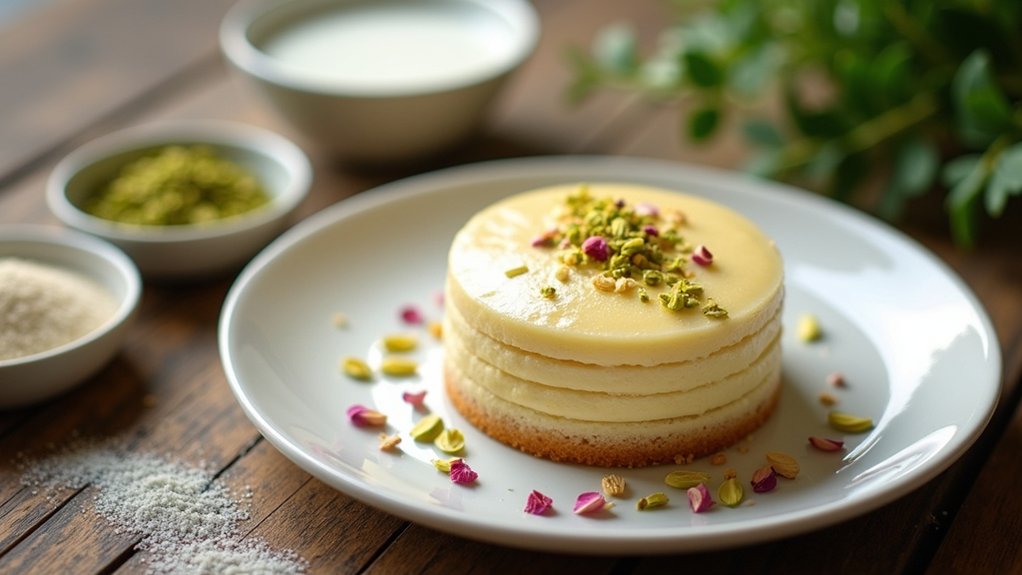
Milk Cake, also known as Kalakand, is a delightful Indian sweet made from fresh milk. This soft and creamy dessert is often prepared during festivals and special occasions, making it a beloved treat for many. The base of the recipe involves curdling milk to make chenna (fresh cheese), which is then cooked with sugar and flavored with cardamom, creating a rich and indulgent sweet that melts in your mouth.
Making Milk Cake at home might seem like a formidable task, but with a little patience and the right ingredients, you can create this delectable dessert from scratch. The process involves minimal ingredients and simple cooking techniques, making it accessible for both novice and experienced cooks. Once you master this recipe, you’ll be able to impress your family and friends with a homemade treat that’s as good as what you would find in a traditional Indian sweet shop.
Creating Milk Cake at home is easier than you think; with patience and simple techniques, you can impress everyone with this delightful treat.
Ingredients:
- 1 liter full-fat milk
- 2-3 tablespoons lemon juice or vinegar
- 1 cup sugar
- 1/4 teaspoon cardamom powder
- 2 tablespoons ghee (clarified butter)
- Chopped nuts (almonds or pistachios) for garnish
Instructions:
To prepare Milk Cake, start by boiling the milk in a heavy-bottomed pan. Once it comes to a boil, reduce the heat and add lemon juice or vinegar gradually, stirring gently until the milk curdles and the whey separates. Strain the curds using a muslin cloth or a fine sieve to make chenna. Rinse it under cold water to remove any acidity. In a non-stick pan, heat ghee and add the chenna along with sugar and cardamom powder. Cook on low heat, stirring continuously until the mixture thickens and starts to leave the sides of the pan. Transfer it to a greased plate, flatten it with a spatula, and let it cool. Once set, cut it into squares and garnish with chopped nuts.
Extra Tips:
When making Milk Cake, using full-fat milk is essential for achieving the right texture and richness. Confirm that you continuously stir the mixture while cooking to prevent it from sticking to the pan. If you prefer a more decadent version, you can also add a splash of rose water or saffron for added flavor. Finally, allow the Milk Cake to cool completely before cutting it into pieces, as this will help maintain its shape and texture. Enjoy this sweet treat fresh or store it in an airtight container in the refrigerator for up to a week!
Cooking Steps
Now that we’ve got our ingredients ready, let’s jump into the cooking steps! First, I’ll mix the milk and sugar, and trust me, watching it simmer until thickened is a treat for the senses. Once we add some flavoring ingredients, we’ll pour it all into a mold, and I can already imagine how delicious it’ll turn out!
Step 1. Gather All Ingredients
Before diving into the delicious world of milk cake, it’s essential to gather all the ingredients you’ll need for this sweet treat. First, let’s talk about ingredient selection. You’ll need fresh milk, sugar, and a few other key components to create that perfect texture and flavor. Don’t worry if you don’t have everything on hand; ingredient substitutes can work wonders! For instance, if you’re out of whole milk, you can use a combination of low-fat milk and cream. Remember, innovation in the kitchen often leads to delightful surprises. So, as you gather your ingredients, think about how you might personalize this recipe to fit your taste. With everything laid out, you’ll be ready to create something special!
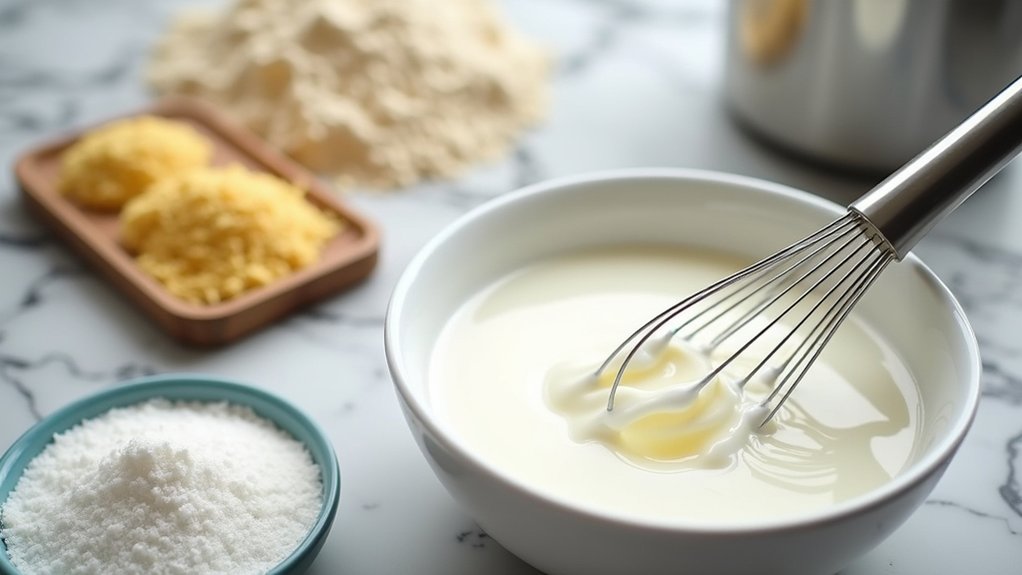
Step 2. Mix Milk and Sugar
With all your ingredients ready to go, it’s time to mix the milk and sugar, which forms the base of our milk cake. Start by combining whole milk with sugar alternatives like stevia or coconut sugar if you’re looking for a healthier twist. This step not only sweetens the mixture but also enhances the flavor.
Here’s what you’ll need to keep in mind:
- Use milk powder for a creamy texture.
- Experiment with different sugar alternatives for unique flavors.
- Whisk until dissolved to guarantee a smooth consistency.
- Don’t rush; let the mixture meld together beautifully.
This is where the magic begins, as the foundation of your milk cake starts to take shape. Let’s embrace this delicious journey!
Step 3. Simmer Until Thickened
As we plunge into the next step of our milk cake adventure, it’s time to simmer the mixture until it thickens. This is where the magic happens! By employing some thickening techniques, like gently stirring the mixture as it heats, we’ll coax out that rich, creamy texture that makes milk cake so delightful. The benefits of simmering are immense; it allows the flavors to meld beautifully while gradually transforming the liquid into a luscious consistency. Keep a close eye on it, stirring regularly to prevent sticking. You’ll notice the mixture starts to bubble and reduce, creating a wonderful aroma that’ll have you dreaming of sweet indulgence. Once it reaches that perfect thickness, we’re ready for the next exciting step!
Step 4. Add Flavoring Ingredients
Now that our mixture is beautifully thickened, it’s time to infuse it with flavor! This is where the magic happens, and we can get creative with our choices. Here are some popular additives and flavor variations to take into account:
- Cardamom: A warm spice that adds depth and a unique twist.
- Rose Water: For a floral note that transports you to exotic lands.
- Cocoa Powder: Perfect for chocolate lovers, adding richness and indulgence.
- Coconut Flakes: For a tropical flair that brings a bit of sunshine.
Feel free to experiment with these ingredients or mix and match to discover your favorite combinations. This is your chance to personalize the milk cake, making it truly your own!
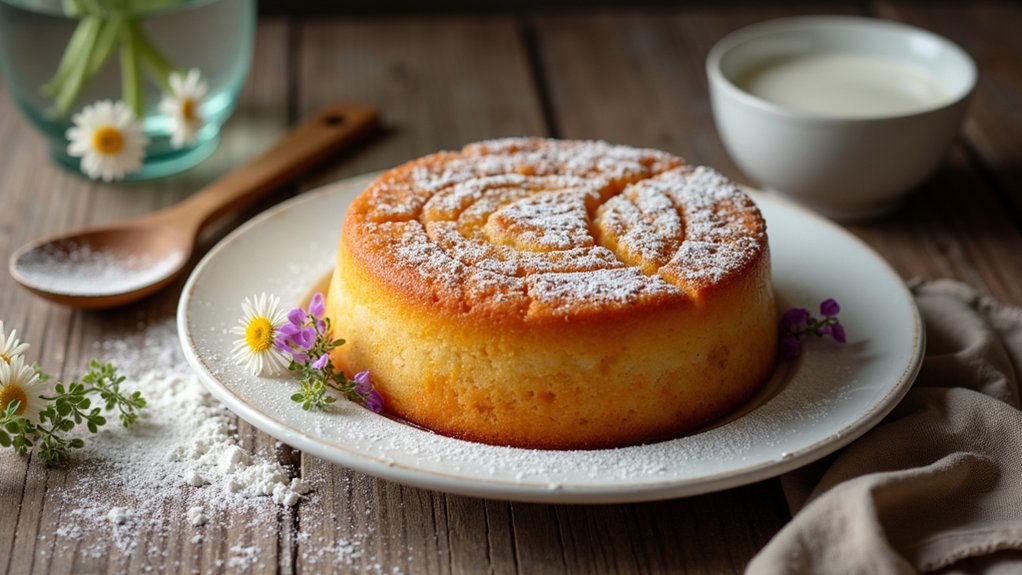
Step 5. Pour Into a Mold
It’s time to pour our delicious mixture into a mold, and this step is both exciting and vital for shaping our milk cake. First, let’s talk about mold selection. I prefer a silicone mold for easy release, but a metal one works too—just remember to grease it well! Now, when it comes to pouring techniques, I like to pour slowly and steadily, allowing the mixture to settle evenly. This guarantees a smooth surface and helps avoid air bubbles, which can ruin our cake’s texture. Once you’ve poured it all in, give the mold a gentle tap on the counter to release any trapped air. Now, let’s let it cool and set before we enjoy our delightful creation!
Nutritional Guide
When you plunge into making milk cake, it’s not just about satisfying your sweet tooth; it’s also a chance to explore its nutritional benefits. This delightful treat is often packed with proteins, calcium, and essential vitamins, making it a nourishing option when enjoyed in moderation. Of course, we all have our dietary considerations, and being mindful of ingredients can enhance the experience.
Here’s a quick look at the nutritional aspects:
| Nutrient | Amount per Serving |
|---|---|
| Protein | 6g |
| Calcium | 150mg |
| Sugars | 10g |
| Calories | 180 |
Final Thoughts
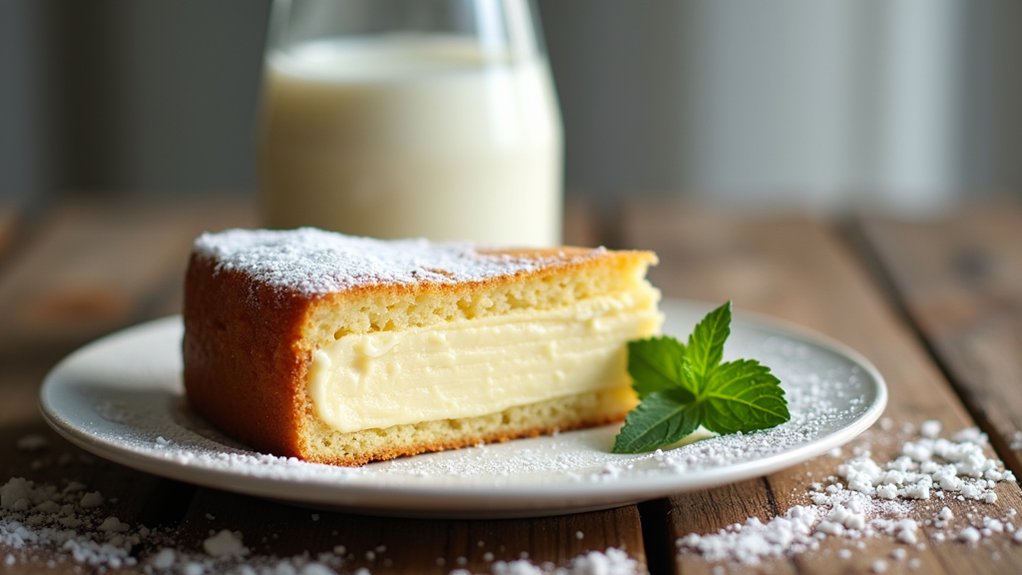
As you wrap up your milk cake adventure, it’s hard not to feel a sense of accomplishment and joy. This delightful treat is perfect for a variety of occasions, and I can’t wait for you to try it! Here are some serving suggestions to elevate your experience:
- Pair it with a scoop of vanilla ice cream for a decadent dessert.
- Serve it alongside fresh fruits for a rejuvenating twist.
- Drizzle a warm chocolate sauce over the top for a rich flavor.
- Enjoy it with a cup of chai or coffee to complement the sweetness.
Frequently Asked Questions
Can I Use Non-Dairy Milk for This Recipe?
I’ve used non-dairy options like almond or oat milk as milk substitutes in various recipes. They add unique flavors and textures, making my creations even more innovative. Experimenting is half the fun, right?
How Should I Store Leftover Milk Cake?
To store leftover cake, I use airtight containers for the best freshness. Refrigeration tips? Keep it cool and dry. This approach preserves flavor and texture, ensuring each bite is as delightful as the first!
What Are Some Variations of Milk Cake?
I love experimenting with milk cake flavors! You can try adding cardamom or saffron for a twist. For toppings, consider fresh fruit or a drizzle of chocolate ganache to elevate your creation. Enjoy the innovation!
Can I Freeze Milk Cake for Later Use?
Yes, I can freeze milk cake for later use! Just follow these freezing tips: wrap it tightly to minimize texture changes, and thaw it in the fridge for the best results. Enjoy your innovation!
How Long Does Milk Cake Typically Last?
Typically, milk cake lasts about five to seven days in the fridge. With a shelf life like that, I always prioritize food safety. It’s fascinating how freshness can elevate the flavor of such delightful treats!
Conclusion
So there you have it—making milk cake is not just about following a recipe; it’s about creating sweet memories that linger long after the last bite. As you gather ingredients and mix them with love, remember that every cake tells a story, and yours is just beginning. Whether you share it with family or enjoy it solo, this treat can brighten any day. So, roll up your sleeves, and let the delicious journey unfold!