If you’re looking for a delicious marble cake recipe, I’ve got you covered! This classic treat combines rich chocolate and creamy vanilla flavors that swirl together beautifully. You’ll need simple ingredients like flour, sugar, butter, and milk. The key is to layer the batters and swirl them gently for that stunning marbled effect. It’s perfect for birthdays or afternoon tea. Trust me, it’s easier than it sounds—stick with me and I’ll share all the details!
Contents
History
When you think about marble cake, you might picture a delightful swirl of chocolate and vanilla batter, but its history is just as rich and layered as the cake itself. The cake’s origins trace back to Europe, where bakers experimented with blending different flavors, leading to the marvelous creation we cherish today. As the cake evolved, it became a symbol of creativity, reflecting the culinary trends of its time. Each bite tells a story of flavor evolution, showcasing how bakers have embraced innovation to delight our taste buds. Whether you’re enjoying it at a family gathering or baking it for a special occasion, marble cake connects us through its delicious history, inviting us to create our own sweet memories.
Recipe
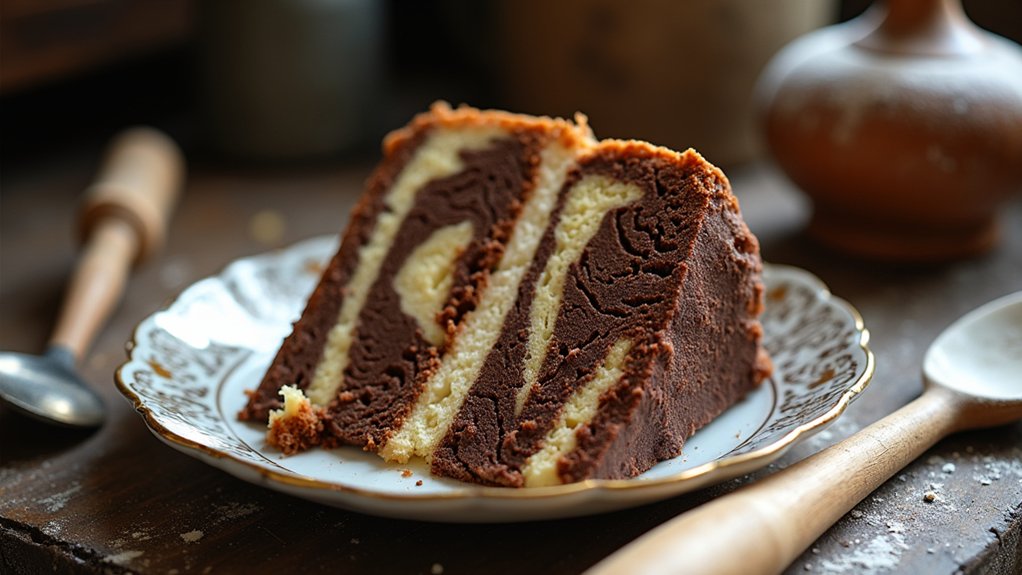
Marble cake is a delightful combination of chocolate and vanilla flavors that creates a stunning visual effect and a delicious taste. This classic dessert is perfect for any occasion, whether it’s a birthday, holiday gathering, or just a cozy afternoon tea. The beautiful swirls of chocolate and vanilla batter not only please the eye but also provide a unique flavor experience with every bite. The simplicity of the ingredients makes it easy to whip up, and with a little bit of technique, you can achieve that perfect marble effect.
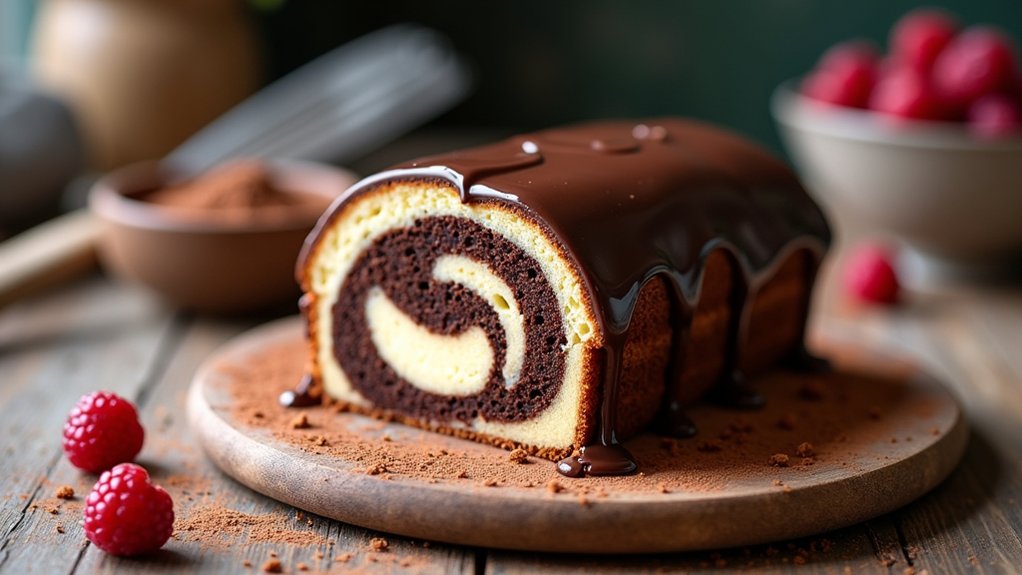
To guarantee your marble cake turns out perfectly, it’s important to use room temperature ingredients, as this helps in achieving an even and fluffy batter. You can easily add a personal touch by incorporating different flavor extracts or even a hint of coffee for a deeper flavor profile. This recipe is versatile and can be served plain, dusted with powdered sugar, or topped with your favorite frosting. Now, let’s gather our ingredients and get started!
Ingredients:
- 1 ¾ cups all-purpose flour
- 1 cup granulated sugar
- ½ cup unsalted butter, softened
- 1 cup milk
- 3 ½ teaspoons baking powder
- 1 teaspoon vanilla extract
- ½ teaspoon salt
- ¼ cup unsweetened cocoa powder
- 3 large eggs
Instructions:
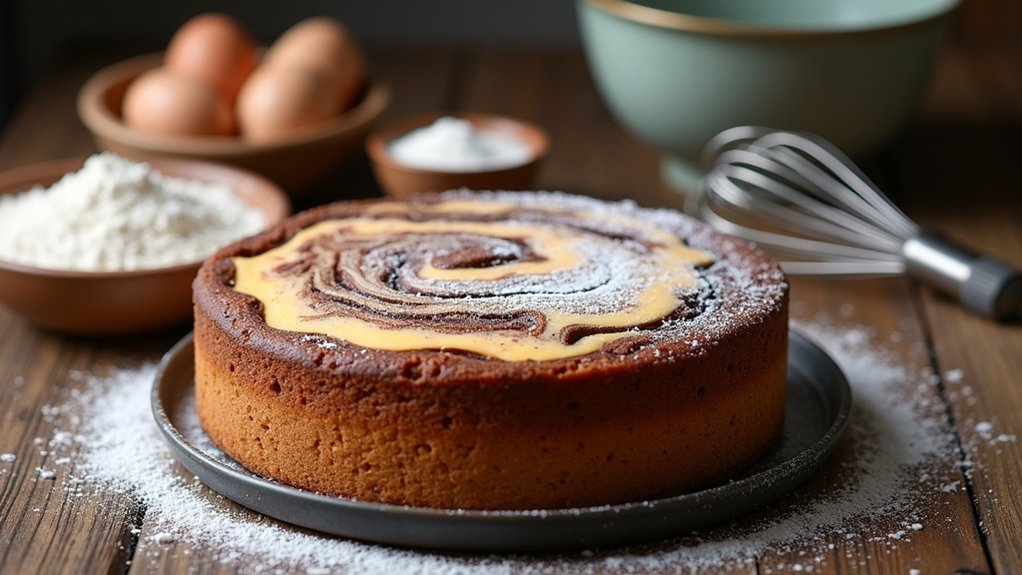
Preheat your oven to 350°F (175°C) and grease a 9-inch round cake pan. In a large mixing bowl, cream together the softened butter and sugar until light and fluffy. Add in the eggs, one at a time, mixing well after each addition. Stir in the vanilla extract. In a separate bowl, whisk together the flour, baking powder, and salt. Gradually add the dry ingredients to the wet mixture, alternating with the milk, starting and ending with the flour mixture. Once combined, divide the batter in half. To one half, mix in the cocoa powder until well incorporated. Then, take turns layering the vanilla and chocolate batters into the prepared cake pan, swirling them together gently with a knife or toothpick to create a marbled effect. Bake for 30-35 minutes or until a toothpick inserted into the center comes out clean. Allow to cool before serving.
Extra Tips:
For the best marble effect, be careful not to over-swirl the batter, as this can lead to a muddy appearance rather than distinct marbling. If you want even more flavor, consider adding a tablespoon of instant coffee granules to the chocolate batter for a mocha twist. To keep your cake moist, make sure to cover it with plastic wrap or store it in an airtight container after it has cooled. Finally, feel free to experiment with different add-ins like chocolate chips or nuts for added texture and flavor!
Cooking Steps
Let’s get started with the cooking steps for our delicious marble cake! First, I’ll walk you through preheating the oven and mixing those rich chocolate and vanilla batters. Once we swirl them together and pour them into the pan, we’ll be just moments away from a delightful treat!
Step 1. Preheat the Oven to 350°F
To kick off our marble cake adventure, the first step is to preheat your oven to 350°F. Getting the oven temperature just right is essential for that perfect rise and texture. While the oven warms up, let’s get into a few baking tips that can really elevate your cake:
- Use an oven thermometer: Sometimes, the built-in thermometer can be off, and you don’t want to risk your cake baking unevenly.
- Position your oven rack: Make sure it’s in the center for even heat distribution, allowing your marble cake to bake beautifully.
- Avoid opening the oven door: This can drop the temperature and affect your cake’s rise, so be patient!
With the oven ready, we’re one step closer to a delicious treat!
Step 2. Mix Chocolate and Vanilla Batter
Now that your oven is preheated and ready to go, it’s time to mix up the chocolate and vanilla batter, which is where the magic of marble cake truly begins. I start by combining the dry ingredients for both batters separately, ensuring the right batter consistency. For the chocolate, I use cocoa powder, and for the vanilla, I stick to classic vanilla extract. Once both mixtures are well combined and smooth, I gently fold in the wet ingredients, creating a luscious base. It’s essential to maintain a flavor balance; the rich chocolate should complement the sweet vanilla without overpowering it. This step sets the stage for that beautiful marbling effect, making each slice not just a treat for the taste buds, but for the eyes, too!
Step 3. Swirl Batters Together
Swirling the batters together is where the real fun begins, and it’s super easy! This is your chance to showcase your creativity with innovative swirl techniques that’ll elevate your marble cake. Grab a spoon or a skewer, and let’s get to work. Here’s how I approach those tantalizing flavor combinations:
- Layer the chocolate and vanilla batters in alternating spoonfuls.
- Swirl gently with a knife or skewer, creating beautiful patterns without over-mixing.
- Experiment with different swirl techniques to achieve your desired design.
Step 4. Pour Into Prepared Pan
Grab your prepared pan, because it’s time to pour in those beautifully swirled batters! I always find this part exhilarating; it’s where the magic truly begins. First, take one of your batters—usually the lighter one—and pour it into the center of the pan. Then, add the darker batter on top, allowing it to spread naturally. This layering technique not only creates an eye-catching marbled effect but also showcases your baking skills. Don’t fret about perfecting it; the beauty lies in the spontaneity! As you pour, remember that proper pan preparation is key to a smooth release later. With these simple baking techniques, you’re setting the stage for a delightful treat that’ll impress everyone who gets a slice!
Step 5. Bake for 30 Minutes
As you slide your pan into the preheated oven, you can already imagine the delightful aroma that will soon fill your kitchen. Baking is an art, and this step is where those beautiful cake textures come to life! Set your timer for 30 minutes and resist the urge to peek too soon—trust the process and your baking techniques.
- The edges will start to pull away from the pan.
- A toothpick inserted in the center should come out clean.
- Keep an eye on the golden-brown top forming!
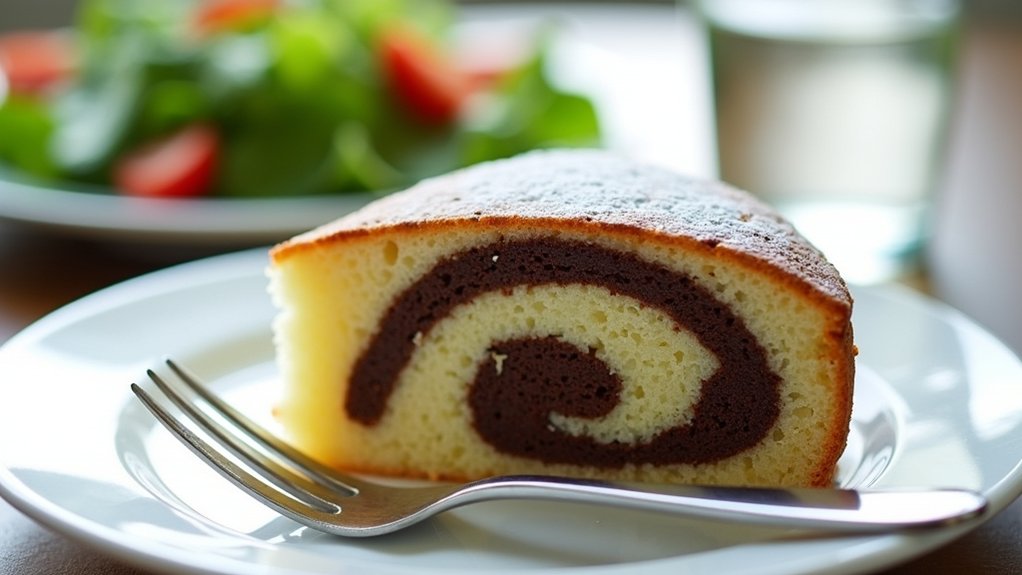
This is the moment when the magic happens, transforming your batter into a stunning marble cake. Let the anticipation build as you look forward to that first slice. Enjoy this rewarding experience!
Nutritional Guide
While indulging in a slice of marble cake can be a delightful experience, it’s also important to reflect on the nutritional aspects of this beloved dessert. Understanding the caloric content and ingredient benefits can enhance our enjoyment. Here’s a quick nutritional guide to ponder:
| Nutrient | Amount per slice |
|---|---|
| Calories | 250 |
| Protein | 3g |
| Carbohydrates | 35g |
| Sugars | 15g |
| Fat | 10g |
The cake’s flour provides energy, while cocoa powder offers antioxidants, and eggs contribute protein. By appreciating these elements, I feel more connected to my baking, making each slice a blend of taste and nutrition. Let’s savor marble cake while keeping our health in mind!
Final Thoughts

Even though baking a marble cake can feel like a journey through flavors and memories, it’s important to remember that this delightful treat is more than just a dessert. It’s a canvas for creativity and a way to share joy with those you love. Here are some baking tips and cake variations to inspire your next creation:
Baking a marble cake is a creative journey, turning delightful flavors into a joyful experience for loved ones.
- Experiment with different flavor combinations, like lemon and lavender or chocolate and mint.
- Don’t shy away from adding textures, like nuts or chocolate chips, for an unexpected crunch.
- Try using different pans for unique shapes that elevate your presentation.
Frequently Asked Questions
Can I Use a Gluten-Free Flour for Marble Cake?
Absolutely, I’ve successfully used gluten-free options like almond or coconut flour for my cakes. Just remember, different flour types can alter texture, so I experiment until I find the perfect balance for my recipes.
How Can I Store Leftover Marble Cake?
I usually wrap leftover cake tightly in plastic wrap and store it in an airtight container. For longer preservation, I freeze slices; it keeps the flavors fresh and delicious. Those storing tips work wonders for cake!
What Can I Substitute for Eggs in This Recipe?
You can substitute eggs with flaxseed meal or unsweetened applesauce. I love using 1 tablespoon of flaxseed meal mixed with 2.5 tablespoons of water for a great texture, or 1/4 cup applesauce for moisture!
Is Marble Cake Suitable for Freezing?
Yes, marble cake’s excellent for freezing! By using proper freezing techniques, I’ve found it maintains its delightful cake texture. Just wrap it tightly, and you’ll enjoy its rich flavors even after months in the freezer.
How Can I Enhance the Chocolate Flavor in Marble Cake?
I love enhancing chocolate intensity in my marble cake by adding espresso powder or a splash of vanilla extract. For flavor pairing, consider mixing in orange zest—it’s a delightful twist that elevates the chocolate experience!
Conclusion
Baking a marble cake is like painting a masterpiece—you swirl together flavors and create something beautiful and delicious. I hope you’re excited to try this recipe, whether it’s for a special occasion or just because. Remember, the joy of baking isn’t just in the end result; it’s in the moments spent in the kitchen, turning simple ingredients into a warm, comforting treat. So grab your apron, and let’s make some sweet memories together!