Making an ice cream cake is a fun way to celebrate special occasions! Start by baking a cake according to your favorite recipe, then let it cool completely. Layer your favorite ice cream on top, freeze it overnight, and you’ll have a delightful treat that everyone will love. You can customize it with fresh fruit, chocolate drizzle, or cookie crumbles for extra texture and flavor. Stick around, and I’ll share more tips to make your cake even better!
Contents
History
When I think about the history of ice cream cake, I can’t help but feel a wave of nostalgia wash over me. It’s fascinating how ice cream’s origins trace back to ancient civilizations, where people enjoyed frozen desserts made from snow and flavored with fruits. As time passed, cake evolution brought us lighter, fluffier creations that perfectly complemented the creamy sweetness of ice cream. This delightful combination emerged in the 20th century, with innovative bakers experimenting to create the ice cream cake we love today. Each layer tells a story, blending flavors and textures to spark joy in our celebrations. It’s not just dessert; it’s a delicious part of our history, inviting us to create new memories together.
Recipe
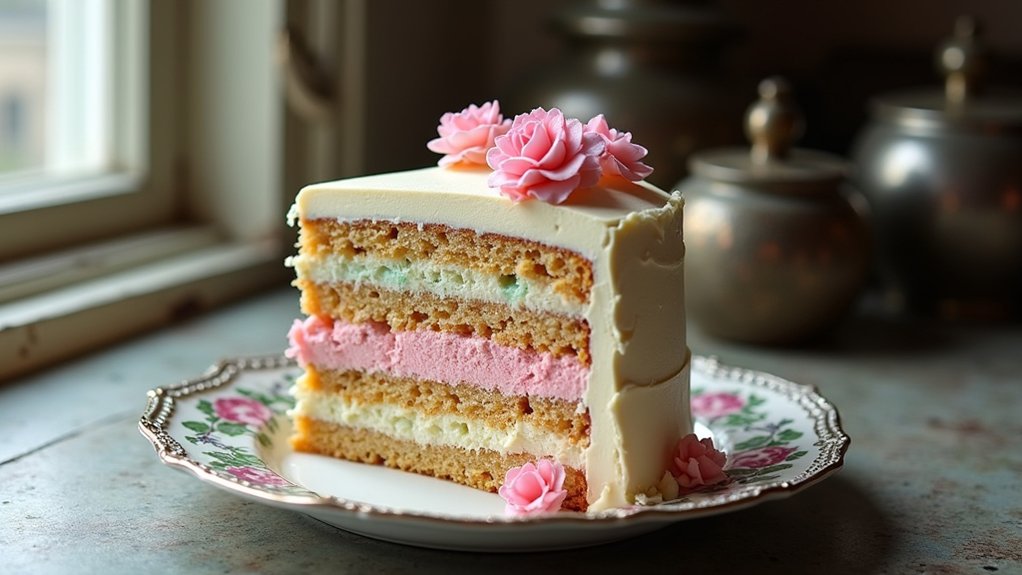
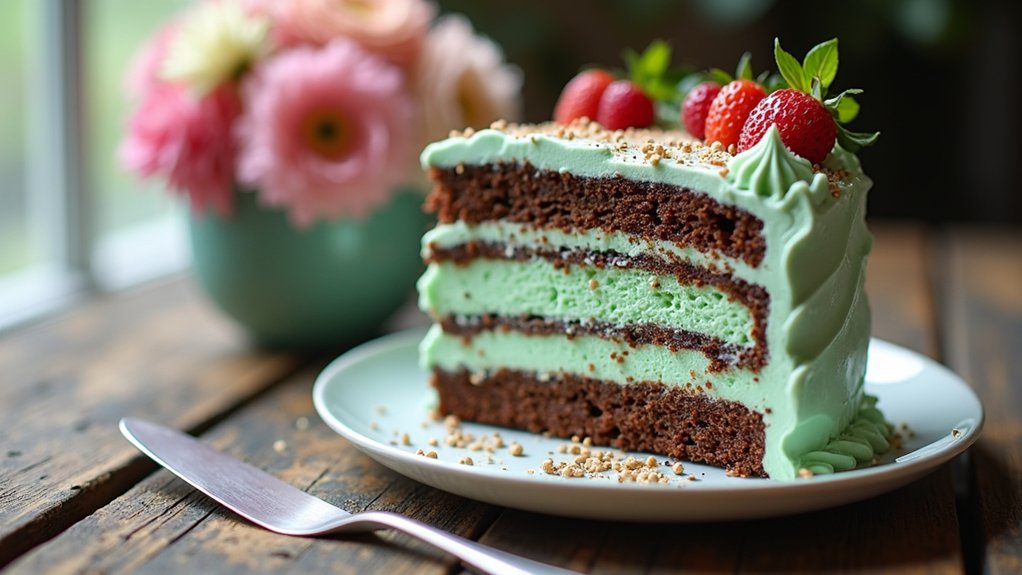
Ice cream cake is a delightful dessert that combines the rich creaminess of ice cream with the light, airy texture of cake. This indulgent treat is perfect for celebrations, especially birthdays, and can be customized with your favorite flavors and toppings. The beauty of an ice cream cake lies in its versatility; you can mix and match flavors, colors, and textures to create a dessert that suits your taste and the occasion.
Ice cream cake is a versatile dessert that beautifully blends creamy ice cream and fluffy cake, perfect for any celebration.
Making an ice cream cake at home is easier than it might seem. With just a few simple ingredients and some patience, you can craft a stunning dessert that will impress your family and friends. The key is to make sure that your ice cream is softened enough to spread easily, yet firm enough to hold its shape once layered with cake. Let’s plunge into the recipe!
Ingredients:
- 1 box of cake mix (flavor of choice)
- 3 cups of ice cream (flavor of choice)
- 1 cup of whipped cream
- 1/2 cup of chocolate or caramel sauce (optional)
- Sprinkles or crushed cookies for decoration (optional)
Instructions:
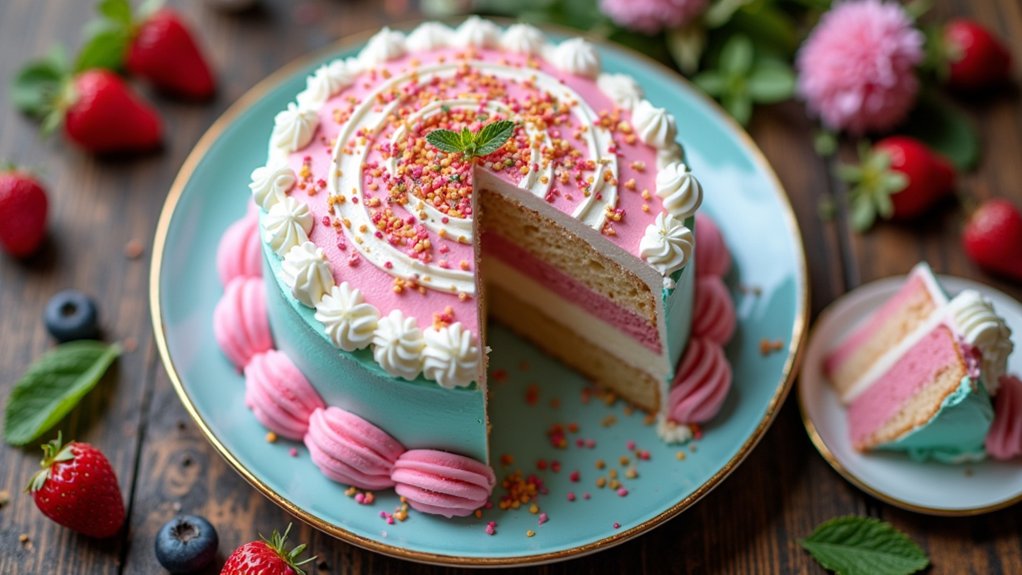
Begin by baking the cake according to the package directions, letting it cool completely once done. Once the cake is cool, slice it in half horizontally to create two layers. Next, place the bottom layer of the cake on a serving plate and spread a layer of softened ice cream on top, followed by the second layer of cake. Smooth out more ice cream on top of the second layer and then cover the entire cake with whipped cream. Drizzle with chocolate or caramel sauce if desired, and sprinkle with your choice of decorations. Freeze the cake for at least 4 hours before serving to allow it to set properly.
Extra Tips:
For the best results, choose high-quality ice cream that has a rich flavor and good texture. Allow your ice cream to sit out for about 10-15 minutes before spreading it to make sure it’s soft enough. Additionally, feel free to experiment with different cake flavors and fillings; a layer of fruit or cookie crumbles between the ice cream layers can add a delightful crunch. Remember to let the cake sit at room temperature for a few minutes before slicing to make it easier to cut. Enjoy your homemade ice cream cake!
Cooking Steps
Now that we have our ingredients and tools ready, let’s get started on making this delicious ice cream cake! I’ll guide you through mixing the cake batter, baking it, and letting it cool completely, so we can layer it with that creamy goodness. Trust me, the steps are simple, and the end result is worth every minute spent in the kitchen!
Step 1. Gather Ingredients and Tools
To create a delicious ice cream cake, it’s essential to gather the right ingredients and tools before diving in. This step makes the process smoother and more enjoyable. Here’s what I recommend you collect:
- Ice cream: Choose your favorite flavors; think outside the box for ingredient substitutions!
- Cake mix: A classic chocolate or vanilla works wonders, but feel free to experiment.
- Baking pan: An 8-inch round pan is perfect for layering.
- Essential tools: Grab a mixing bowl, spatula, and an electric mixer for the best results.
With everything ready, you’ll feel inspired to release your creativity. Let’s get started and make something memorable that’ll impress your friends and family!
Step 2. Mix Cake Batter Thoroughly
With your ingredients and tools in hand, it’s time to mix the cake batter thoroughly. Start by creaming the butter and sugar until it’s light and fluffy, using a hand mixer or stand mixer for that perfect texture. Next, add your eggs one at a time, ensuring each is fully incorporated before moving on. Now, it’s all about those mixing techniques! Gradually add your dry ingredients and wet ingredients, alternating between them. This helps achieve a smooth batter consistency that’s ideal for your cake. Don’t rush—mix until there are no lumps, but avoid overmixing, as it can make your cake dense. Once you’ve got that perfect batter, you’re one step closer to an amazing ice cream cake!
Step 3. Bake at 350°F for 25 Minutes
Once you’ve got that beautiful batter ready, it’s time to bake! Preheat your oven to 350°F and place your cake pan inside. This step is vital for achieving those delightful cake textures that will surprise everyone.
Here’s what to keep in mind during this baking adventure:
- Set a timer for 25 minutes; it’s all about precision!
- Watch for a golden-brown top—that’s a sign of success.
- Use a toothpick to check for doneness; it should come out clean.
- Let the aroma fill your kitchen; it’s pure magic!
Mastering these baking techniques not only guarantees your cake is perfect but also brings a comforting wave of nostalgia. So, let’s get baking and create something delicious together!
Step 4. Cool the Cake Completely
As the cake comes out of the oven, it’s essential to let it cool completely before we move on to the next steps. I usually place the cake on a wire rack, which is one of the best cooling techniques, allowing air to circulate around it. This helps the cake cool evenly and prevents sogginess. While it cools, I often think about how I’ll layer it with ice cream later—such a treat! Once the cake reaches room temperature, I recommend wrapping it in plastic wrap for cake storage if you’re not using it immediately. This keeps it fresh and ready for the next delicious phase. Trust me, taking the time to cool it properly pays off in flavor and texture!
Step 5. Freeze Layered Cake Overnight
Now that your cake has cooled completely and is ready for its delicious transformation, it’s time to layer it with your favorite ice cream and freeze it overnight. This is where the magic happens!
Here are some innovative layering techniques to take into account:
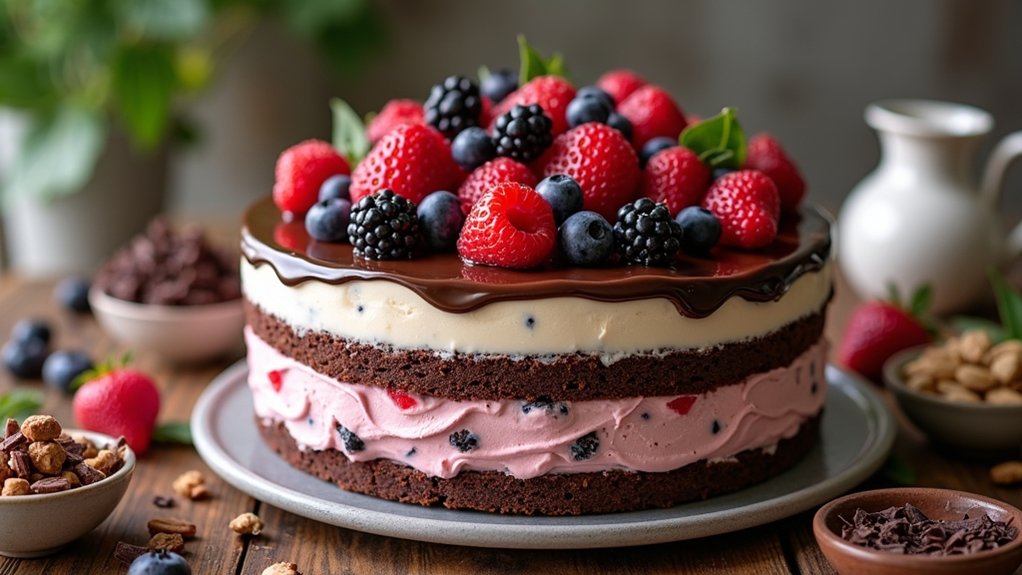
- Choose a variety of ice cream flavors for an exciting twist.
- Spread a thin layer of whipped cream between ice cream layers for added creaminess.
- Use fruit or cookie crumbles to create fun texture contrasts.
- Don’t forget to cover the cake tightly for ideal overnight storage!
Once you’ve layered everything, pop it in the freezer and let it set overnight. Trust me, the wait will be worth it when you slice into that creamy, dreamy cake the next day!
Nutritional Guide
When it comes to enjoying a delicious slice of ice cream cake, it’s essential to know what you’re indulging in. Understanding the calorie count and ingredient benefits helps you make informed choices. Here’s a quick nutritional guide to keep in mind:
| Ingredient | Calorie Count (per slice) |
|---|---|
| Vanilla Ice Cream | 150 |
| Chocolate Cake | 200 |
| Whipped Cream | 50 |
| Fresh Berries | 30 |
Final Thoughts
While making an ice cream cake can feel like an intimidating task, it’s really a fun and rewarding experience that brings joy to any occasion. As I wrap up my thoughts, I hope you feel inspired to plunge into this delightful creation. Here are some serving suggestions to elevate your ice cream cake:
Making an ice cream cake may seem daunting, but it’s a joyful and rewarding experience perfect for any celebration.
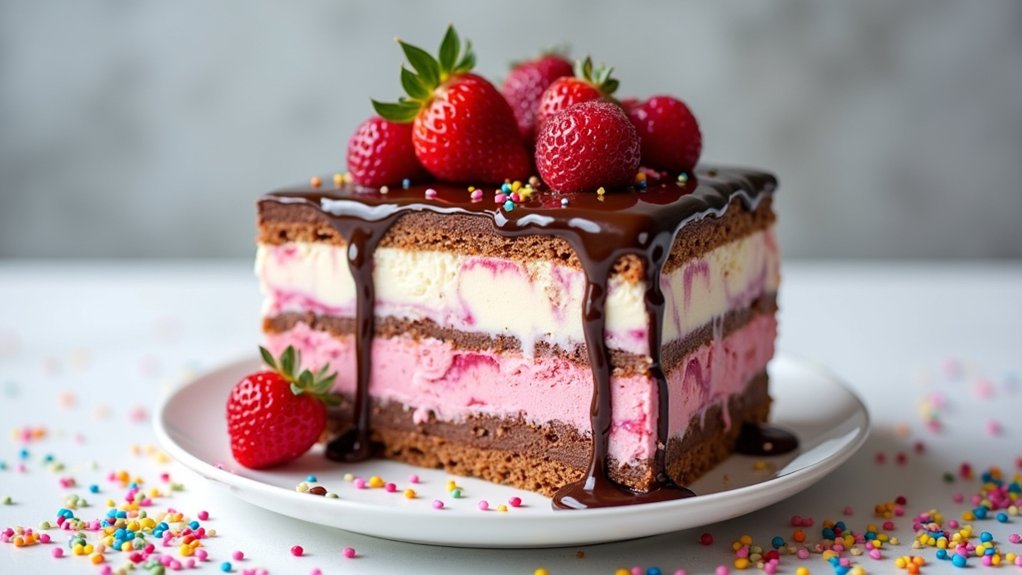
- Garnish with fresh fruit for a burst of color.
- Drizzle chocolate or caramel sauce for added decadence.
- Top with whipped cream for a fluffy finish.
- Sprinkle crushed cookies or nuts for some crunch.
Frequently Asked Questions
Can I Use Store-Bought Ice Cream for This Recipe?
I love using store-bought ice cream for its convenience and variety. With so many ice cream selections available, I can easily experiment with flavors and textures, making each creation uniquely innovative and delicious.
How Long Does an Ice Cream Cake Last in the Freezer?
I’ve found that an ice cream cake lasts about two to three weeks in freezer storage. It’s amazing how ice cream longevity can surprise you, keeping delicious memories frozen just waiting to be enjoyed again.
Can I Make an Ice Cream Cake in Advance?
I often make ahead ice cream cakes. Just layer your ingredients, freeze, and follow these storage tips: wrap it tightly to prevent freezer burn. It’ll stay delicious and ready for any occasion!
What Are Some Popular Flavor Combinations for Ice Cream Cakes?
Oh, let me tell you, chocolate raspberry and vanilla caramel are heavenly! Mixing these flavors creates an indulgent masterpiece that’ll make your taste buds dance. You’ll never want plain ice cream again, trust me!
Is It Possible to Make a Dairy-Free Ice Cream Cake?
I’ve made delicious dairy-free ice cream cakes using dairy alternatives like coconut or almond milk. Vegan options are plentiful, and the creativity in flavor combinations really makes these cakes stand out at any celebration!
Conclusion
To sum up, making an ice cream cake is a fun and rewarding experience that brings everyone together. Whether you’re celebrating a birthday or just satisfying a sweet craving, this delightful treat is sure to impress. So, why not gather your friends or family and create your own masterpiece? With a little creativity and the right ingredients, you can whip up something truly special. Trust me, there’s nothing quite like sharing a delicious homemade cake with loved ones!