If you’re craving a delicious Honey Bun Cake, you’re in for a treat! This Southern favorite mixes cinnamon and vanilla into a moist cake, perfect for any gathering. You’ll start with a simple blend of yellow cake mix, sour cream, eggs, and spices. The result is a comforting cake with a sweet glaze that takes just one bite to fall in love with. Keep on exploring for more tips and variations to make this cake your own!
Contents
History
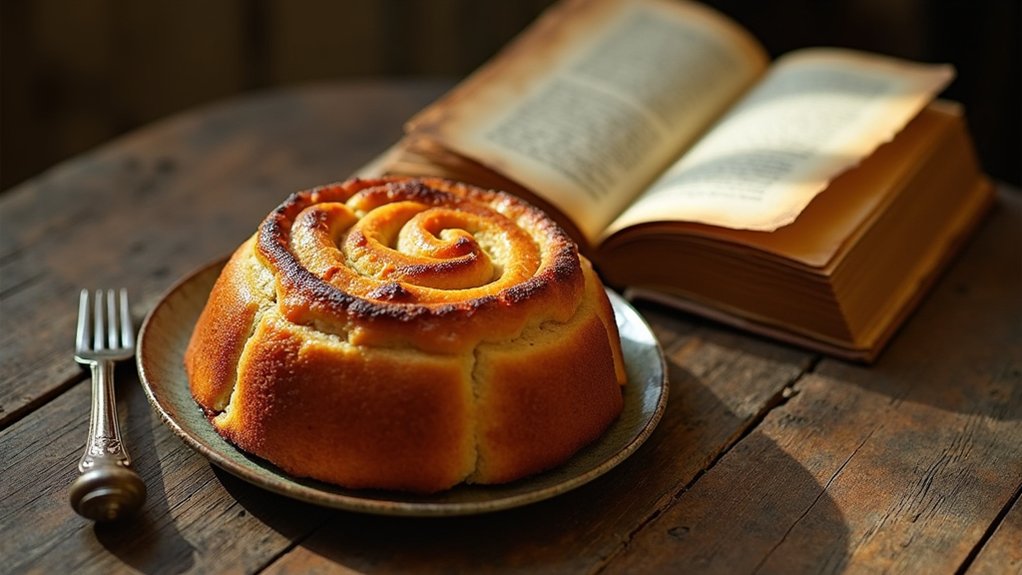
When I think about Honey Bun Cake, I can’t help but feel a wave of nostalgia wash over me, as this delightful dessert has a rich history that many of us might not know. Its Southern origins play a significant role in its charm, with recipes passed down through generations. Initially, home bakers created this cake to reflect their creativity, leading to various cake variations that maintain the same warm, comforting essence. Each twist on the classic recipe tells a story, capturing the spirit of family gatherings and shared moments. I love how Honey Bun Cake invites us to innovate, whether it’s adding new ingredients or experimenting with flavors, all while honoring its delightful roots.
Recipe
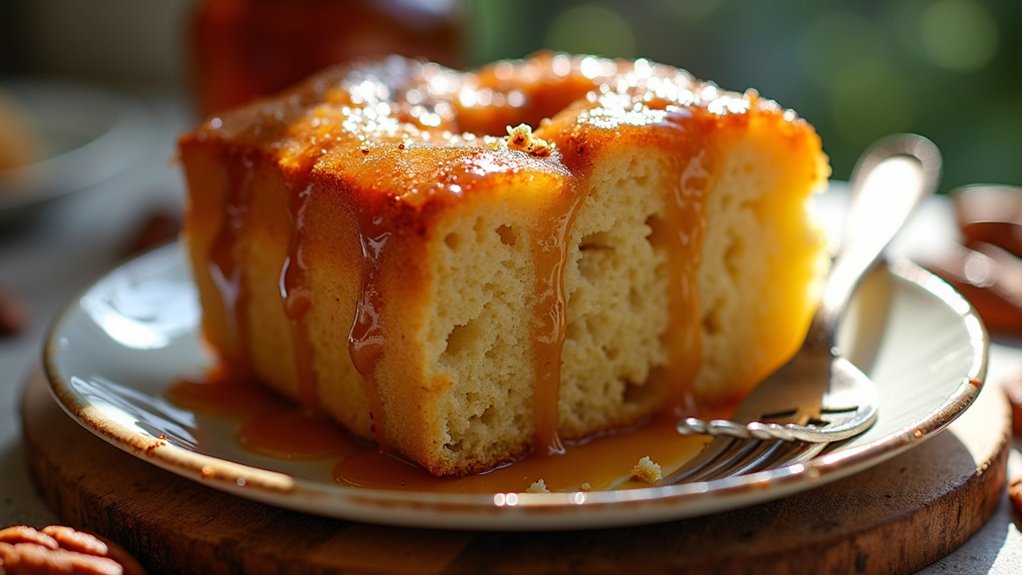
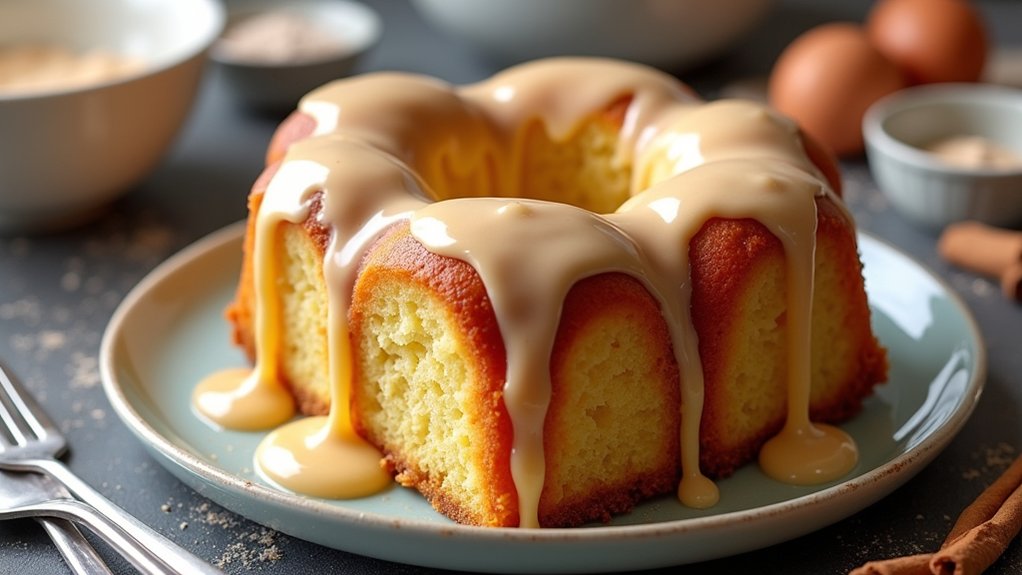
Honey Bun Cake is a delightful dessert that combines the flavors of cinnamon and vanilla with a moist, tender cake base. This recipe is perfect for any occasion, whether it’s a family gathering, a brunch with friends, or simply a sweet treat to enjoy at home. With its rich glaze and delectable filling, the Honey Bun Cake is certain to impress and satisfy any sweet tooth.
To create this scrumptious cake, you’ll need a few simple ingredients that you likely already have in your pantry. The cake batter is easy to prepare and comes together quickly. The combination of cinnamon-sugar filling and the sweet glaze makes it reminiscent of a classic honey bun. Once you master this recipe, you might find yourself making it again and again!
Ingredients:
- 1 box yellow cake mix
- 1 cup sour cream
- 4 large eggs
- 1/2 cup vegetable oil
- 1/2 cup sugar
- 1 tablespoon ground cinnamon
- 1/2 cup brown sugar
- 1 teaspoon vanilla extract
- 1 cup powdered sugar
- 2 tablespoons milk
Instructions:
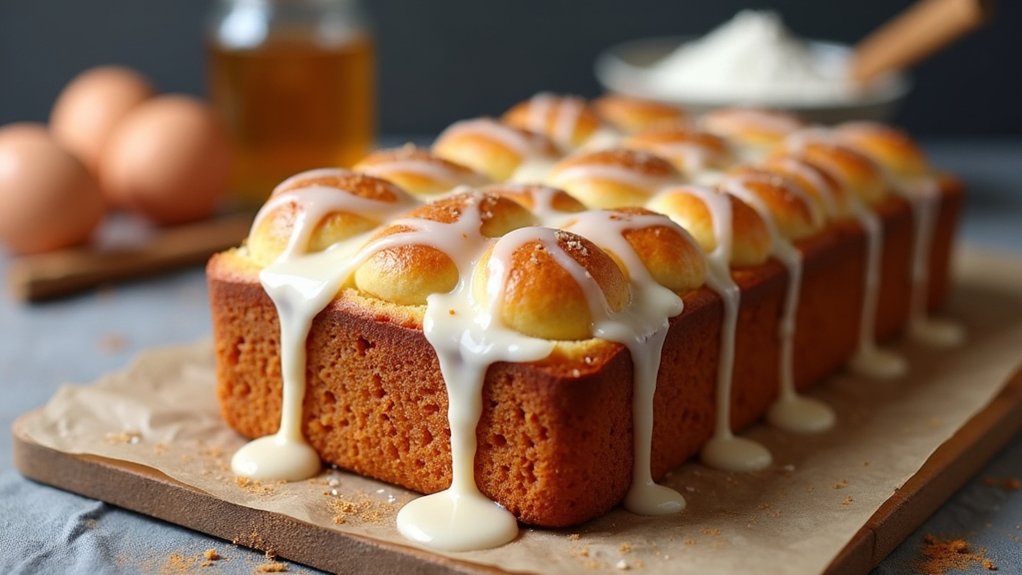
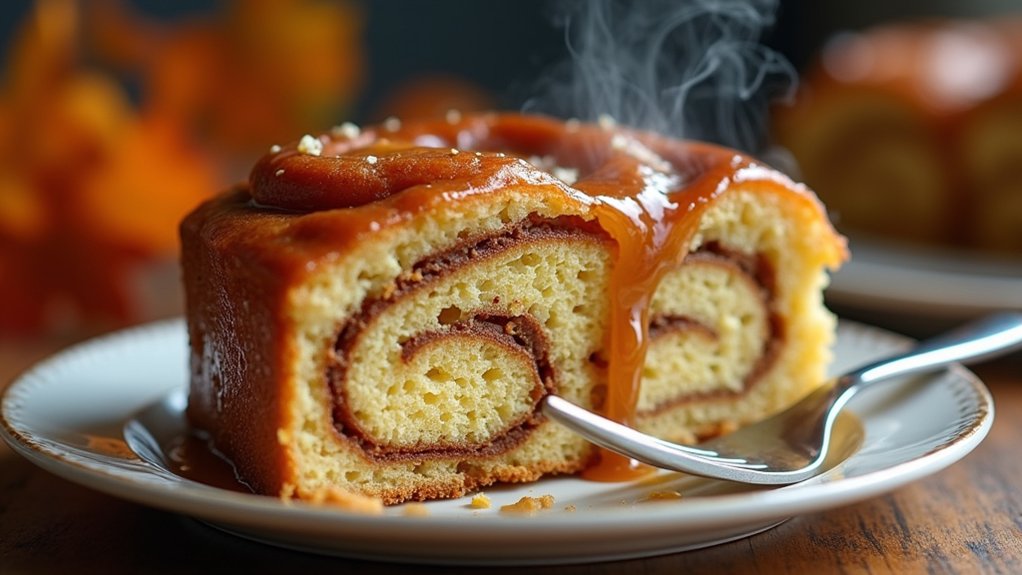
Preheat your oven to 350°F (175°C) and grease a 9×13 inch baking pan. In a large mixing bowl, combine the yellow cake mix, sour cream, eggs, vegetable oil, and vanilla extract, and mix until well blended. In a separate bowl, mix together the sugar, brown sugar, and cinnamon. Pour half of the cake batter into the prepared pan and sprinkle half of the cinnamon-sugar mixture over the top. Pour the remaining batter over the cinnamon layer and top with the rest of the cinnamon-sugar mixture. Use a knife to swirl the filling slightly through the batter. Bake for 30-35 minutes or until a toothpick inserted in the center comes out clean. While the cake is baking, combine the powdered sugar and milk to make the glaze. Once the cake is done, let it cool for a few minutes before drizzling the glaze over the top.
Extra Tips:
For an extra touch, you can add chopped nuts or chocolate chips to the cinnamon-sugar filling for added texture and flavor. Make sure to check the cake a few minutes before the suggested baking time, as oven temperatures can vary. Allow the cake to cool completely before serving to guarantee the glaze sets properly. This cake can be stored in an airtight container at room temperature for a few days, making it a great treat to enjoy throughout the week!
Cooking Steps
Let’s get started on making this delicious Honey Bun Cake! First, I’ll preheat the oven, so it’s ready for our batter. Then, I’ll mix the dry ingredients together before adding the wet ones gradually—trust me, this cake is going to be worth the effort!
Step 1. Preheat the Oven
Before diving into mixing the ingredients, it’s important to preheat the oven to 350°F (175°C). This step sets the stage for a perfectly baked Honey Bun Cake, ensuring that every bite is moist and delicious. Here are a few baking tips to keep in mind:
- Check Your Oven: Make sure your oven temperature is accurate; using an oven thermometer can help.
- Don’t Skip Preheating: It’s crucial for even baking, so don’t rush this step.
- Use the Middle Rack: This allows for ideal heat circulation around your cake.
- Give It Time: Allow at least 10-15 minutes for the oven to reach the desired temperature before placing your cake inside.
With the oven ready, you’re one step closer to enjoying this delightful treat!
Step 2. Mix Dry Ingredients Together
To start off, I like to gather all my dry ingredients so I can mix them together seamlessly. This step is essential, as it sets the foundation for our Honey Bun Cake. I measure out the flour, sugar, baking powder, and a pinch of salt, paying close attention to the ingredient ratios. Using proper baking techniques, I whisk them in a large bowl until they’re well combined. This not only guarantees an even distribution but also adds air, which helps create that lovely, fluffy texture we all crave. Remember, the right balance of ingredients makes all the difference! Once everything’s blended, I feel a rush of excitement, knowing I’m one step closer to a delicious treat that’ll delight everyone.
Step 3. Add Wet Ingredients Gradually
Once the dry ingredients are perfectly blended, it’s time to gradually introduce the wet ingredients, which will bring everything to life. This step is essential, and I promise it’s easier than it sounds. Here’s how I do it:
- Start with the eggs: Crack them into a bowl and whisk lightly before adding.
- Add the milk: Pour it in slowly, allowing it to mix evenly.
- Incorporate the vanilla: This is where the magic happens—don’t rush it!
- Finish with the melted butter: Drizzle it in while stirring, guaranteeing a smooth blend.
With each addition, I love seeing how the batter transforms. This gradual mixing not only enhances flavor but also guarantees a perfect consistency. Let’s keep moving forward!
Step 4. Pour Batter Into Pan
Now that your batter is all mixed and ready, it’s time to pour it into the prepared pan. I like to use a spatula to help guide the batter, ensuring it spreads evenly for that perfect cake texture. As I pour, I can’t help but feel excited about the baking techniques I’m using—layering flavors and creating a delightful experience for everyone. Make sure to tap the pan gently on the counter; this helps eliminate any air bubbles that might disrupt the cake’s fluffiness. Watching the batter settle is almost therapeutic, a reminder of the joy baking brings. Once it’s all in the pan, you’ll be one step closer to that delicious Honey Bun Cake, so let’s get ready for the next stage!
Step 5. Bake for 30 Minutes
Baking the Honey Bun Cake is where the magic truly happens, and I’m excited to share this step with you! Setting your timer for 30 minutes will transform that batter into a delicious masterpiece. Here are some baking tips to guarantee you achieve the perfect cake texture:
- Preheat your oven to 350°F (175°C) for even baking.
- Place the cake in the center of the oven for ideal heat distribution.
- Resist the urge to open the oven door too soon; this can cause the cake to collapse.
- Use a toothpick to check for doneness—if it comes out clean, your cake is ready!
Enjoy the delightful aroma filling your kitchen as you anticipate that first delicious slice!
Nutritional Guide
When it comes to enjoying a Honey Bun Cake, understanding its nutritional value can help you make informed choices, whether you’re indulging for a special occasion or just treating yourself. This cake blends delightful flavors with some beneficial ingredients, but it’s essential to keep an eye on the caloric content. Here’s a quick nutritional guide to help you balance your indulgence:
| Nutrient | Amount per Slice |
|---|---|
| Calories | 350 |
| Total Fat | 18g |
| Sugars | 25g |
| Protein | 4g |
While the cake is rich and sweet, the use of eggs and milk adds a touch of protein and calcium, making it a fun treat that can still fit into a thoughtful diet. Enjoy!
Final Thoughts
As you wrap up your journey into the world of Honey Bun Cake, it’s hard not to feel a sense of warmth and nostalgia for those sweet moments shared around the table. This delightful dessert isn’t just about taste; it’s about creativity and connection.
Here are some cooking tips to elevate your Honey Bun Cake experience:
- Experiment with dessert variations like adding chocolate chips or nuts.
- Drizzle caramel sauce for an extra layer of flavor.
- Swap out ingredients for healthier options, like using applesauce instead of oil.
- Serve it warm, topped with a scoop of vanilla ice cream.
Frequently Asked Questions
Can I Use Store-Bought Frosting Instead of Homemade?
I often use store-bought alternatives for frosting. They come in various flavors, making it easy to experiment. Don’t hesitate to mix and match; you might discover a delightful combination that surprises you!
How Should I Store Leftover Honey Bun Cake?
When I had leftover cake after a family gathering, I stored it in an airtight container. For refrigeration tips, I found it stays fresh longer that way, avoiding dryness while keeping those delightful flavors intact.
Can I Freeze Honey Bun Cake?
Absolutely, I freeze my cakes all the time! Using proper freezing techniques keeps the cake texture intact. Just wrap it tightly in plastic wrap, then in foil, and you’ll enjoy it later without losing quality.
What Is the Best Way to Reheat Honey Bun Cake?
To reheat honey bun cake like a culinary wizard, I recommend the microwave method for quick warmth or the oven reheating for that perfectly golden crust. Either way, you’ll savor every delightful bite!
Is Honey Bun Cake Suitable for a Vegan Diet?
No, honey bun cake isn’t typically vegan, but I’ve experimented with vegan substitutes. You can use ingredient alternatives like flax eggs and plant-based milk for a delicious, cruelty-free version that still satisfies those sweet cravings!
Conclusion
As we come to the end of our honey bun cake journey, I can’t help but think of the warmth that fills a kitchen, much like the sun breaking through clouds after a long rain. This cake isn’t just a treat; it’s a bridge connecting us to sweet memories and cherished moments. So, when you bake this delightful creation, remember that each slice is a story waiting to be shared. Let’s savor these flavors together and create new memories!