I love making healthy dog cookies at home using simple, wholesome ingredients like oatmeal, peanut butter, and pumpkin. Just mix the dry ingredients, add the wet ones, and shape the dough into fun designs before baking at 350°F until golden brown. These treats are not only delicious but also packed with nutrition, supporting my furry friends’ health. If you’re interested in perfecting your treats or exploring new flavors, there’s plenty more to discover!
Contents
History

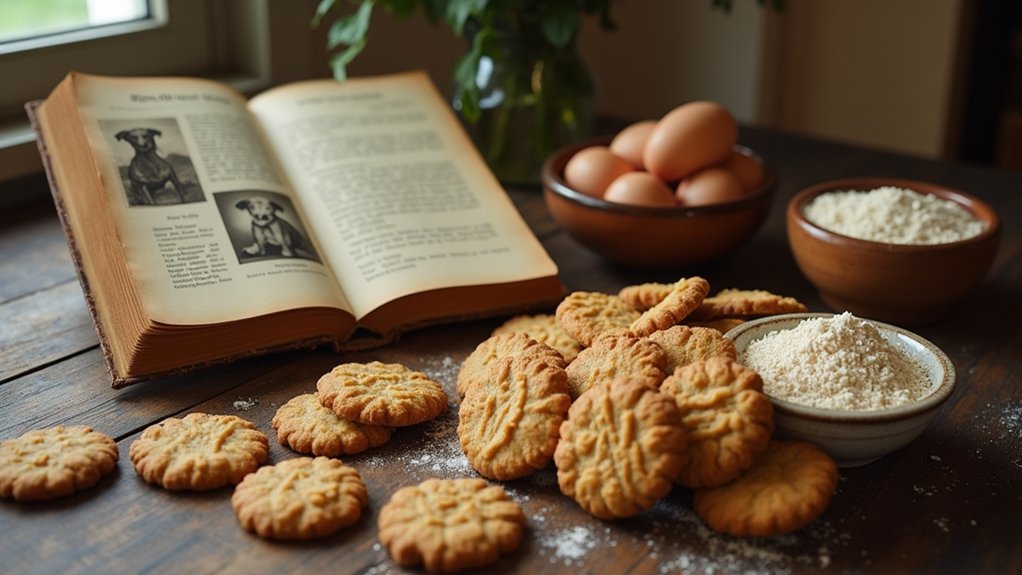
When we think about dog cookies, it’s fascinating to realize that their origins date back centuries. Ancient pets, much like our beloved pups today, enjoyed treats crafted from simple, wholesome ingredients. It’s intriguing to note that in ancient civilizations, people created baked goods specifically for their canine companions, recognizing their loyalty and companionship. These early canine treats laid the groundwork for what we now consider modern dog cookies. As time progressed, the recipes evolved, incorporating various ingredients that catered to the nutritional needs of dogs. Today, we have an impressive variety of dog cookies, from organic to grain-free options, reflecting our desire for innovation in pet care. Understanding this history enriches our appreciation for the treats we share with our furry friends.
Recipe
Making homemade dog cookies is a delightful way to treat your furry friend while guaranteeing they enjoy healthy, wholesome ingredients. Not only can you control what goes into these tasty treats, but you’ll also have fun experimenting with different flavors and textures that your dog will love. This simple recipe is quick to prepare and can be stored for days, making it a convenient option for pet owners who want to pamper their pups.
These dog cookies are packed with nutritious ingredients that can provide your pet with essential vitamins and minerals. The combination of oats, peanut butter, and pumpkin creates a delicious flavor that many dogs find irresistible. Plus, baking these cookies is a great way to spend some quality time with your pet, as the aroma fills your kitchen and gets them excited for their homemade treat!
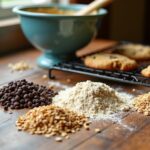
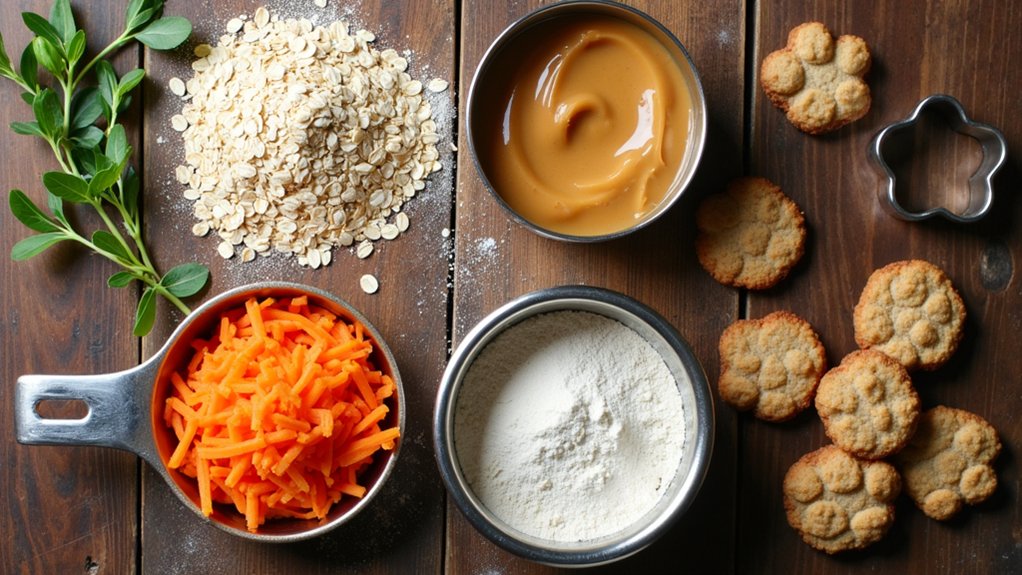
Ingredients:
- 1 cup whole wheat flour
- 1 cup rolled oats
- 1/2 cup pumpkin puree
- 1/2 cup peanut butter (unsweetened, xylitol-free)
- 1/4 cup water
- 1 egg
To make the dog cookies, preheat your oven to 350°F (175°C). In a large mixing bowl, combine the whole wheat flour and rolled oats. In a separate bowl, mix together the pumpkin puree, peanut butter, water, and egg until well blended. Gradually add the wet mixture to the dry ingredients, stirring until a dough forms. Roll the dough out on a floured surface to about 1/4 inch thick, then use cookie cutters to cut out shapes. Place the cookies on a baking sheet lined with parchment paper and bake for 20-25 minutes or until lightly golden. Allow cookies to cool before serving them to your dog.
When making these dog cookies, be certain to use high-quality, dog-safe ingredients, especially when selecting peanut butter. Avoid any brands that contain xylitol, as it is toxic to dogs. Additionally, you can get creative by adding other dog-safe ingredients like mashed bananas or shredded carrots for added flavor and nutrition. Store the cookies in an airtight container to keep them fresh, and always supervise your dog when trying new treats to guarantee they enjoy them safely!
Cooking Steps
Let’s get started with the cooking steps for your dog cookies! First, I always preheat my oven to guarantee the perfect baking environment. Then, I mix the dry and wet ingredients together to create a dough that’s ready for shaping.
Step 1. Preheat Your Oven
Preheating your oven is an essential step in baking perfect dog cookies. I always set my oven to the right temperature—usually around 350°F (175°C)—to guarantee even baking. This isn’t just a suggestion; it’s one of those baking tips you’ll thank yourself for later. When the oven’s preheated, I know my cookies will rise and brown beautifully, giving my furry friend a treat that’s not only tasty but also visually appealing. It also helps the ingredients come together harmoniously, enhancing the flavors. So, take a few extra minutes to get that oven going before you start mixing your dough. It’s a small step that makes a big difference in the final product!
Step 2. Mix Dry Ingredients Thoroughly
Mixing the dry ingredients thoroughly is essential for achieving the right texture in your dog cookies. I always start by measuring out my flour, oats, and any additional dry ingredients carefully to guarantee the ingredient ratios are spot on. Using different mixing techniques, like whisking or sifting, helps break up any clumps and guarantees an even distribution of flavors. I often use a large bowl to give myself enough room to mix without making a mess. By doing this, I can create a uniform blend that makes my cookies light and crunchy. Remember, the better the dry ingredients are mixed, the more consistent the texture will be in each bite. Your furry friend will definitely notice the difference!
Step 3. Add Wet Ingredients Gradually
Once the dry ingredients are well combined, I carefully add the wet ingredients to the mixture, ensuring each addition is fully incorporated before the next. This gradual addition is essential for achieving a smooth, cohesive dough. I start with a small portion of the wet ingredients, mixing vigorously until I see no lumps. Then, I continue this process, adding more liquid as I go. This method not only prevents clumping but also allows the flavors to meld beautifully. I pay close attention to the texture; it should be slightly sticky but manageable. With this approach, I’m setting the stage for perfect dog cookies that are both tasty and healthy for my furry friends. Happy baking!
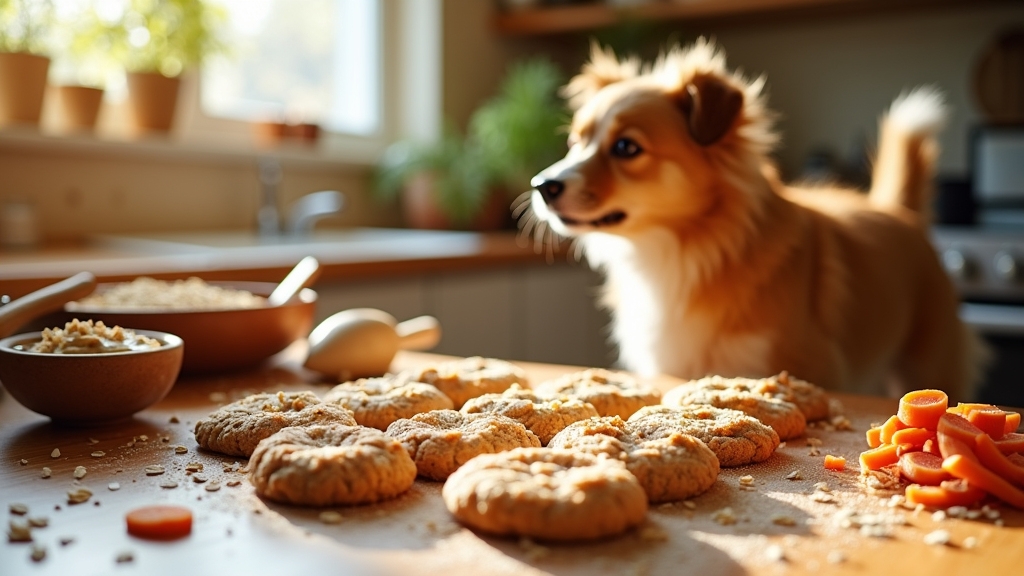
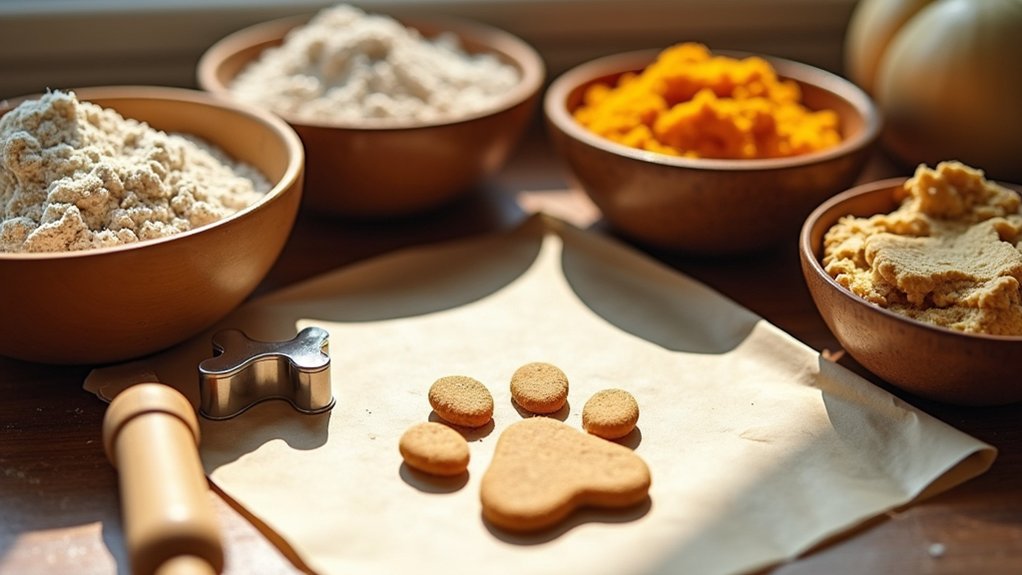
Step 4. Shape the Dog Cookies
As I roll out the dough on a lightly floured surface, I can already imagine my dog’s excitement when he gets to taste these treats. Shaping the dog cookies is where the fun begins! Using cookie cutters, I create various cookie shapes that not only look adorable but also add a personal touch. Here are some fun designs I love to try:
- Bone shapes for a classic look
- Paw prints to show some love
- Heart shapes for extra affection
- Stars to celebrate special occasions
- Custom shapes for holidays or events
Once I’ve cut out the cookies, I make sure to place them on a baking sheet, ready for the next step. My dog can’t wait, and neither can I!
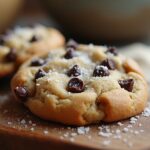
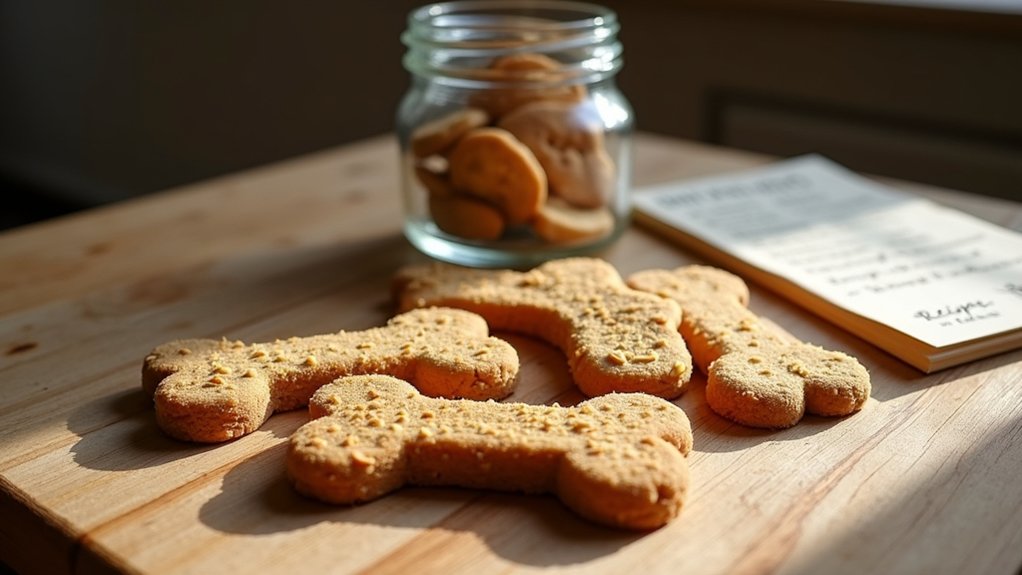
Step 5. Bake Until Golden Brown
Now that the cookies are shaped and ready, it’s time to bake them until they turn a beautiful golden brown. I preheat my oven to 350°F (175°C) and line a baking sheet with parchment paper for easy cleanup. Using innovative baking techniques, I place the cookies evenly apart, allowing them to spread without touching. I keep a close eye on the oven, as the perfect baking time usually falls between 15 to 20 minutes, depending on the thickness of the cookies. This is where cookie textures come into play; I want them crisp on the edges yet chewy in the center. Once they’re golden, I take them out and let them cool, savoring the delightful aroma wafting through my kitchen.
Nutritional Guide

Understanding the nutritional needs of our furry friends is crucial when baking dog cookies, especially since what we feed them can impact their overall health and well-being. By focusing on high-quality ingredients, we can enhance dog nutrition and guarantee our pups thrive. Here’s a quick look at some common ingredients and their benefits:
| Ingredient | Benefits | Usage |
|---|---|---|
| Oatmeal | Digestive health | Flour alternative |
| Peanut Butter | Protein source | Flavor enhancer |
| Pumpkin | Rich in fiber and vitamins | Moisture and nutrition |
| Sweet Potato | Antioxidants | Healthy carbohydrate |
| Carrots | Low-calorie treat | Crunchy texture |
These ingredient benefits not only make your dog cookies tasty but also nutritious, supporting a happy and healthy pup!
Final Thoughts
When it comes to making dog cookies, the right ingredients can make all the difference in your pup’s health and happiness. I’ve found that homemade treats not only provide numerous dog treat benefits but also allow for customization based on dietary needs. Plus, proper cookie storage is essential to keep those tasty morsels fresh and enjoyable.
Here are some final thoughts for your dog cookie journey:
- Use whole, natural ingredients for ideal nutrition.
- Experiment with flavors like pumpkin and peanut butter.
- Store cookies in an airtight container to maintain freshness.
- Consider freezing extras for later use.
- Always monitor your dog’s reaction to new treats.
Frequently Asked Questions
Can I Use Gluten-Free Flour for Dog Cookies?
Absolutely, I’ve used gluten-free flour in my baking! The gluten-free benefits include easier digestion for some dogs. Just remember to adjust moisture levels—baking tips like that make all the difference for successful treats!
How Long Do Homemade Dog Cookies Last?
Homemade dog cookies typically last about one week at room temperature. For longer shelf life, I recommend storing them in an airtight container in the fridge or freezer. These storage tips keep them fresh and tasty!
Are There Any Allergens to Avoid in Dog Treats?
Yes, I avoid common allergens like wheat, soy, and dairy in dog treats. Instead, I choose safe alternatives such as oats, pumpkin, or sweet potatoes to guarantee my pup enjoys tasty, healthy snacks without any issues.
Can I Freeze Dog Cookies for Later Use?
Yes, I can freeze dog cookies for later use! I use airtight storage containers or freezer bags. For best results, I label them with dates and enjoy knowing my pup’s treats stay fresh and tasty.
What Ingredients Should I Never Include in Dog Cookies?
Making dog cookies is like crafting a masterpiece; avoid toxic ingredients like chocolate and grapes. Instead, I use safe substitutes like pumpkin or oats, ensuring my furry friend enjoys a delicious, healthy treat every time!
Conclusion
To sum up, making dog cookies isn’t just a fun kitchen adventure; it’s a way to show our furry friends some love, much like the epic heroes of fables who set off on quests to bring joy to their companions. With simple ingredients and a dash of creativity, you can whip up delicious treats that will have tails wagging. So, grab your apron and channel your inner baker—your pup will thank you with every joyful bark and wag!