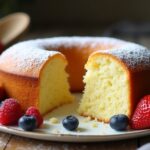
If you’re looking for a delicious coconut cake recipe, you’ve come to the right place! This cake combines moist, fluffy texture with a creamy coconut flavor, using ingredients like all-purpose flour, sugar, coconut milk, and shredded coconut. It’s perfect for birthdays or any celebration. Just mix dry and wet ingredients, fold in the coconut, and bake at 350°F for about 25-30 minutes. Trust me, every bite will evoke warm memories, and there’s even more to explore!
Contents
History
When you think about coconut cake, it’s hard not to be transported back to sunny days filled with family gatherings and celebrations. The origins of coconut in baking trace back centuries, with its tropical roots in Southeast Asia and the Pacific Islands. Cultures around the world have embraced this versatile fruit, weaving it into their traditions and cuisines. Coconut’s cultural significance is profound; it symbolizes hospitality and warmth, often gracing tables during special occasions. Each slice of coconut cake tells a story, connecting us to our heritage and shared experiences. By celebrating coconut’s rich history, we not only honor our past but also inspire creativity in the kitchen, inviting innovation while keeping those cherished memories alive.
Recipe
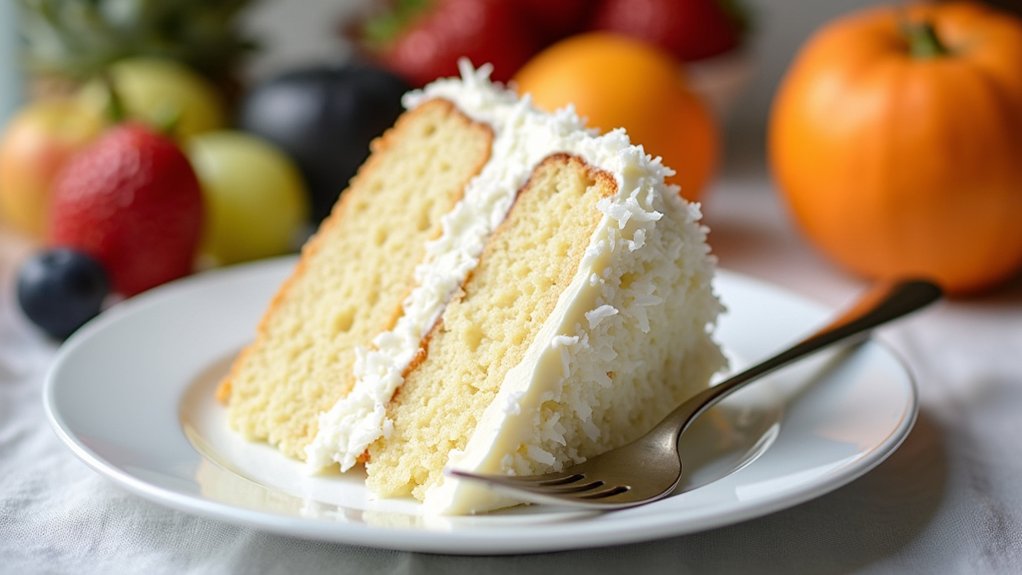
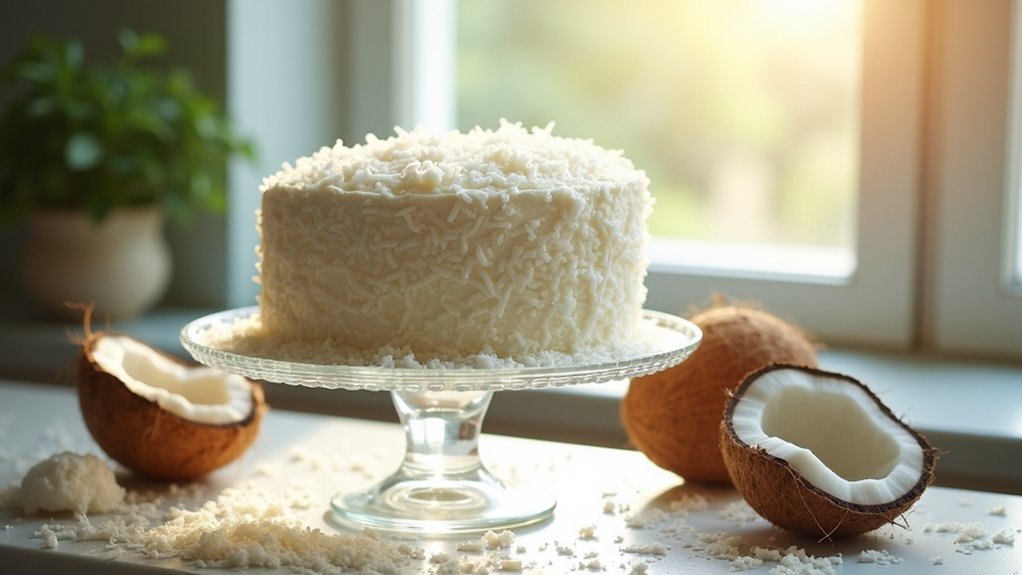
Coconut cake is a delightful dessert that brings a tropical flair to any gathering. With its moist, fluffy texture and creamy coconut flavor, this cake is sure to impress family and friends alike. The combination of coconut milk, shredded coconut, and a light frosting creates a harmonious blend that captivates the senses and leaves everyone wanting more. Perfect for birthdays, holidays, or any special occasion, this coconut cake is a must-try recipe for coconut lovers.
Making coconut cake is simpler than you might think! With just a few key ingredients and some basic baking techniques, you can create a stunning dessert that tastes as good as it looks. Whether you choose to serve it plain or dress it up with a layer of frosting, this cake is versatile enough to suit any palate. So, gather your ingredients, preheat the oven, and get ready to whip up this delicious coconut cake!
Ingredients:
- 2 cups all-purpose flour
- 1 ½ cups granulated sugar
- ½ cup unsalted butter, softened
- 1 cup coconut milk
- 1 teaspoon vanilla extract
- 1 teaspoon baking powder
- ½ teaspoon baking soda
- ½ teaspoon salt
- 1 cup shredded coconut (sweetened or unsweetened)
- 3 large eggs
Instructions:
Preheat your oven to 350°F (175°C) and grease two 9-inch round cake pans. In a large mixing bowl, cream together the softened butter and sugar until light and fluffy. Add the eggs one at a time, mixing well after each addition. Stir in the coconut milk and vanilla extract. In another bowl, whisk together the flour, baking powder, baking soda, and salt. Gradually add the dry ingredients to the wet ingredients, mixing until just combined. Fold in the shredded coconut. Divide the batter evenly between the prepared cake pans and bake for 25-30 minutes, or until a toothpick inserted in the center comes out clean. Allow the cakes to cool in the pans for 10 minutes before transferring to wire racks to cool completely.
Extra Tips:
For an extra coconut kick, consider adding a layer of coconut frosting made with cream cheese or whipped cream. If you want to enhance the flavor further, toast the shredded coconut before adding it to the batter for a nuttier taste. Additionally, you can drizzle a simple coconut syrup over the cooled cake for added moisture and sweetness. Finally, don’t forget to garnish with toasted coconut flakes or fresh fruit to create a beautiful presentation!
Cooking Steps
Now that we’ve gathered our ingredients, let’s jump into the cooking steps that’ll bring this coconut cake to life. First, I always start by preheating the oven to 350°F, which sets the stage for that perfect bake. Next, I mix the dry ingredients together before gradually adding the wet ones, folding in those delightful coconut flakes, and finally, we’ll bake it for about 25-30 minutes.
Step 1. Preheat Oven to 350°F
Ready to bake something delicious? The first step is preheating your oven to 350°F. This oven temperature is essential for achieving that perfect coconut cake with a light, fluffy texture. While the oven warms up, it’s a great time to gather your ingredients and tools, giving you a head start. Here’s a baking tip: don’t skip this step! An adequately preheated oven guarantees even baking and prevents any surprises later on. Plus, the aroma of the cake will fill your kitchen with nostalgic warmth as it bakes. So, let’s get that oven fired up and ready to work its magic. Trust me, your coconut cake will be worth the wait!
Step 2. Mix Dry Ingredients Together
Before you plunge into mixing your dry ingredients, let’s make sure you have everything you need at hand. Grab your flour types—whether you’re using all-purpose, cake flour, or even a gluten-free option, each brings its unique flair. I usually go for a 2:1 ratio of all-purpose to coconut flour for that perfect texture. Next, whisk together the baking powder, baking soda, and a pinch of salt to balance the sweetness. Don’t forget to sift everything to avoid clumps; this step can make a world of difference in your cake’s fluffiness. Remember, the right ingredient ratios are key to achieving that dreamy coconut cake. Trust me, your taste buds will thank you once you get this part right!
Step 3. Add Wet Ingredients Gradually
As you start to add your wet ingredients, take a moment to appreciate how they’ll transform your dry mix into a luscious batter. I recommend measuring your wet ingredient ratios carefully—this balance is essential for achieving that perfect texture. Begin by pouring in the liquid ingredients slowly, allowing them to blend seamlessly. Gradual mixing is key here; it prevents clumping and guarantees every bit of flour interacts with the moisture. I like to use a spatula to gently fold the mixture, keeping it light and airy. Don’t rush this step! You’ll notice the batter becoming smoother and more inviting. Trust me, the anticipation of what’s to come makes this part of the process all the more exciting.
Step 4. Fold in Coconut Flakes
Now that your batter is smooth and ready, it’s time to fold in those delightful coconut flakes that’ll give your cake that signature tropical flair. I love using a mix of coconut varieties, like sweetened and unsweetened flakes, to enhance the flavor and texture. Gently, I scoop the coconut into the batter, using a spatula to fold it in with a light hand. This technique guarantees the flakes are evenly distributed without deflating the batter. Remember, the key here is to maintain that airy consistency while incorporating the coconut. You’re not just adding flavor; you’re elevating your cake to new heights with innovative baking techniques. Trust me, this step is where the magic happens, and you’ll taste the difference!
Step 5. Bake for 25-30 Minutes
Once your batter is mixed and the coconut flakes are folded in, it’s time to bake your cake to perfection. Preheat your oven to 350°F (175°C) and pour that dreamy mixture into your prepared pan. This is where your baking techniques come into play! Place it in the oven and let it bake for about 25-30 minutes. You’ll know it’s ready when a toothpick inserted in the center comes out clean. During this time, the magic happens—the cake rises beautifully, creating a light, fluffy texture that’ll make your taste buds dance. Once baked, allow it to cool for a few minutes before transferring it to a wire rack. Trust me, the anticipation will be worth it!
Nutritional Guide
When diving into the world of coconut cake, understanding its nutritional profile can really enhance your baking experience. It’s not just about the delicious taste; knowing its caloric content and health benefits can inspire you to innovate in the kitchen. Here’s a quick breakdown:
| Nutrient | Amount per Slice | Health Benefits |
|---|---|---|
| Calories | 350 | Provides energy |
| Total Fat | 18g | Supports hormone production |
| Sugar | 20g | Quick energy source |
| Fiber | 2g | Aids digestion |
Final Thoughts
As you reflect on your coconut cake journey, it’s clear that this delightful dessert is more than just a treat; it’s an experience that brings people together. The benefits of coconut, from boosting energy to enhancing skin health, make this cake not only delicious but also a smart choice. Plus, there are countless cake variations to explore, allowing you to personalize your creation.
Consider trying these ideas:
- Add tropical fruits for a fresh twist.
- Experiment with different frostings, like lime or chocolate.
- Incorporate spices such as cardamom or cinnamon.
- Use coconut flour for a gluten-free version.
- Create a layer cake for special occasions.
Let your creativity shine and enjoy sharing this coconut cake with loved ones!
Frequently Asked Questions
Can I Use Unsweetened Coconut Instead of Sweetened?
Absolutely, I’ve used unsweetened coconut before. It brings a nice coconut texture and lets me control the flavor balance better. Just adjust sugar levels in your recipe to guarantee it’s still deliciously sweet!
How Should I Store Leftover Coconut Cake?
I store leftover cake in an airtight container to maintain freshness. If it’s warm, I refrigerate it to preserve flavor and texture. Trust me, refrigeration tips make all the difference for your cake’s longevity!
Can I Make Coconut Cake in Advance?
I love to make ahead. Just wrap slices tightly in plastic wrap, then store them in an airtight container. Freezing tips? They freeze beautifully, maintaining that delightful flavor for later enjoyment.
What Can I Substitute for Coconut Milk?
If I need coconut milk substitutes, I often use almond milk or oat milk. Both dairy alternatives bring a unique twist, adding creativity to my recipes while keeping that delightful flavor profile intact. Give them a try!
Is There a Gluten-Free Version of This Recipe?
Yes, I can create a gluten-free version! I use coconut flour and other gluten-free flours like almond or rice flour. These ingredients make the cake deliciously moist and perfect for anyone avoiding gluten.
Conclusion
As I slice into the fluffy coconut cake, I can’t help but feel a rush of joy that mingles with a hint of nostalgia. It reminds me of family gatherings, where laughter and sweet treats filled the air. Baking this cake isn’t just about the ingredients; it’s about creating memories that linger long after the last crumb is gone. So, grab your apron, immerse yourself in this recipe, and let the sweet aroma of coconut bring your loved ones together.