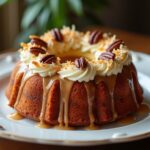
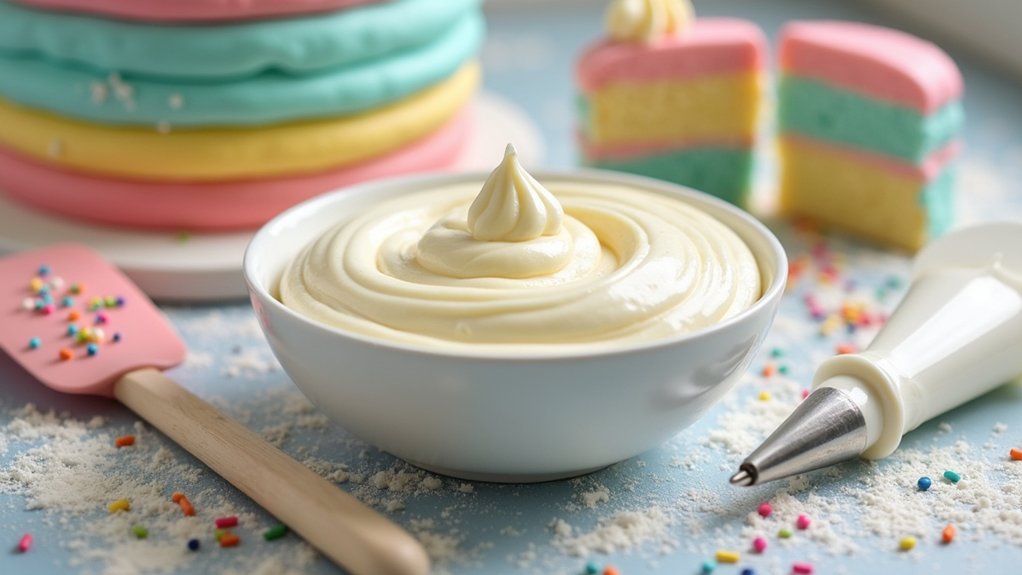
If you’re looking for a cake icing recipe, I’ve got you covered! For a simple buttercream icing, mix together 1 cup of softened unsalted butter with 4 cups of powdered sugar until light and fluffy. Add 1 tablespoon of milk and 1 teaspoon of vanilla extract for extra flavor. Feel free to customize with extracts or purees to suit your taste! This icing is perfect for spreading or piping, and it’ll add a delightful touch to your cakes. Let’s keep exploring the sweet world of icing!
Contents
History
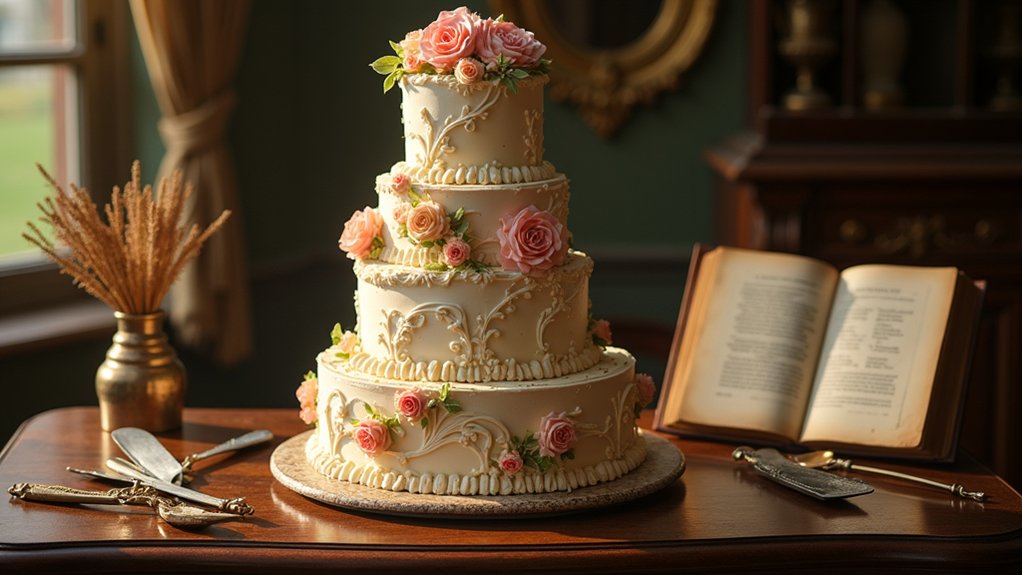
When I think about the history of cake icing, I can’t help but feel a sense of excitement, as it’s a journey that spans centuries and cultures. The evolution of cake has always intrigued me, especially how icing techniques have transformed over time. Imagine the days when cakes were simply sweetened bread, with no frosting in sight! As bakers experimented, they began to whip up delightful mixtures of sugar and egg whites, paving the way for what is understood today. From the rich, creamy frostings of the Victorian era to the innovative fondant designs we see now, each icing technique tells a story. I love how these advancements inspire us to create and share our own sweet masterpieces!
Recipe
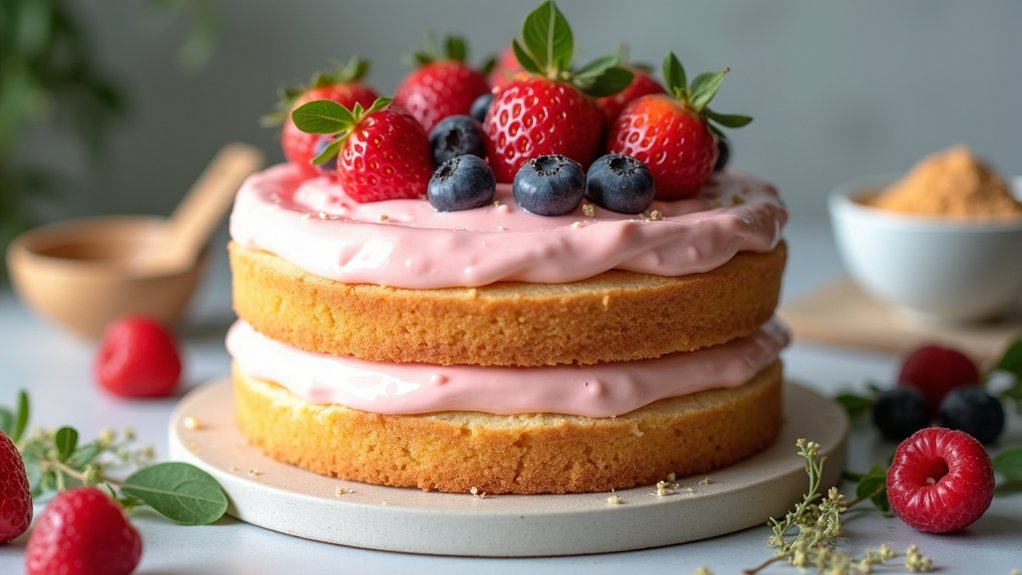
Cake icing is an essential component of any cake, adding flavor, texture, and visual appeal. Whether you’re preparing a birthday cake, a wedding cake, or just a sweet treat for yourself, the right icing can elevate your dessert to the next level. This simple recipe will guide you through making a classic buttercream icing, which can be easily flavored or colored to match any occasion.
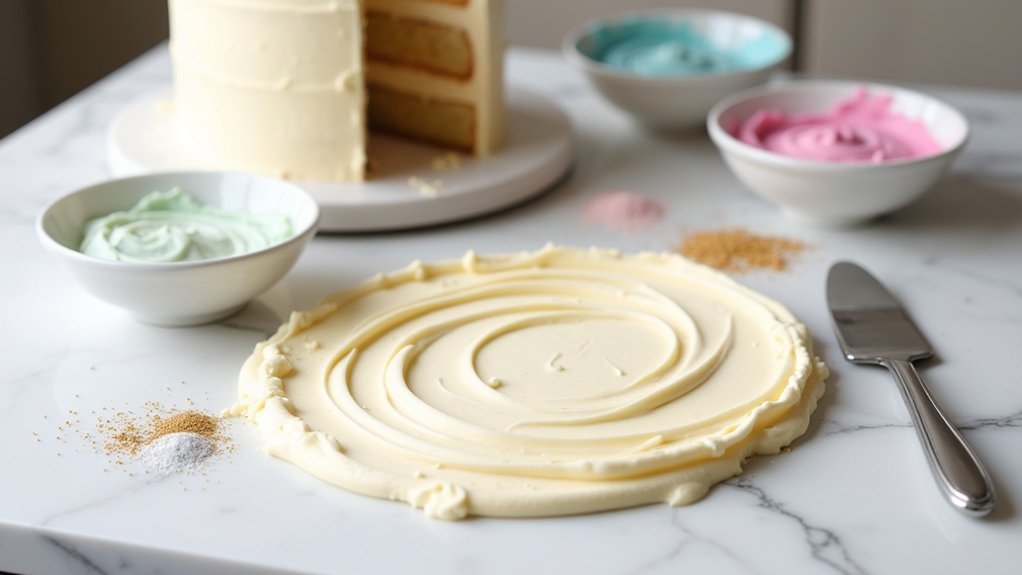
Making icing from scratch is not only easier than you might think, but it also allows you to control the ingredients and customize the flavors. With just a few staple ingredients, you can whip up a delicious buttercream icing that is perfect for spreading or piping. Once you master the basic recipe, feel free to experiment with different extracts, chocolate, or fruit purees to create unique variations.
Making icing from scratch is simple and rewarding, allowing for endless flavor and ingredient customization.
Ingredients:
- 1 cup unsalted butter, softened
- 4 cups powdered sugar
- 1/4 cup milk
- 2 teaspoons vanilla extract
- Pinch of salt
To prepare the buttercream icing, begin by beating the softened butter in a large mixing bowl with an electric mixer until it is creamy and smooth. Gradually add the powdered sugar, mixing on low speed to prevent a sugar cloud. Once incorporated, add the milk, vanilla extract, and a pinch of salt. Beat the mixture on high speed until the icing is light and fluffy, about 2-3 minutes. If the icing is too thick, add a little more milk, one tablespoon at a time, until you reach your desired consistency.
When making cake icing, it’s important to verify all your ingredients are at room temperature, as this helps achieve a smooth texture. If you’re coloring your icing, use gel food coloring for the best results, as it won’t alter the consistency. Additionally, for a firmer icing that holds its shape, consider refrigerating it for a short time before using it to frost your cake. Remember that practice makes perfect, so don’t hesitate to try different techniques for spreading or piping the icing.
Cooking Steps
Now that we’ve got our ingredients ready, let’s jump into the cooking steps! I’ll guide you through mixing the butter and sugar, adding that delicious vanilla extract, and beating in the eggs. Trust me, once you see how easy it is to combine everything, you’ll feel like a pro in the kitchen!
Step 1. Gather Your Ingredients First
Before diving into the world of cake icing, let’s make certain we’ve got everything we need. Gathering our cake essentials is the first step toward creating that perfect topping. I always start with the basics: powdered sugar, softened butter, and vanilla extract. These staples form the foundation of any great icing. Don’t forget to check if you have milk or cream on hand; they can add that silky texture we all love. For a twist, consider adding food coloring or flavor extracts—just a few drops can elevate your icing to a whole new level! As you gather, think about these ingredient tips to guarantee your icing turns out beautifully. Ready? Let’s get started on this delicious journey!
Step 2. Mix Butter and Sugar
With your ingredients gathered, it’s time to mix the butter and sugar—a step that’s both fun and rewarding. I love choosing different butter types, like unsalted or even nut-based varieties, to add a twist to my icing. Start by softening your butter until it’s creamy; this helps achieve that velvety texture we all crave. Then, gradually add your sugar variations—granulated for classic sweetness, or maybe powdered sugar for a smoother finish. Using a hand mixer, blend them together until the mixture is light and fluffy. This process not only enhances flavor but also creates a delightful base for your icing. Trust me, this step sets the stage for a cake that’s truly memorable and delicious!
Step 3. Add Vanilla Extract
Adding vanilla extract is like giving your icing a warm hug; it elevates the flavor in a delightful way. When I add it, I can almost taste the nostalgia of homemade treats from my childhood. The vanilla benefits are incredible—it not only enhances sweetness but also adds depth, making your icing irresistible. If you’re looking for extract substitutes, don’t worry! You can use almond extract for a nutty twist or even a splash of maple syrup for a unique flair. Just remember to adjust the quantity, as these alternatives can have stronger flavors. So, grab that bottle of vanilla extract and let’s make your icing sing with a touch of warmth and creativity!
Step 4. Beat in the Eggs
Let’s plunge into the next step: beating in the eggs! This is where it gets exciting! I typically use large eggs, but feel free to experiment with different egg types, like medium or extra-large, for varied textures. Crack them into your mixing bowl and grab your whisk or electric mixer—whatever gets you pumped! When I beat the eggs, I focus on incorporating air, which gives our icing that lovely lightness. Start on a low speed to avoid splatters, then crank it up and mix until the eggs are frothy and well combined. This process is essential; it’s all about those mixing techniques! Trust me, the creaminess we’re after will shine through in the final product.
Step 5. Add Dry Ingredients Gradually
As you prepare to add the dry ingredients, remember that patience is key to achieving the perfect icing. I like to measure my dry ingredient ratios carefully, ensuring that each component contributes to a smooth and creamy texture. Start by sifting the flour, sugar, and any cocoa if you’re feeling adventurous. Gradually incorporate these into your wet mixture, using gentle mixing techniques to avoid lumps. It’s important to add them in increments, allowing the mix to absorb fully between additions. This not only enhances the icing’s consistency but also keeps it light and airy. Trust me, taking your time will pay off in the end, creating an icing that’s both innovative and delicious!
Nutritional Guide
When it comes to cake icing, understanding the nutritional aspects can help you enjoy your sweet creations without guilt. Keeping an eye on the caloric content of your icing can lead to healthier choices, especially when you want to indulge. I often explore icing alternatives that can be just as delicious!
| Icing Type | Caloric Content (per tablespoon) | Icing Alternatives |
|---|---|---|
| Buttercream | 100 calories | Greek Yogurt Frosting |
| Cream Cheese | 80 calories | Avocado Chocolate Icing |
| Royal Icing | 60 calories | Coconut Whipped Topping |
Final Thoughts
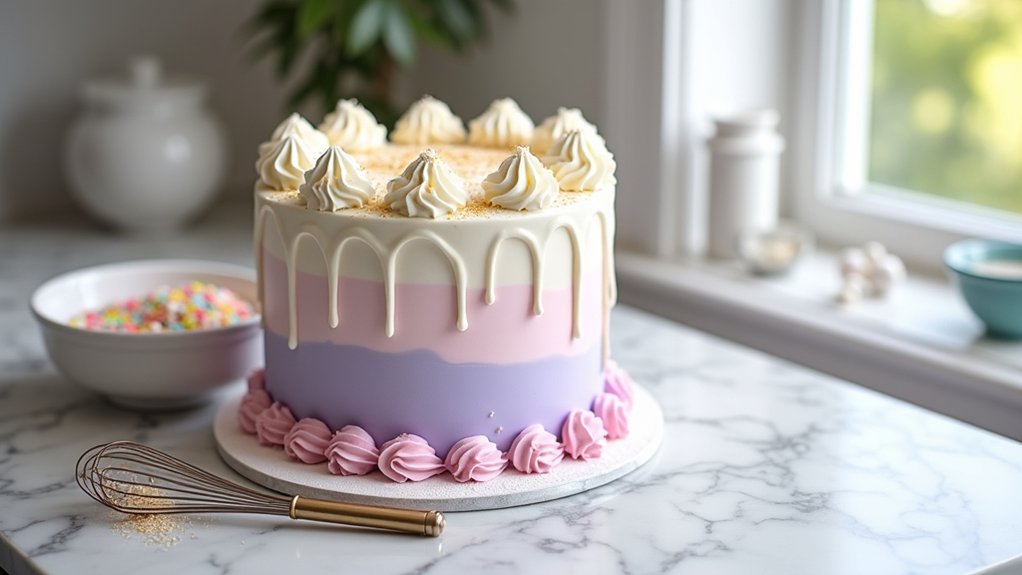
While it’s easy to get lost in the world of cake icing recipes, I find that the joy of baking often lies not just in the finished product, but in the process itself. Experimenting with icing variations can truly elevate your baking game. Whether you’re whipping up a classic buttercream or trying a trendy cream cheese frosting, each choice brings its own character to your cake. Plus, mastering different decorating techniques, like piping rosettes or creating smooth finishes, can turn a simple dessert into a stunning centerpiece. Remember, it’s about having fun and expressing your creativity. So, don’t hesitate to personalize your icing and make it your own. Happy baking, and I can’t wait to see what delicious creations you come up with!
Frequently Asked Questions
Can I Use Store-Bought Icing Instead of Homemade?
Absolutely, I often use store-bought icing for its convenience and consistency. While homemade icing offers unique flavors, the store-bought advantages in time and versatility can’t be overlooked. Sometimes, it’s all about innovation and practicality!
How Long Does Icing Last at Room Temperature?
Icing lasts about two to four hours at room temperature, depending on its type. For instance, buttercream has a shorter shelf life than fondant. I love experimenting with different icing types to enhance my creations!
Can I Freeze Leftover Icing?
Yes, I can freeze leftover icing! I use clever freezing techniques, like portioning it into airtight containers. Proper icing storage guarantees it remains fresh, making my future baking adventures even more delightful and hassle-free.
What Equipment Do I Need for Icing?
You’ll need a piping bag for precise designs and a cake spatula for smooth spreading. I love experimenting with different techniques, so these tools really help me elevate my icing game and create stunning treats!
How Do I Fix Runny Icing?
If my icing’s a runny disaster, I grab thickening agents like powdered sugar or cornstarch to transform it into a heavenly, spreadable delight! Adjusting the icing consistency turns my cake dreams into reality—every time!
Conclusion
I hope you’re excited to try this cake icing recipe! Just like the sweet moments we share around a birthday cake, making icing can bring a little joy into your kitchen. Whether it’s for a celebration or just because, this simple recipe can turn an ordinary cake into something special. So grab your mixing bowl, let your creativity flow, and remember—each swirl of icing is a chance to create memories that’ll last a lifetime. Happy baking!