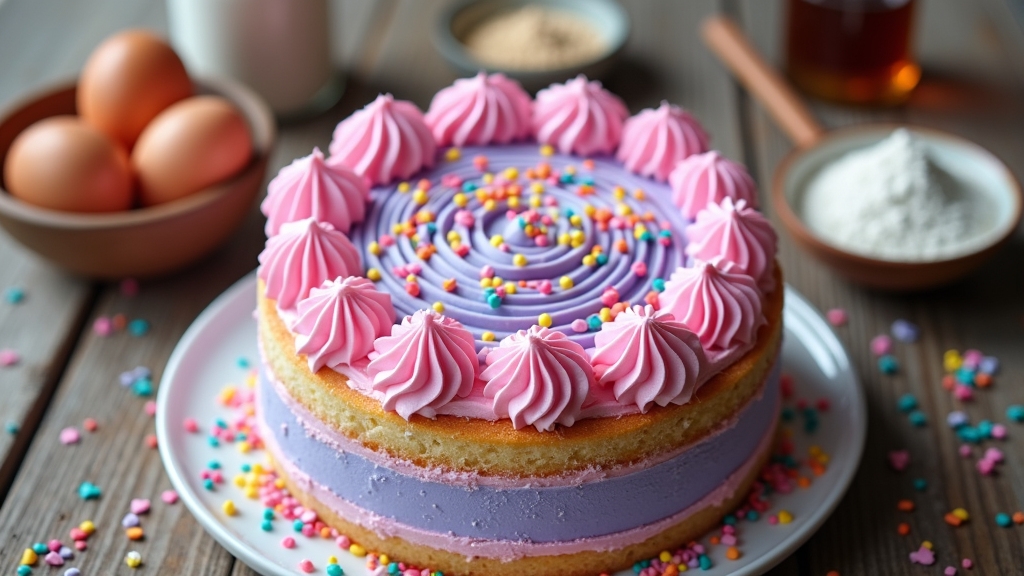
Looking for a birthday cake recipe? I’ve got the perfect one for you! You’ll need 2 cups of all-purpose flour, 1½ cups of sugar, and ½ cup of softened butter, along with some baking powder and milk. Mix these together for a light, fluffy cake that’s just right for layering and decorating. Don’t forget to add your favorite flavors and colors—it’s all about making it special! Stick around to discover more about decorating and personalizing your cake!
Contents
History

When I think about birthday cakes, I can’t help but feel a wave of nostalgia wash over me. These delightful treats have a rich history, dating back to ancient pastries that celebrated life’s milestones. In ancient Greece, people baked honey cakes to honor Artemis, the goddess of the moon, while the Romans had their own celebratory traditions, creating cakes for special occasions. As time progressed, birthday cakes evolved, transforming from simple baked goods into elaborate creations adorned with icing and decorations. Each layer tells a story, celebrating not just the individual, but also the love and joy shared among friends and family. Isn’t it fascinating how these sweet symbols of celebration connect us to our past while inspiring our future?
Recipe
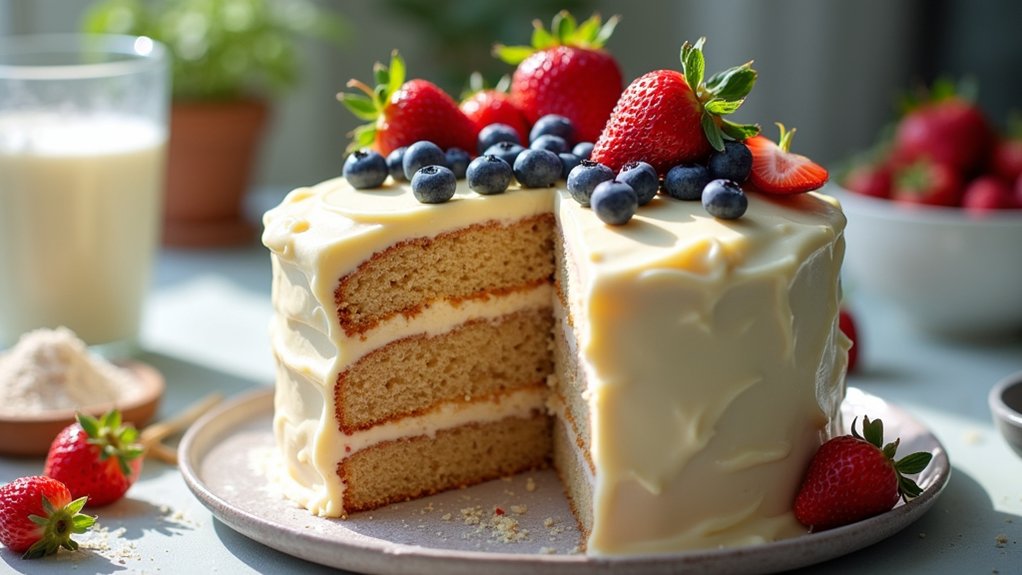
Celebrating a birthday wouldn’t be complete without a delicious birthday cake! This classic recipe is perfect for any birthday celebration, whether it’s for a child or an adult. The cake is light, fluffy, and incredibly moist, while the frosting is rich and creamy, making it a delightful treat for everyone. With simple ingredients and easy-to-follow steps, you can create a cake that is guaranteed to impress.
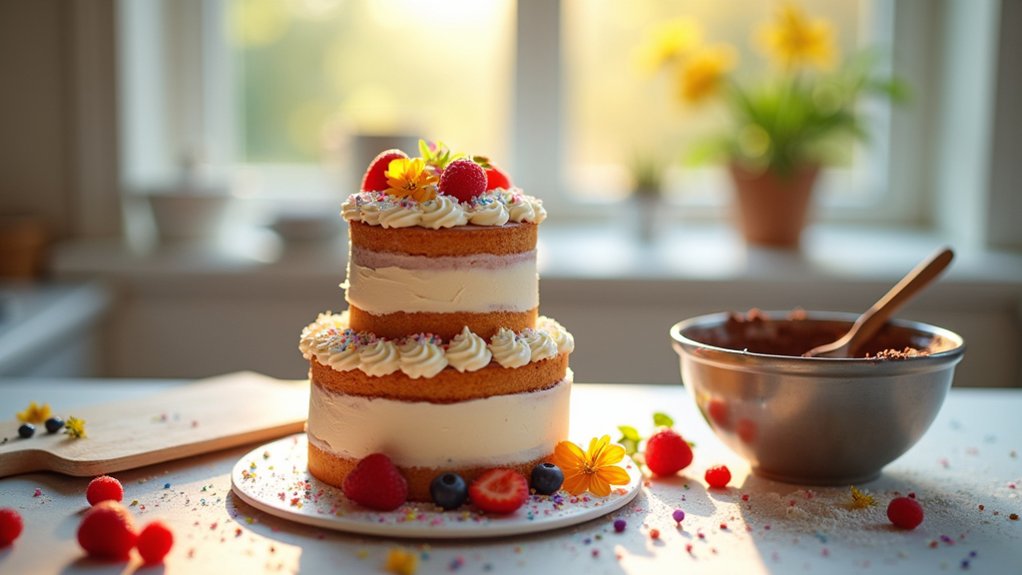
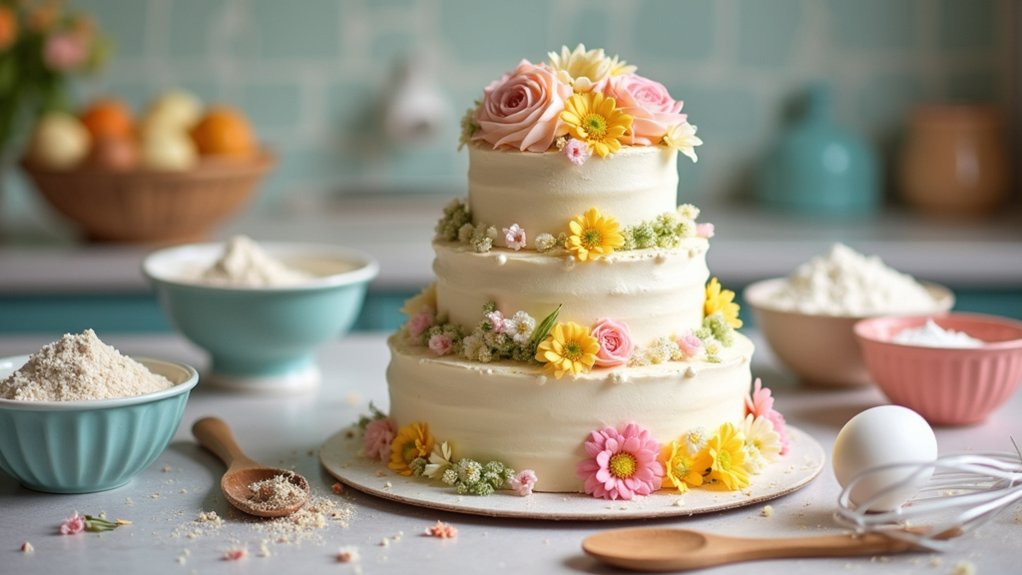
To get started, make certain you have your ingredients measured and ready to go. This recipe yields a two-layer cake, perfect for stacking and decorating. Feel free to customize it with your favorite flavors, fillings, and decorations. With a little creativity, you can make a cake that not only tastes great but also looks stunning on the birthday table.
Ingredients:
- 2 cups all-purpose flour
- 1 ½ cups granulated sugar
- ½ cup unsalted butter, softened
- 1 cup milk
- 3 ½ teaspoons baking powder
- 1 teaspoon vanilla extract
- ½ teaspoon salt
- 3 large eggs
- 2 cups frosting of your choice (buttercream recommended)
Instructions:
Preheat your oven to 350°F (175°C) and grease two 9-inch round cake pans. In a large mixing bowl, cream together the softened butter and sugar until light and fluffy. Add the eggs one at a time, mixing well after each addition. Stir in the vanilla extract. In another bowl, combine the flour, baking powder, and salt. Gradually add the dry ingredients to the wet mixture, alternating with the milk. Mix until the batter is smooth. Divide the batter evenly between the two prepared pans and bake for 25-30 minutes, or until a toothpick inserted into the center comes out clean. Let the cakes cool in the pans for 10 minutes before transferring to a wire rack to cool completely. Once cooled, frost between the layers and on top of the cake with your chosen frosting.
Extra Tips:
When baking your birthday cake, make sure all your ingredients are at room temperature for a better blend. If you want to add a twist, consider incorporating food coloring into the batter or frosting for a fun and vibrant look. Additionally, allow the cake to cool completely before frosting to prevent the frosting from melting. If you’re feeling adventurous, you can layer the cake with fresh fruits, jam, or chocolate ganache for added flavor. Enjoy the process and have fun decorating!
Cooking Steps
Now that we’ve got our ingredients ready, it’s time to tackle the cooking steps. First, I always preheat the oven to 350°F to guarantee it’s nice and hot when the batter goes in. Then, we’ll mix our dry ingredients thoroughly before gradually adding the wet ones, setting the stage for a delicious birthday cake!
Step 1. Preheat the Oven to 350°F
One of the most important steps in baking a delicious birthday cake is preheating the oven to 350°F. This oven temperature guarantees that your cake rises evenly and bakes perfectly, so don’t skip this vital step. I always set my oven to preheat first, giving me time to gather my ingredients and get everything ready. A few baking tips to remember: check your oven’s calibration; sometimes, it can be a little off. If you’re feeling adventurous, consider experimenting with different oven settings, like convection, for a unique texture. Once the oven reaches 350°F, you’ll feel that excitement building, knowing you’re one step closer to creating a delightful cake that will make someone’s birthday special!
Step 2. Mix Dry Ingredients Thoroughly
Mixing dry ingredients thoroughly is essential for achieving a light and fluffy birthday cake. I start by using a whisk or sifter, which helps break up any clumps and guarantees everything blends seamlessly. It’s all about those mixing techniques! When you combine flour, sugar, baking powder, and salt, pay attention to the ingredient ratios; they’re key to the cake’s structure and taste. I like to mix them in a large bowl, spinning the whisk in a circular motion to incorporate air. This really enhances the cake’s texture. Remember, a well-mixed dry base allows the wet ingredients to work their magic later, creating a delicious balance. Trust me, taking this step seriously makes all the difference in your baking adventure!
Step 3. Add Wet Ingredients Gradually
With the dry ingredients all blended together, it’s time to add the wet ones and bring this cake to life. I usually start with the liquid wet ingredient types, like milk and vanilla extract, pouring them in slowly. It’s all about that gradual addition; too much at once can lead to clumps that’ll ruin our cake’s texture. I mix gently with a whisk, ensuring everything combines smoothly. Next, I’ll add in the eggs, one at a time, allowing each to incorporate fully before adding the next. This method not only helps create a light, fluffy batter but also builds anticipation for the delicious result. Trust me, taking your time here pays off in flavor and texture!
Step 4. Fold in Chocolate Chips
Now it’s time to fold in those chocolate chips, and trust me, this step is where the magic happens! I love using a mix of chocolate chip variations, like semi-sweet, milk chocolate, or even dark chocolate for an extra kick. Grab a spatula, and gently scoop from the bottom of the bowl to the top, turning the batter as you go. This folding technique prevents your batter from losing its fluffiness, ensuring a light and airy cake. Be patient and take your time; you want those chocolate chips to be evenly distributed throughout. Just imagine slicing into that cake and finding pockets of melted chocolate! It’s pure joy, and I can’t wait for you to experience it!
Step 5. Pour Batter Into Pans
Once those chocolate chips are perfectly folded into your batter, it’s time to bring everything together by pouring it into your prepared pans. First, I like to verify my batter consistency is just right—smooth and slightly thick, but not too runny. If you’ve chosen round pans, that classic choice will give you a lovely layered cake. But don’t shy away from innovative pan selection, like a fun-shaped bundt pan for a twist! Carefully divide the batter between your pans, using a spatula to scrape every last bit from the bowl—it’s the secret to a scrumptious cake! Once they’re filled, gently tap the pans on the counter to remove any air bubbles. Let’s get ready to bake!
Nutritional Guide
Understanding the nutritional aspects of a birthday cake can help you make better choices, especially if you’re trying to balance indulgence with health. Let’s explore the caloric content and some innovative dietary alternatives that can make your cake a bit healthier without sacrificing flavor.
| Ingredient | Caloric Content (per slice) | Dietary Alternatives |
|---|---|---|
| Traditional Cake | 350 | Almond flour, coconut sugar |
| Frosting | 150 | Greek yogurt, avocado |
| Sprinkles | 50 | Dried fruit, nuts |
Final Thoughts
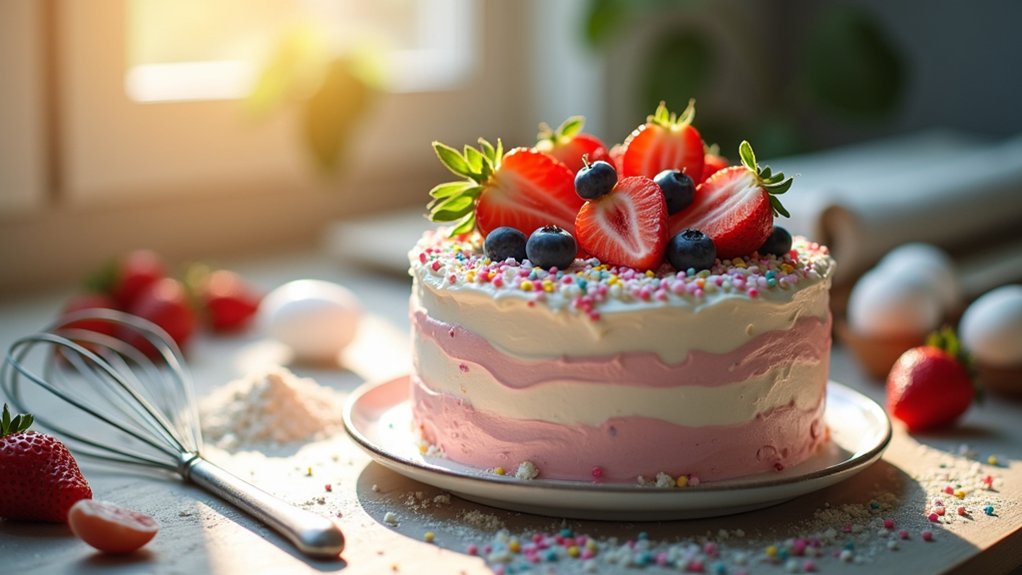
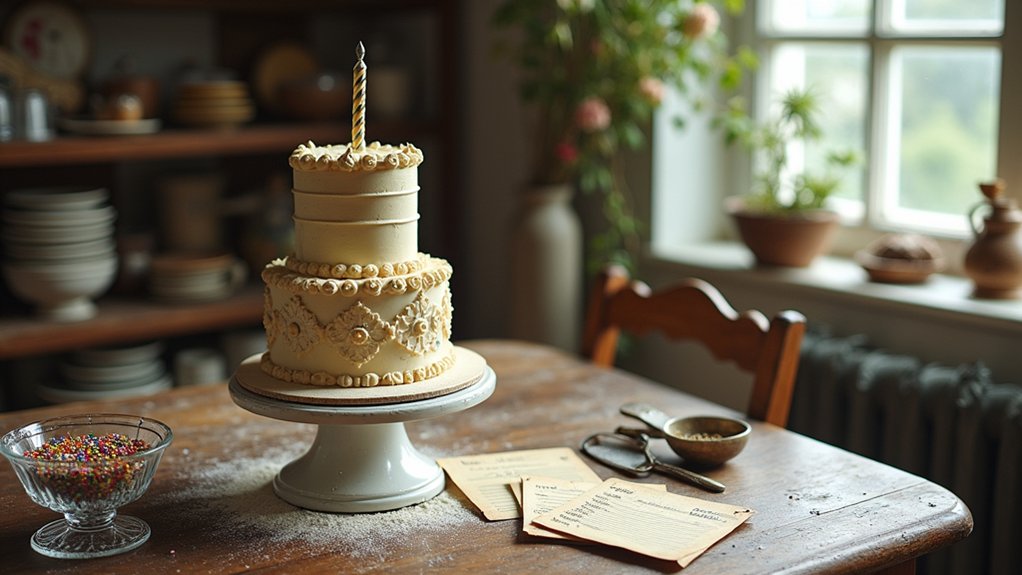
As we wrap up our exploration of birthday cakes, it’s clear that creating the perfect cake is about more than just following a recipe; it’s about celebrating moments and making cherished memories. Every birthday celebration deserves a cake that reflects the joy of the occasion, and with a little creativity, you can innovate your cake decorating to make it truly special. Try experimenting with flavors, colors, and themes that resonate with your loved ones. Remember, it’s not just about the cake itself, but also the laughter and stories shared over each slice. So, roll up your sleeves, embrace your inner baker, and let your imagination run wild. After all, each cake is a canvas for unforgettable memories!
Frequently Asked Questions
Can I Use Gluten-Free Flour in the Cake Recipe?
Absolutely, you can use gluten-free flour! I’ve had great success with gluten-free alternatives. Just remember to adjust your baking times and add a binding agent. Those tips make all the difference for a delicious result!
How Do I Store Leftover Birthday Cake?
I can’t believe we’re talking about leftover cake! To preserve it, I wrap slices tightly in plastic and store them in an airtight container—ideal storage conditions for cake preservation techniques. Let’s keep that deliciousness fresh!
What’s the Best Way to Frost a Cake?
To frost a cake, I recommend experimenting with different piping techniques. I love using buttercream or cream cheese frosting for versatility. It’s all about creativity—play with textures and colors to make your cake pop!
Can I Make the Cake Ahead of Time?
I often make cakes ahead of time. Just bake, cool, and wrap tightly before cake freezing. It’s like giving your cake a cozy blanket—ready to shine when you need it most!
How Do I Make a Vegan Birthday Cake?
I make a vegan birthday cake using applesauce for eggs and coconut oil for butter. Choosing unique cake flavors like matcha or lavender truly elevates the experience. Trust me, everyone’s gonna love it!
Conclusion
So, as you gather your ingredients and mix your batter, think about the joy this cake will bring to your loved ones. Isn’t it amazing how a simple birthday cake can create lasting memories? Whether it’s the laughter around the table or the smiles when the candles are blown out, you’re not just baking; you’re celebrating life’s special moments. So, go ahead and share your creation—because every slice tells a story worth savoring!