Dirt cake is one of my favorite no-bake desserts that everyone loves! It’s easy to whip up with layers of crushed Oreos, cream cheese, and chocolate pudding. Just mix softened cream cheese with powdered sugar, then fold in Cool Whip. Layer the chocolate mixture with crushed cookies for that dirt look, and don’t forget the gummy worms on top for fun! If you stick around, I’ll share more tips and make it even more exciting to create!
Contents
History

When I think about the history of dirt cake, I can’t help but smile, since it takes me back to fun family gatherings and childhood parties. The origin story of this delightful dessert is both charming and creative, believed to have emerged in the 1980s as a whimsical treat for kids. Its cultural significance lies in how it brings families together, sparking joy and laughter. I remember making it with my cousins, layering cookie crumbs and pudding, and watching the excitement on everyone’s faces. Dirt cake isn’t just a recipe; it’s a nostalgic experience that invites us to innovate and share. It reminds us that food can be playful, and that’s something worth celebrating together.
Recipe
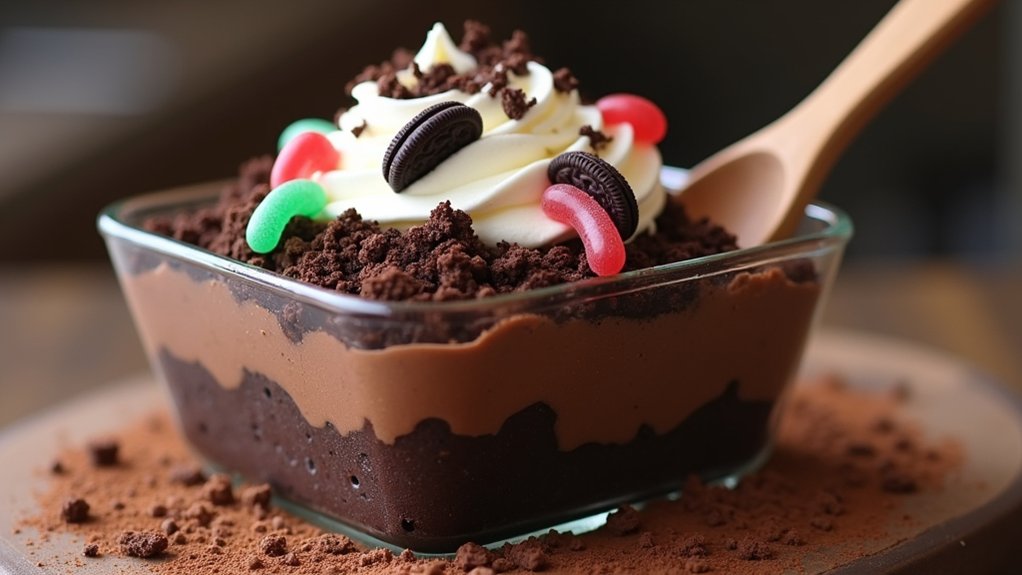
Dirt Cake is a fun and whimsical dessert that is perfect for gatherings, parties, or simply a sweet treat to enjoy at home. This no-bake dessert mimics the look of soil, with layers of creamy filling and crushed cookies that resemble dirt. The combination of rich chocolate and the sweetness of cream cheese creates a delightful treat that both kids and adults will love. It’s a great way to get creative, as you can customize the toppings to include gummy worms, flowers, or any other fun edible decorations.
Dirt Cake is a delightful no-bake dessert that brings fun and creativity to any gathering, with layers resembling soil and customizable toppings.
Making Dirt Cake is easy and requires minimal cooking, with most of the work being assembling the layers. This recipe is perfect for those who want to whip up a dessert quickly without spending hours in the kitchen. The result is a deliciously decadent dessert that is sure to impress your guests while also being a fun conversation starter!
Ingredients:
- 1 package (8 oz) cream cheese, softened
- 1 cup powdered sugar
- 1 container (12 oz) whipped topping (Cool Whip)
- 2 packages (3.9 oz each) instant chocolate pudding mix
- 4 cups milk
- 1 package (15.25 oz) Oreo cookies, crushed
- Gummy worms or other decorations (optional)
Instructions:
In a large mixing bowl, combine the softened cream cheese and powdered sugar, mixing until smooth. Then, add the whipped topping and blend until fully incorporated. In another bowl, whisk together the instant chocolate pudding mix and milk until thickened. Gently fold the pudding mixture into the cream cheese mixture until well combined. In a large serving dish or individual cups, layer the crushed Oreo cookies followed by the chocolate cream mixture. Repeat the layers, finishing with a layer of cookies on top. Refrigerate for at least 2 hours to allow the flavors to meld and the dessert to set.
Extra Tips:
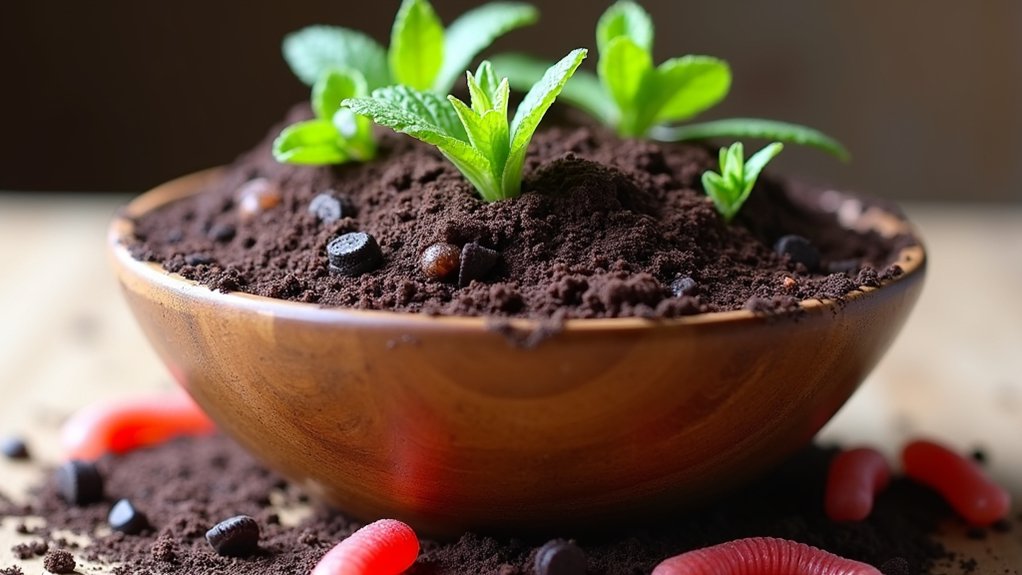
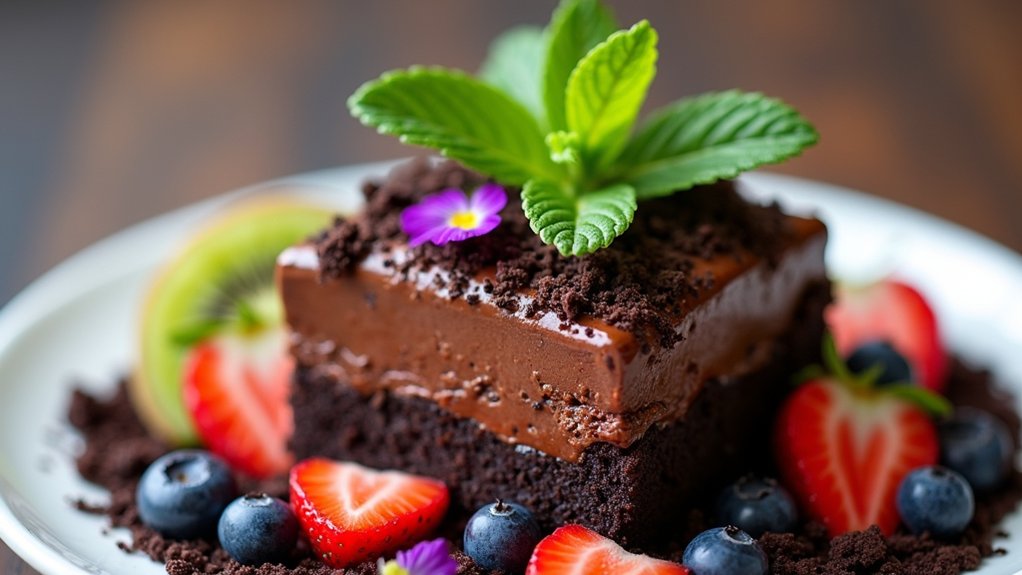
For an added touch, consider garnishing your Dirt Cake with fresh mint leaves or edible flowers for a pop of color. You can also experiment with different flavors by using vanilla pudding and adding crushed vanilla cookies instead of Oreos. If you want a more pronounced chocolate flavor, try adding chocolate shavings on top. Remember to serve the Dirt Cake chilled for the best taste and texture!
Cooking Steps
Now that we have our ingredients ready, let’s get started on making this fun dirt cake! First, I’ll crush those chocolate sandwich cookies for that classic dirt look, then mix cream cheese and sugar to create a creamy layer. After that, I’ll add in the whipped topping and top it off with gummy worms before chilling it—trust me, the anticipation will be worth it!
Step 1. Crush Chocolate Sandwich Cookies
To get started on our delicious dirt cake, let’s crush those chocolate sandwich cookies! This step is essential, as the cookie texture will create the foundation for our dessert presentation. Here’s how I do it:
- Choose your cookies: Opt for classic chocolate sandwich cookies—these will give the right flavor and crunch.
- Crush them: Place the cookies in a resealable bag, seal it tight, and use a rolling pin to crush them into fine crumbs. You can also use a food processor for a quicker option!
- Set aside: Once crushed, set the cookie crumbs aside until you’re ready to layer them in the cake.
This simple step adds a fun, gritty element to our dessert, making it visually appealing and tasty!
Step 2. Mix Cream Cheese and Sugar
Let’s get mixing! First, grab your softened cream cheese and place it in a mixing bowl. I like to use a hand mixer for this step, but a sturdy whisk works too if you’re feeling adventurous. Add in the sugar, and trust me, this is where the magic happens. As I blend them together, I aim for that sweet balance—creamy and smooth, with just the right amount of sweetness. Don’t rush it; take a moment to really incorporate everything. You want a luscious, velvety mixture that’ll make your taste buds dance. Once it’s perfectly combined, you’ll see how easily it spreads and will elevate your dirt cake. Get ready; it’s about to get even more delicious!
Step 3. Add Whipped Topping Mixture
Once you’ve got that creamy mixture just right, it’s time to fold in the whipped topping. This step not only adds a delightful lightness to the cake, but it also brings in some amazing whipped topping benefits, like enhancing flavor and texture. Here’s how I do it:
- Gently incorporate the whipped topping into your creamy mix, using a spatula to maintain airiness.
- Experiment with topping variations—try adding a splash of vanilla extract or a sprinkle of cocoa powder for an extra kick.
- Taste as you go! Adjust sweetness if needed; remember, it’s all about your preference.
This mix will be the heart of your dirt cake, and I can’t wait for you to taste it!
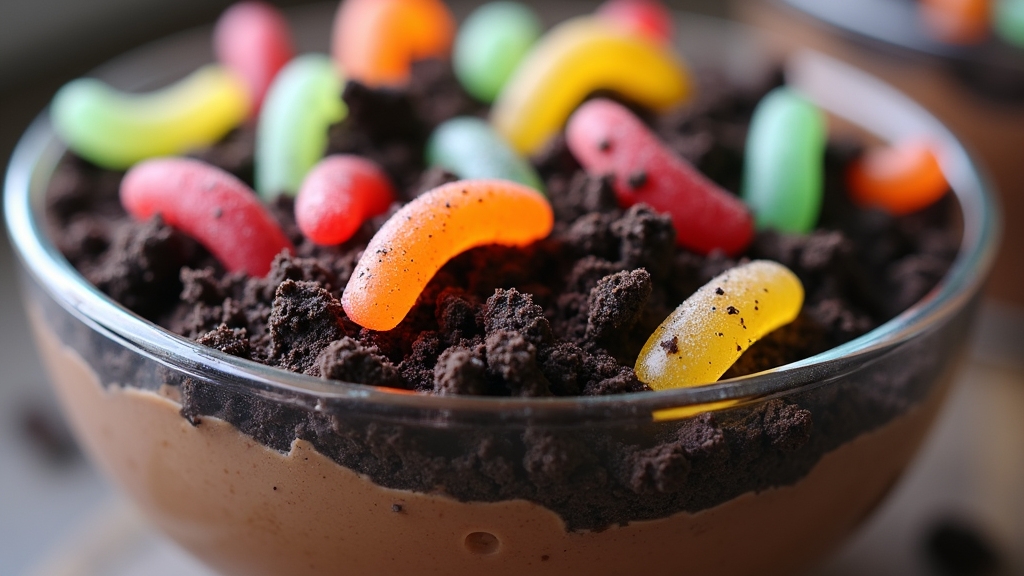
Step 4. Layer With Gummy Worms
Now that you’ve folded in that delightful whipped topping, it’s time to make your dirt cake come alive with some fun layers. Start by grabbing your favorite container—think a clear bowl or a fun bucket. I like to layer the crushed cookies for a “dirt” effect, followed by some of that creamy mixture. Now, here’s the exciting part: sprinkle in those gummy worms! I make sure they peek out from the layers, creating a playful look that kids adore. As you alternate layers of cookie crumbs, whipped topping, and worm toppings, let your creativity shine. Don’t be shy with the gummy worms; they’re the stars of this dessert! Keep layering until you reach the top—it’s a whimsical delight!
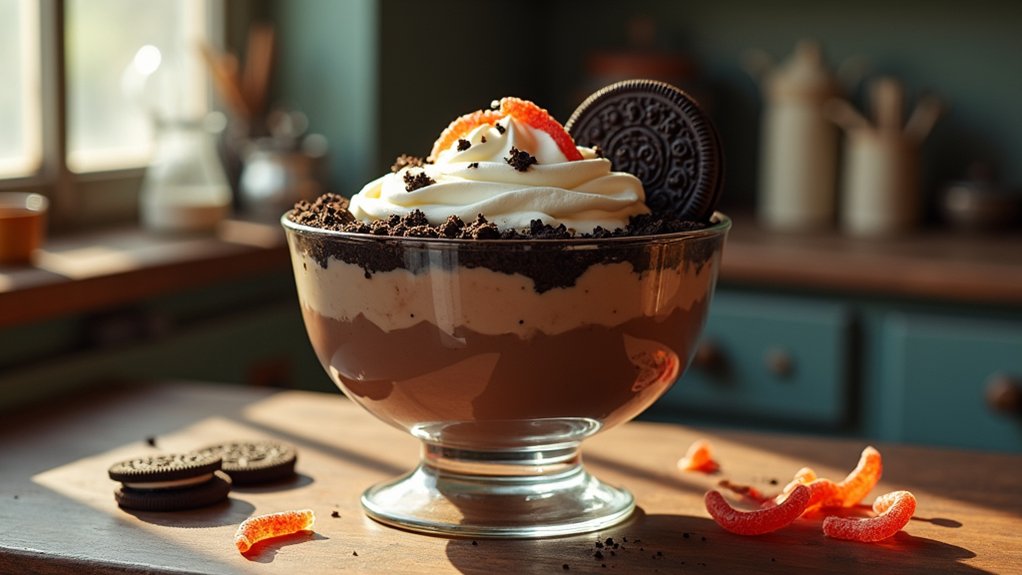
Step 5. Chill Before Serving
To guarantee your dirt cake reaches its full potential, chilling it before serving is essential. I always find that the chilling benefits really enhance the flavors and textures, making it a delightful treat for everyone. Here are a few serving suggestions to contemplate after you’ve given it some time in the fridge:
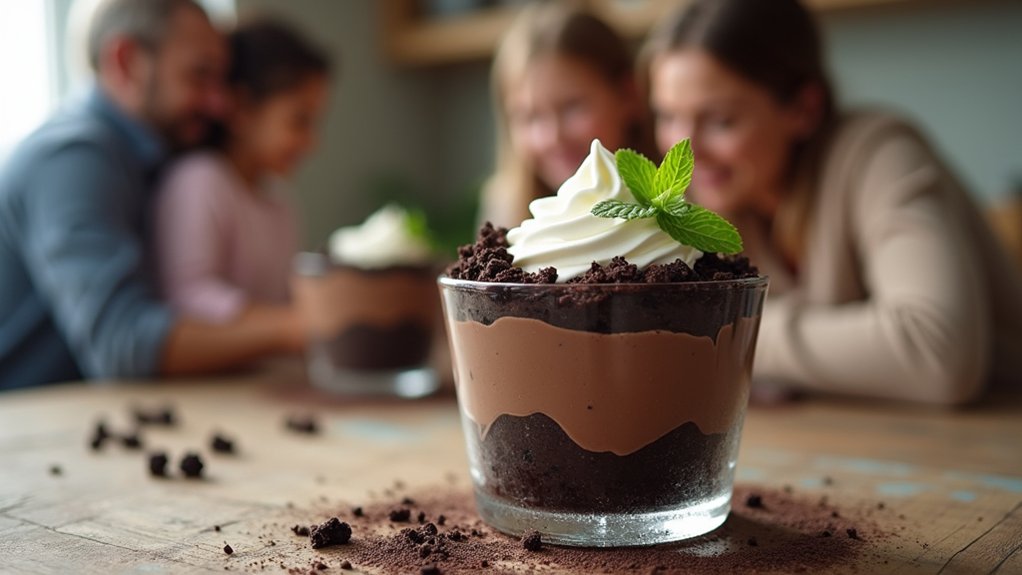
- Top with extra gummy worms for that whimsical touch.
- Serve in individual cups for a fun, personalized presentation.
- Pair with fresh berries to add a burst of freshness and color.
Letting your dirt cake chill for at least a couple of hours allows the layers to meld beautifully, creating a dessert that’s not just tasty but also visually appealing. Trust me, your guests will love it!
Nutritional Guide
When it comes to enjoying a delicious dirt cake, understanding the nutritional aspects can be just as important as savoring each bite. I always look for ways to balance indulgence with health, so let’s explore some ingredient alternatives that pack nutritional benefits.
| Ingredient | Healthier Alternative | Nutritional Benefits |
|---|---|---|
| Cream cheese | Greek yogurt | Higher protein, lower fat |
| Oreo cookies | Whole grain cookies | More fiber |
| Sugar | Honey or maple syrup | Natural sweeteners |
| Butter | Coconut oil | Healthy fats |
Final Thoughts
After exploring some healthier ingredient alternatives for our dirt cake, it’s clear that making mindful choices can enhance our enjoyment without sacrificing flavor. This dessert is all about creativity and fun, especially when it comes to its presentation. Whether you’re hosting a party or just indulging at home, you can elevate your dirt cake game with a few simple tweaks.
- Use crushed nuts or granola for added texture.
- Incorporate seasonal fruits for a vibrant twist.
- Experiment with themed decorations, like edible flowers or mini gardening tools.
These ideas not only improve the dessert presentation but also fit perfectly with various party themes. So, let’s get innovative, and remember, the best part of creating is sharing it with loved ones!
Frequently Asked Questions
Can I Make Dirt Cake Ahead of Time?
Absolutely, you can make it ahead! I usually prepare it a day or two in advance. Just store it in an airtight container in the fridge to keep everything fresh and delicious. Enjoy experimenting!
What Are Good Alternatives for Gummy Worms?
I love swapping gummy worms for chocolate-covered pretzels or sour gummy fruits. These candy toppings add a fun twist to dessert variations, making your creation unique and delicious. Get creative and enjoy the process!
How Long Does Dirt Cake Last in the Fridge?
It’ll usually last about 3-5 days in the fridge. I watch for freshness indicators like texture changes or off smells. For storage tips, keep it tightly covered to maintain that delightful creaminess!
Can I Use Gluten-Free Cookies for the Recipe?
Absolutely, I can use gluten-free cookies for the recipe! I love experimenting with cookie substitutions; gluten-free options can create a unique twist while maintaining that delicious taste. It’s a fun way to innovate!
What Occasions Are Best for Serving Dirt Cake?
I’ve found that dirt cake’s perfect for birthday parties, especially garden-themed ones. Who wouldn’t want dessert that looks like soil? It’s ironically delightful, bringing a unique twist to traditional celebrations while sparking conversation and smiles.
Conclusion
In the end, making dirt cake is like digging up a treasure chest of sweet memories. It’s a delightful way to bring family and friends together, sharing laughter and joy over each delicious bite. I hope you’ll give this recipe a try, letting the layers of flavors remind you of childhood fun. So grab your ingredients, roll up your sleeves, and let’s create something special that’ll leave everyone smiling. Happy baking!