If you’re looking to whip up a tasty dog cake, you’ll love this simple recipe! You’ll mix whole wheat flour, oats, pumpkin puree, peanut butter, and eggs. It’s moist and flavorful, perfect for celebrations. Bake it at 350°F for about 25-30 minutes. Feel free to customize it with your pup’s favorite flavors, and don’t forget to frost it with yogurt for that special touch! Stick around, and I’ll share more tips for a paw-fect treat!
Contents
History

When I think about the history of dog cakes, it reminds me just how much we cherish our furry friends. We’ve been celebrating our ancient pets for thousands of years, and it’s fascinating to see how these traditions have evolved. Canine celebrations once featured simple treats made from grains and meats, crafted to honor their loyalty and companionship. Over time, these humble offerings transformed into the delightful cakes we recognize today, bursting with flavors and designed to make tails wag. It’s exciting to think about how we’ve innovatively adapted recipes to suit our dogs’ dietary needs while keeping the joy of celebration alive. Each bite of a dog cake is a sweet reminder of the bond we share with our beloved companions.
Recipe
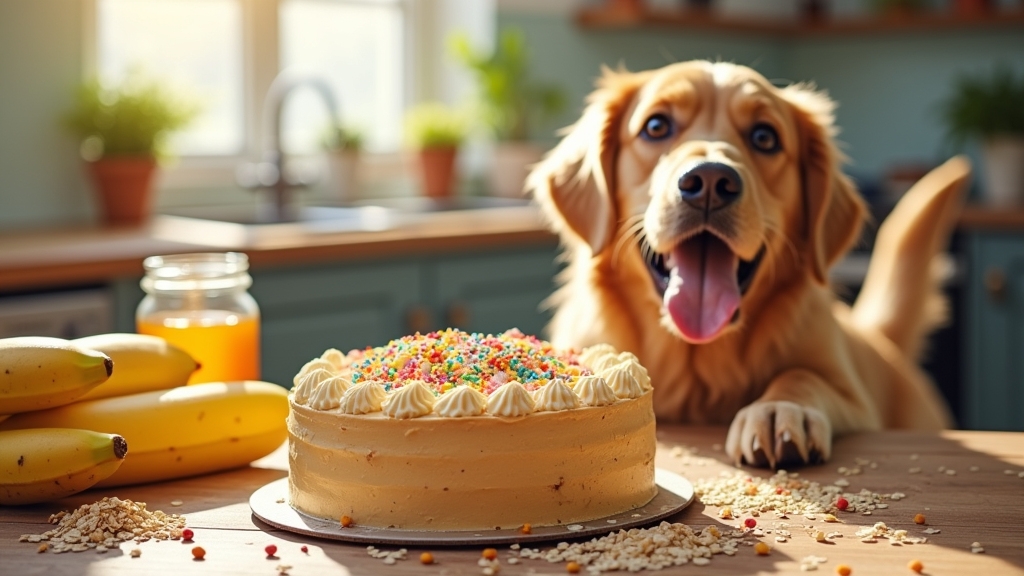
Making a dog cake can be a delightful way to celebrate your furry friend’s special day or simply to show them some extra love. This recipe is not only easy to prepare, but it also utilizes dog-friendly ingredients that are safe for your pet. Your pup will go wild for this healthy treat that is both moist and flavorful, thanks to the addition of peanut butter and pumpkin. The best part is, you can customize it with your dog’s favorite flavors!
Celebrate your dog’s special day with a delightful, easy-to-make cake using safe, dog-friendly ingredients!
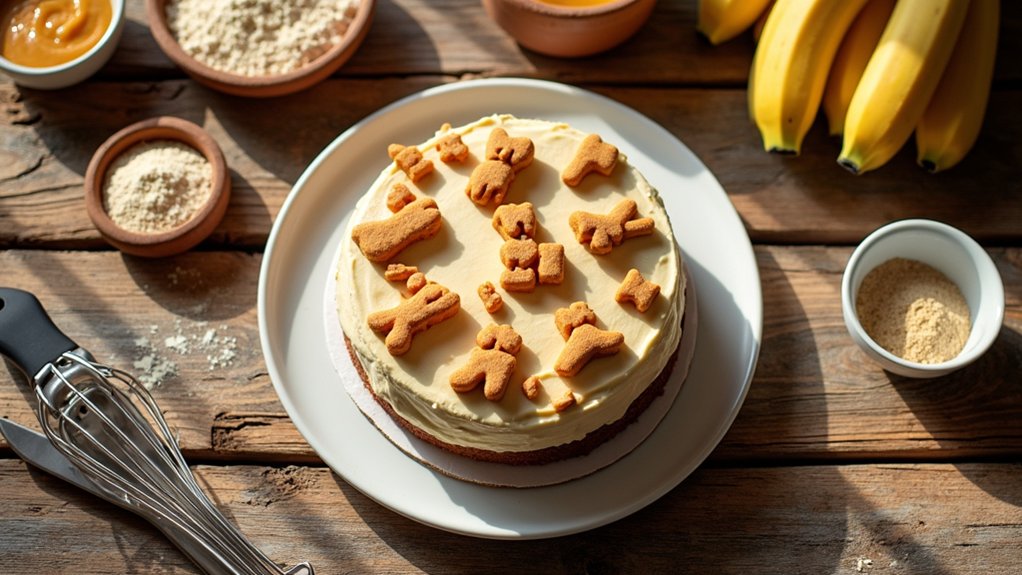
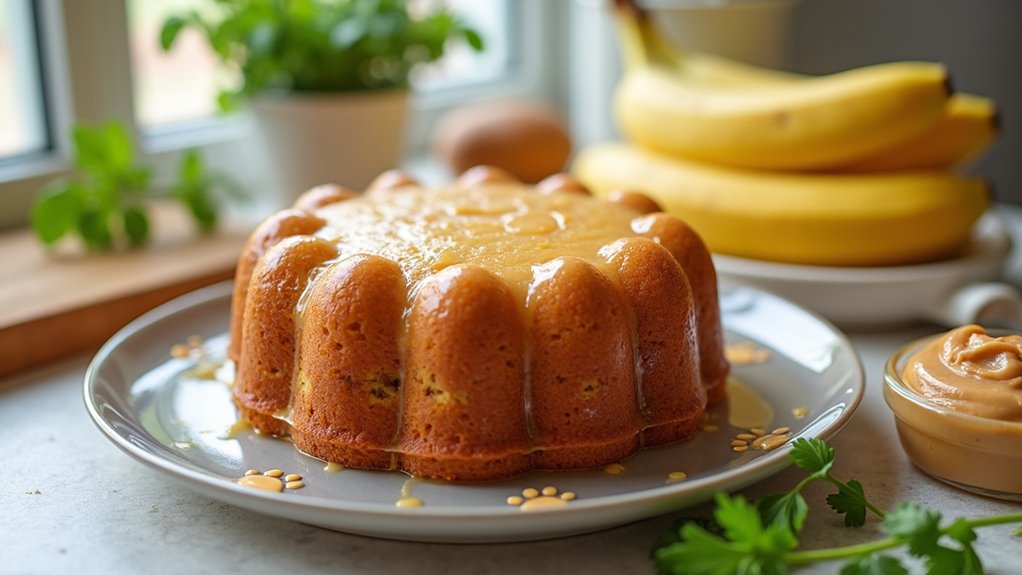
Before you get started, be certain to gather all your ingredients and tools. A simple baking pan, like an 8-inch round cake pan, will work perfectly for this treat. You can even make it a layered cake by doubling the recipe. Decorate it with a yogurt frosting or some carob chips for an added special touch. Remember to let the cake cool completely before serving it to your dog to guarantee it’s safe and delicious!
Ingredients
- 1 cup whole wheat flour
- 1/2 cup rolled oats
- 1/2 cup unsweetened pumpkin puree
- 1/4 cup peanut butter (make sure it’s xylitol-free)
- 1/4 cup unsweetened applesauce
- 1 egg
- 1/2 teaspoon baking powder
- 1/2 cup low-sodium chicken broth (optional for added moisture)
Instructions
Preheat your oven to 350°F (175°C) and grease your cake pan with a bit of oil or non-stick spray. In a large mixing bowl, combine the whole wheat flour, rolled oats, and baking powder. In another bowl, mix the pumpkin puree, peanut butter, applesauce, and egg until well combined. Gradually add the wet ingredients to the dry ingredients, mixing until just combined. If the batter seems too thick, incorporate the chicken broth until you achieve a smooth consistency. Pour the batter into the prepared cake pan and bake for approximately 25-30 minutes, or until a toothpick inserted into the center comes out clean. Allow the cake to cool before serving it to your dog.
Extra Tips
When preparing this dog cake, always verify that all ingredients are safe for your pet. Avoid using any sweeteners or additives that could be harmful, such as xylitol. If your dog has food sensitivities, feel free to substitute the whole wheat flour with a suitable alternative such as oat flour or almond flour. Additionally, consider adding mashed bananas or grated carrots for extra flavor and nutrients. Always serve in moderation, and remember to store any leftovers in an airtight container in the fridge for up to a week!
Cooking Steps
Let’s get started on making a tasty dog cake that your furry friend will love! First, I’ll guide you through the essential cooking steps, like preheating your oven and mixing the ingredients just right. Trust me, it’s easier than it sounds, and soon enough, you’ll have a delicious treat ready to share with your pet!
Step 1. Preheat Your Oven
Preheating your oven is an essential step in baking the perfect dog cake, and it only takes a few minutes. I always set my oven to 350°F, which is the ideal oven temperature for a moist, fluffy cake. While that heat builds up, I take a moment to gather my ingredients, making certain everything’s ready for the exciting mixing process ahead. A hot oven guarantees that the cake rises beautifully and cooks evenly, which is one of my top baking tips. Plus, it helps lock in all those delicious flavors that your pup will absolutely love. So, let’s get that oven warmed up—your furry friend is going to be so grateful for the tasty treat you’re about to bake!
Step 2. Mix Dry Ingredients Together
Once your oven is prepped and ready, it’s time to plunge into mixing the dry ingredients together. First, gather your dry ingredient types: whole wheat flour, oats, baking powder, and a pinch of cinnamon for that cozy touch. Using a large mixing bowl, I like to combine these ingredients with a whisk; it’s a great mixing technique to guarantee everything’s evenly distributed. You might want to sift the flour first to avoid any lumps. As I mix, I can already imagine the delightful cake my pup will enjoy. It’s all about creating that perfect blend! Don’t rush through this step, as the right combination of dry ingredients sets the foundation for a scrumptious dog cake that’ll have tails wagging.
Step 3. Add Wet Ingredients Gradually
As you shift from the dry to the wet ingredients, it’s important to add them gradually to guarantee a smooth and consistent batter. I like to measure out my wet ingredient ratios first, so I know exactly what I’m working with. Start by pouring a small amount into the dry mixture, then mix it well before adding more. This gradual mixing helps prevent clumps and assures each element blends seamlessly, creating a delightful texture your pup will love. Remember, rushing this step can lead to an uneven batter, which isn’t ideal for our furry friends. So take your time, enjoy the process, and watch as your dog cake comes together beautifully!
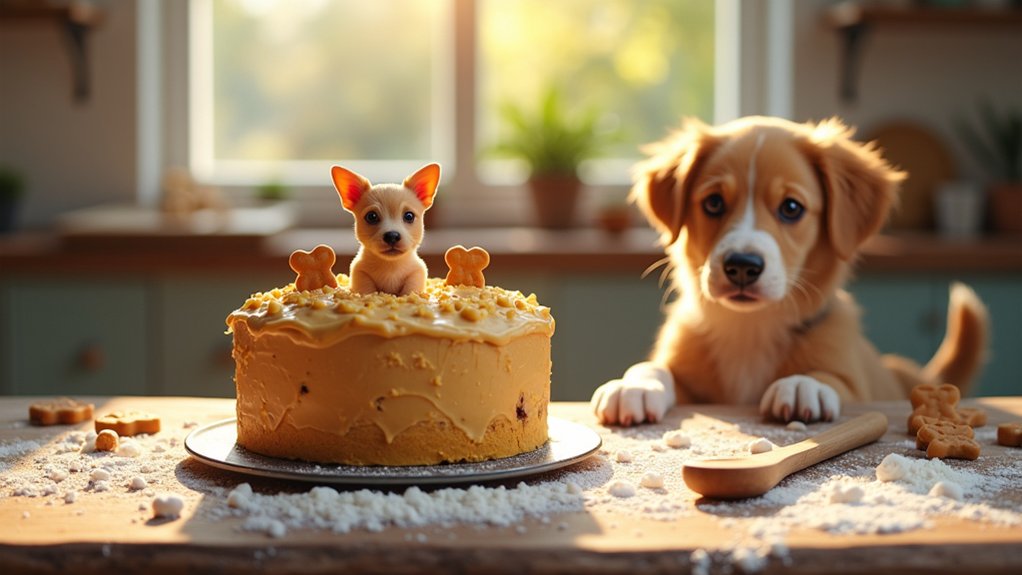
Step 4. Fold in Dog-Friendly Toppings
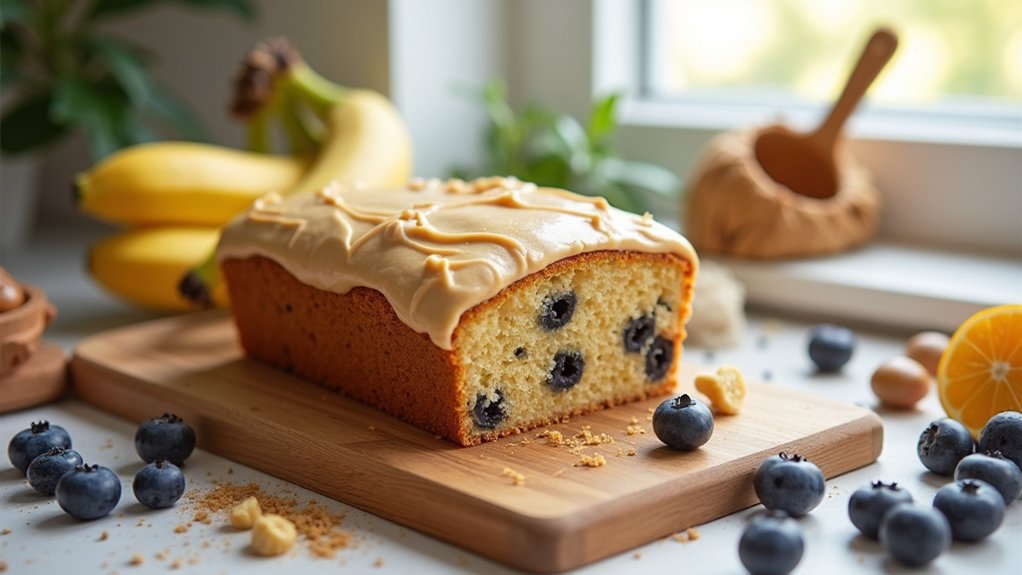
With your smooth batter ready, it’s time to bring some fun into the mix by folding in dog-friendly toppings. This is where creativity shines! I love adding chopped carrots, mashed bananas, or even a sprinkle of blueberries—these are all dog-safe toppings that not only enhance flavor but also add nutritional value. You can also consider incorporating unsweetened peanut butter or plain yogurt for a creamy twist. Don’t hesitate to experiment with creative garnishes, like crushed dog biscuits or a drizzle of pumpkin puree on top before baking. Gently fold these ingredients into your batter, ensuring they’re evenly distributed. Your pup’s taste buds are about to be delighted, and I can’t wait for you to see their wagging tails when they get their slice!
Step 5. Bake for 25 Minutes
Now that you’ve folded in those delicious dog-friendly toppings, it’s time to bake the cake to perfection! Preheat your oven to 350°F (175°C) if you haven’t already; this step is essential for achieving the best cake textures. Pour your batter into a greased pan and pop it in the oven for about 25 minutes. While it’s baking, keep an eye on the time—overbaking can lead to dry cake, which no pup wants! Use a toothpick to test for doneness; it should come out clean when the cake’s ready. Remember, every oven is different, so adjusting the time might be necessary. These baking tips will help guarantee a moist, scrumptious cake your furry friend will love!
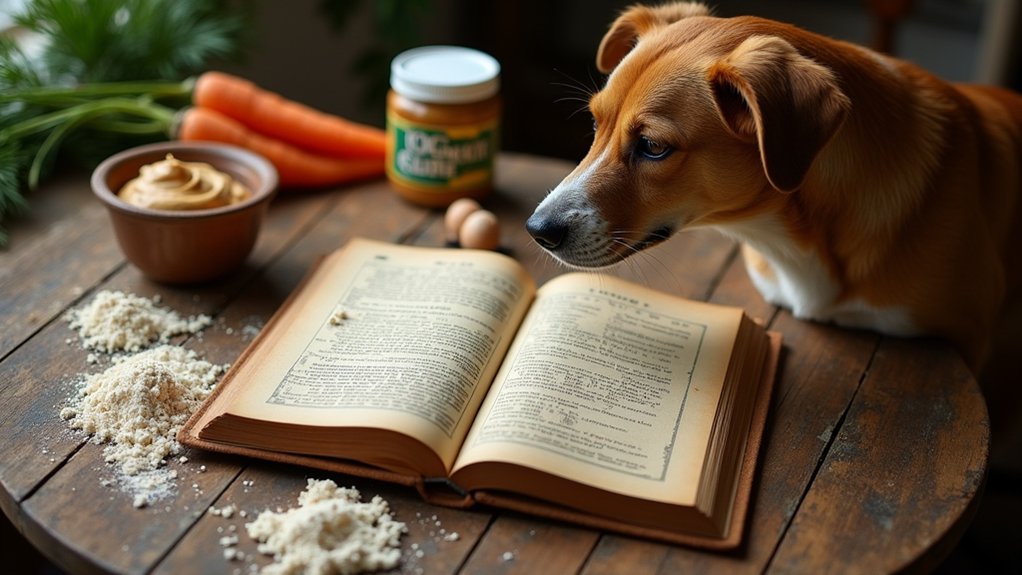
Nutritional Guide
When it comes to baking a dog cake, understanding the nutritional needs of our furry friends is key to creating a treat that’s both delicious and healthy. It’s exciting to know that with thoughtful ingredient choices, we can enhance the nutritional benefits of our cakes. Here’s a handy table to help you explore some great ingredient alternatives:
| Ingredient | Nutritional Benefits | Alternatives |
|---|---|---|
| Whole Wheat Flour | High in fiber and vitamins | Oat flour, almond flour |
| Peanut Butter | Good source of healthy fats | Sunflower seed butter |
| Applesauce | Low-calorie sweetener | Mashed bananas |
| Carrots | Rich in beta-carotene | Sweet potatoes |
Using these alternatives not only makes your dog cake healthier but also adds a fun twist to your baking adventure!
Final Thoughts
As I reflect on the joy that baking a dog cake brings, it’s hard not to feel excited about the special moments we create with our furry companions. These occasions not only celebrate our pets but also contribute to their dog health. By using wholesome ingredients, I’m ensuring they enjoy a treat that’s both delicious and nutritious.
If you’re looking to innovate, try incorporating different flavors or textures to keep things interesting! Don’t forget my baking tips: always measure ingredients carefully and consider your dog’s dietary needs. With each cake I bake, I’m reminded of the love and happiness a simple recipe can create. So, gather your supplies and let’s make memories that both you and your pup will cherish!
Frequently Asked Questions
Can I Use Regular Flour Instead of Whole Wheat Flour?
Sure, I’ve used regular flour instead of whole wheat flour before. It works fine! Just remember, experimenting with baking alternatives can lead to delicious surprises. Flour substitutes can really change the texture and flavor, so enjoy!
How Long Can I Store Leftover Dog Cake?
I store leftover dog cake in an airtight container for up to three days in the fridge. For longer freshness, I freeze it for up to two months, ensuring my pup enjoys every bite later!
Is This Recipe Suitable for Puppies?
Yes, this recipe’s safe ingredients cater to puppy dietary needs. I’ve tailored it to guarantee it’s both delicious and nutritious for your little one, so you can celebrate their milestones with confidence!
What Decorations Are Safe for Dog Cakes?
For dog cakes, I love using safe toppings like peanut butter or yogurt. Edible flowers, such as pansies or nasturtiums, add a creative touch, making the cake visually appealing while ensuring it’s safe for my pup.
Can I Freeze the Dog Cake for Later Use?
Absolutely, I can freeze the dog cake for later use! I recommend wrapping it tightly in plastic wrap and using airtight containers. These freezing tips guarantee freshness, making storage methods easy and innovative for future treats.
Conclusion
I hope you enjoyed making a delightful dog cake that your furry friend will love! Did you know that about 56% of dog owners bake treats for their pets? It’s a fun way to bond and show your pup just how much you care. Whether it’s for a birthday or just because, this recipe is sure to bring joy to you both. So, grab those ingredients, and let’s create some tasty memories together!