If you’re looking for the best chocolate cake recipe, I’ve got just the thing for you! This recipe yields rich, moist layers with a tender crumb that’s perfect for any occasion. You just mix simple ingredients like flour, cocoa powder, and sugar, then slowly add wet ingredients for that luscious batter. Don’t forget to fold in some chocolate chips for extra flavor! Stick around, and you’ll find more tips to elevate your chocolate cake experience.
Contents
History
When I think about the history of chocolate cake, I can’t help but feel a warm sense of nostalgia. It all starts with the chocolate origins, tracing back to ancient Mesoamerican cultures who cherished chocolate as a sacred ingredient. As time marched on, the cake evolution began, transforming chocolate into a delightful dessert. By the 19th century, bakers mixed chocolate with flour, sugar, and eggs, creating the rich, moist cake we adore today. Each bite tells a story of innovation, from the first recipes to the modern twists we experiment with now. It’s exciting to think about how chocolate cake has evolved, and it makes me enthusiastic to explore even more creative ways to enjoy this timeless treat.
Recipe
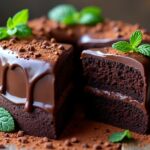
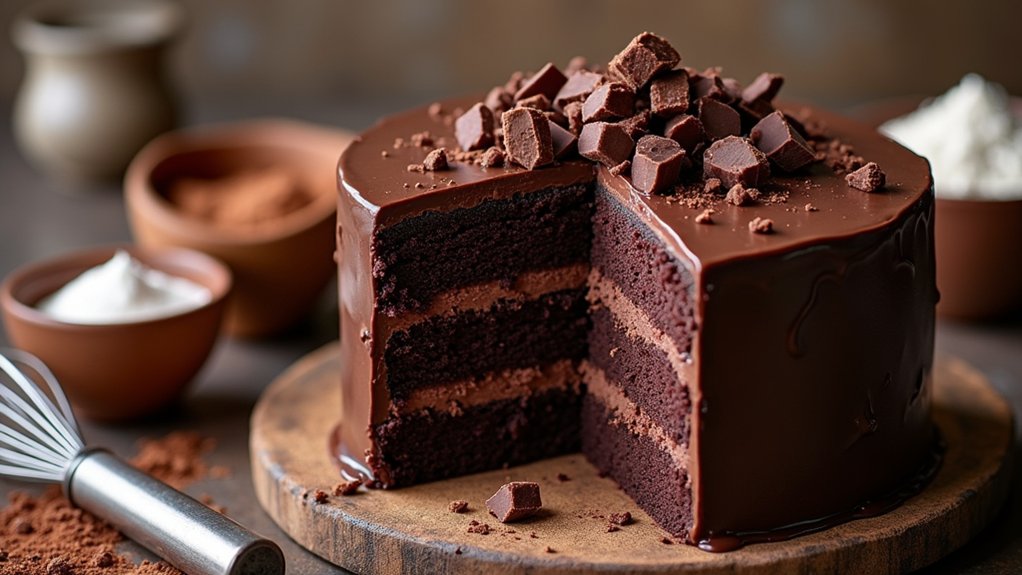
When it comes to baking, nothing quite compares to the rich, velvety texture and deep flavor of a chocolate cake. This classic dessert is perfect for any occasion, whether you’re celebrating a birthday, anniversary, or simply indulging in a sweet treat after dinner. With simple ingredients and straightforward steps, you can create a chocolate cake that will impress your family and friends and satisfy your sweet tooth.
This chocolate cake recipe includes a moist and tender crumb that pairs beautifully with a rich chocolate frosting. The key to achieving that perfect texture is in the mixing process and ensuring that you use high-quality cocoa powder. Follow this recipe closely, and you’ll have a delightful cake that is sure to become a favorite in your household.
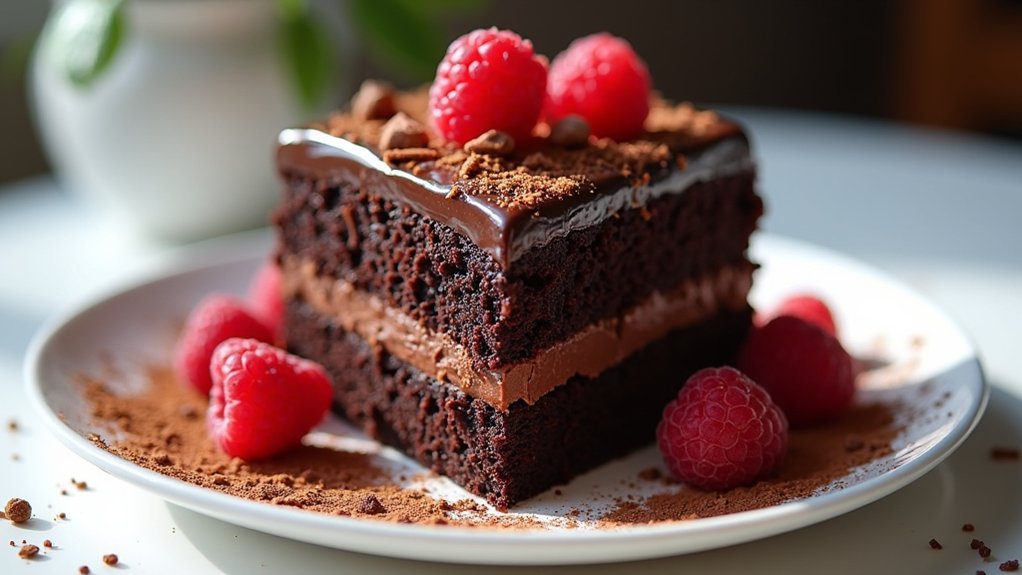
This chocolate cake boasts a moist crumb and rich frosting, ensuring it becomes a beloved favorite in your home.
Ingredients:
- 1 ¾ cups all-purpose flour
- ¾ cup unsweetened cocoa powder
- 2 cups granulated sugar
- 1 ½ teaspoons baking powder
- 1 ½ teaspoons baking soda
- 1 teaspoon salt
- 2 large eggs
- 1 cup whole milk
- ½ cup vegetable oil
- 2 teaspoons vanilla extract
- 1 cup boiling water
Instructions:
Preheat your oven to 350°F (175°C) and grease two 9-inch round cake pans. In a large mixing bowl, combine the flour, cocoa powder, sugar, baking powder, baking soda, and salt, whisking until well blended. Add the eggs, milk, vegetable oil, and vanilla extract to the dry ingredients. Beat on medium speed for about 2 minutes until smooth. Carefully stir in the boiling water (the batter will be thin), then pour evenly into the prepared cake pans. Bake for 30-35 minutes or until a toothpick inserted in the center comes out clean. Allow the cakes to cool in the pans for 10 minutes before transferring them to a wire rack to cool completely.
Extra Tips:
For an even more decadent chocolate cake, consider adding chocolate chips to the batter or substituting the water with brewed coffee for a deeper flavor. Additionally, you can enhance the frosting by adding a pinch of sea salt to balance the sweetness. Make sure all your ingredients are at room temperature before you start baking for the best results. And remember, letting the cake cool completely before frosting is key to achieving a beautiful finish!
Cooking Steps
Let’s get started on making that delicious chocolate cake! First, I’ll show you how to preheat the oven and mix the dry ingredients together. Trust me, following these steps will set you up for a cake that’s simply irresistible!
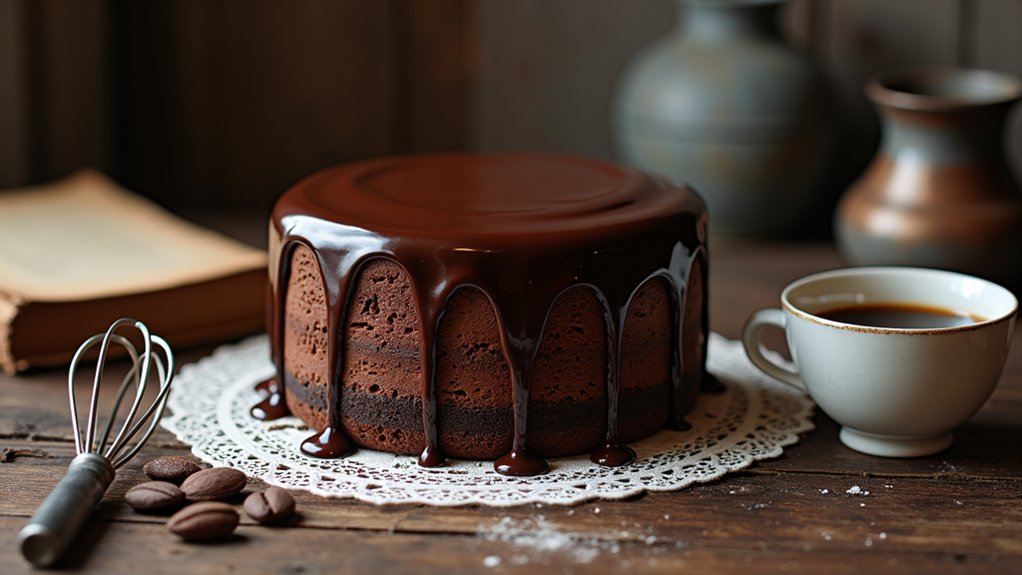
Step 1. Preheat the Oven
Before diving into mixing the ingredients, preheating the oven is an essential step that sets the stage for baking a perfect chocolate cake. I typically set my oven temperature to 350°F (175°C), which is ideal for ensuring that the cake bakes evenly and rises beautifully. While the oven heats up, it’s a great time to gather your baking tools—like mixing bowls, measuring cups, and a whisk. Trust me, having everything ready makes the whole process smoother and more enjoyable. Plus, a preheated oven helps create that delightful texture we all love in a cake. So, let’s get that oven roaring before we get our hands into the chocolatey goodness! Your taste buds will thank you later.
Step 2. Mix Dry Ingredients Together
With the oven preheating, it’s time to gather your dry ingredients and mix them together. This step is essential, as it sets the foundation for your delicious chocolate cake. I love using innovative mixing techniques to guarantee everything blends perfectly and achieves the right ingredient ratios. Here’s what you’ll need:
- All-purpose flour
- Unsweetened cocoa powder
- Baking soda
- A pinch of salt
As I combine these ingredients, I like to whisk them well to avoid any lumps. This not only enhances the flavor but also creates a lighter, fluffier texture. Remember, the key to a great cake is in the details, so take your time to mix properly and watch your ingredients come together in harmony!
Step 3. Add Wet Ingredients Gradually
Now that our dry ingredients are perfectly mixed, we can move on to the fun part: adding the wet ingredients gradually. This step is essential for achieving that dreamy, moist texture we all crave in a chocolate cake. I like to start by pouring in half of my wet ingredients, making sure I’m mindful of the wet ingredient ratios. As I pour, I gently mix, allowing those flavors to meld together. Gradual mixing helps prevent lumps and guarantees a silky batter. Once that’s well combined, I add the rest of the wet ingredients, continuing to mix until everything’s just incorporated. Remember, the goal here is a luscious batter, not overmixing, so be gentle and patient. Your cake will thank you later!
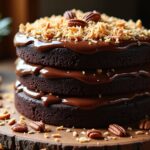
Step 4. Fold in Chocolate Chips
Let’s plunge into the delightful task of folding in chocolate chips! This step is where your cake transforms into a chocolate lover’s paradise. I love to use different chocolate chip varieties for extra flair—think dark, milk, or even white chocolate.
Here’s how I do it:
- Gently mix: Use a spatula to combine your batter and chips, being careful not to overmix.
- Embrace the air: Fold, don’t stir! Folding techniques keep your cake light and fluffy.
- Even distribution: Make sure every bite gets a taste of those delicious chips.
- Feel the texture: You should feel the chocolate chips creating a delightful contrast in your batter.
Trust me, this is where the magic begins!
Step 5. Bake for 30 Minutes
After you’ve folded in those luscious chocolate chips, it’s time to bake your cake to perfection. Preheat your oven to 350°F (175°C) if you haven’t already. Pour the batter into your greased cake pan and smooth the top with a spatula. Using the right baking techniques is essential here; verify your pan’s center is level, which helps achieve that ideal cake texture. Pop it in the oven and set a timer for 30 minutes. I love watching it rise—it’s like magic! Check for doneness by inserting a toothpick; it should come out clean. Once baked, let it cool for a few minutes before transferring it to a wire rack. Trust me, the aroma will drive everyone wild!
Nutritional Guide
When it comes to baking a delicious chocolate cake, understanding the nutritional aspects can really enhance your experience in the kitchen. Knowing the caloric content and ingredient benefits can help you make informed choices, whether you’re indulging or sharing with loved ones.
Here’s a quick guide to the nutritional highlights:
| Ingredient | Caloric Content | Benefits |
|---|---|---|
| Flour | 455 cal/cup | Provides structure |
| Cocoa Powder | 50 cal/tbsp | Rich in antioxidants |
| Sugar | 774 cal/cup | Adds sweetness and moisture |
Final Thoughts
As I reflect on the joy of baking a chocolate cake, I can’t help but feel excited about the memories it creates. There’s something magical about it that transcends just dessert. Here are a few baking tips and serving suggestions to elevate your experience:
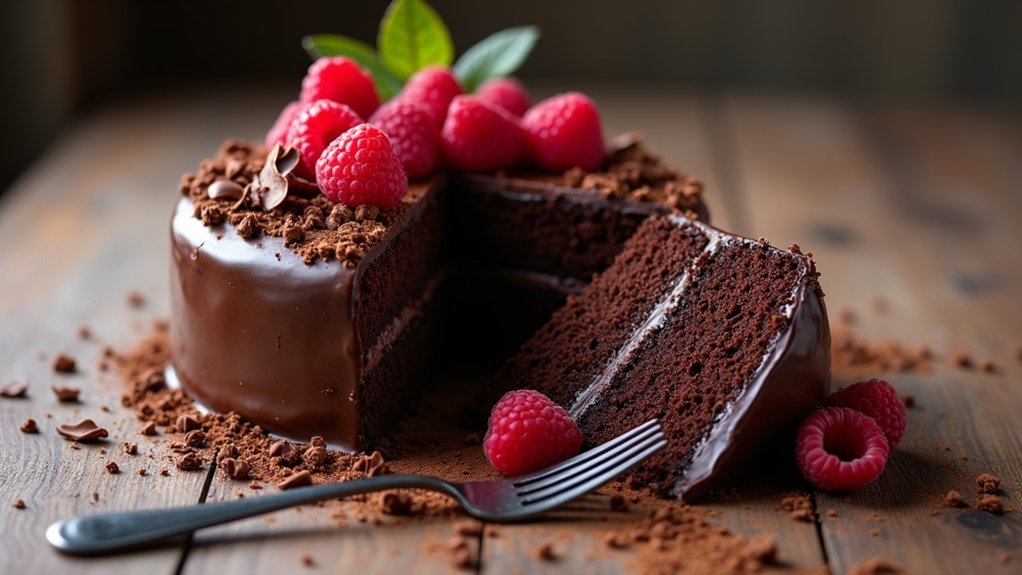
Reflecting on the joy of baking a chocolate cake, it’s clear that the memories created are truly magical.
- Experiment with various chocolate types for a unique flavor profile.
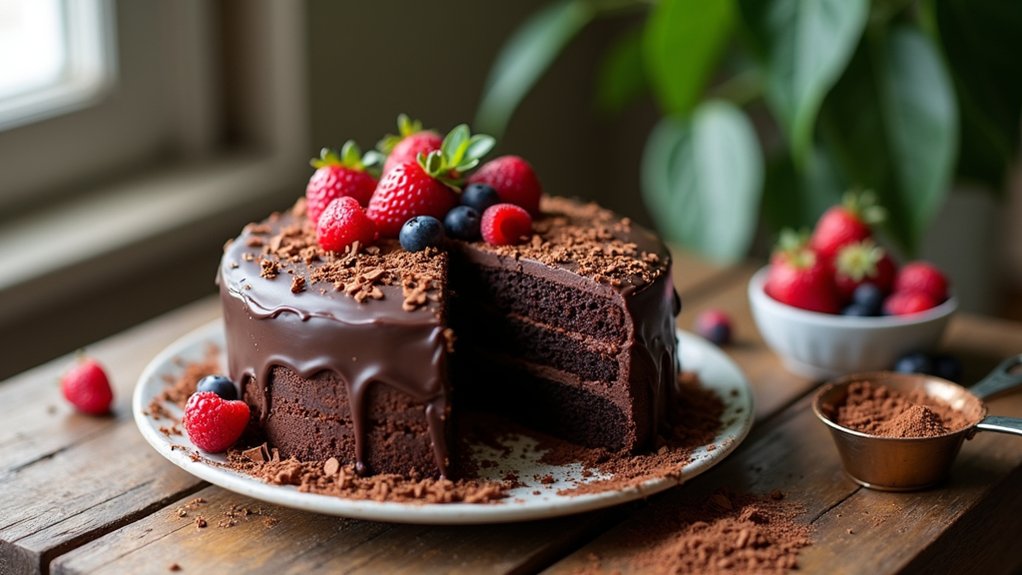
- Pair your cake with fresh berries for a revitalizing contrast.
- Try adding a pinch of sea salt to the frosting for depth.
- Share the cake with loved ones to create lasting memories.
Baking this chocolate cake isn’t just about the ingredients; it’s about the connections we foster. So, roll up your sleeves, embrace creativity, and let the deliciousness unfold!
Frequently Asked Questions
Can I Substitute Cocoa Powder for Chocolate in This Recipe?
Absolutely, you can substitute cocoa powder for chocolate! Just remember, cocoa powder gives a more intense chocolate flavor, so adjust the sugar accordingly. I love experimenting with ratios to achieve that perfect balance. Enjoy your baking!
What Type of Chocolate Is Best for Chocolate Cake?
When it comes to chocolate cake, I believe dark chocolate’s rich intensity elevates flavors beautifully, while milk chocolate adds a delightful sweetness. Mixing both creates a harmonious symphony of taste that’s simply irresistible for any cake lover!
How Can I Make My Cake More Moist?
To make my cake more moist, I use baking tips like adding sour cream or yogurt. I’ve also found ingredient substitutions, like using applesauce instead of oil, can really enhance the moisture and flavor.
Can I Use Gluten-Free Flour for This Recipe?
Absolutely, I’ve used gluten-free flour before, and it works! Did you know nearly 1 in 100 people have celiac disease? Baking with substitutes like gluten-free alternatives can yield delicious results if you adjust moisture levels.
How Do I Store Leftover Chocolate Cake?
I usually wrap leftover cake in plastic wrap and store it in an airtight container. For longer preservation, I freeze slices. It keeps the flavors intact while making dessert spontaneous and delicious whenever I crave it!
Conclusion
I hope you’re as excited as I am to whip up this delightful chocolate cake! It’s more than just a dessert; it’s a slice of happiness that brings people together. Whether you’re celebrating a special occasion or just indulging in a sweet moment, this recipe is sure to make your taste buds dance. So grab your apron, embrace the flour, and let’s create some delicious memories. Happy baking, my friend! You’re going to love it!