Making gluten-free pizza dough is easier than you might think! I mix together gluten-free flours with baking powder and a pinch of salt. Then, I add wet ingredients gradually, mixing until it forms a cohesive dough. After kneading until smooth, I let it rest to enhance the flavor. It comes out crispy on the outside and chewy on the inside—perfect for your favorite toppings. If you’re curious about creative ideas and tips, there’s more to explore!
Contents
History
When I think about the history of pizza, I’m reminded of how this beloved dish has evolved over the years, especially for those of us who need to avoid gluten. Originally, pizza was a simple flatbread, but as it traveled around the world, it adapted to local tastes and ingredients. I find it fascinating how ancient grains like spelt and millet have begun to replace traditional wheat, bringing new flavors and textures to our tables. Plus, regional variations have popped up everywhere—think of a spicy Chicago deep-dish or a thin, crispy Roman slice. Each twist reflects the culture and creativity of the people who make it. This journey makes pizza not just a meal, but a shared experience filled with history and innovation.
Recipe
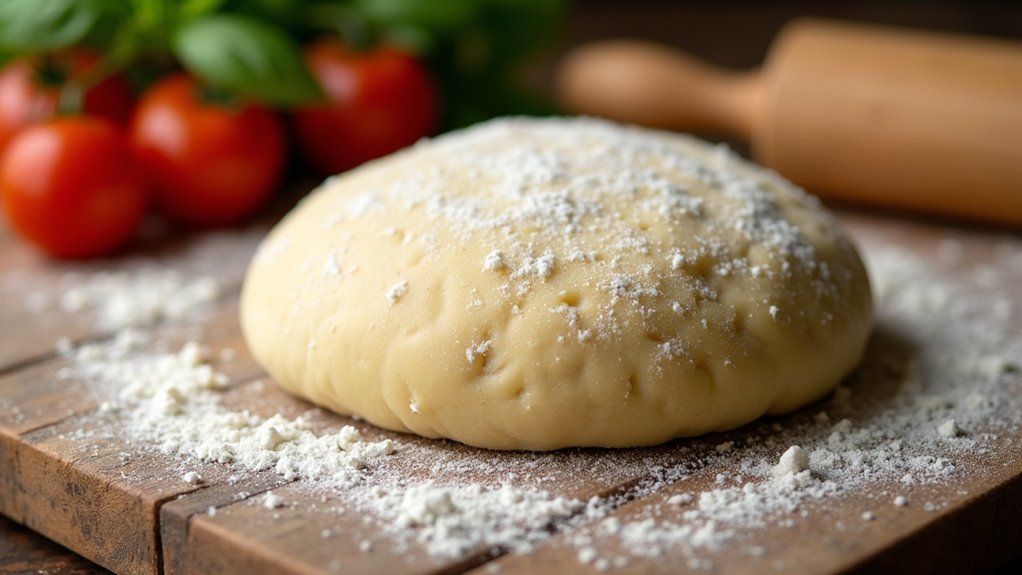
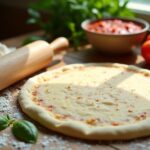
Making gluten-free pizza dough at home can be both fun and rewarding. With the right combination of flours and a few simple ingredients, you can whip up a delicious crust that can hold all your favorite toppings without any gluten. This recipe is perfect for those with gluten sensitivities or anyone looking to try something new. The dough is easy to work with and bakes up crispy on the outside while remaining chewy on the inside.
Making gluten-free pizza dough is a delightful way to create a crispy, chewy crust that everyone can enjoy.
To get started, gather your ingredients and set aside some time to prepare the dough. While gluten-free dough can differ in texture from traditional wheat-based dough, it still offers a delightful pizza experience. The key here is to allow the dough to rest, which helps develop flavor and texture. Once you have your dough ready, you can customize your pizza with various toppings to create a meal that everyone will love.
Ingredients:
- 1 ½ cups gluten-free all-purpose flour
- 1 teaspoon baking powder
- ½ teaspoon salt
- 1 teaspoon garlic powder (optional)
- 1 tablespoon olive oil
- ¾ cup warm water
- 1 teaspoon apple cider vinegar
- 1 tablespoon honey or sugar (optional)
In a large mixing bowl, combine the gluten-free flour, baking powder, salt, and garlic powder (if using). In a separate bowl, whisk together the warm water, olive oil, apple cider vinegar, and honey or sugar (if using). Gradually pour the wet ingredients into the dry ingredients, stirring until a dough forms. If the dough is too sticky, add a little more flour until it reaches a workable consistency. Cover the bowl with a clean cloth and let it rest for about 30 minutes. Preheat your oven to 475°F (245°C), then roll out the dough on a floured surface to your desired thickness. Transfer to a pizza stone or baking sheet, add your favorite toppings, and bake for 12-15 minutes or until the crust is golden brown.
When making gluten-free pizza dough, it’s essential to remember that different gluten-free flours can yield different results. Experimenting with a blend of flours, such as almond flour, coconut flour, or tapioca flour, can help you find the perfect balance for your taste and texture preferences. Additionally, using a pizza stone can enhance the crust’s crispiness, so consider investing in one if you plan to make pizza regularly. Finally, let the dough rest before baking to improve the overall flavor and texture. Enjoy your homemade gluten-free pizza!
Cooking Steps
Now that we have our gluten-free pizza dough recipe ready, let’s jump into the cooking steps. I’ll guide you through mixing the dry ingredients, adding the wet ones gradually, and kneading the dough until it’s just right. Once we let it rest, we’ll shape it into balls, and trust me, it’ll be worth the wait!
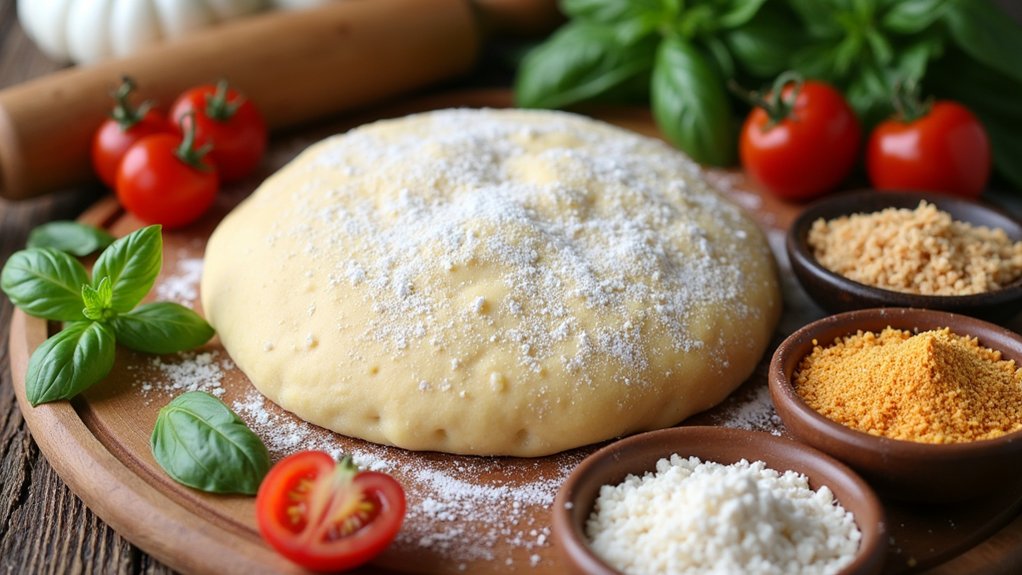
Step 1. Mix Dry Ingredients Together
To kick off our gluten-free pizza dough adventure, let’s gather and mix our dry ingredients. I like to use a blend of gluten alternatives, such as almond flour and coconut flour, which add unique flavors and textures. First, grab a mixing bowl and combine your chosen flour types. I often throw in some tapioca starch for that perfect chewiness. Don’t forget to add a teaspoon of baking powder to give our dough that delightful rise, along with a pinch of salt for flavor enhancement. As you mix everything together, envision the delicious pizza that awaits you. This step is essential, as it sets the foundation for our dough and guarantees a successful, mouthwatering gluten-free pizza experience!
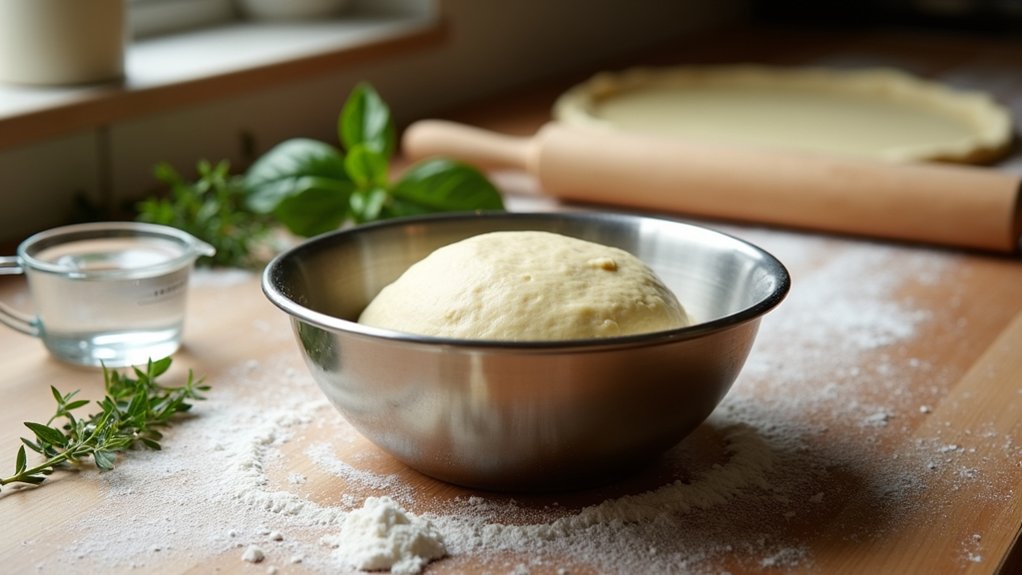
Step 2. Add Wet Ingredients Gradually
As you prepare to add the wet ingredients, it’s important to take your time and do it gradually to guarantee a smooth, cohesive dough. I like to start with just a little bit of liquid, mixing it in thoroughly before adding more. This way, I can easily monitor the dough consistency and adjust as needed. If it gets too sticky, I might add a bit more flour, or if it’s too dry, I’ll splash in some extra moisture. Remember, every gluten-free flour blend behaves a little differently, so trust your instincts! The goal here is to create a dough that’s easy to work with, so you can shape it into your favorite pizza masterpiece. Enjoy the process!
Step 3. Knead Dough Until Smooth
With the wet ingredients now blended into the dry, it’s time to roll up your sleeves and knead that dough until it’s smooth and ready for action. I love to dig in with my hands, feeling the dough texture change as I work it. Using different kneading techniques, like pressing, folding, and turning, helps develop that perfect consistency. Don’t rush this part—take your time and enjoy the process! Aim for a silky, elastic dough that bounces back when you poke it. If it feels too sticky, sprinkle a bit more gluten-free flour, but be careful not to overdo it. You’ll know it’s ready when it feels just right—smooth, pliable, and enthusiastic to become that delicious pizza crust!
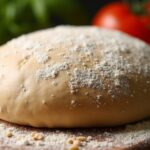
Step 4. Let Dough Rest Covered
Now that your dough is all smooth and ready, it’s time to let it rest, covered, so it can work its magic. This step is essential for dough fermentation, allowing the flavors to develop and the texture to improve. You’ll want to find a warm spot in your kitchen, maybe near a sunny window, and cover your dough with a clean cloth. This resting period not only enhances the dough’s flavor but also provides resting benefits, making it easier to handle later. Trust me, this little pause is where the dough transforms into something special. So, take a moment to breathe, sip your favorite drink, and let that dough rise to the occasion—it’ll be worth the wait!
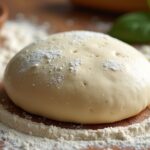
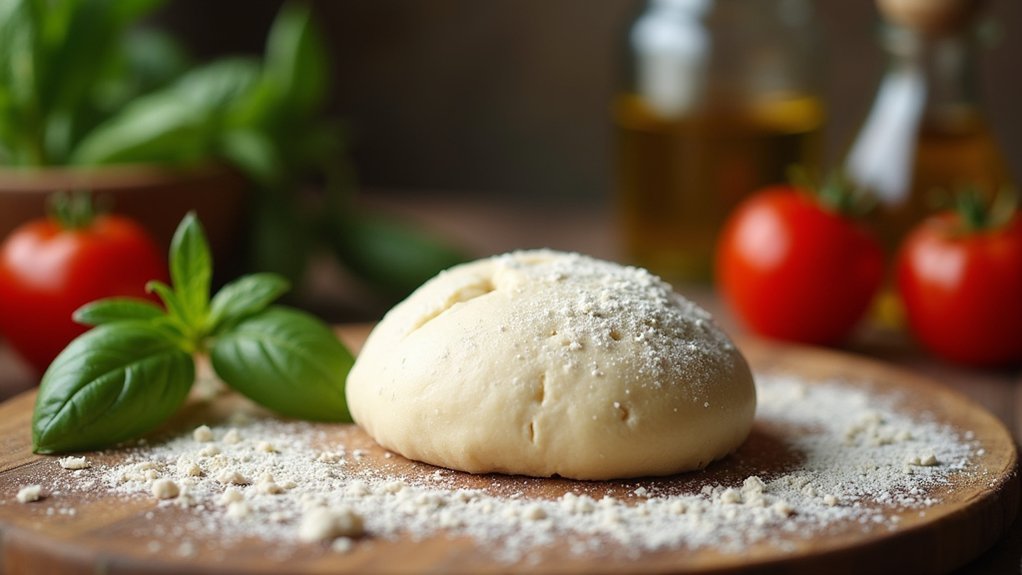
Step 5. Shape the Dough Into Balls
Once your dough has had its time to rest and rise, shaping it into balls is the next exciting step. I love this part because you can really feel the dough texture transform. Gently flour your hands to prevent sticking, then grab a piece of dough about the size of a golf ball. As you roll it between your palms, notice the dough elasticity; it should spring back a bit, signaling it’s just right. Keep shaping until you’ve formed all your dough into beautiful little orbs. This step not only makes it easier to work with later but also gives you that satisfying feeling of creating something special. Trust me, your pizza night will be all the more delightful!
Nutritional Guide
When it comes to enjoying a delicious slice of gluten-free pizza, understanding the nutritional value of your dough is essential. By using gluten substitutes like almond flour, coconut flour, or brown rice flour, you’re not just avoiding gluten; you’re also adding unique nutritional benefits. Here’s a quick guide to help you navigate the choices:
| Ingredient | Nutritional Benefits |
|---|---|
| Almond Flour | High in protein and healthy fats |
| Coconut Flour | Rich in fiber and low in carbs |
| Brown Rice Flour | Good source of B vitamins and minerals |
| Tapioca Flour | Gluten-free with a chewy texture |
These alternatives not only enrich your pizza but also elevate your wellness journey. So, let’s get creative with these exciting options!
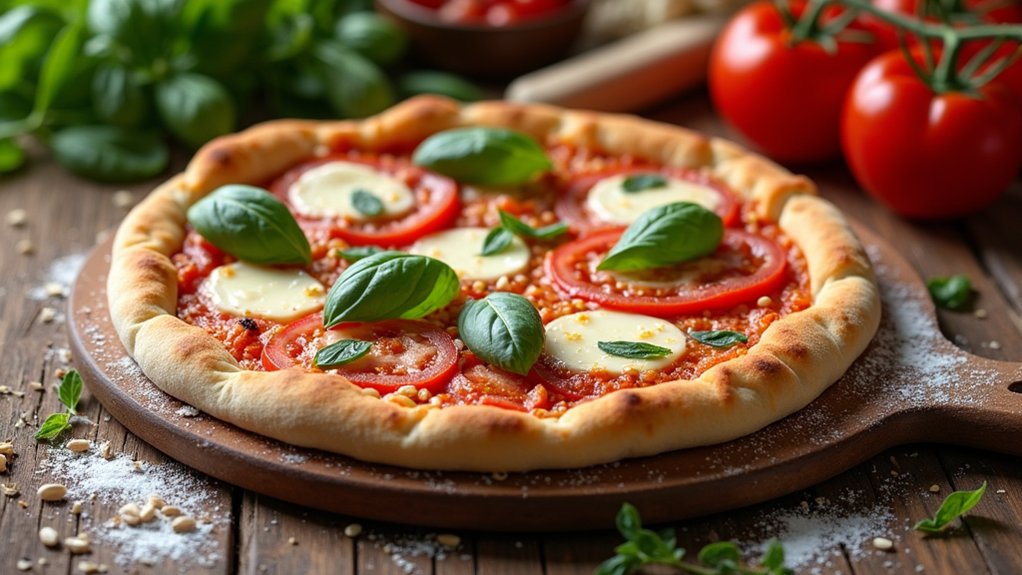
Final Thoughts
Creating gluten-free pizza doesn’t just mean swapping out regular flour; it’s about embracing new flavors and textures that can make your pizza night even more enjoyable. Using gluten substitutes like almond flour or chickpea flour opens up a world of possibilities, allowing you to craft a crust that’s not only delicious but also unique. Once you’ve perfected your dough, the fun really begins with choosing your pizza toppings. Go wild with fresh vegetables, gourmet cheeses, or innovative sauces. Remember, the beauty of gluten-free cooking lies in experimentation. So, don’t be afraid to try new combinations and share your creations with friends and family. They’ll love the fresh take on pizza night, and you’ll feel proud of your culinary adventure!
Frequently Asked Questions
Can I Use a Gluten-Free Flour Blend Instead of Individual Flours?
Absolutely, I prefer using gluten-free flour blends for convenience. While individual flours have unique benefits, blends often simplify the process and still yield delicious results. Experimenting can lead to exciting, innovative pizza dough experiences!
How Do I Store Leftover Gluten-Free Pizza Dough?
Think of your dough as a precious gem; proper storing techniques can extend its shelf life. I wrap it tightly in plastic and stash it in the fridge, ensuring it stays fresh for delicious creations later.
Can I Freeze Gluten-Free Pizza Dough for Later Use?
Absolutely, I can freeze gluten-free pizza dough for later use! I use smart freezing techniques to maintain the dough texture. Just wrap it tightly, and it’ll be ready for delicious meals whenever I crave pizza!
What Toppings Pair Well With Gluten-Free Pizza?
When it comes to toppings, I love experimenting! Topping combinations like roasted veggies with balsamic glaze or spicy sausage with sweet pineapple create bold flavor profiles that dance on your palate. Get creative and enjoy!
Is Gluten-Free Pizza Dough More Expensive Than Regular Dough?
Yes, gluten-free pizza dough generally costs more than regular dough due to ingredient sourcing and the cost comparison of specialized flours. I often find innovative options that balance taste and budget without sacrificing quality.
Conclusion
Making gluten-free pizza dough is like crafting a cozy blanket on a chilly evening; it wraps you in warmth and comfort. As you knead the dough, you’re not just preparing a meal, you’re creating memories to share with loved ones. With each bite, you’ll taste the joy of cooking and the satisfaction of enjoying something deliciously homemade. So roll up your sleeves, gather your ingredients, and let’s make some pizza magic together!