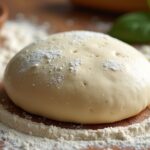
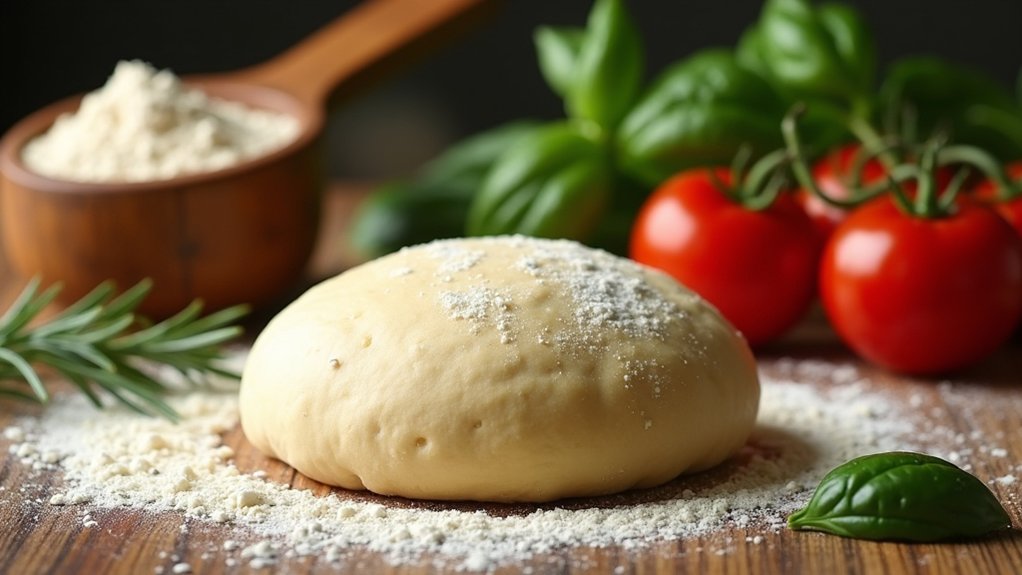
Making Italian pizza dough is simple and rewarding! I start with high-quality all-purpose and bread flour, mixing in warm water and yeast. After kneading the dough for about 10 minutes, I let it rise until it’s airy and fluffy. Once it’s shaped into balls, I preheat the oven to 475°F to guarantee that perfect crispy crust. This dough becomes the canvas for my favorite toppings, and there’s so much more to explore in this delicious journey!
Contents
History
When I think about the history of Italian pizza dough, I can’t help but feel a sense of connection to the countless generations who have made it before us. The ancient origins of pizza dough stretch back to the Neapolitan streets, where simple ingredients transformed into something magical. As I explore this journey, I’m fascinated by how regional variations emerged, each adding a unique twist. From the thin, crispy crusts of Naples to the thick, hearty styles of Sicilian pizza, every region tells a story. It’s incredible to see how tradition melds with innovation, sparking new ideas while honoring the past. Each bite of pizza carries with it the spirit of those who came before, inspiring us to create and share.
Recipe
If you’re looking to create the perfect Italian pizza dough, you’re in for a treat! This classic recipe will guide you through making a deliciously chewy and crispy crust that will elevate your homemade pizzas to a whole new level. The key to great pizza dough is using high-quality ingredients and allowing it to rise properly, resulting in a flavorful base that can hold all your favorite toppings.
Making pizza dough is simpler than you might think. With just a few ingredients and some patience, you can create a dough that rivals your favorite pizzeria. The process involves mixing, kneading, and letting the dough rise, which helps develop the gluten and gives the crust its characteristic texture. Follow this recipe, and you’ll be on your way to impressing family and friends with your homemade pizza creations!
Creating pizza dough is easy and rewarding; with just a few ingredients and some patience, you’ll impress everyone with your homemade pizzas!
Ingredients:
- 4 cups all-purpose flour
- 1 ½ cups warm water (110°F)
- 2 teaspoons active dry yeast
- 2 teaspoons salt
- 1 tablespoon sugar
- 2 tablespoons olive oil
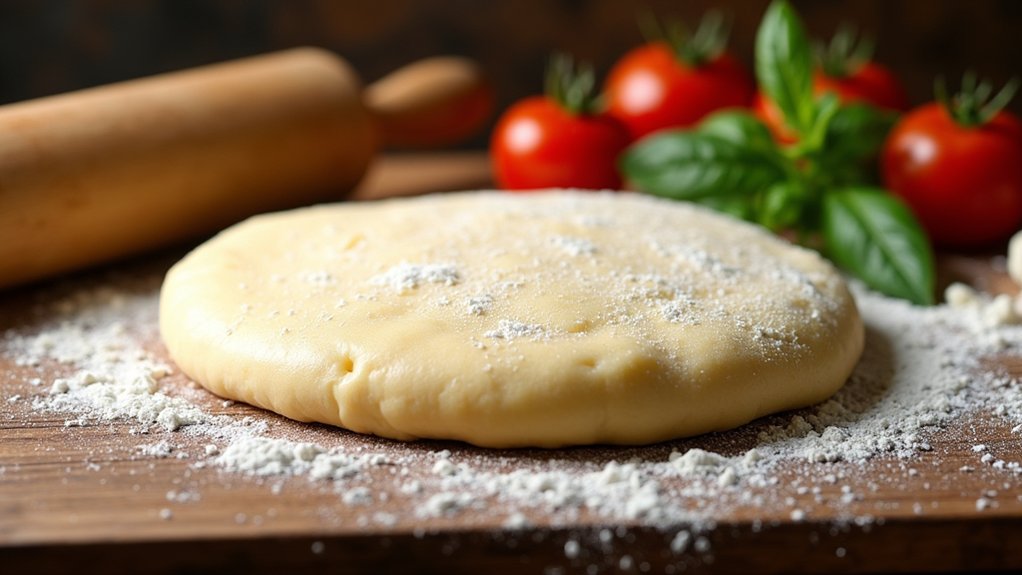
To make the pizza dough, start by activating the yeast in warm water along with the sugar. Let it sit for about 5-10 minutes until it becomes frothy. In a large mixing bowl, combine the flour and salt. Create a well in the center, then pour in the yeast mixture and olive oil. Mix until the dough begins to come together, then transfer it to a floured surface. Knead the dough for about 10 minutes until it becomes smooth and elastic. Place it in a greased bowl, cover it with a damp cloth, and let it rise in a warm area for 1-2 hours, or until it doubles in size.
For best results, always make sure to let your dough rise in a warm environment, as temperature can greatly affect the fermentation process. If you’re short on time, you can let the dough rise in the refrigerator overnight for a more developed flavor. Additionally, feel free to experiment with different types of flour, such as bread flour or 00 flour, to achieve your desired texture. Finally, remember to stretch the dough gently rather than rolling it out, as this will help maintain the air pockets that create a light and airy crust. Enjoy your pizza-making adventure!
Cooking Steps
Now that we’ve got our ingredients ready, it’s time to get our hands a little messy with the cooking steps. First, I’ll show you how to mix the flour and water just right, and then we’ll knead the dough thoroughly to develop that perfect texture. Once we’ve shaped the dough into balls and let it rise, we’ll be one step closer to enjoying some delicious homemade pizza!
Step 1. Mix Flour and Water
Let’s dive right into mixing the flour and water, the foundation of our delicious Italian pizza dough! This step is simple yet essential, and I’m excited to share it with you. First, choose your flour types; I love using a mix of all-purpose and bread flour for that perfect chewiness. Next, let’s get our water temperature just right—ideal around 100°F (38°C) to activate the yeast beautifully.
Here’s what I do:
- Measure out your flour and pour it into a large bowl.
- Gradually add the warm water, making sure to mix well.
- Feel that connection to the ingredients; this is where the magic begins!
Trust me, this mix sets the stage for an unforgettable pizza night!
Step 2. Knead the Dough Thoroughly
With the flour and water mixed together, it’s time to get our hands into the dough and knead it thoroughly. This step is essential for achieving that perfect dough consistency. I like to use a mix of traditional kneading techniques: push, fold, and turn. As I work the dough, I can feel it transforming—getting smoother and more elastic. Don’t rush this part; it’s where all the magic happens! I usually knead for about 10 minutes, checking for that supple texture. If the dough feels too sticky, I’ll sprinkle a bit of flour, but be careful not to overdo it. This hands-on approach not only builds flavor but also connects us to the art of pizza-making. Enjoy the process!
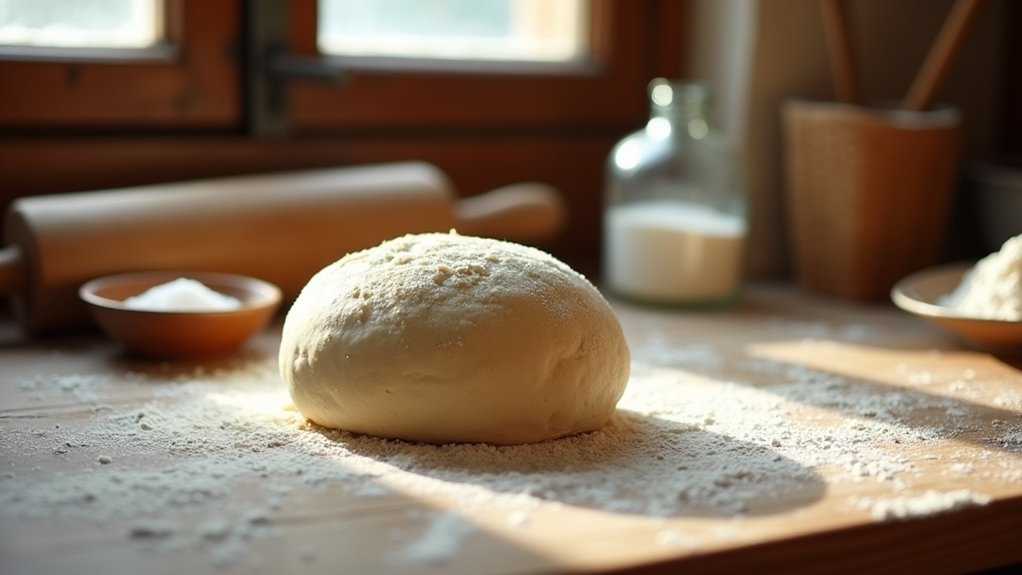
Step 3. Let Dough Rise Warmly
Once the dough’s been kneaded to perfection, it’s time to let it rise warmly, allowing the yeast to work its magic. This step is vital for achieving that light, airy texture we all love. Keeping an eye on dough temperature is essential for ideal yeast activation. Here’s how I do it:
- Find a cozy spot—I usually place my dough in a warm, draft-free area, like near the oven.
- Cover it snugly—A damp cloth or plastic wrap helps retain moisture, creating a perfect environment for rising.
- Be patient—Let it rise for about 1-2 hours, or until it doubles in size.
With each passing minute, my excitement grows, knowing that delicious pizza is just around the corner!
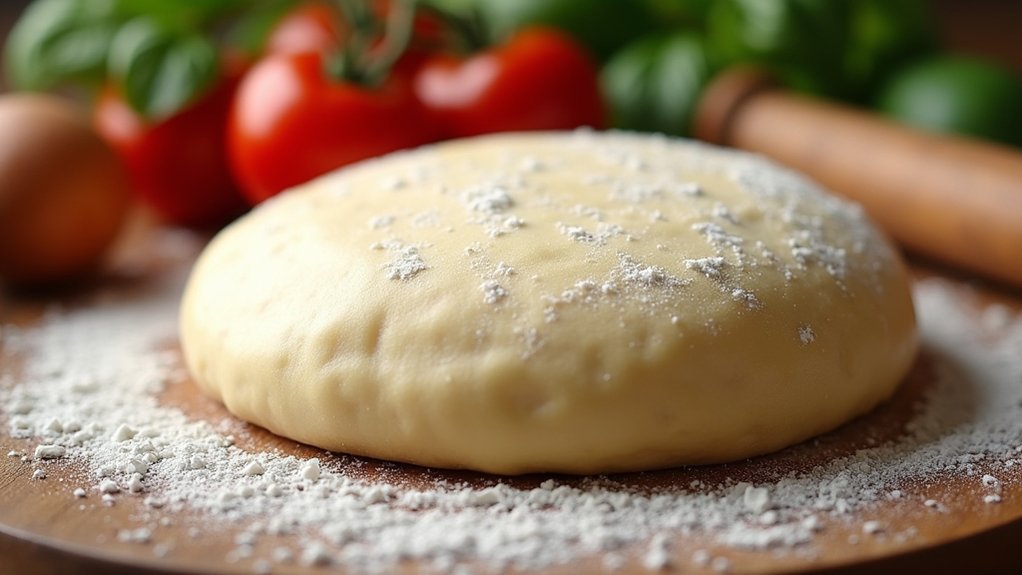
Step 4. Shape the Dough Into Balls
After letting the dough rise and watching it double in size, it’s time to shape it into balls. This step is essential, and I love using various dough shaping techniques to give my pizza a professional touch. First, I lightly flour my work surface and divide the dough into equal portions, roughly 7 to 8 ounces each—this creates perfect portion sizes for individual pizzas. I gently flatten each piece, then fold the edges towards the center, creating a tight ball. I roll it under my palm for a smooth finish. As I shape each ball, I can already imagine the delicious pizzas that’ll come from this simple process. It’s all about the joy of creating something memorable to share!
Step 5. Preheat the Oven Properly
To get the best results when baking your pizza, preheating the oven properly is essential. An oven set to the right temperature guarantees that your pizza crust becomes perfectly crispy while the toppings bubble beautifully. Here’s how I do it:
- Set the oven temperature to at least 475°F (245°C) for ideal heat distribution.
- Use a pizza stone if you have one; it retains heat and gives your crust that authentic pizzeria feel.
- Preheat for at least 30 minutes to guarantee every corner of the oven is evenly heated.
Following these steps not only enhances your pizza’s flavor but also brings back memories of sharing delicious slices with friends and family. Trust me, your taste buds will thank you!
Nutritional Guide
When it comes to making Italian pizza dough, understanding the nutritional aspects can really enhance your cooking experience. Knowing the caloric content and ingredient benefits can help you make informed choices. Let’s break it down with a simple table:
| Ingredient | Caloric Content (per serving) | Benefits |
|---|---|---|
| All-purpose flour | 100 calories | Provides energy and texture |
| Yeast | 5 calories | Boosts fermentation, flavor |
| Olive oil | 120 calories | Healthy fats, enhances taste |
Final Thoughts
Making Italian pizza dough isn’t just a culinary task; it’s a delightful experience that brings the joy of cooking right into your kitchen. As you experiment with this dough, you’ll discover endless possibilities that excite your palate. Here are a few ways to elevate your pizza night:
- Explore unique pizza topping ideas like fig and prosciutto or spicy jalapeño and pineapple.
- Try dough variations, such as whole wheat or gluten-free, to cater to everyone’s tastes.
- Invite friends over for a DIY pizza party, creating memories as you share your favorite combinations.
Embrace the process, let your creativity shine, and savor the satisfaction of crafting something delicious. Your journey into the world of pizza-making is just beginning, and I can’t wait to see what you create!
Frequently Asked Questions
Can I Use Whole Wheat Flour for Pizza Dough?
Absolutely, I love using whole wheat flour for pizza dough! It adds great nutritional benefits and a unique flavor. Just remember, it might change the dough texture slightly, but it’s worth the innovation.
How Long Can I Store Pizza Dough in the Fridge?
I typically store pizza dough in the fridge for up to three days. For better results, I recommend using airtight containers. This way, you maximize dough lifespan and keep it fresh for your innovative creations!
Is It Possible to Freeze Pizza Dough?
Absolutely, freezing pizza dough’s like putting a time capsule in your kitchen! I use simple freezing methods, then just remember to thaw it properly before using. It’s a game changer for spontaneous pizza nights!
What Type of Yeast Is Best for Pizza Dough?
I prefer using instant yeast for its convenience and quicker rise, but active dry yeast works well too. Both can yield delicious results; it just depends on your timing and preference for innovation in your baking.
Can I Make Pizza Dough Without Gluten?
Absolutely, I can make pizza dough without gluten! I love using gluten-free alternatives like almond flour or cauliflower, which create a unique texture. Just be mindful of the dough consistency, so it holds together well.
Conclusion
Making your own Italian pizza dough is not just a cooking task; it’s like crafting a little piece of culinary magic! With just a few ingredients and some patience, you can create a crust that’s both crispy and chewy, worthy of any pizzeria. So, roll up your sleeves, gather your loved ones, and enjoy the process. Trust me, the joy of sharing a homemade pizza will make you feel like a pizza rockstar! Happy cooking!