If you’re looking for a simple yet delicious yellow cake recipe, I’ve got you covered! Start with 2 cups of flour, 1 ½ cups of sugar, and ½ cup of softened butter. Mix in 1 cup of milk and 3 ½ teaspoons of baking powder. After creaming the butter and sugar, combine everything, pour it into greased pans, and bake at 350°F for 25-30 minutes. It’s a classic treat that’ll bring smiles, and there’s even more to explore!
Contents
History

When I think about the history of yellow cake, I can’t help but feel a sense of nostalgia. Its baking origins trace back to the early 19th century, where simple ingredients transformed into something magical. The bright hue comes from egg yolks, which not only add color but also richness to every bite. As recipes evolved, so did the cake variations, from fluffy layers covered in luscious frosting to delightful mini versions perfect for any occasion. Each iteration tells a story, reflecting the creativity of bakers throughout the years. I love how yellow cake has remained a staple, allowing us to innovate while still honoring tradition. It’s a delicious reminder of the joy that baking brings to our lives.
Recipe
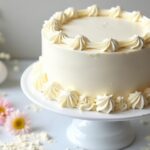
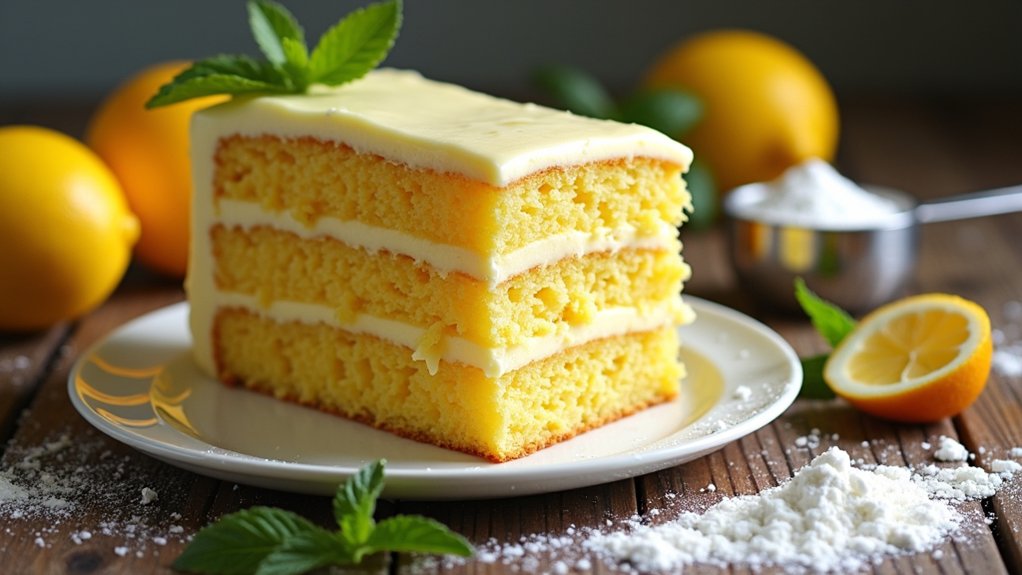
Yellow cake is a classic dessert that has been delighting taste buds for generations. Its moist, fluffy texture and rich flavor make it the perfect base for any celebration, whether it’s a birthday, wedding, or just a simple family gathering. The vibrant yellow hue comes from the eggs and butter, creating a warm and inviting appearance. With its straightforward ingredients and easy preparation, this yellow cake recipe is bound to become a staple in your baking repertoire.
Yellow cake is a timeless dessert, perfect for any celebration with its moist texture and rich flavor.
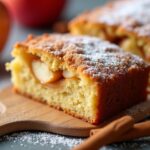
Making yellow cake from scratch is not only rewarding but also allows you to customize the flavors to suit your preferences. You can enjoy it plain, dusted with powdered sugar, or topped with your favorite frosting. The beauty of this cake lies in its versatility; it pairs wonderfully with fruits, chocolate, or a simple vanilla buttercream. Get ready to impress your friends and family with this delightful treat!
Ingredients:
- 2 cups all-purpose flour
- 1 ½ cups granulated sugar
- ½ cup unsalted butter, softened
- 1 cup milk
- 3 ½ teaspoons baking powder
- 1 teaspoon vanilla extract
- ½ teaspoon salt
- 3 large eggs
Cooking Instructions:
Preheat your oven to 350°F (175°C) and grease two 9-inch round cake pans. In a large mixing bowl, cream together the softened butter and sugar until light and fluffy. Add the eggs one at a time, mixing well after each addition. Stir in the vanilla extract. In another bowl, combine the flour, baking powder, and salt. Gradually add the dry ingredients to the wet mixture, alternating with the milk, and mix until just combined. Pour the batter evenly into the prepared cake pans and bake for 25 to 30 minutes, or until a toothpick inserted into the center comes out clean. Allow the cakes to cool in the pans for 10 minutes before transferring them to a wire rack to cool completely.
Extra Tips:
For an extra burst of flavor, consider adding a teaspoon of almond extract or citrus zest to the batter. Make sure all your ingredients are at room temperature before you start for the best texture. If you want a richer color, you can use cake flour instead of all-purpose flour, which will also yield a lighter cake. Don’t forget to frost the cake only after it’s completely cooled to guarantee a smooth finish. Finally, if you’re not serving the cake immediately, it can be wrapped tightly and stored at room temperature for a couple of days or in the fridge for up to a week. Happy baking!
Cooking Steps
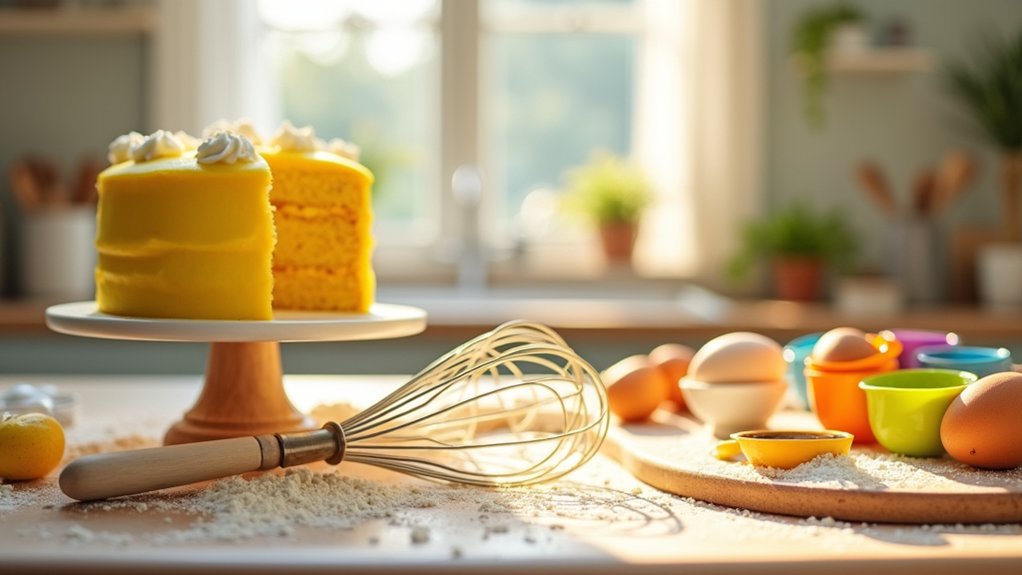
Now that we’ve got our ingredients ready, let’s get started on the cooking steps! First, I always preheat my oven to 350°F so it’s nice and hot when we’re ready to bake. Then, we’ll mix our dry ingredients together before adding the wet ones gradually—trust me, this makes for a smoother batter!
Step 1. Preheat Oven to 350°F
To kick off our yellow cake journey, we need to get that oven warming up to a cozy 350°F. This oven temperature is essential for achieving that delightful, golden-brown crust we all love. As I preheat my oven, I can already imagine the sweet aroma filling my kitchen. It’s a great moment to reflect on how proper baking techniques can transform simple ingredients into something magical. While the oven heats up, think about the joy of sharing this cake with friends and family. The anticipation builds as I prepare to create something delicious. So, let’s get that oven ready, and soon we’ll be on our way to baking a scrumptious yellow cake that will surely impress everyone!
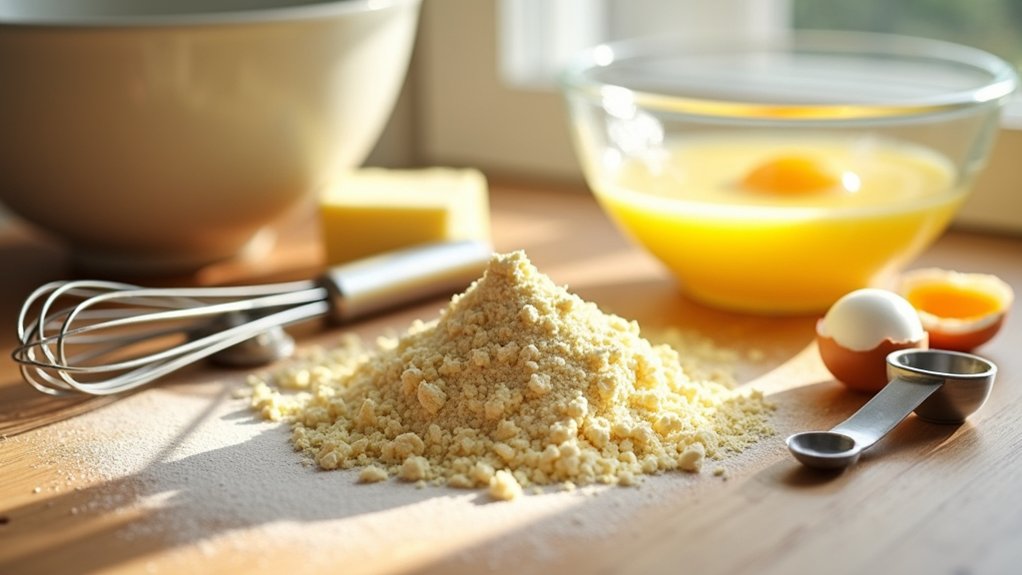
Step 2. Mix Dry Ingredients Together
Mixing the dry ingredients is an essential step in creating a delicious yellow cake that everyone will love. First, I gather my flour, sugar, baking powder, and salt, each bringing unique dry ingredient benefits. The right balance of these ingredients sets the foundation for a light and fluffy cake. Using a whisk, I gently mix them together, ensuring even distribution—this is one of my favorite mixing techniques! I find that incorporating air during this process creates a wonderful texture, allowing the cake to rise beautifully. Plus, it prevents any clumps, which could ruin our masterpiece. Remember, taking the time to mix these dry ingredients thoroughly is vital, and it’s a fun way to get your hands involved in the baking experience!
Step 3. Add Wet Ingredients Gradually
When it comes to adding wet ingredients, I like to take it slow and steady—this really makes a difference in the final texture of the cake. I start by measuring my wet ingredient ratios carefully, ensuring I’ve got the right balance for a fluffy cake. Then, I pour in the wet ingredients gradually, mixing them into the dry mixture bit by bit. This gradual mixing helps to avoid lumps and guarantees a smooth batter. As I stir, I can feel the texture transforming, becoming lighter and airier. It’s like watching magic happen! Trust me, taking that extra moment to mix slowly pays off in taste and texture. Your cake will have that perfect homemade touch that everyone loves.
Step 4. Pour Batter Into Pan
Now that your batter is perfectly mixed and free of lumps, it’s time to pour it into the pan. First, make certain your pan preparation is spot on; I always grease and flour my pans to guarantee a smooth release later. With the batter consistency just right—smooth and pourable—grab a spatula and start pouring. I like to pour it in the center and let it spread naturally to the edges, assuring even distribution. This helps the cake rise beautifully and evenly. Don’t rush; take your time to get it all in there! Once it’s in, give the pan a gentle tap on the counter to release any air bubbles. You’re one step closer to that delightful yellow cake!
Step 5. Bake for 30 Minutes
With the batter safely in the pan, it’s time to bake that delicious yellow cake! I preheat my oven to 350°F, and then I slide the pan inside, setting the timer for 30 minutes. This baking time is essential, as it transforms our vibrant batter into a fluffy masterpiece. While it’s baking, I can already imagine the delightful aroma wafting through my kitchen.
As the minutes tick away, I can’t help but think about the perfect cake texture we’re aiming for—light, moist, and oh-so-satisfying. I like to check for doneness by inserting a toothpick; if it comes out clean, I know we’ve nailed it! Once it’s ready, let’s celebrate our creation together!
Nutritional Guide
Cooking up a delightful yellow cake isn’t just about satisfying your sweet tooth; it’s also important to reflect on what goes into this scrumptious treat. Understanding the caloric content and ingredient benefits helps us make informed choices, ensuring our cake is both tasty and nourishing. Here’s a quick overview:
| Ingredient | Caloric Content (per serving) | Ingredient Benefits |
|---|---|---|
| All-purpose flour | 100 calories | Provides structure and texture |
| Sugar | 50 calories | Adds sweetness and enhances flavor |
| Eggs | 70 calories | Contributes moisture and richness |
This nutritional guide empowers you to enjoy your cake while appreciating its components. Remember, a well-balanced treat can still bring joy to your baking adventures!
Final Thoughts
As I reflect on the joy of baking a yellow cake, it’s clear that this simple yet delightful dessert holds a special place in many hearts. With just a few baking tips, you can elevate your cake game, ensuring it’s moist and flavorful every time. Don’t be afraid to experiment with cake variations, like adding fresh fruit or a twist of citrus zest to the batter. These little changes can create a unique masterpiece that surprises and delights. Whether you’re baking for a special occasion or just because, remember that the best part is sharing your creation. So grab your mixing bowl, let your creativity flow, and enjoy the delicious journey of baking your perfect yellow cake!
Frequently Asked Questions
Can I Substitute Different Types of Flour in Yellow Cake?
I’ve experimented with different flours in my baking. For a gluten-free option, I love using almond and coconut flour combinations. They bring unique flavors and textures, making my cakes deliciously innovative and satisfying.
What Is the Best Way to Store Leftover Yellow Cake?
I swear by airtight containers for cake storage! For ideal freshness, I refrigerate or freeze slices. Trust me, these refrigeration tips and freezing methods keep my cake tasting like it just came out of the oven!
How Can I Make My Yellow Cake More Moist?
To make my yellow cake more moist, I add sour cream and use cake flour instead of all-purpose. It really enhances the texture and keeps it deliciously tender, giving my cake that extra wow factor!
Can I Freeze Yellow Cake for Later Use?
Absolutely, I freeze yellow cake using airtight containers or wrap it tightly in plastic. For cake thawing, I recommend letting it sit in the fridge overnight for the best texture. It’s a game changer!
What Is the Ideal Serving Temperature for Yellow Cake?
The ideal temperature for serving cake is around room temperature, about 70°F. I suggest letting it sit for a bit after baking; this enhances the flavors and creates a delightful experience for everyone. Enjoy!
Conclusion
To sum up, baking this beautiful yellow cake brings joy and deliciousness to any gathering. It’s a simple yet scrumptious treat that sparks sweet memories and smiles. As you share each slice, you’ll savor the satisfaction of creating something special from scratch. So, grab your ingredients and let the magic of mixing and measuring begin! I can’t wait to hear about your baking adventures and the delightful moments you create with this delightful dessert! Happy baking!