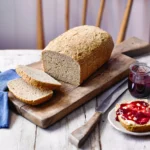
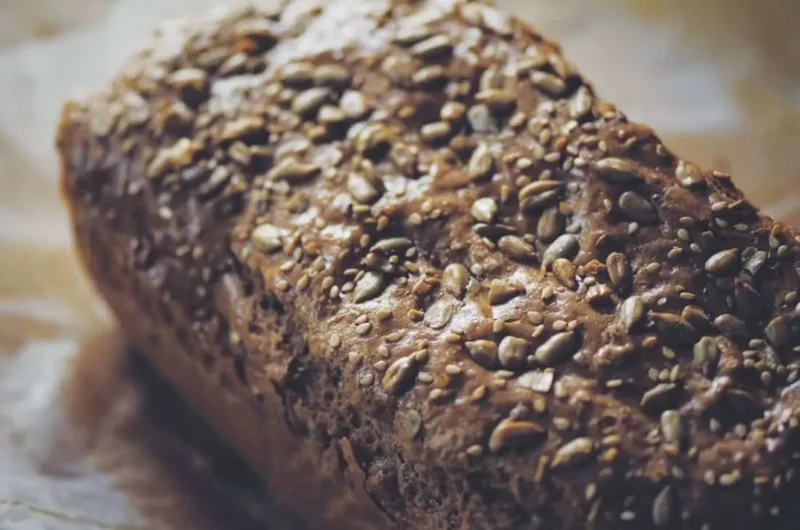
Imagine sinking your teeth into a warm, freshly baked loaf of bread, its golden crust cracking as you break it apart. Now, imagine that same bread infused with the rich, nutty flavor of tahini, adding a unique twist to your usual bread routine.
If you’re looking for a way to elevate your baking game and tantalize your taste buds, then this tahini bread recipe is just what you need. But there’s a secret ingredient lurking in the recipe, and it’s about to take your bread-making skills to a whole new level.
Are you ready to discover the magic of tahini bread?
Contents
- 1 Key Takeaways
- 2 Ingredients
- 3 Mixing the Dough
- 4 Proofing and Shaping
- 5 Baking the Bread
- 6 Tahini Bread Recipe
- 7 Serving and Storing
- 8 Nutrition facts
- 9 Frequently Asked Questions
- 9.1 Can I Substitute Tahini With Another Ingredient in This Recipe?
- 9.2 How Long Does It Take for the Dough to Rise During Proofing?
- 9.3 Can I Freeze the Dough Before Baking?
- 9.4 Can I Add Additional Ingredients to the Bread, Such as Nuts or Seeds?
- 9.5 How Long Can I Store the Baked Tahini Bread Before It Goes Bad?
- 10 Conclusion
Key Takeaways
- Tahini bread is a nutritious option due to the health benefits of tahini, such as essential minerals, healthy fats, and protein.
- Tahini adds a unique nutty flavor to bread and can be combined with other ingredients for added taste and texture.
- The dough for tahini bread is made by mixing dry and wet ingredients and kneading until smooth and elastic.
- Proofing and shaping the dough are important steps in creating an attractive appearance and even texture for the bread.
Ingredients
First, gather all the necessary ingredients to make the delicious tahini bread. Tahini, a creamy paste made from ground sesame seeds, not only adds a unique flavor to your bread but also provides numerous health benefits. Rich in essential minerals like calcium and iron, tahini helps strengthen your bones and boost your energy levels. It’s also a great source of healthy fats and protein, making it a perfect addition to your bread recipes.
Now, let’s explore the variations of tahini bread using different ingredients. You can enhance the flavor by adding a sprinkle of sea salt, which complements the nutty taste of tahini. For a sweeter version, try incorporating honey or maple syrup into the dough. This will create a delightful balance between the sweetness and the earthy flavor of tahini. If you’re feeling adventurous, experiment with adding chopped nuts, dried fruits, or even chocolate chips to the dough. These additions will provide extra texture and indulgence to your bread.
Mixing the Dough
Now that you have gathered all the necessary ingredients for your tahini bread and explored various flavor variations, it’s time to dive into the exciting process of mixing the dough. This step is crucial in achieving a light and fluffy texture, as well as developing the gluten that gives the bread its structure. Here are some tips and tricks to help you along the way:
- Begin by combining the dry ingredients – flour, sugar, yeast, and salt – in a large mixing bowl. Make sure to whisk them together to ensure even distribution.
- Create a well in the center of the dry ingredients and pour in the wet ingredients – tahini, water, and olive oil. Use a spatula or your hands to mix everything together until a shaggy dough forms.
- Turn the dough out onto a lightly floured surface and start kneading. Use the heel of your hand to push the dough away from you, then fold it back over itself. Repeat this motion for about 10 minutes or until the dough becomes smooth and elastic.
- If the dough feels too sticky, gradually add more flour. On the other hand, if it feels too dry, add a little bit of water at a time.
- If you encounter any common dough issues, such as a dough that doesn’t rise or one that’s too dense, try troubleshooting techniques like adjusting the temperature or proofing time, or checking the freshness of your yeast.
With these kneading techniques and troubleshooting tips, you’re well on your way to creating a delicious homemade tahini bread. Enjoy the freedom of experimenting with flavors and perfecting your baking skills!
Proofing and Shaping
To achieve a perfectly risen and beautifully shaped tahini bread, the next crucial step after kneading is proofing and shaping the dough. Proper proofing techniques and shaping methods are essential for creating a light and airy texture, as well as an attractive appearance.
Proofing is the process of allowing the dough to rise before baking. This step is crucial as it allows the yeast to ferment and release carbon dioxide, creating those lovely air pockets in the bread. There are a few different proofing techniques you can use. One popular method is to cover the dough with a damp cloth and let it rise in a warm, draft-free area for about an hour or until it doubles in size. Another method is to place the dough in a greased bowl, cover it with plastic wrap, and let it rise in the refrigerator overnight. This slow, cold proofing method can enhance the flavor of the bread.
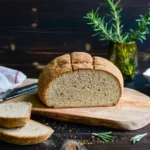
Once the dough has proofed, it’s time to shape it. Shaping the dough not only gives the bread a nice appearance but also helps to create an even texture. There are various shaping methods you can try, depending on the type of bread you’re making. For a round loaf, gently flatten the dough into a rough circle, then fold the edges towards the center and roll it into a tight ball. For a baguette, flatten the dough into a rectangle, then fold it in half lengthwise and roll it tightly into a log shape. The key is to handle the dough gently and avoid overworking it, as this can lead to a dense and tough texture.
Mastering the art of proofing and shaping is essential for achieving the perfect tahini bread. By using the right techniques and methods, you can ensure that your bread not only tastes delicious but also looks impressive. So take your time, be patient, and enjoy the process of creating a beautiful loaf of tahini bread.
Baking the Bread
For a perfectly baked tahini bread, the key lies in carefully monitoring the oven temperature and following a precise baking time. Baking bread is a delicate process that requires attention to detail and the use of proper baking techniques. Here are some tips to help you achieve the best results:
- Preheat the oven: Before placing the bread in the oven, make sure it’s preheated to the correct temperature. This ensures even baking and a golden crust.
- Use a baking stone or sheet: Placing your bread on a baking stone or sheet helps to distribute heat evenly, resulting in a consistent texture.
- Rotate the bread: Halfway through the baking time, rotate the bread to ensure that it bakes evenly on all sides.
- Check for doneness: To determine if the bread is fully baked, insert a toothpick into the center. If it comes out clean or with a few crumbs, the bread is ready.
- Troubleshoot common issues: If your bread is browning too quickly, tent it with aluminum foil to prevent over-browning. If it’s not browning enough, increase the oven temperature slightly.
Tahini Bread Recipe
Course: SnacksCuisine: MediterraneanDifficulty: Moderate12
20
minutes20
250
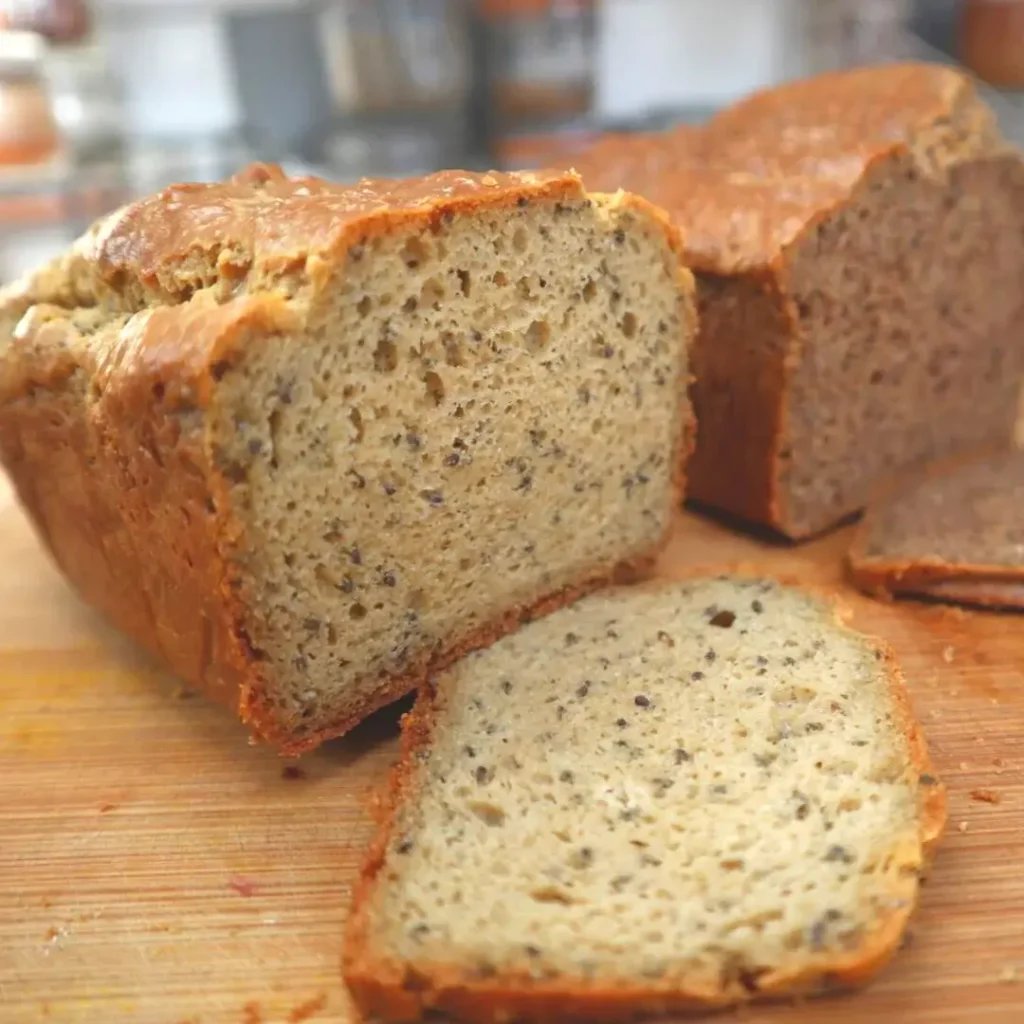
kcalIndulge in the rich flavors of this Tahini Bread, a delightful fusion of Mediterranean and Middle Eastern influences. The nutty essence of tahini combines seamlessly with honey (or maple syrup), creating a harmonious blend of sweetness and earthiness. This bread is not only a treat for your taste buds but also a wholesome option, thanks to the inclusion of whole wheat flour and yogurt.
Ingredients
2 cups all-purpose flour
1 cup whole wheat flour
1 teaspoon baking soda
1/2 teaspoon baking powder
1/2 teaspoon salt
1/2 cup tahini
1/2 cup honey or maple syrup
1 cup plain yogurt
2 large eggs
1 teaspoon vanilla extract
1/2 cup milk (dairy or non-dairy)
1/2 cup chopped nuts (optional, such as walnuts or almonds)
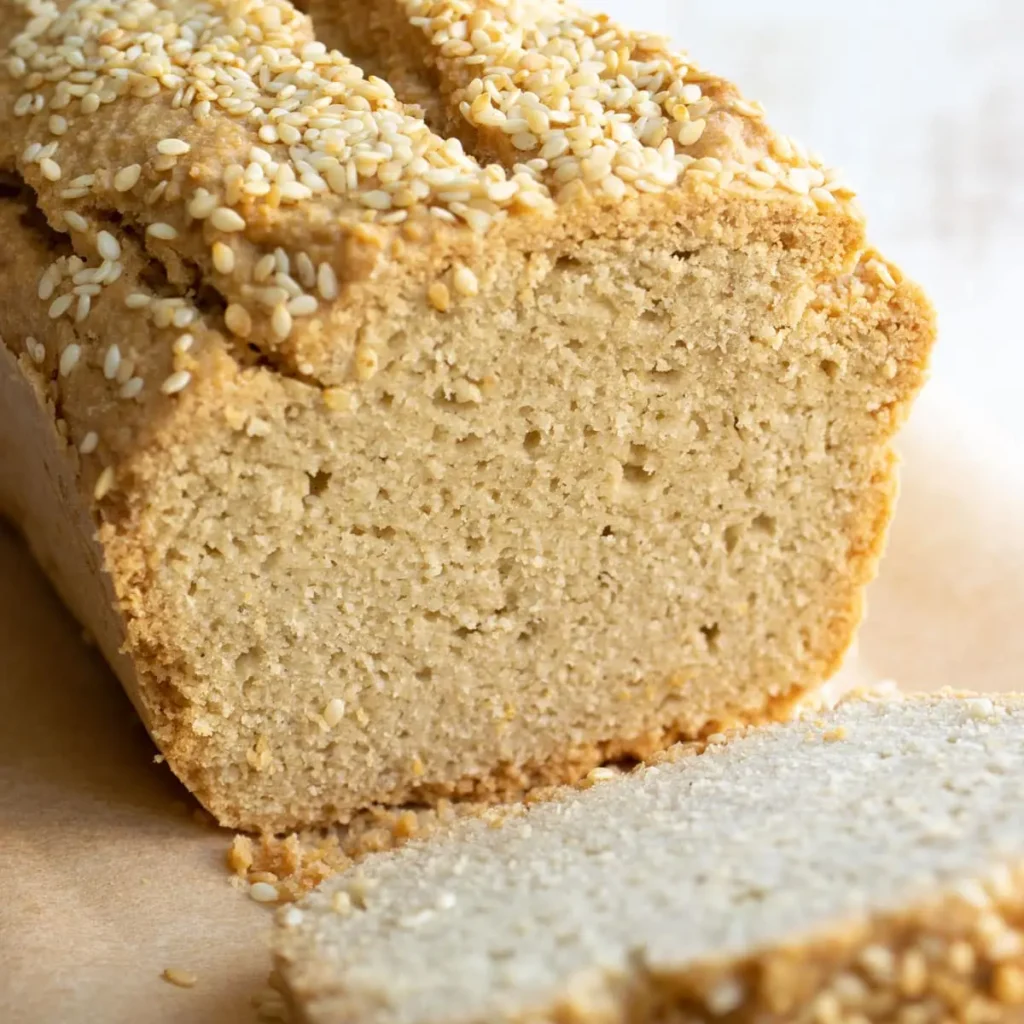
Sesame seeds for topping (optional)
Directions
- Preheat your oven to 350°F (180°C). Grease a loaf pan and set it aside.
- In a large mixing bowl, whisk together the all-purpose flour, whole wheat flour, baking soda, baking powder, and salt.
- In another bowl, whisk together the tahini, honey (or maple syrup), yogurt, eggs, vanilla extract, and milk until well combined.
- Pour the wet ingredients into the dry ingredients and stir until just combined. Be careful not to overmix. If you like, fold in the chopped nuts.
- Pour the batter into the greased loaf pan and smooth the top with a spatula. Optionally, sprinkle sesame seeds on top for added texture.
- Place the loaf pan in the preheated oven and bake for approximately 45-55 minutes, or until a toothpick inserted into the center comes out clean.
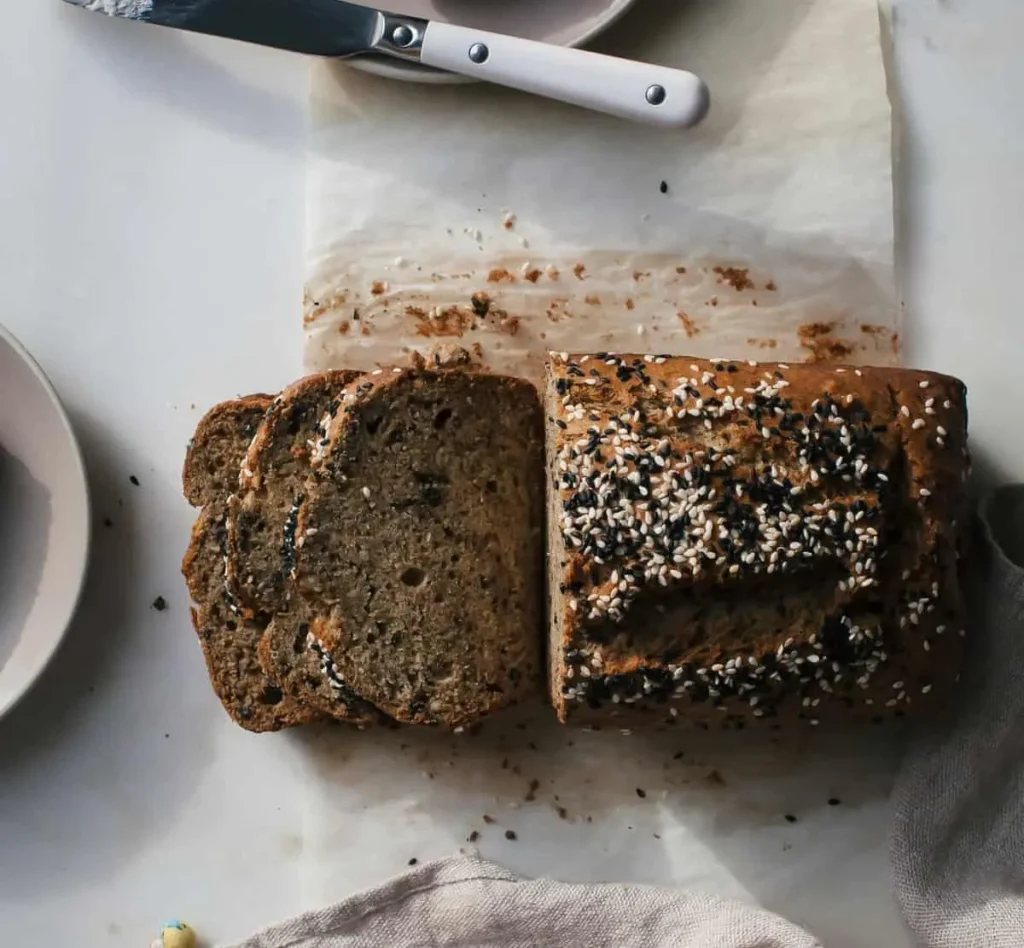
- Allow the tahini bread to cool in the pan for about 10 minutes, then transfer it to a wire rack to cool completely before slicing.
- Slice the tahini bread and enjoy it with your favorite spread or simply on its own.
Serving and Storing
As you remove your perfectly baked tahini bread from the oven, it’s time to explore how to serve and store this delicious homemade treat.
When it comes to serving ideas, there are plenty of options to choose from. One simple and classic way to enjoy tahini bread is to slice it and spread some butter or jam on top. The creamy tahini flavor pairs perfectly with these spreads. If you’re feeling more adventurous, you can use tahini bread as a base for a sandwich. Add your favorite fillings like roasted vegetables, avocado, or a protein of your choice. Another serving idea is to toast the bread and serve it as a side with a hearty soup or salad.
Now, let’s talk about tips for storing your tahini bread. To keep it fresh and moist, it’s best to store it in an airtight container or a resealable bag. Make sure to let the bread cool completely before storing it to prevent condensation. You can also freeze the bread for longer shelf life. Simply wrap it tightly in plastic wrap and then place it in a freezer bag. When you’re ready to enjoy it, let it thaw at room temperature or toast it for a warm and crispy treat.
With these serving ideas and tips for storing, you can fully enjoy your homemade tahini bread whenever you desire.
Nutrition facts
- Calories: 200-250 kcal
- Protein: 5-7g
- Carbohydrates: 30-35g
- Dietary Fiber: 2-4g
- Sugars: 10-15g
- Fat: 8-10g
- Saturated Fat: 1-2g
- Monounsaturated Fat: 4-5g
- Polyunsaturated Fat: 2-3g
- Cholesterol: 30-40mg
- Sodium: 200-250mg
Frequently Asked Questions
Can I Substitute Tahini With Another Ingredient in This Recipe?
You can definitely substitute tahini with another ingredient in this recipe. There are many alternative spreads for bread that you can try, like almond butter or peanut butter. Get creative and experiment!
How Long Does It Take for the Dough to Rise During Proofing?
During proofing, the dough rises at lightning speed! You’ll be amazed at how quickly it transforms into a fluffy, pillowy goodness. The proofing time varies, but it usually takes around 1-2 hours. Enjoy the freedom of waiting for your delicious bread to rise!
Can I Freeze the Dough Before Baking?
Yes, you can freeze the dough before baking. Freezing helps to extend its shelf life and allows for convenient baking at a later time. Just make sure to wrap it tightly, label it, and follow proper thawing instructions for best results.
Can I Add Additional Ingredients to the Bread, Such as Nuts or Seeds?
Yes, you can add nuts or seeds to the bread dough. This will enhance both the texture and flavor. To properly incorporate them, evenly distribute them throughout the dough before baking. Enjoy the delicious results!
How Long Can I Store the Baked Tahini Bread Before It Goes Bad?
You can store the baked tahini bread for up to 5 days before it starts to go bad. To ensure proper storage, wrap it in plastic wrap or store in an airtight container. Enjoy the freedom of having delicious bread on hand!
Conclusion
In conclusion, making tahini bread is a delicious and satisfying experience. With its rich and nutty flavor, this bread is a true crowd-pleaser.
Just imagine sinking your teeth into a warm slice, the soft texture and subtle sweetness melting in your mouth. It’s like taking a trip back in time to the days when bread was made with love and care.
So why not give this recipe a try and transport yourself to a simpler era? You won’t be disappointed!