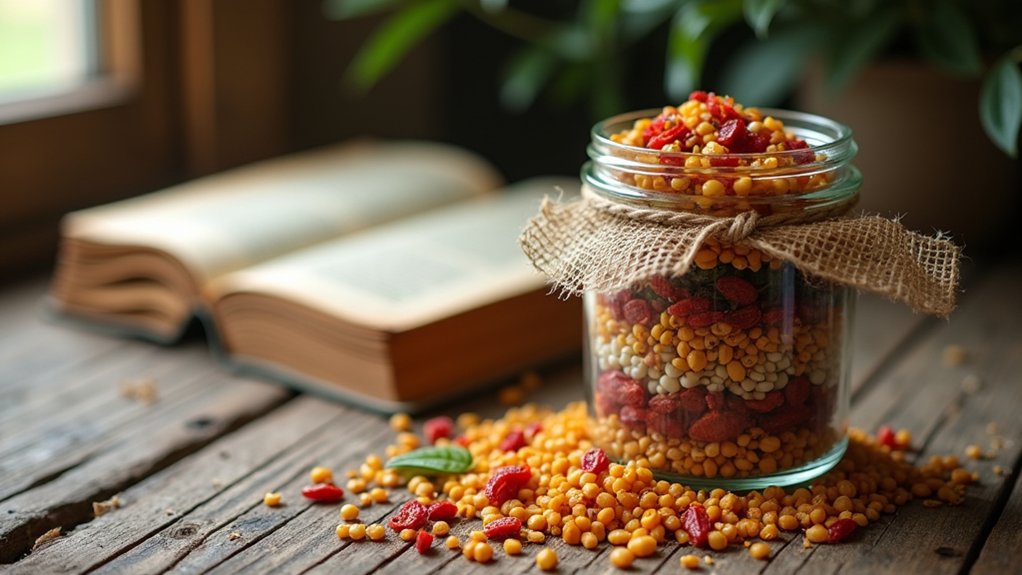
Making a soup in a jar as a dry mix gift is a fun and heartfelt idea! I layer dried beans, lentils, spices, and colorful veggies in a jar, creating an eye-catching gift. When it’s time to cook, all you need to do is add broth and simmer. It’s easy, nourishing, and allows anyone to enjoy a cozy meal. Plus, it’s a great way to share delicious flavors and memorable cooking moments. There’s more to explore about creating the perfect blend!
Contents
History
When I think about the history of soup in a jar, it’s fascinating to see how this simple concept has evolved over time. Our ancestors enjoyed ancient soups, often made from whatever ingredients they had on hand, simmered together for warmth and nourishment. This idea of combining flavors has led to a culinary evolution that inspires modern cooks, like us, to innovate. With the rise of convenience and creativity, soup in a jar emerged as a practical solution, allowing us to mix and match ingredients effortlessly. It’s not just about saving time; it’s about preserving tradition while embracing new ideas. There’s something magical about pulling out a jar and transforming it into a hearty meal, connecting past and present with every spoonful.
Recipe
Making soup in a jar is a delightful and convenient way to enjoy a warm, hearty meal without the fuss of extensive cooking. This method allows you to prepare your soup ingredients in advance, layer them beautifully in a jar, and simply add water or broth when you’re ready to cook. It’s perfect for meal prep, camping trips, or just keeping on hand for busy weeknights. The beauty of soup in a jar lies in its versatility—you can customize it with your favorite vegetables, proteins, and spices to create a unique flavor profile tailored to your taste.
Enjoy a warm, hearty meal effortlessly with soup in a jar—perfect for meal prep and customizable to your taste!
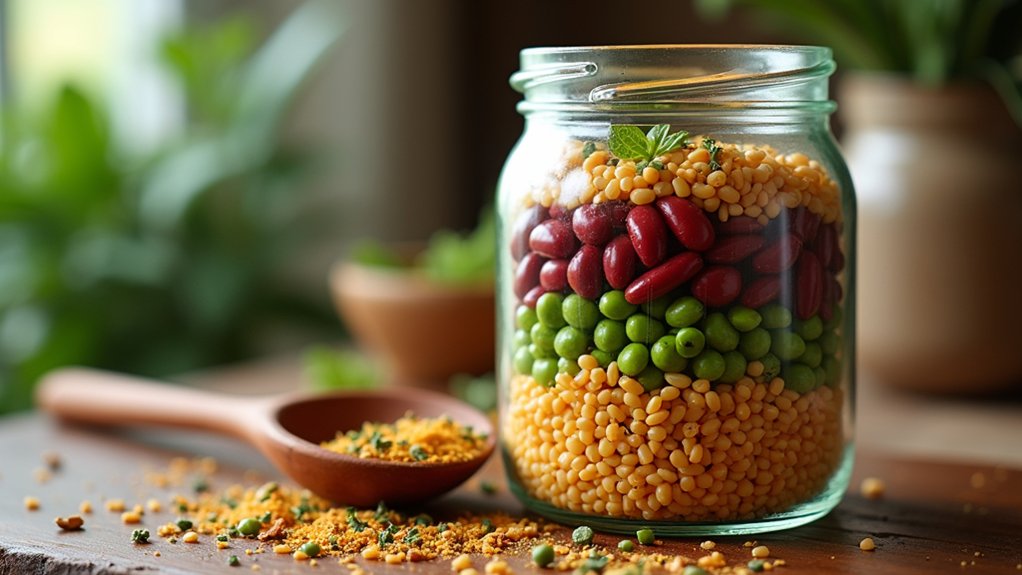
To make soup in a jar, you’ll start by choosing a selection of ingredients that cook well together. Dried beans and lentils are excellent base choices, as they pack in protein and fiber. Add a variety of vegetables such as carrots, celery, and bell peppers for nutrition and texture. Season with herbs and spices to elevate the flavor, and you’ll have a complete meal ready to go. Once you’ve assembled your ingredients, simply pour them into a clean, dry jar, and when it’s time to cook, add water or broth, heat, and enjoy!
Ingredients:
- 1 cup dried beans (e.g., black beans, kidney beans)
- 1 cup lentils (any color)
- 1 cup diced carrots
- 1 cup diced celery
- 1 cup diced bell peppers
- 1 tablespoon dried herbs (e.g., thyme, basil)
- 1 teaspoon garlic powder
- 1 teaspoon onion powder
- 1 teaspoon salt
- ½ teaspoon black pepper
- 4 cups vegetable or chicken broth (for cooking)
To cook your soup, start by bringing 4 cups of vegetable or chicken broth to a boil in a large pot. Once boiling, carefully add the contents of your jar to the pot, stirring to combine. Reduce the heat to a simmer and cover the pot. Let the soup cook for about 30-45 minutes, or until the beans and lentils are tender. Stir occasionally and add more liquid if needed. Once cooked, taste and adjust the seasoning as necessary before serving.
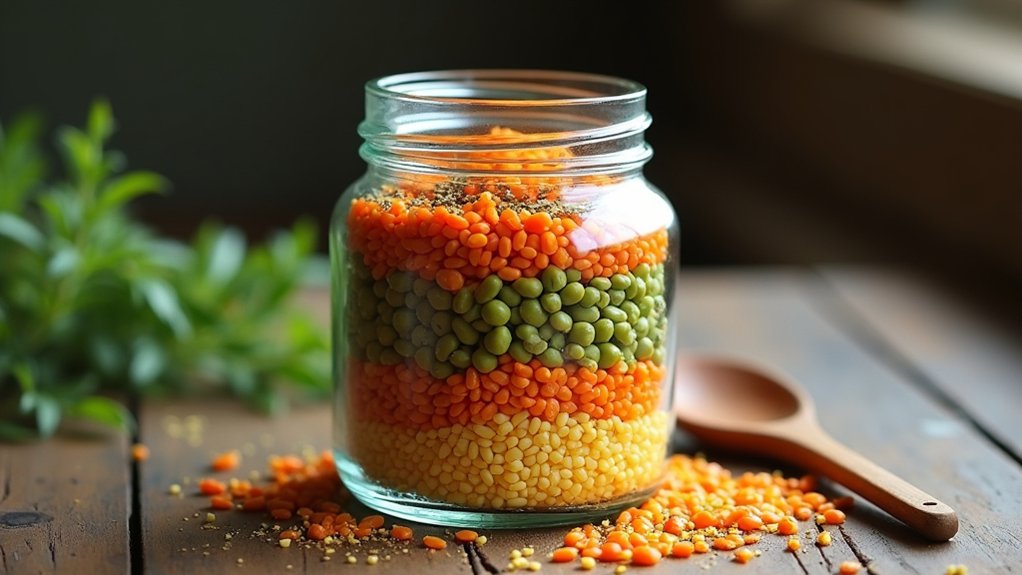
Extra Tips: When preparing your soup in a jar, layering the ingredients correctly is key. Start with the dried beans or lentils at the bottom, as they take the longest to cook. Follow with hearty vegetables like carrots and celery, and finish with lighter vegetables like bell peppers on top. This guarantees even cooking. Additionally, feel free to experiment with different spices and proteins like diced chicken or tofu for a heartier soup. Remember to label your jars with the date prepared and any cooking instructions for easy reference!
Cooking Steps
Now that we’ve got our ingredients all lined up, it’s time to get cooking! I’ll walk you through the steps to layer those dry ingredients and add just the right spices to make your soup pop with flavor. Remember, mixing everything thoroughly and sealing the jar securely is key to preserving that comforting goodness for later!
Step 1. Gather Your Ingredients Together
Before diving into the fun of assembling your soup in a jar, it’s important to gather all your ingredients together. This step sets the stage for a delightful culinary experience, and with the right ingredient selection, you can create amazing flavor combinations!
- Dried beans: Choose a mix of colors for visual appeal and taste variety.
- Grains: Opt for quinoa, barley, or rice to add heartiness and nutrition.
- Vegetables: Pick dried carrots, peas, or bell peppers for that vibrant burst of flavor.
Gathering these ingredients not only makes the process smoother but also allows you to express your creativity. So, let’s put on our aprons and get ready to make some delicious soup!
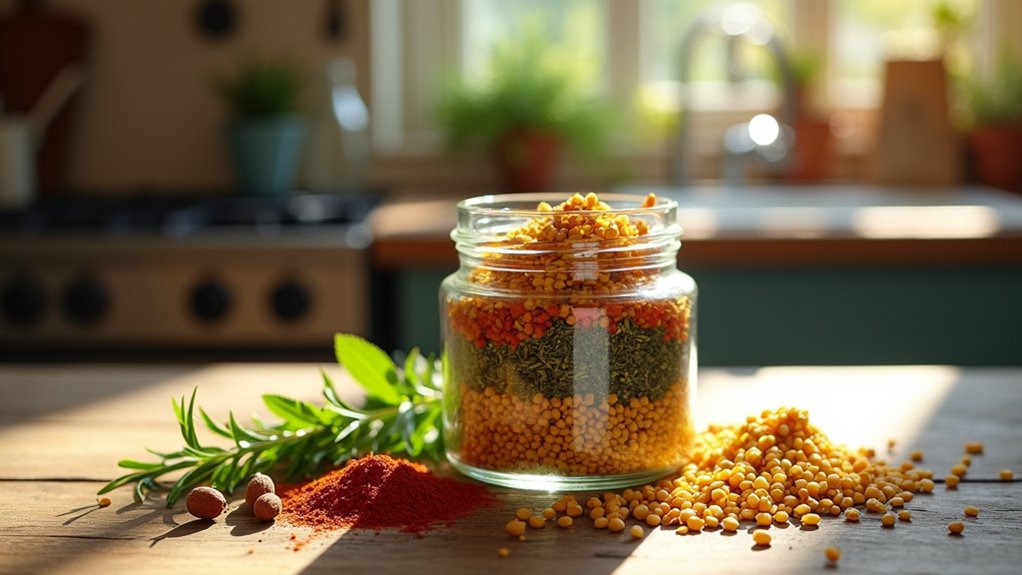
Step 2. Add Spices and Seasonings
Once you’ve gathered your ingredients, it’s time to bring your soup to life with the right spices and seasonings. I love experimenting with different spice blends to elevate the flavor. Think about using a mix of herbs like thyme and rosemary or a touch of heat with cayenne pepper. Adjust the seasoning ratios to suit your taste; a little can go a long way! Don’t be afraid to get creative—add a pinch of smoked paprika for a unique twist or some garlic powder for depth. As you blend these spices, imagine the aromas filling your kitchen, enticing everyone around. This is where your soup starts to transform, making it not just a meal, but a heartwarming experience to share.
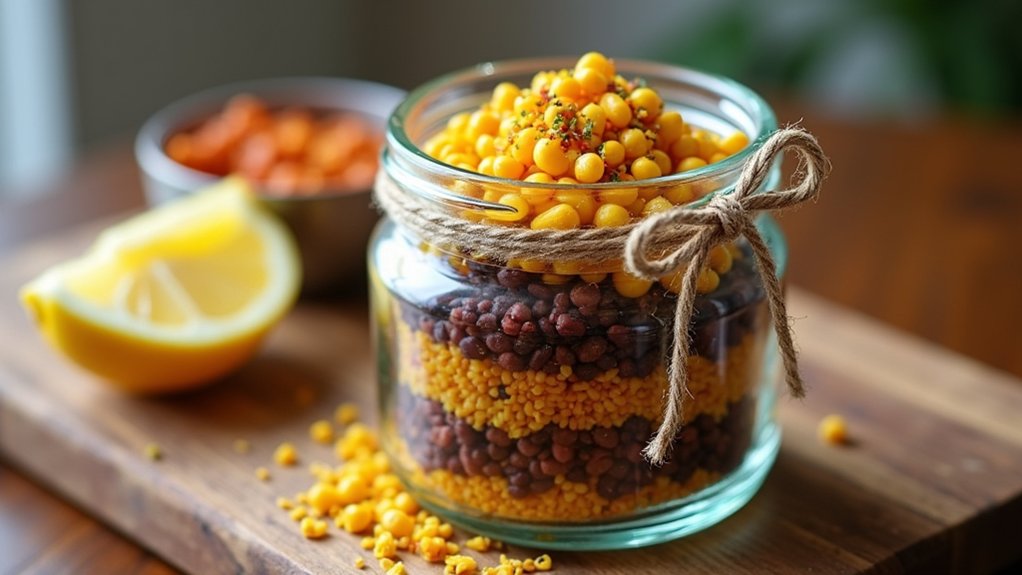
Step 3. Layer in Dry Ingredients
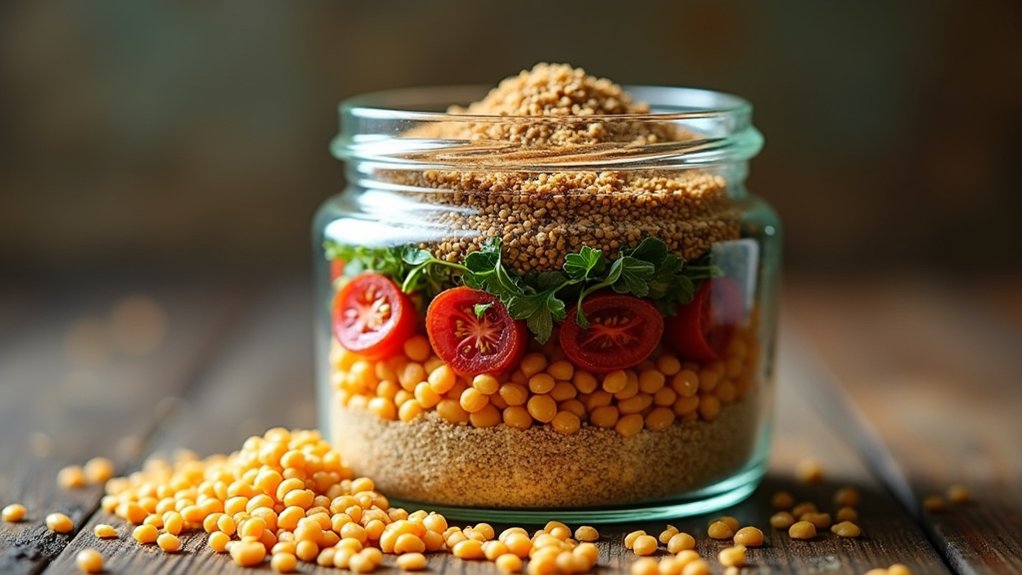
To create a delicious soup in a jar, layering the dry ingredients is key—this step not only helps with flavor but also makes for a visually appealing presentation. I love using innovative layering techniques to showcase vibrant ingredient combinations. Here’s how I do it:
- Beans or Lentils: Start with a hearty base for protein.
- Grains: Next, add a layer of rice or pasta for texture.
- Vegetables: Finally, sprinkle in your colorful dried veggies for that pop of color.
As I layer, I make certain to pack each ingredient down gently to create distinct layers. This method not only enhances the look but also guarantees that flavors meld beautifully when it’s time to cook. Happy layering!
Step 4. Mix Ingredients Thoroughly

Now that we’ve beautifully layered the dry ingredients in our jar, it’s time to mix them together for a heartwarming soup experience. I find that using a few innovative mixing techniques can make all the difference. First, gently shake the jar to combine the ingredients, allowing them to blend without losing their distinct textures. I often tap the jar lightly on the counter, which helps settle the ingredients and reveal any stubborn clumps. Next, I recommend using a spoon to stir from the bottom up, ensuring those all-important ingredient ratios stay balanced. This thorough mixing not only enhances the flavor but also guarantees that each scoop delivers a delightful taste. Enjoy the satisfying process of creating something special!
Step 5. Seal the Jar Securely
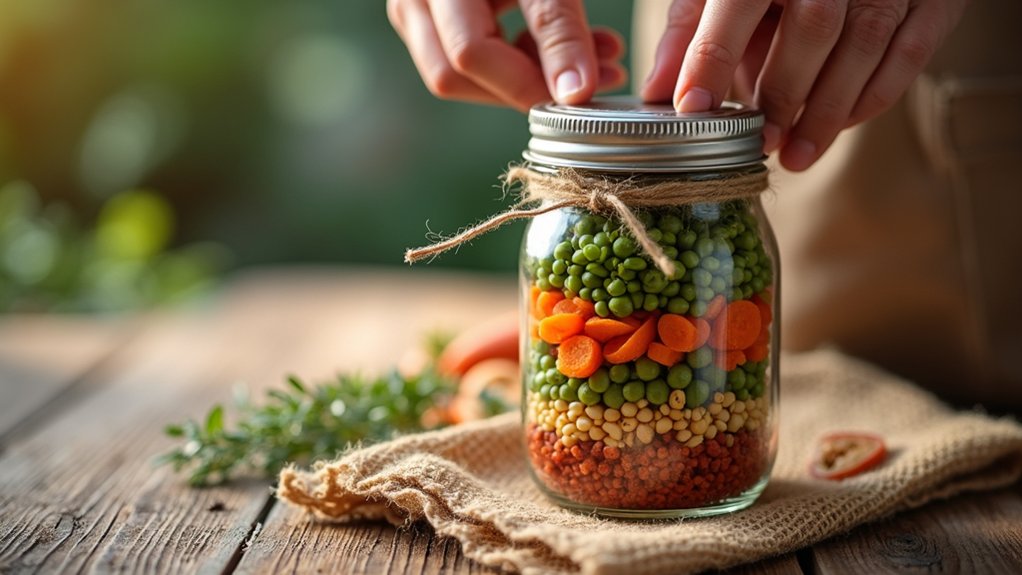
Sealing the jar securely is essential for keeping your soup ingredients fresh and ready for when you’re ready to cook. I can’t stress enough how important airtight storage is for preserving those delightful flavors. Here’s how I do it:
- Choose a lid that fits snugly; I prefer metal lids for their reliability.
- Check the seal by pressing down in the center after closing; it should stay down, indicating a tight seal.
- Label your jar with the soup name and date; that way, you’ll always know what’s inside!
Nutritional Guide

When it comes to enjoying a warm bowl of soup, understanding the nutritional benefits can make the experience even more fulfilling. Each ingredient in your soup mix contributes unique dietary considerations that support your health. Here’s a quick guide to some common ingredients you’ll find in a soup jar:
| Ingredient | Nutritional Benefits | Dietary Considerations |
|---|---|---|
| Lentils | High in protein and fiber | Gluten-free |
| Carrots | Rich in vitamins A and C | Low-calorie, healthy sugars |
| Quinoa | Complete protein source | Gluten-free, high in fiber |
| Spinach | Packed with iron and calcium | Low in calories, nutrient-dense |
| Herbs & Spices | Antioxidants and flavor | Naturally low in sodium |
Final Thoughts
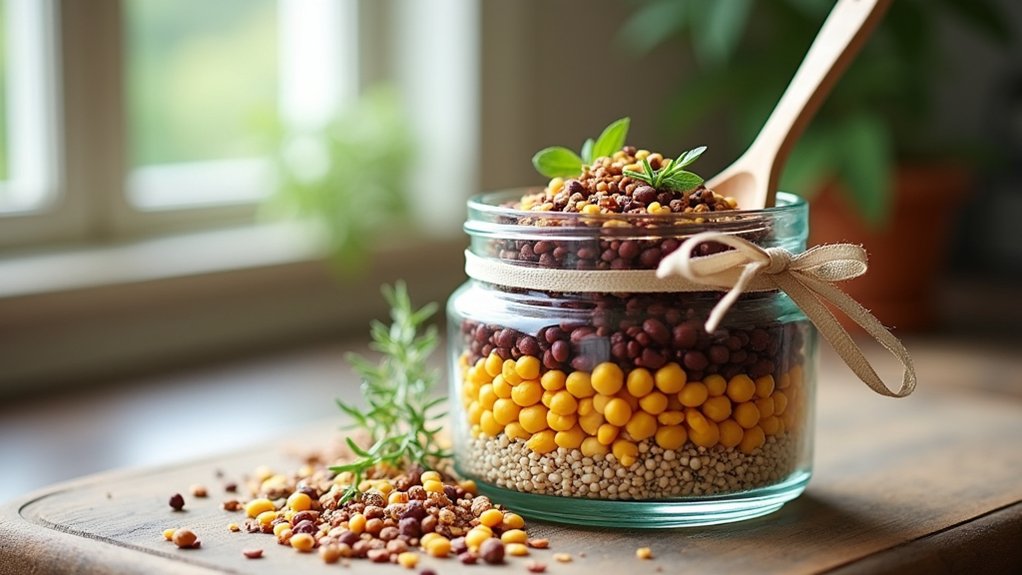
As you wrap up your journey into the world of soup in a jar, it’s hard not to feel a sense of excitement about the endless possibilities that await. Imagine the joy of gifting a beautifully presented jar, complete with layers of colorful ingredients, ready to be transformed into a hearty meal. Here are three things to ponder for your next creation:
- Vibrant legumes – a mix of lentils and beans for protein.
- Hearty grains – like quinoa or barley, adding texture and nourishment.
- Fragrant spices – a blend to elevate flavors and invite warmth.
With thoughtful gift presentation and stylish jar storage, you’re not just sharing a recipe; you’re offering a delightful experience that brings friends and family together. Happy cooking!
Frequently Asked Questions
What Types of Jars Are Best for Soup Mixes?
I love using Mason jars for soup mixes! Quart jars are perfect too, providing enough space for all ingredients. They’re durable, stylish, and stack easily, making them a fantastic choice for innovative kitchen storage.
How Long Do Dry Soup Mixes Last?
Dry soup mixes usually last about six months to a year if stored properly. I recommend keeping them in a cool, dark place for ideal shelf life. Always check for freshness before using, though!
Can I Customize the Ingredients in the Mix?
As they say, “Variety is the spice of life.” I love customizing my mixes! You can explore endless personalization options with custom ingredient ideas like herbs, legumes, or grains to create something uniquely yours.
Are There Vegetarian or Vegan Options Available?
I’ve experimented with various vegetarian options and vegan substitutes, ensuring my mixes are innovative and delicious. You can easily swap ingredients to create a rich, satisfying blend that caters to your dietary preferences.
How Should I Label the Jars for Gifting?
I label the jars creatively with colorful tags, including fun gift ideas like cooking instructions and personal notes. It adds a unique touch, making each jar feel special and thoughtful for the recipient.
Conclusion
So, whether you’re cozying up with a warm bowl of soup on a chilly evening or gifting a jar of love to a friend, this soup in a jar recipe brings warmth to our hearts and homes. It’s like wrapping up a hug in a jar, ready to be shared and savored. So grab those ingredients, and let’s create something delicious together—because there’s nothing quite like the joy of cooking and sharing a hearty meal with loved ones.