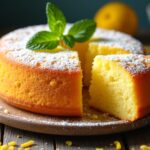
Want to whip up a delightful small cake? It’s super simple! Just mix 1 cup of flour, 1/2 cup of sugar, 1/2 cup of softened butter, 1/2 cup of milk, an egg, baking powder, vanilla extract, and a pinch of salt. Bake it at 350°F for 25-30 minutes, and you’ve got a treat that’s perfect for sharing. Trust me, each bite is a piece of joy, and you’re about to discover more about the baking magic!
Contents
History
When I think about the history of small cakes, I can’t help but feel a sense of nostalgia that connects us all through the simple joy of baking. The cake origins trace back to ancient civilizations, where people mixed grains and honey, creating early versions of what we now enjoy. As time passed, baking traditions evolved, leading us to the delightful small cakes we recognize today. These bite-sized treats have been cherished in various cultures, often representing celebrations or gatherings. Each recipe carries a story, inviting us to innovate while honoring the past. I love exploring these roots, connecting with generations of bakers. So, let’s plunge into this delicious history and embrace the creativity that small cakes inspire in our kitchens!
Recipe
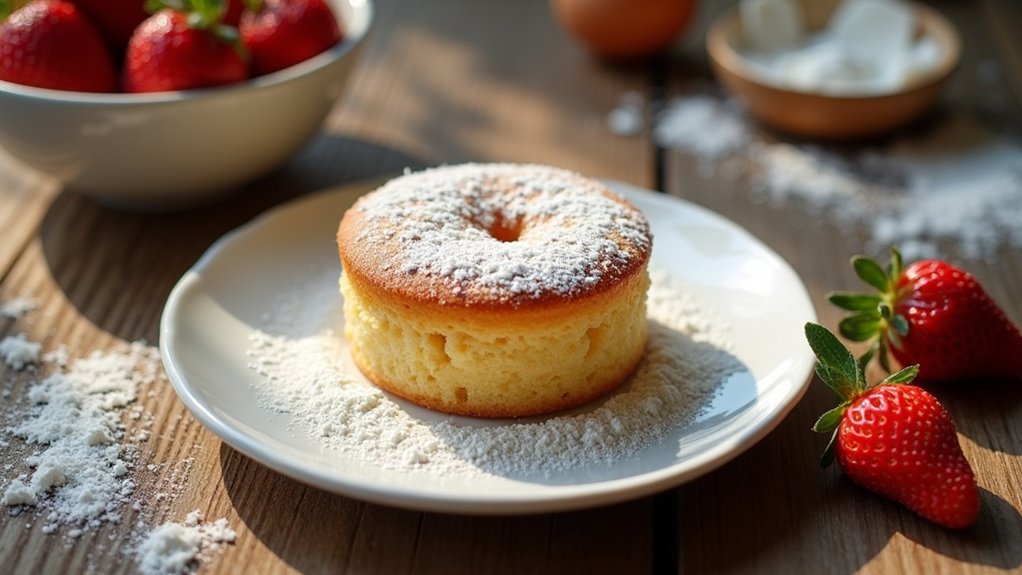
Making a small cake is a delightful way to satisfy your sweet tooth without overwhelming yourself with leftovers. This recipe is perfect for a small gathering or a cozy night in, allowing you to enjoy a slice of cake without the commitment of a large dessert. Whether it’s for a birthday, an afternoon tea, or simply a treat for yourself, this small cake is versatile and can be customized with various flavors and toppings.
Indulge in a small cake—a perfect treat for any occasion, easy to customize and delightful without the leftover hassle.
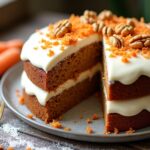
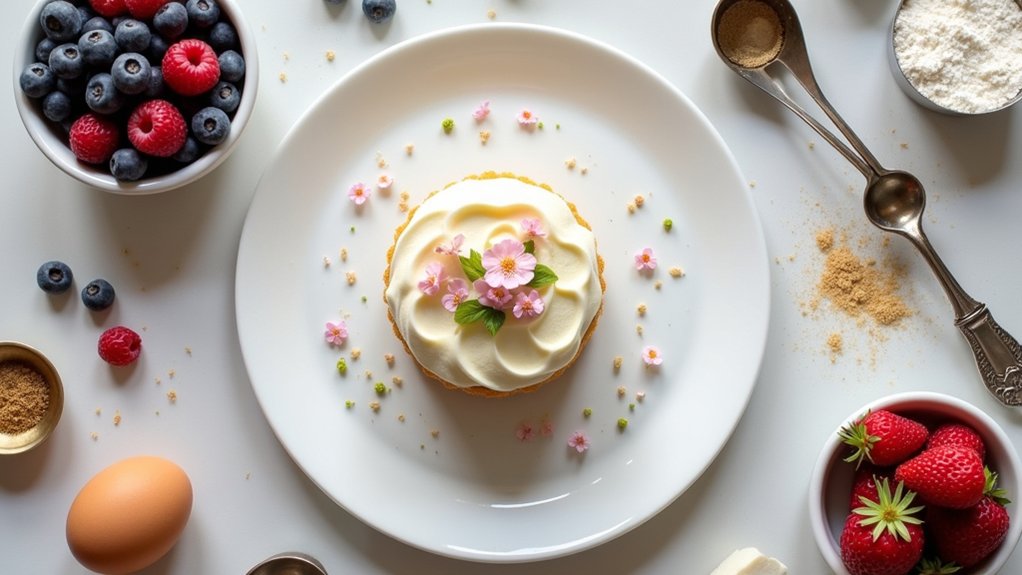
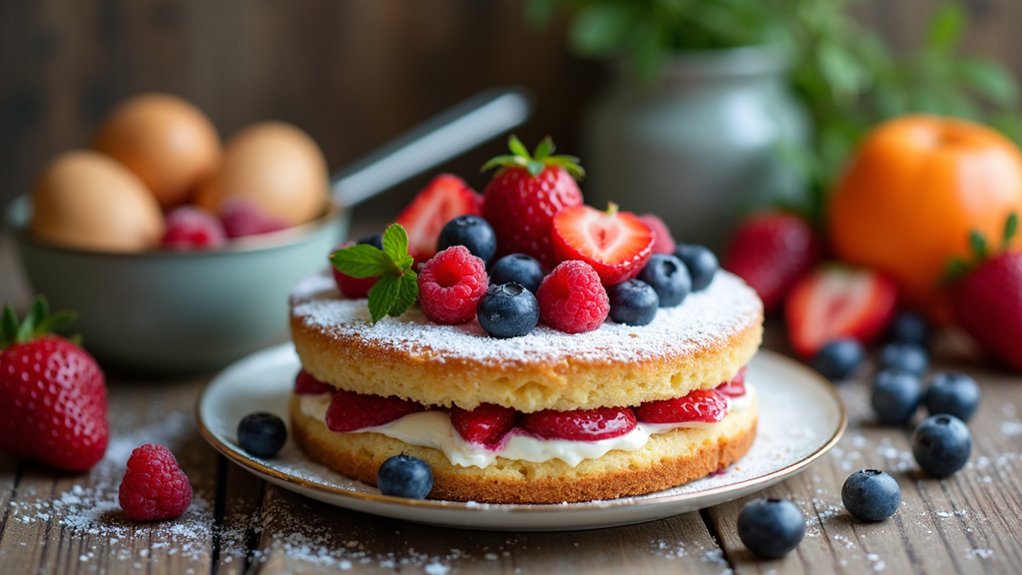
The base of this cake is simple, requiring just a few staple ingredients that you likely already have in your kitchen. The result is a moist, fluffy cake that can be enjoyed plain or dressed up with frosting, fruit, or whipped cream. You can also experiment with different extracts, such as vanilla or almond, to add a personal touch to your cake. Get ready to bake a delightful small cake that is sure to impress!
Ingredients:
- 1 cup all-purpose flour
- 1/2 cup granulated sugar
- 1/2 cup unsalted butter, softened
- 1/2 cup milk
- 1 large egg
- 1 teaspoon baking powder
- 1 teaspoon vanilla extract
- Pinch of salt
Cooking Instructions:
Preheat your oven to 350°F (175°C) and grease a small cake pan (6-inch works well). In a mixing bowl, cream together the softened butter and sugar until light and fluffy. Next, add the egg and vanilla extract, mixing well. In another bowl, combine the flour, baking powder, and salt. Gradually add the dry ingredients to the wet mixture, alternating with the milk, and mix until just combined. Pour the batter into the prepared cake pan and smooth the top. Bake for 25-30 minutes or until a toothpick inserted in the center comes out clean. Let the cake cool in the pan for a few minutes before transferring it to a wire rack to cool completely.
Extra Tips:
For added flavor and texture, consider folding in some chocolate chips, nuts, or fresh fruit into the batter before baking. If you want to elevate the cake, try dusting it with powdered sugar or drizzling a simple glaze over the top once it has cooled. Additionally, if you wish to store the cake, wrap it tightly in plastic wrap and keep it in the refrigerator for up to three days, or freeze it for longer storage. Enjoy your baking!
Cooking Steps
Now that we’ve gathered our ingredients, let’s jump into the cooking steps to bring this small cake to life! First, I always preheat the oven to get it nice and warm, then I mix the dry ingredients thoroughly. Once that’s done, I gradually add the wet ingredients, making sure everything comes together perfectly.
Step 1. Preheat the Oven
To kick things off, preheating the oven is an essential step that shouldn’t be overlooked. I always set my oven to the right oven temperature before diving into the mixing process. This guarantees that my small cake bakes evenly and rises perfectly. Trust me, nothing’s worse than putting your batter into a cold oven—it can lead to uneven baking and disappointing results. A good baking tip is to allow your oven to preheat for at least 10-15 minutes. While you’re waiting, you can gather your ingredients and get excited about the delicious creation ahead. When the oven’s ready, you’ll feel that rush of anticipation, knowing you’re one step closer to enjoying your delightful cake!
Step 2. Mix Dry Ingredients Thoroughly
It’s time to plunge into mixing those dry ingredients, which is crucial for achieving a fluffy and well-balanced cake. First, gather your flour, sugar, baking powder, and salt. I like to use a whisk for this part; it’s one of my favorite mixing techniques. Just whisk everything together until it’s a uniform blend. This step guarantees that the ingredient ratios are spot on, preventing clumps and assuring even distribution when you add the wet ingredients later. You might even consider sifting your flour for an extra light texture—trust me, it makes a difference! Remember, the more thoroughly you mix, the better the cake will rise. So, let’s get those dry elements dancing together before moving on!
Step 3. Add Wet Ingredients Gradually
Once you’ve got your dry ingredients blended beautifully, you’ll want to start adding the wet ingredients gradually. This step is essential for achieving the perfect texture in your cake. I recommend pouring in your wet ingredients in small amounts, mixing gently after each addition. This gradual mixing allows the flavors to meld and guarantees the wet ingredient ratios are just right. I often visualize it as a dance—slow and steady, letting the mixture come together without becoming too dense. Remember, patience is key! If you rush, you might end up with lumps or an uneven batter. So, take your time and enjoy the process; each stir brings you closer to that delightful cake you can’t wait to share!
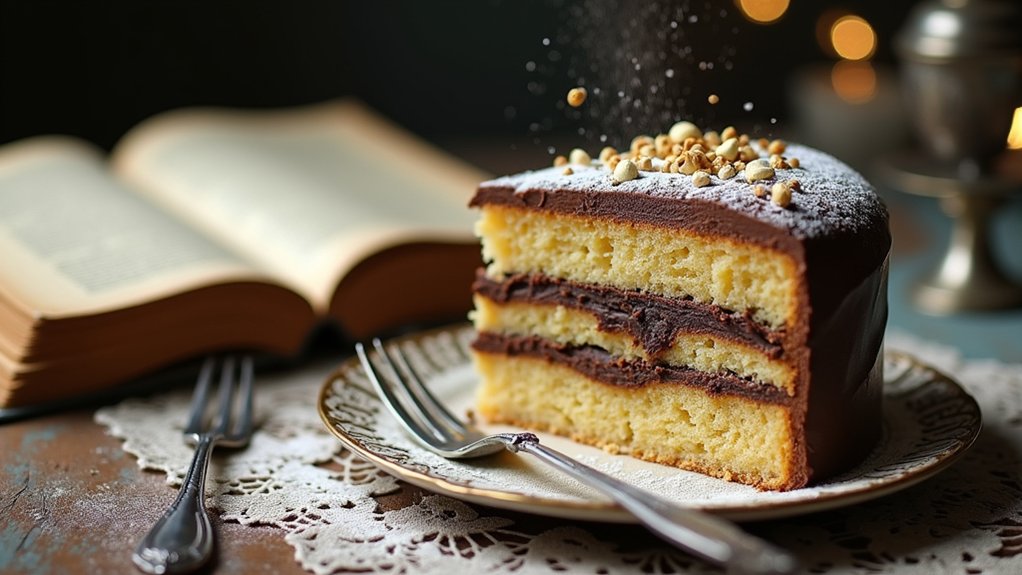
Step 4. Fold in Chocolate Chips
After you’ve mixed in those wet ingredients and created a smooth batter, it’s time to add a touch of sweetness with chocolate chips. I love using different chocolate chip varieties, like semi-sweet, dark, or even white chocolate, to enhance the flavor profile. To fold them in, gently scoop the batter from the bottom and lift it over the chocolate chips, repeating this motion until they’re evenly distributed. This folding technique keeps your batter light and airy, which is essential for that perfect small cake texture. Don’t rush it; take your time to guarantee each chip gets nestled in. The anticipation builds as you envision that gooey chocolate burst in every bite—pure bliss awaits!
Step 5. Bake for 25 Minutes
Now that your batter is ready and those delightful chocolate chips are folded in, it’s time to bake our cake. Preheat your oven to 350°F (175°C) if you haven’t already—trust me, this makes a difference! Carefully pour the batter into your greased pan, spreading it evenly. Here’s a baking tip: set a timer for 25 minutes. Timing techniques are essential; even a minute too long can alter that perfect texture. While it bakes, you might catch the heavenly scent wafting through your kitchen—pure bliss! When the timer goes off, do the toothpick test to verify it’s baked just right. Let it cool for a bit, and soon, you’ll have a small cake ready to delight your taste buds!
Nutritional Guide
When I whip up a small cake, I always think about how it fits into my overall diet, because enjoying a sweet treat shouldn’t come with guilt. It’s essential to reflect on the caloric content and any dietary restrictions I might have. Here’s a quick nutritional guide that helps me keep track:
| Nutrient | Amount per Slice |
|---|---|
| Calories | 150 |
| Sugar | 12g |
| Protein | 3g |
| Fat | 6g |
| Carbohydrates | 20g |
This table makes it easy to enjoy my cake while still being mindful. Whether I’m gluten-free or watching my sugar intake, I love experimenting with alternatives that keep things exciting and delicious.
Final Thoughts

As I reflect on my small cake journey, I can’t help but feel a sense of joy and satisfaction. Each cake I baked was a delightful experiment, allowing me to play with flavors and textures in manageable portion sizes. I hope my baking tips inspire you to embrace your own creativity in the kitchen. Remember, baking isn’t just about following a recipe; it’s about discovering what works for you. Don’t be afraid to adjust ingredients or try new techniques! Sharing these little cakes with friends and family can create unforgettable moments. So, let’s keep pushing the boundaries of baking together, one small cake at a time. I can’t wait to hear about your delicious creations!
Frequently Asked Questions
Can I Substitute Ingredients in the Small Cake Recipe?
Absolutely, I love experimenting with ingredient alternatives! You can swap sugars for honey or use almond flour for a gluten-free twist. These flavor variations can elevate your cake and make it uniquely yours!
How Do I Store Leftover Small Cake?
I store leftover cake by wrapping it tightly in plastic wrap or using an airtight container. For ideal freshness, I refrigerate it, but I recommend letting it come to room temperature before serving again.
What Kitchen Tools Do I Need for This Recipe?
You’ll need a few trusty companions in the kitchen: measuring cups for precision and mixing bowls for creativity. With these tools in hand, I’m excited to bring delicious ideas to life! Let’s get started!
Can I Make This Cake Gluten-Free?
Absolutely, I can make this cake gluten-free! I love experimenting with gluten-free flours like almond or coconut. They create a unique cake texture that’s surprisingly delicious and satisfying. Trust me, it’s worth trying!
How Long Does the Small Cake Last?
That luscious cake, with its moist layers, lasts about three days at room temperature, preserving that delightful freshness. If you refrigerate it, you can extend its cake lifespan to a week. Enjoy every bite!
Conclusion
To sum up, baking a small cake can bring a sprinkle of sweetness to any occasion. Whether it’s a birthday bash or a cozy afternoon treat, this delightful dessert is sure to please. I hope you’ve enjoyed this journey through flavors and fun. Remember, the joy of cooking comes from sharing your creations with others, so don’t hesitate to invite friends or family to enjoy your masterpiece. Happy baking, and may your kitchen be filled with cheerful chatter!