I’ve discovered the joy of baking monster cookies, and I can’t get enough of their delicious blend of oats, peanut butter, and chocolate! They’re chewy in the center with crispy edges—perfectly satisfying. Just preheat your oven, mix up those ingredients, and scoop the dough onto your baking sheet. You won’t believe how easy it is to create these tasty treats. If you’re curious about variations and tips to elevate your monster cookies, keep on exploring!
Contents
History


When I first stumbled upon the Monster Cookies recipe, I was intrigued by its rich history that blends tradition with a bit of whimsy. These delightful treats embody the evolution of cookie origins, showcasing how creativity can transform simple ingredients into something extraordinary. They emerged in the 1970s, a time when bakers began experimenting with various flavors and textures, breaking away from conventional recipes. I found it fascinating that the original concept combined oats, peanut butter, and an array of chocolates, reflecting a playful spirit. As I explored further, I realized Monster Cookies symbolize the ongoing baking evolution, where nostalgia meets innovation, inviting us to create our unique versions while honoring the past. Isn’t that deliciously inspiring?
Recipe
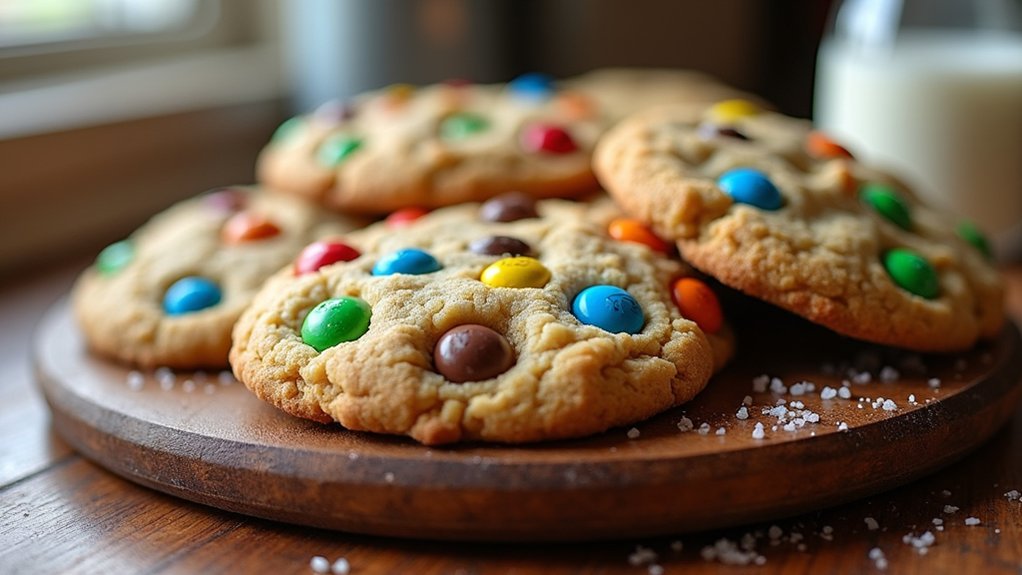
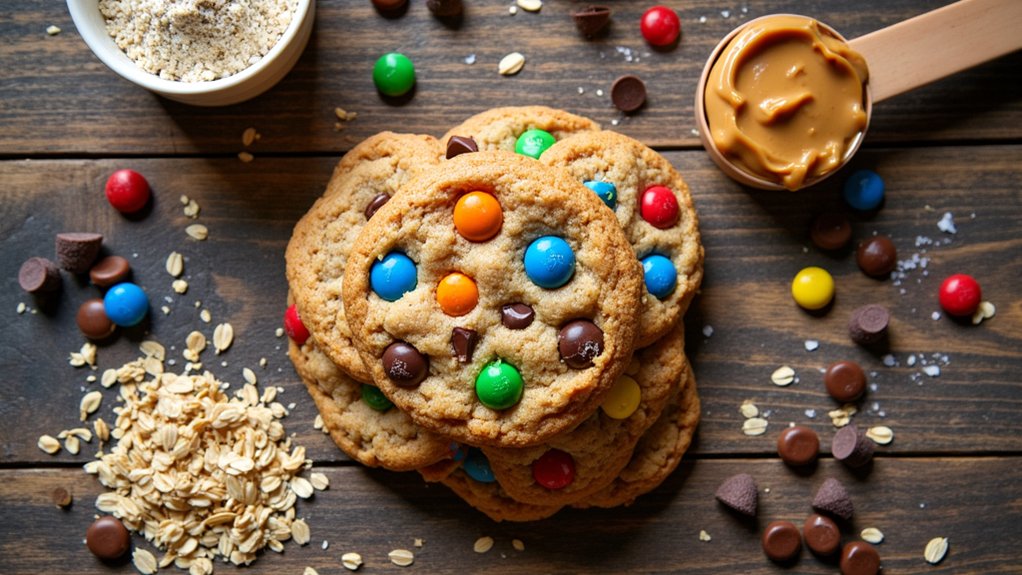
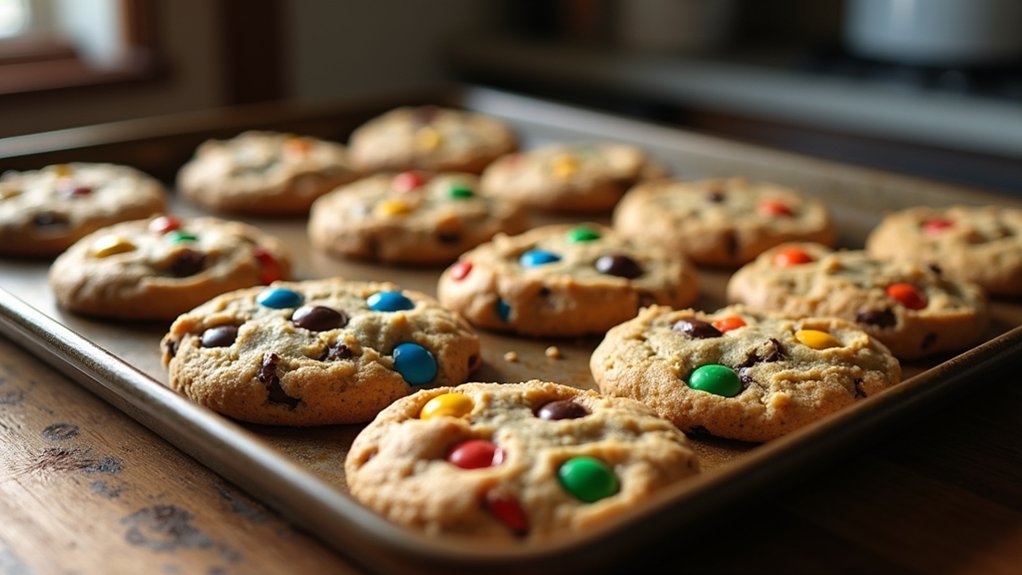
Monster cookies are a delightful treat that combines the best elements of your favorite desserts into one mouthwatering cookie. These cookies are known for their hearty texture, packed with oats, peanut butter, chocolate chips, and M&M’s, making them a perfect snack for any occasion. The blend of flavors and textures creates an irresistible cookie that will leave everyone wanting more.
Making monster cookies is a fun and straightforward process, perfect for bakers of all skill levels. Whether you’re looking to satisfy a sweet tooth or impress friends and family, these cookies are sure to be a hit. With their chewy centers and crispy edges, they provide a satisfying bite that’s both nostalgic and comforting. So, gather your ingredients and get ready to whip up a batch of these scrumptious treats!
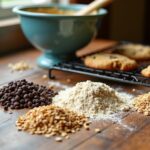
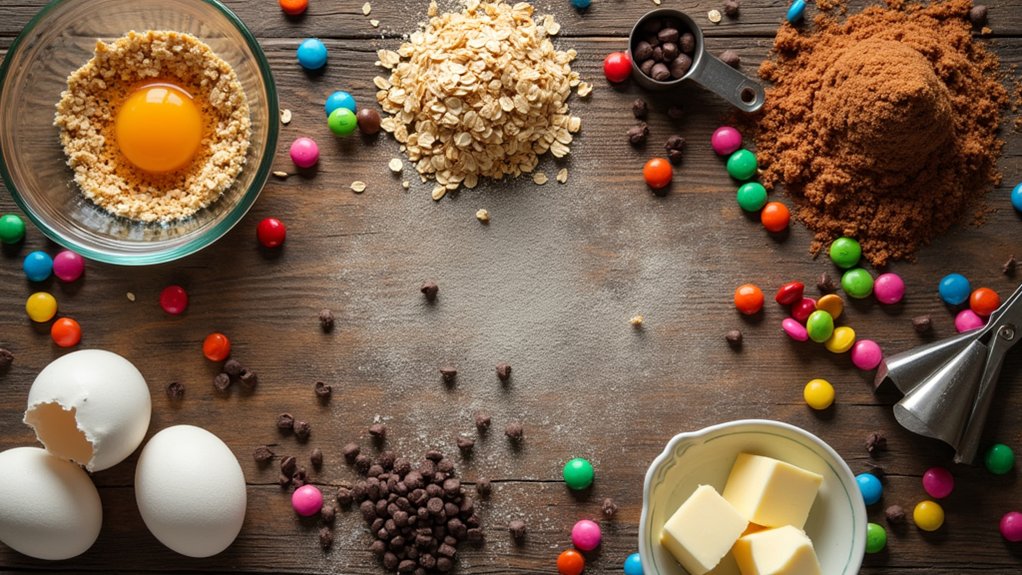
Ingredients:
- 1 cup creamy peanut butter
- 1 cup granulated sugar
- 1 cup brown sugar, packed
- 3 large eggs
- 1 teaspoon vanilla extract
- 1 teaspoon baking soda
- 3 cups rolled oats
- 1 cup chocolate chips
- 1 cup M&M’s
Instructions:
Preheat your oven to 350°F (175°C) and line a baking sheet with parchment paper. In a large bowl, combine the peanut butter, granulated sugar, brown sugar, eggs, vanilla extract, and baking soda, mixing until smooth. Gradually stir in the rolled oats until fully incorporated, then fold in the chocolate chips and M&M’s. Using a cookie scoop or spoon, drop heaping tablespoons of dough onto the prepared baking sheet, spacing them about 2 inches apart. Bake for 10-12 minutes, or until the edges are lightly golden. Allow the cookies to cool on the baking sheet for a few minutes before transferring them to a wire rack to cool completely.
Extra Tips:
For added flavor, consider mixing in some chopped nuts or coconut flakes to the cookie dough. If you prefer a chewier cookie, slightly underbake them and let them set on the baking sheet before moving them. You can also customize these cookies by using different types of chocolate or colorful candies to match any occasion. Store your monster cookies in an airtight container at room temperature for up to a week, or freeze them for longer storage. Enjoy your baking!
Cooking Steps
Now that we have our ingredients ready, it’s time to bring everything together! I always start by preheating my oven to 350°F, which sets the stage for those delicious cookies. Once that’s done, I mix the dry ingredients thoroughly, ensuring a perfect blend before adding the wet ingredients gradually.
Step 1. Preheat Oven to 350°F
To kick off my Monster Cookies adventure, I always make certain to preheat the oven to a cozy 350°F. This oven temperature is essential for achieving that perfect balance of chewy and crispy I adore. While the oven warms up, I can already imagine the sweet aroma wafting through my kitchen. It’s one of those baking tips I swear by—starting with a preheated oven guarantees my cookies rise beautifully and don’t spread too much. I love how the anticipation builds as I gather my ingredients, knowing that a delicious batch of cookies is just moments away. So, let’s get that oven humming, because the magic of Monster Cookies is about to unfold!
Step 2. Mix Dry Ingredients Thoroughly
With a sense of excitement, I plunge into mixing the dry ingredients for my Monster Cookies. I measure out flour, baking soda, and a pinch of salt, each ingredient playing an essential role in the final texture. Understanding dry ingredient importance is key; they create the perfect foundation for my cookies. Using a whisk, I incorporate everything thoroughly, ensuring there are no clumps hiding in the mix. This mixing technique not only aerates the flour but also evenly distributes the baking soda, ensuring a consistent rise. As I watch the ingredients blend into a cohesive mixture, I can almost taste the chewy goodness to come. This step sets the stage for a truly innovative cookie experience!
Step 3. Add Wet Ingredients Gradually
As I prepare to add the wet ingredients, I can already envision the rich, creamy texture they’ll bring to my Monster Cookies. First, I measure out my eggs and vanilla extract, guaranteeing the wet ingredient ratios are just right. I know that incorporating them gradually is key. I start by adding one egg at a time, mixing gently but thoroughly with a spatula. This gradual mixing technique guarantees each egg is fully integrated before introducing the vanilla—what a game-changer for flavor! I can feel the dough transforming; it’s becoming silky and cohesive. This method not only enhances texture but also builds anticipation for those delicious cookies. Trust me, taking the time to mix gradually will elevate your baking experience!
Step 4. Fold in Chocolate Chips
Now, it’s time to plunge into the fun part—folding in those chocolate chips! I can’t emphasize enough how this step transforms the cookie texture, turning it from ordinary to extraordinary. I like to mix a medley of chocolate chip varieties, from dark chocolate chunks to vibrant white chocolate morsels, creating bursts of flavor in every bite. As I gently fold them into the batter, I can feel the excitement building. It’s mesmerizing to see those rich chips swirl in, each one promising a delicious surprise. This isn’t just about adding sweetness; it’s about crafting a delightful contrast that elevates the overall cookie experience. Trust me, you’re going to love the decadent results!
Step 5. Scoop Dough Onto Baking Sheet
It’s time to grab your trusty cookie scoop and start dishing out those doughy delights onto the baking sheet! With each scoop, I can feel the excitement building. I gently release the dough, making certain to leave enough space between each mound for those glorious cookies to spread. Perfect cookie portioning is essential for uniform baking; I aim for generous, yet manageable sizes to guarantee they bake evenly. Using innovative baking techniques, I like to alternate the shapes slightly for a more rustic look—who says all cookies have to be perfect circles? As I continue scooping, the kitchen fills with the sweet aroma of anticipation. Soon, I’ll have a tray full of monster cookies ready for the oven!
Nutritional Guide
While enjoying a delicious monster cookie, you might wonder about its nutritional benefits. These cookies are not just a treat; they can pack a punch regarding ingredient benefits. Let’s explore the caloric content and what makes each bite worthwhile.
| Nutrient | Amount per Cookie |
|---|---|
| Calories | 150 |
| Protein | 4g |
| Fiber | 1g |
The oats add fiber, while peanut butter provides protein and healthy fats. Chocolate chips satisfy your sweet tooth, adding a bit of indulgence without sacrificing nutrition. By knowing the nutritional profile, you can feel good about enjoying these delightful cookies, turning an everyday snack into a creative culinary experience.
Final Thoughts
After considering the nutritional perks of monster cookies, it’s clear these treats can be both satisfying and guilt-free. I love experimenting with different cookie variations, whether I’m swapping chocolate chips for dried fruit or adding a sprinkle of sea salt on top. The possibilities are endless! If you’re looking for some baking tips, I recommend chilling the dough for at least 30 minutes to enhance the flavors and achieve that perfect chewy texture. Trust me, it makes a difference. Don’t be afraid to get creative—add nuts, seeds, or even a dash of your favorite spice! These cookies aren’t just a treat; they’re a canvas for your culinary imagination. So go ahead, indulge and innovate!
Frequently Asked Questions
Can I Substitute Peanut Butter in This Recipe?
I often use almond butter or sunbutter as peanut butter alternatives. They bring unique flavors and are great nut-free options. Don’t hesitate to experiment, as it can lead to delicious surprises in your baking!
How Should I Store Leftover Monster Cookies?
Did you know cookies can stay fresh for up to a week? For storing tips, I suggest placing leftover cookies in an airtight container. This keeps their delightful chewiness and enhances cookie freshness for longer enjoyment!
Can I Freeze Baked Monster Cookies?
Absolutely, I freeze my baked cookies for long-lasting cookie preservation! Just place them in an airtight container with parchment paper between layers. Trust me, these freezing tips keep them fresh and delicious for whenever I crave a treat.
What Are Some Variations I Can Try?
I love experimenting with variations! I’ve added dark chocolate chunks for richness, swapped peanut butter for sunbutter due to nut allergies, adjusted sweetness with honey, and even tried oats for delightful texture differences.
How Long Do Monster Cookies Last?
My monster cookies usually last about a week, if I don’t eat them all first! To preserve that delightful texture, I store them in an airtight container; it’s like keeping a treasure safe!
Conclusion
As I took that first bite of my monster cookie, a wave of nostalgia washed over me. I couldn’t help but remember the laughter and warmth of family gatherings where these cookies were a staple. Each chewy morsel, packed with chocolate and peanut butter, is more than just a treat; it’s a sweet reminder of cherished moments. So, when you bake your own batch, you’re not just making cookies—you’re creating memories that will last a lifetime.