If you’re craving a moist chocolate cake, I’ve got an easy recipe you’ll love! Just mix 1 ¾ cups of flour, 1 ¾ cups of sugar, and ¾ cup of cocoa powder. Then, add 2 eggs, 1 cup of milk, and ½ cup of oil, mixing well. Pour in 1 cup of boiling water for extra moisture. Bake at 350°F for 30-35 minutes, and enjoy every bite. Stick around, and I’ll share more tips to make it even better!
Contents
History

When I think about the history of chocolate cake, I can’t help but feel a sense of wonder at how this delicious treat has evolved over the years. The chocolate origins trace back to ancient Mesoamerica, where cacao beans were revered. Fast forward to the 18th century, and we see baking traditions begin to embrace this indulgent ingredient. Early recipes experimented with flavors, but it wasn’t until the 19th century that chocolate cake truly took shape, thanks to innovations in cocoa processing. As we blend rich history with modern techniques, each bite of chocolate cake tells a story. It’s fascinating to think of how generations have shared this dessert, making it a beloved staple in kitchens around the world today.
Recipe
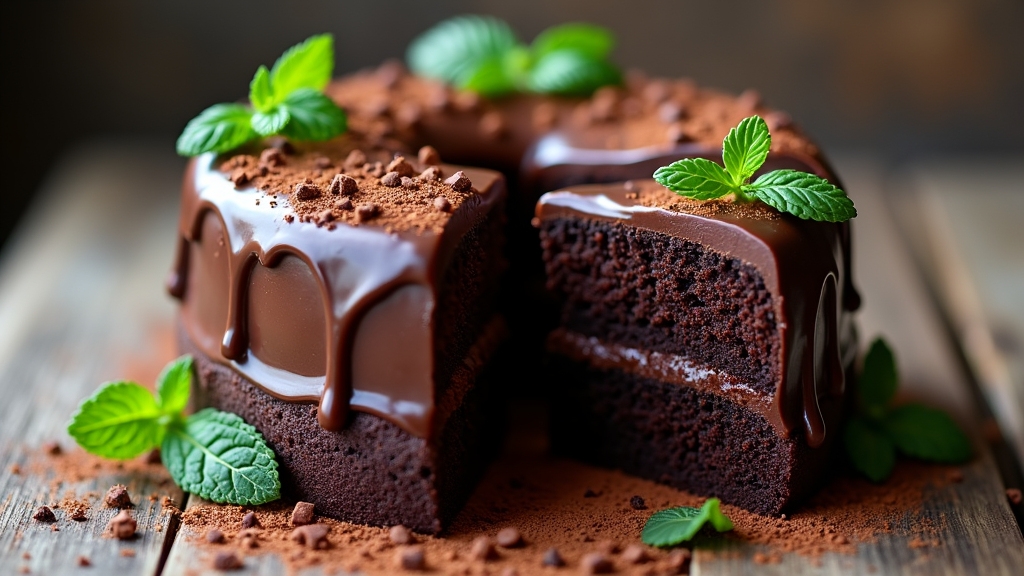
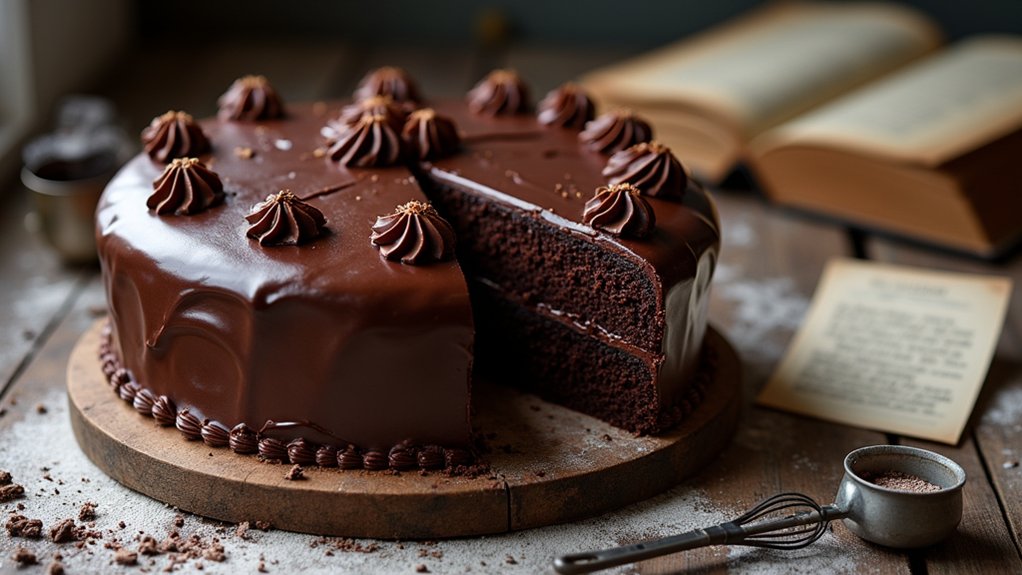
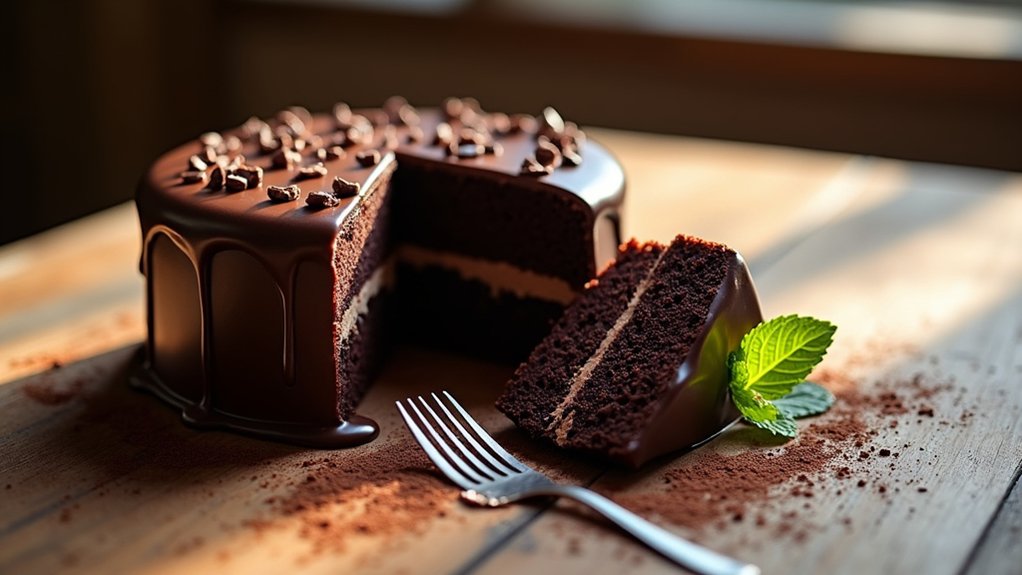
Indulging in a moist chocolate cake is a delightful experience that can brighten any occasion. Whether it’s a birthday celebration, an afternoon tea, or simply a sweet treat to enjoy at home, this cake is sure to impress. The combination of rich cocoa powder, buttermilk, and a touch of coffee creates a depth of flavor that elevates this dessert beyond the ordinary. With its tender crumb and luscious chocolate flavor, this cake is a favorite among chocolate lovers.
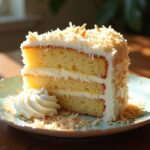
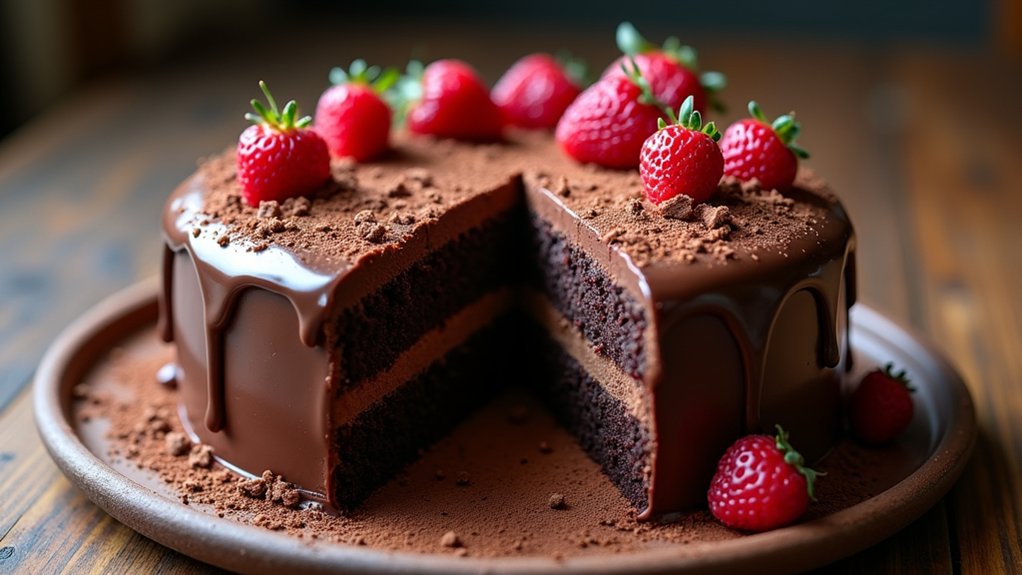
A moist chocolate cake is the perfect treat to elevate any occasion, delighting chocolate lovers with its rich flavor and tender crumb.
Making this cake is straightforward and requires minimal effort, making it perfect even for beginner bakers. The key to achieving that moist texture lies in the proper balance of wet and dry ingredients, as well as not overmixing the batter. Once baked and cooled, you can frost it with your favorite chocolate icing or serve it plain with a dusting of powdered sugar for a simple yet elegant finish.
Ingredients:
- 1 ¾ cups all-purpose flour
- 1 ¾ cups granulated sugar
- ¾ cup unsweetened cocoa powder
- 1 ½ teaspoons baking powder
- 1 ½ teaspoons baking soda
- 1 teaspoon salt
- 2 large eggs
- 1 cup whole milk
- ½ cup vegetable oil
- 2 teaspoons vanilla extract
- 1 cup boiling water
- 1 teaspoon instant coffee granules (optional)
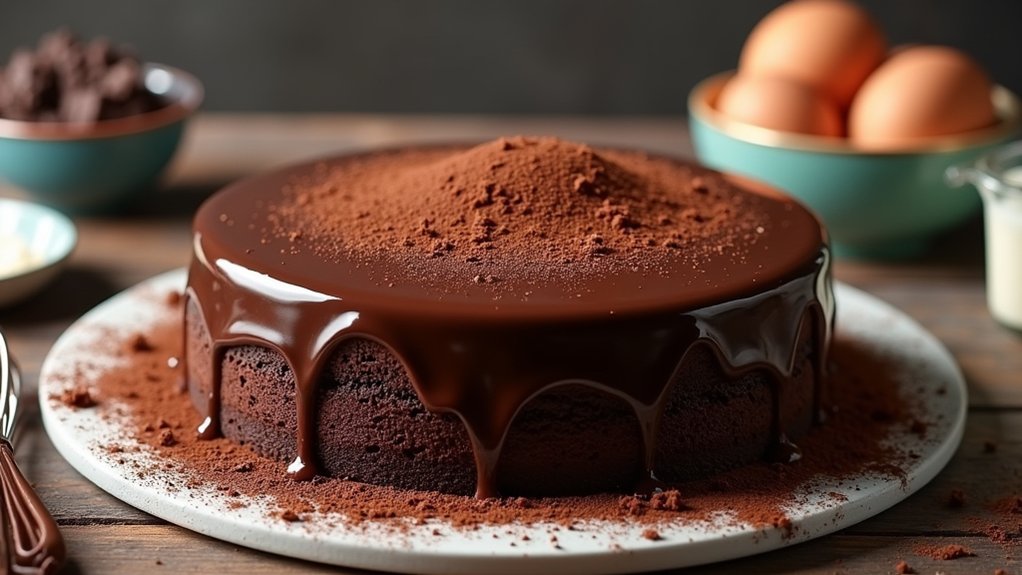
To cook the moist chocolate cake, preheat your oven to 350°F (175°C) and grease and flour two 9-inch round cake pans. In a large mixing bowl, combine the flour, sugar, cocoa powder, baking powder, baking soda, and salt. Whisk the dry ingredients until well mixed. Next, add in the eggs, milk, vegetable oil, and vanilla extract to the dry mixture. Beat the mixture on medium speed for 2 minutes, then carefully stir in the boiling water (and instant coffee if using) until fully combined. Pour the batter evenly into the prepared pans and bake for 30-35 minutes or until a toothpick inserted into the center comes out clean. Allow the cakes to cool in the pans for 10 minutes before transferring them to wire racks to cool completely.
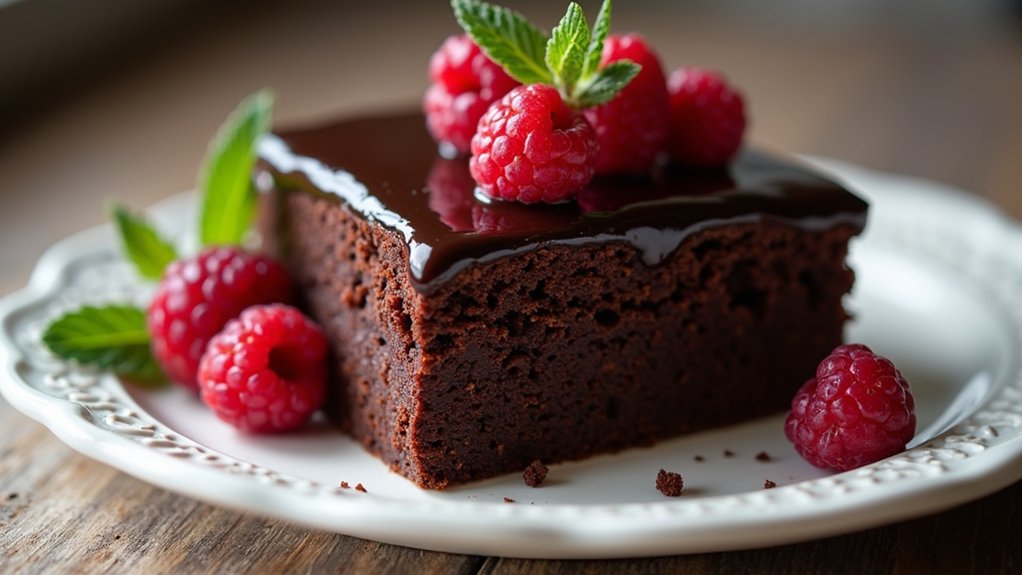
For best results, always measure your ingredients accurately and avoid overmixing the batter to keep the cake light and fluffy. If you want to add an extra layer of flavor, consider incorporating chocolate chips into the batter or adding a hint of espresso powder. When frosting the cake, allow it to cool completely to prevent the icing from melting. You can also enhance the presentation by garnishing with fresh berries or chocolate shavings. Enjoy your delicious creation!
Cooking Steps
Let’s get started on making that delicious moist chocolate cake! First, I’ll walk you through the essential cooking steps, starting with preheating your oven to 350°F. Once that’s ready, we’ll mix the dry ingredients together and gradually add the wet ones for a rich batter.
Step 1. Preheat Oven to 350°F
To kick things off, you’ll want to preheat your oven to 350°F, and trust me, this step is vital for baking a moist chocolate cake. Getting the oven temperature just right is important because it guarantees even baking, which is a key part of successful baking techniques. While you’re waiting for the oven to warm up, take a moment to gather your ingredients and prepare your baking pans. This not only saves time but also creates a smooth workflow in the kitchen. Think of preheating as setting the stage for your cake’s delicious performance. An adequately preheated oven will help your cake rise beautifully and develop that rich, moist texture we all crave. Let’s get baking!
Step 2. Mix Dry Ingredients Together
With the oven now warmed up and ready to go, it’s time to tackle the dry ingredients. I start by measuring out my flour, cocoa powder, baking soda, baking powder, and salt. These ingredients are vital, and getting the right ingredient ratios is key to that moist texture we all crave. I whisk them together vigorously, ensuring there are no lumps—this is one of those essential baking techniques that really pays off. It’s like creating a harmonious blend that sets the stage for our cake. As I mix, I can already feel the excitement building, knowing that each spoonful will contribute to a deliciously decadent result. Trust me, this step is the heart of our chocolate cake magic!
Step 3. Add Wet Ingredients Gradually
Now that the dry ingredients are perfectly blended, it’s time to bring life into our cake batter by adding the wet ingredients. I like to use innovative wet ingredient techniques for the best texture and flavor. Start by pouring in the eggs and vanilla extract, then gently mix them in. This gradual mixing allows the wet ingredients to fully integrate, creating a smooth batter that’s bursting with potential. After that, add in the buttermilk, a little at a time. This method not only enhances the moisture but also helps prevent lumps. Trust me, taking your time with this step pays off in the end. You’ll feel the excitement as your batter transforms into something truly delicious!
Step 4. Fold in Chocolate Chips
After your batter is smooth and creamy, it’s time to add a little something special: chocolate chips! This is where the fun begins. I love experimenting with different chocolate chip varieties—semi-sweet, dark, or even white chocolate—each brings a unique flair to the cake. Grab a spatula and gently fold in the chocolate chips using a classic baking technique, ensuring you don’t deflate the batter. This step is essential; we want those delightful pockets of melted chocolate to create bursts of flavor throughout the cake. Picture cutting into that slice and seeing the gooey goodness inside! So, don’t rush this part; enjoy the process and savor the anticipation of what’s to come. Your cake will be all the better for it!
Step 5. Bake for 30 Minutes
Baking the cake is where the magic happens, and you’ll want to set your timer for 30 minutes. As the cake bakes, I can’t help but feel excitement; this is when the baking techniques truly come into play. The oven works its wonders, transforming your batter into a deliciously moist chocolate cake. To achieve that perfect cake texture, make sure your oven is preheated, and try to resist the urge to open the door too soon. Trust me, patience is key! While it bakes, you might even catch a whiff of that rich chocolate aroma filling your kitchen. Once the timer goes off, let it cool slightly before diving in. Enjoy the anticipation—it’s almost time to indulge!
Nutritional Guide
When it comes to enjoying a slice of moist chocolate cake, it’s easy to get lost in the delightful taste and texture, but let’s not forget about the nutritional aspect, too. Understanding the caloric content and ingredient benefits can enhance our baking experience. Here’s a quick overview:
| Ingredient | Benefits |
|---|---|
| Cocoa Powder | Rich in antioxidants |
| Sugar | Quick energy source |
| Eggs | Protein-rich, supports muscle |
| Flour | Provides structure |
Each slice brings a balance of flavors and nutrients, making it a treat you can feel good about sharing. So, next time you indulge, remember that there’s a bit of nourishment in every bite!
Final Thoughts
As you think about indulging in a slice of moist chocolate cake, it’s important to remember that baking is more than just following a recipe; it’s about creating memories and sharing joy with others. With a few baking tips, like using high-quality cocoa and ensuring your ingredients are at room temperature, you can elevate your cake to new heights. Don’t hesitate to experiment with cake variations, whether it’s adding a hint of espresso or swirling in some peanut butter. Each twist you make can spark creativity and delight. So, gather your loved ones, and let’s bake together! The aroma, the taste, and the laughter will create moments you’ll cherish for years to come. Enjoy every bite!
Frequently Asked Questions
Can I Substitute Dark Chocolate for Cocoa Powder?
You can substitute dark chocolate for cocoa powder, but remember it’ll change the texture. I love the rich flavor and dark chocolate benefits, plus it’s a great cocoa powder alternative for innovative baking. Enjoy experimenting!
How Do I Store Leftover Chocolate Cake?
I usually store leftover chocolate cake in an airtight container in the fridge. For longer freshness, I recommend freezing slices individually. Just wrap them well to keep that deliciousness intact. Trust me, it tastes just as amazing!
What Frosting Pairs Best With Chocolate Cake?
I’ve always found that chocolate ganache wraps chocolate cake like a warm hug, while cream cheese frosting adds a tangy twist. Together, they create a delightful contrast that keeps my taste buds dancing with joy!
Can I Make This Cake Gluten-Free?
Absolutely, you can make this cake gluten-free! I love using gluten-free flours like almond or coconut. Just remember to adjust baking substitutions accordingly, and you’ll enjoy a deliciously innovative treat without sacrificing flavor!
How Do I Prevent My Cake From Sinking?
To prevent my cake from sinking, I guarantee a stable cake structure by properly measuring ingredients and avoiding overmixing. I also follow these baking tips: use room temperature ingredients and check oven temperature for accuracy.
Conclusion
As you savor each bite of this moist chocolate cake, I hope you feel the joy and warmth that comes from baking something special. There’s nothing quite like sharing a treat with loved ones, is there? I encourage you to experiment and make this recipe your own, adding your unique touch. Remember, every cake tells a story, and yours is just beginning. So, gather your ingredients, roll up your sleeves, and enjoy the delicious journey ahead!