If you’re looking for a delightful mini cake recipe, it’s super easy! Start by mixing flour, sugar, baking powder, and a pinch of salt. Then, add softened butter, eggs, and vanilla. Pour the batter into greased muffin tins, filling them about two-thirds full. Bake at 350°F for 12-15 minutes until golden brown. Let them cool a bit before enjoying! Mini cakes are perfect for any occasion, and I can’t wait to share more tips and ideas with you!
Contents
History
When I think about the history of mini cakes, I can’t help but feel a sense of nostalgia for those special moments shared around a table. Mini cakes have fascinating cake origins, dating back to ancient cultures that celebrated milestones with smaller, portable treats. These delightful bites carry immense cultural significance, often symbolizing joy and togetherness during festivities. From the intricate designs of European pastries to the simple charm of American layer cakes, mini cakes have evolved with each culinary innovation. They’ve become a canvas for creativity, allowing bakers like us to experiment with flavors and presentations. So, as we explore the world of mini cakes, let’s celebrate their rich history and the joy they bring to our gatherings.
Recipe
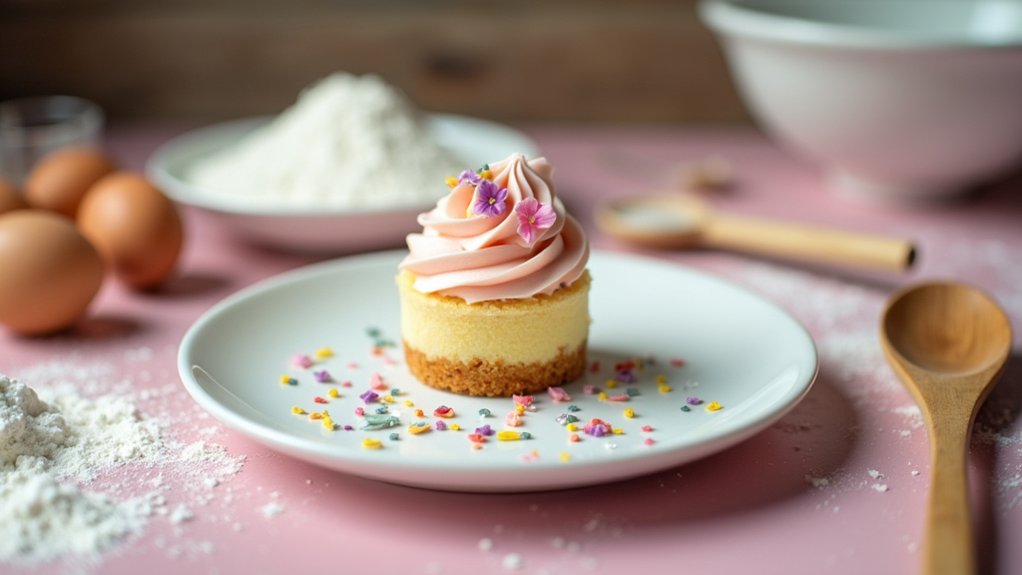
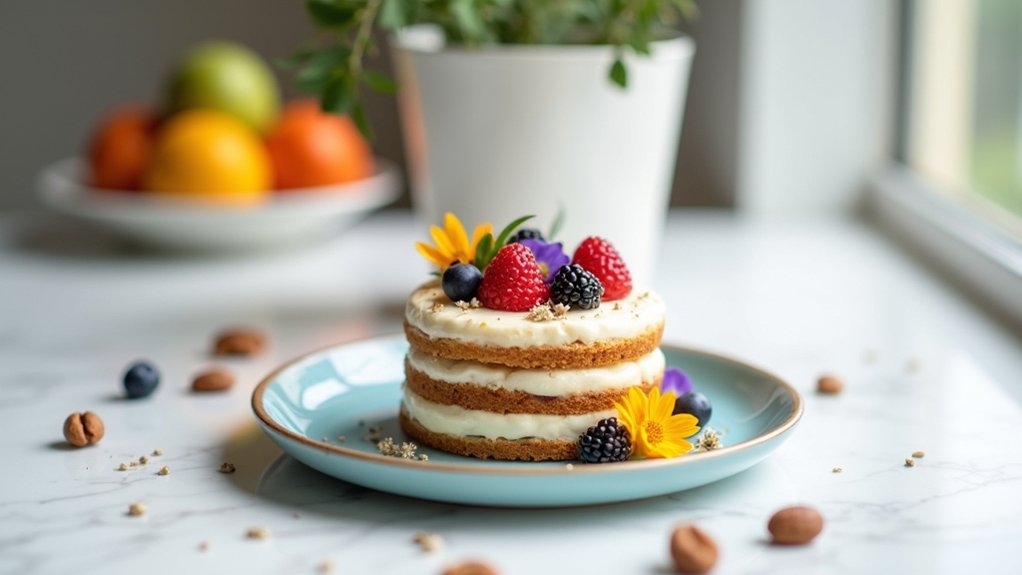
Mini cakes are the perfect solution for those who crave a sweet treat but don’t want to indulge in a full-sized cake. These delightful little desserts are not only adorable but also incredibly versatile. You can customize them with your favorite flavors, fillings, and toppings, making them suitable for any occasion—from birthday parties to afternoon tea.
Making mini cakes is surprisingly easy and requires minimal ingredients. With just a few simple steps, you can create a batch of these delectable treats that are sure to impress your friends and family. Whether you prefer a classic vanilla flavor or something more adventurous like chocolate or red velvet, these mini cakes can be tailored to your taste, and they bake quickly, allowing you to enjoy them in no time.
Ingredients:
- 1 cup all-purpose flour
- 1/2 cup sugar
- 1/2 cup unsalted butter, softened
- 2 large eggs
- 1/2 teaspoon vanilla extract
- 1/2 teaspoon baking powder
- 1/4 teaspoon salt
- Optional: frosting, sprinkles, or fruit for decoration
Cooking Instructions:
Preheat your oven to 350°F (175°C) and line a mini muffin tin with paper liners. In a mixing bowl, cream together the softened butter and sugar until light and fluffy. Add the eggs one at a time, mixing well after each addition, then stir in the vanilla extract. In a separate bowl, combine the flour, baking powder, and salt. Gradually add the dry ingredients to the wet mixture, mixing until just combined. Spoon the batter into the prepared muffin tin, filling each cup about two-thirds full. Bake for 12-15 minutes or until a toothpick inserted into the center comes out clean. Allow the mini cakes to cool completely before decorating as desired.
Extra Tips:
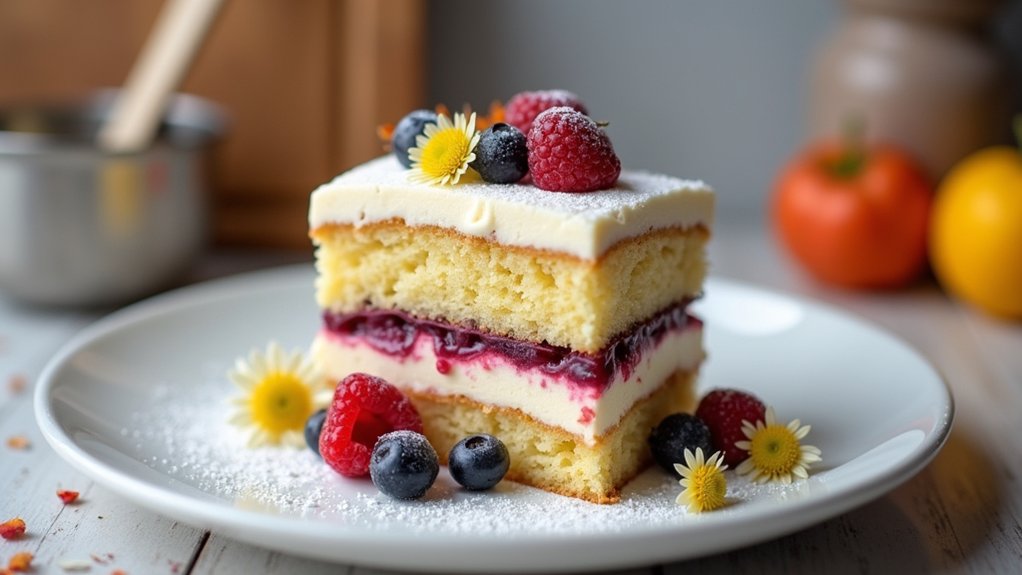
When making mini cakes, be sure not to overmix the batter as this can lead to dense cakes. Additionally, feel free to experiment with different flavors by adding cocoa powder for a chocolate version or mashed fruit for a fruity twist. If you want to make your mini cakes even more special, consider adding a filling—such as jam or whipped cream—before frosting them. Finally, remember that mini cakes can also be frozen for later enjoyment; just confirm they are well-wrapped to maintain freshness.
Cooking Steps
Let’s get started on making our mini cake! First up, I always preheat the oven to get things warmed up, then I mix all my dry ingredients thoroughly to guarantee every bite is delicious. Once that’s done, I gradually add in the wet ingredients, and we’re on our way to baking something special!
Step 1. Preheat the Oven
Before diving into the fun part of mixing ingredients, it’s essential to preheat the oven to secure your mini cakes bake perfectly. I usually set my oven temperature to 350°F, which is ideal for achieving that golden crust and soft, fluffy interior. While the oven warms up, you can gather your ingredients and get ready for the next steps. A great baking tip is to give your oven at least 10 to 15 minutes to reach the right temperature; this guarantees even baking. Trust me, rushing this step can lead to unevenly baked mini cakes. So, while you’re waiting, take a moment to imagine how delightful these treats will taste once they’re out of the oven—it’s worth the anticipation!
Step 2. Mix Dry Ingredients Thoroughly
To kick off our mini cake adventure, I like to start by mixing the dry ingredients thoroughly—this is an essential step that can make all the difference in the final product. I usually grab a large mixing bowl and combine flour, sugar, baking powder, and a pinch of salt. Using different mixing techniques, like whisking or sifting, helps incorporate air, which creates a light texture. Pay attention to the ingredient ratios, too; they’re vital for achieving that perfect balance of sweetness and fluffiness. I often take a moment to admire the lovely blend of colors before moving on. This step not only sets the foundation for our cake but also sparks excitement as I envision the delicious results ahead!
Step 3. Add Wet Ingredients Gradually
Once I’ve got my dry ingredients all mixed and ready, it’s time to introduce the wet ingredients, and I find that adding them gradually makes a real difference. Using wet ingredient techniques, I pour in a little at a time, stirring gently as I go. This gradual mixing allows each component to blend seamlessly, creating a smooth batter that’s both airy and moist. I love watching the transformation as the mixture becomes richer and more cohesive. Plus, it minimizes clumps that can pop up when you rush. Trust me, taking your time here pays off! With each addition, I can feel the excitement building—there’s something magical about crafting these mini cakes that’ll surely impress everyone.
Step 4. Pour Batter Into Pans
Now that your batter is beautifully mixed and ready, it’s time to pour it into the pans. I like to use a measuring cup for this step; it helps guarantee even distribution and keeps the batter consistency just right. With each pour, I feel a rush of excitement, knowing the magic of baking is about to unfold. Make certain to fill each pan about two-thirds full, allowing space for that delightful rise. If you’re feeling adventurous, try swirling in a contrasting color of batter or adding a sprinkle of chocolate chips for a surprise. Remember, mastering these baking techniques can turn an ordinary mini cake into a delightful masterpiece, perfect for sharing with friends and family. Enjoy this moment!
Step 5. Bake for 20 Minutes
With the batter poured into the pans, it’s time to pop them into the oven. I set the timer for 20 minutes and enthusiastically await the magic to unfold. During this time, I love to explore different baking techniques, imagining all the cake variations that can emerge from this simple process. While the mini cakes rise, the sweet aroma fills my kitchen, creating an atmosphere of anticipation. I peek in occasionally, watching for that golden-brown color that indicates perfection. Remember, every oven is different, so keep an eye on them. Once they’re done, let them cool for a few minutes before removing them from the pans. Trust me, the excitement of pulling them out is worth it!
Nutritional Guide
When it comes to enjoying a mini cake, understanding its nutritional value is just as important as savoring its delightful taste. Let me break down the caloric content and ingredient benefits for you. This way, you can indulge without guilt!
| Ingredient | Caloric Content (per serving) | Benefits |
|---|---|---|
| Flour | 100 | Provides energy |
| Sugar | 50 | Quick source of energy |
| Butter | 70 | Contains healthy fats |
| Eggs | 70 | Packed with protein |
| Cocoa Powder | 20 | Rich in antioxidants |
Final Thoughts
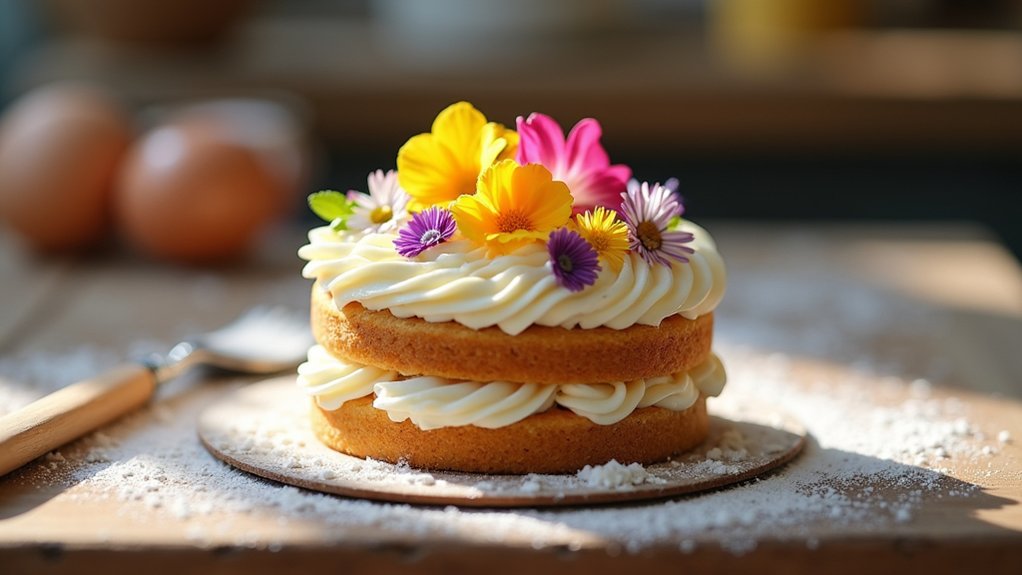
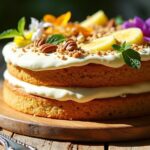
After exploring the nutritional benefits of the ingredients in a mini cake, it’s clear that these little treats can fit into a balanced diet while still satisfying your sweet tooth. The beauty of mini cakes lies not just in their size, but also in their versatility. You can experiment with a variety of flavor variations, from rich chocolate to zesty lemon, ensuring there’s something for everyone. Plus, don’t underestimate the power of cake decoration; a simple swirl of frosting or a sprinkle of fresh fruit can elevate your creation. Whether you’re baking for a special occasion or just to enjoy at home, these mini cakes are a delightful way to express your creativity and share sweet moments with loved ones.
Frequently Asked Questions
Can I Use Gluten-Free Flour in Mini Cakes?
Absolutely, I’ve used gluten-free substitutes in mini cakes with great success. Just remember to adjust your baking tips; different flours absorb moisture differently. Experimenting can lead to delicious, innovative results you’ll love!
How Can I Store Leftover Mini Cakes?
I store my leftover mini cakes in airtight containers, ensuring freshness. For the best results, I follow refrigeration tips, like letting them cool completely before sealing, which locks in moisture and flavor. It’s a game changer!
What Are Some Popular Mini Cake Flavor Variations?
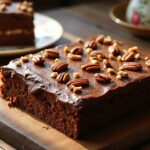
I love experimenting with flavors! Chocolate raspberry brings a rich, decadent twist, while lemon lavender offers a revitalizing, floral note. Both variations take mini cakes to a whole new level of delightful innovation!
Can I Freeze Mini Cakes for Later?
Yes, I can freeze mini cakes for later! I wrap them tightly using freezing techniques, then thaw them in the fridge. This way, I enjoy fresh-tasting treats even weeks down the line.
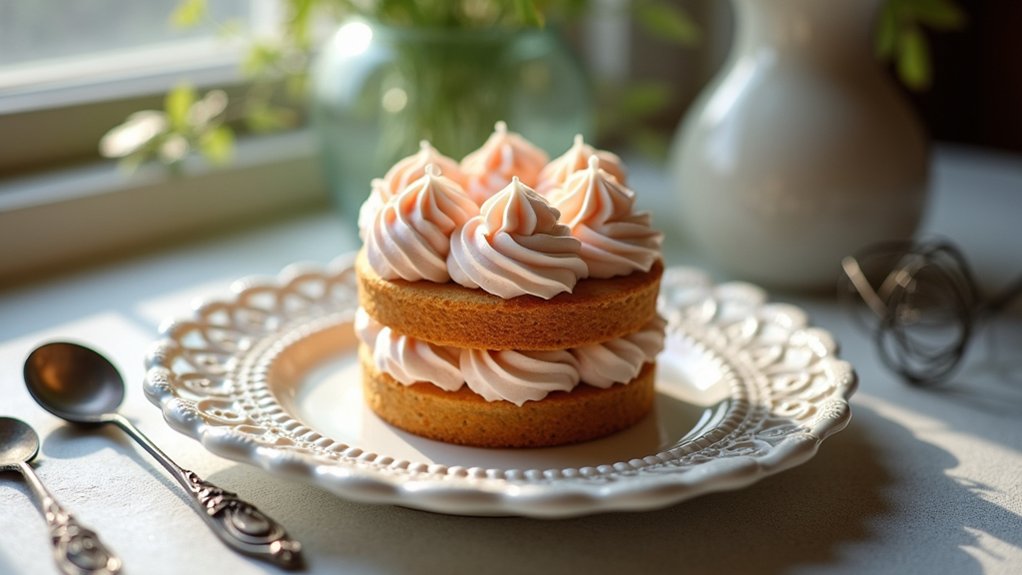
What Type of Frosting Works Best for Mini Cakes?
Have you ever tasted a mini cake topped with cream cheese frosting? I love it! Whipped cream adds a light touch. Together, they create a delightful contrast, making each bite a deliciously innovative experience you won’t forget!
Conclusion
Baking mini cakes is like capturing a sweet moment in time—you create something delightful that can be shared with others. I hope you enjoyed this journey as much as I do. Whether it’s for a celebration or just a cozy afternoon treat, these little cakes bring smiles and warmth to any occasion. So grab your apron, gather your ingredients, and let’s bake some memories together. Happy baking, and remember, every slice tells a story!