Are you tired of the same old bread recipes that leave you craving for something more? Look no further, because this manna bread recipe is here to revolutionize your baking game.
With its heavenly texture and delightful taste, this bread will make you question everything you thought you knew about bread-making.
But hold on, there’s more to this recipe than meets the eye. Stay tuned to discover the secret ingredient that sets this manna bread apart from the rest.

Contents
Key Takeaways
- Whole wheat and spelt flour are high in fiber and protein, making them a nutritious choice for the bread.
- Rolled oats provide additional fiber, adding to the nutritional value of the bread.
- Nuts and dried fruits not only add crunch and natural sweetness to the bread but also provide additional nutrients.
- Chia seeds can be used as a vegan alternative to eggs, providing omega-3 fatty acids and binding the ingredients together.
Ingredients
To make delicious Manna Bread, gather the following ingredients. For this recipe, you’ll need:
- 3 cups of whole wheat flour
- 1 cup of spelt flour
- 1 cup of rolled oats
- 1 cup of chopped nuts (such as almonds or walnuts)
- 1/2 cup of dried fruits (such as raisins or cranberries)
- 1/4 cup of chia seeds
- 2 teaspoons of baking powder
- 1/2 teaspoon of salt
- 1/4 cup of maple syrup
- 2 cups of non-dairy milk (such as almond or soy milk)
- 1/4 cup of melted coconut oil.
Now, let’s talk about the vegan alternatives and health benefits of these ingredients.
By choosing whole wheat and spelt flour instead of refined white flour, you’re opting for a more nutritious option that’s high in fiber and protein.
The rolled oats provide additional fiber, while the nuts and dried fruits add a delightful crunch and natural sweetness.
Chia seeds are a fantastic vegan alternative to eggs, as they help bind the ingredients together and provide healthy omega-3 fatty acids.
The maple syrup adds a touch of sweetness, and the non-dairy milk and coconut oil make the bread moist and delicious.
Incorporating these vegan alternatives into your Manna Bread not only makes it suitable for those with dietary restrictions but also increases its nutritional value.
This bread is packed with fiber, protein, healthy fats, and essential vitamins and minerals, making it a wholesome and satisfying choice.
Mixing the Dough
Now it’s time to combine all the ingredients and start mixing the dough for your delicious Manna Bread. Follow these steps to ensure a successful dough:
- Measure and gather all the ingredients. Make sure to have the flour, water, yeast, salt, and any other optional ingredients ready. This will help you stay organized and prevent any last-minute scrambling.
- In a large mixing bowl, combine the dry ingredients. Mix them well to evenly distribute the yeast and salt throughout the flour. This will ensure that your bread rises properly and has a balanced flavor.
- Slowly add water to the dry mixture while stirring. Use your hands or a wooden spoon to mix everything together. The goal is to form a soft and slightly sticky dough. If the dough feels too dry, add a little more water. If it’s too wet, add a bit more flour.
- Once the dough comes together, transfer it to a clean, lightly floured surface. Knead the dough by pushing it away from you with the heel of your hand, then folding it back towards you. Repeat this motion for about 10 minutes or until the dough becomes smooth and elastic.
If you encounter any common dough problems, such as a too-sticky or too-dry dough, try adjusting the amount of flour or water accordingly. Remember, practice makes perfect when it comes to kneading techniques. So, don’t be afraid to experiment and find what works best for you.
Proofing and Shaping
After successfully mixing the dough, the next step in creating your delicious Manna Bread is proofing and shaping the dough. Proofing is a crucial step that allows the dough to rise and develop its flavor. There are various proofing techniques you can use to achieve the best results.
One popular technique is the traditional method of proofing in a warm and humid environment. You can place the dough in a lightly greased bowl, cover it with a clean towel, and leave it in a warm spot for about an hour or until it has doubled in size. This method creates an ideal environment for the yeast to activate and release carbon dioxide, resulting in a light and airy bread.
Another option is to use a proofing box or a warm oven. Simply set your oven to a low temperature, around 100°F (38°C), and place the dough inside. This controlled environment helps speed up the proofing process, especially in colder climates or if you’re short on time.
Once the dough has proofed, it’s time to shape it. Shaping tools such as a bench scraper or your hands can be used to shape the dough into your desired form. Whether you prefer a loaf, rolls, or even a braided shape, the key is to handle the dough gently to preserve the air bubbles formed during proofing.


Baking the Bread
Once the dough has been shaped, it’s ready to be baked into a delicious loaf of Manna Bread. Baking the bread is a crucial step in the bread-making process, as it transforms the dough into a fragrant and golden-brown masterpiece.
To ensure a successful baking experience, here are some essential bread baking techniques and equipment you’ll need:
- Preheat your oven: Before placing the dough in the oven, make sure it’s properly preheated to the recommended temperature. This ensures even baking and a beautifully risen loaf.
- Use a baking stone or pizza stone: A baking stone or pizza stone helps to create a crisp and evenly baked crust. Place it in the oven while it preheats to allow it to heat up fully.
- Steam the oven: To achieve a moist and glossy crust, create steam in the oven during the first few minutes of baking. You can achieve this by placing a pan of hot water on the bottom rack or spraying water into the oven.
- Use a baking thermometer: To ensure your bread is fully baked, use a baking thermometer to check the internal temperature. The bread should register around 190-210°F (88-99°C) for a perfectly cooked loaf.

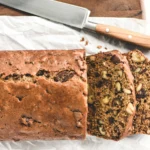
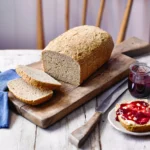
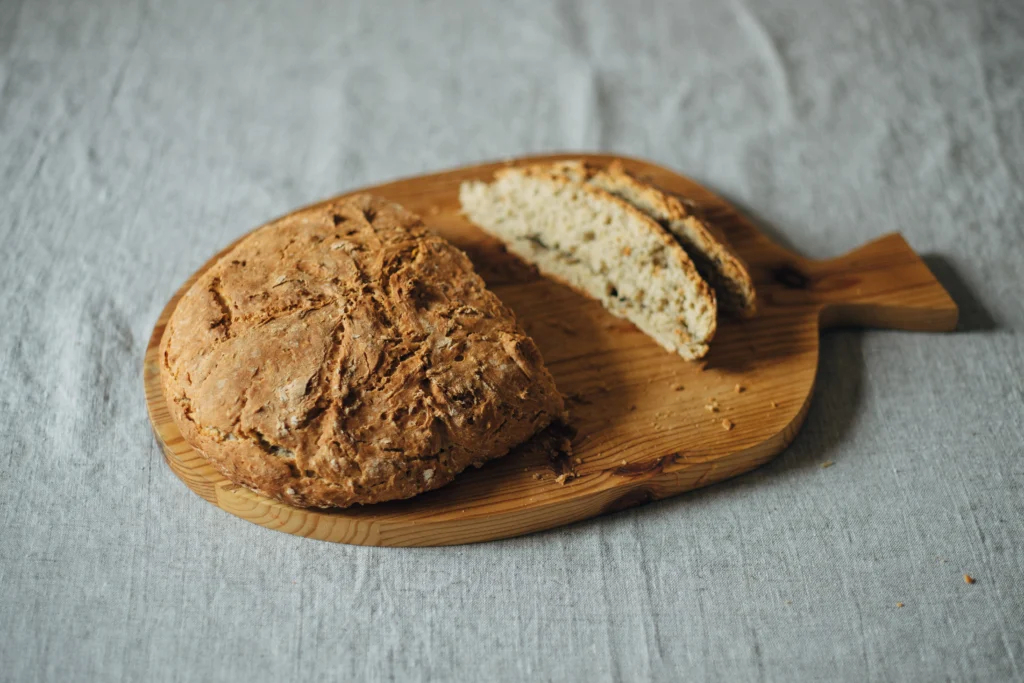
Manna Bread Recipe
Course: Healthy SideCuisine: Plant-basedDifficulty: Moderate12
servings1
hour1
hour120
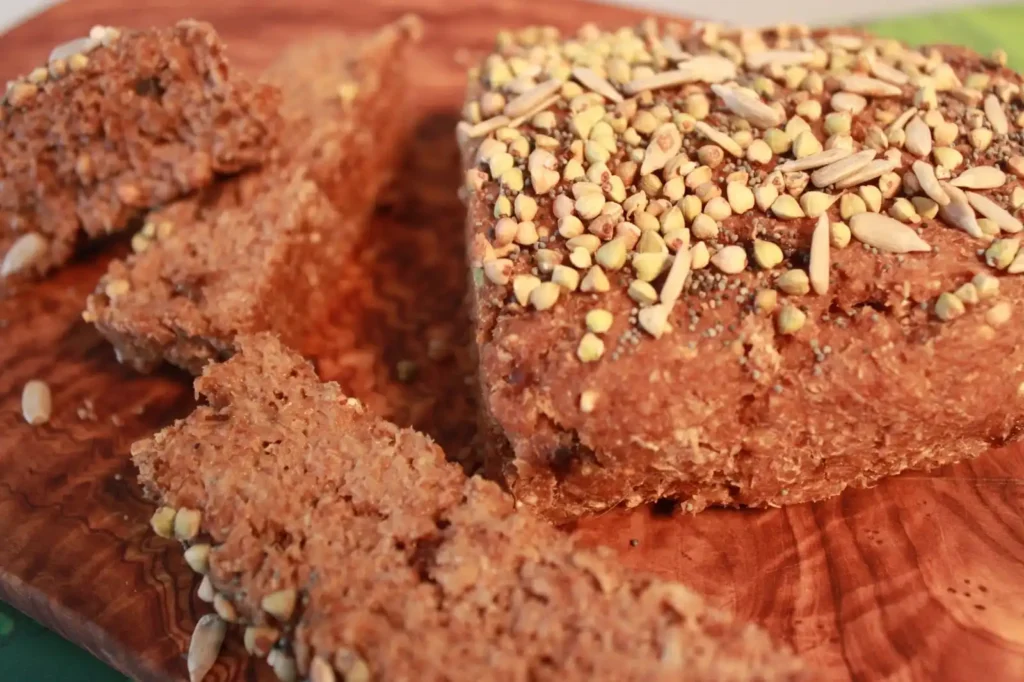
kcalManna bread is a wholesome and nutritious alternative to traditional bread, made from sprouted grains without the use of added yeast. This recipe combines the health benefits of sprouted wheat berries with simple ingredients to create a dense and chewy bread that's perfect for breakfast or as a snack. The inclusion of extra virgin olive oil adds a rich flavor, while optional honey or maple syrup provides a touch of sweetness.
Ingredients
2 cups sprouted wheat berries
1/2 cup filtered water
1/4 cup extra virgin olive oil
1 tablespoon honey or maple syrup (optional, for sweetness)
1/2 teaspoon sea salt
Directions
- Rinse the wheat berries thoroughly under cold water.
- Place the rinsed wheat berries in a sprouting jar or a bowl covered with a clean cloth.
- Allow the wheat berries to sprout for about 2-3 days, rinsing them twice a day. You'll know they are ready when small sprouts emerge.
- In a food processor, combine the sprouted wheat berries, water, olive oil, honey or maple syrup (if using), and sea salt.
- Process the mixture until it forms a sticky dough-like consistency.
- Preheat your oven to 350°F (175°C).
- Grease a small loaf pan or line it with parchment paper.
- Transfer the dough into the prepared loaf pan, smoothing the top with a spatula.
- Bake the manna bread in the preheated oven for about 45-60 minutes or until the top is golden brown and a toothpick inserted into the center comes out clean.
- Allow the manna bread to cool in the pan for 10-15 minutes.
- Transfer the bread to a wire rack to cool completely before slicing.
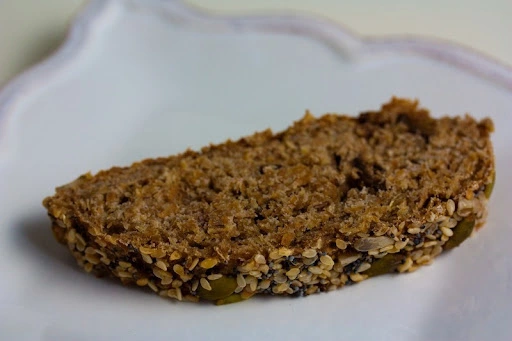
- Once the manna bread has cooled, slice it into desired thickness and serve.
Serving and Storing Tips
For the best serving and storing experience, follow these tips to keep your Manna Bread fresh and delicious. To enhance the flavor of your Manna Bread, try spreading some honey or nut butter on top. The sweetness of the honey or the nutty richness of the butter will complement the earthy taste of the bread. Another option is to toast the slices and serve them warm with a drizzle of maple syrup or a sprinkle of cinnamon. These simple additions will take your Manna Bread to the next level.
Now, let’s talk about creative ways to use leftover Manna Bread. Don’t let any leftover slices go to waste! You can transform them into a delightful breakfast or snack. One idea is to make Manna Bread French toast. Dip the slices into a mixture of beaten eggs, milk, and your favorite spices, then cook them on a hot griddle until golden brown. Top with fresh fruit, a dollop of Greek yogurt, or a drizzle of maple syrup for a delicious twist on a classic dish.
Alternatively, you can cube the leftover bread and use it as a base for bread pudding. Mix it with a custard mixture, add some raisins or chocolate chips, and bake until golden and set. The result is a comforting and decadent dessert that will surely impress.
Nutrition facts
- Calories: Approximately 80-120 calories per slice (varies based on slice size).
- Protein: About 3-5 grams per slice.
- Fat: Around 2-4 grams per slice (mainly from olive oil).
- Carbohydrates: Approximately 15-20 grams per slice.
- Fiber: 2-4 grams per slice (higher due to the use of sprouted grains).
- Sugar: Minimal to none, depending on whether sweeteners like honey or maple syrup are added.
Frequently Asked Questions
Can I Substitute the Whole Wheat Flour With Another Type of Flour?
You can substitute whole wheat flour with alternative flours like almond, oat, or spelt flour. These can make your bread lighter and add a unique flavor. Experiment and find the one that suits your taste best.
How Long Does It Take for the Dough to Rise During the Proofing Process?
To speed up dough proofing, there are a few tips you can try. First, use warm water and a warm environment. Second, add a small amount of sugar or honey to feed the yeast. These tricks will help you achieve a light and fluffy bread texture.
Can I Add Nuts or Dried Fruits to the Bread Dough?
Adding nuts or dried fruits to your bread dough can enhance its flavor and texture. However, be mindful of the impact on the bread’s structure. Too many can make it dense. It’s best to add a moderate amount and distribute them evenly.
What Should I Do if My Bread Turns Out Too Dense?
If your bread turns out too dense, there are a few things you can try. First, make sure you’re using the right amount of yeast and don’t overmix the dough. Adding a bit more liquid or letting it rise longer can also help achieve a lighter texture.
Can I Freeze the Bread for Later Use?
Yes, you can freeze bread for later use. Freezing bread has many benefits, such as preserving its freshness and extending its shelf life. It’s a convenient way to have delicious bread whenever you want it.

Conclusion
As the warm aroma of freshly baked manna bread fills the air, it serves as a gentle reminder of the power of simplicity and nourishment.
Just like the ancient Israelites relied on manna for sustenance, this bread recipe reminds us to appreciate the basic pleasures in life.
From the simple ingredients to the artful process of mixing, proofing, and baking, each step is a testament to the beauty of simplicity.
So, take a bite of this heavenly bread and savor the reminder that sometimes, the simplest things bring the greatest joy.