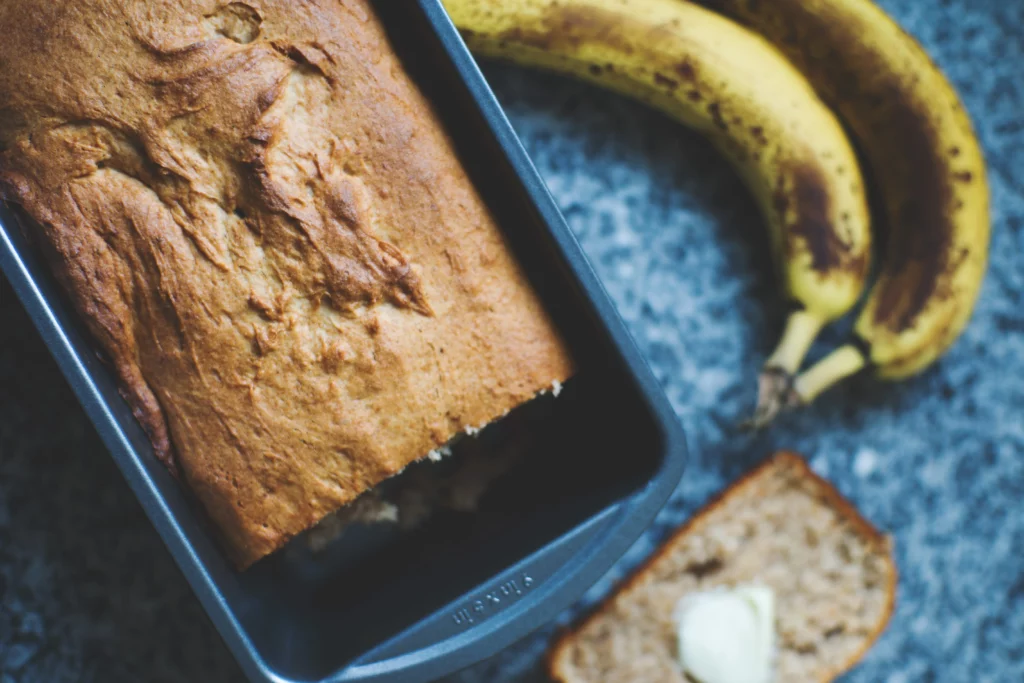
Imagine sinking your teeth into a slice of warm, homemade bread with a perfectly crispy crust and a soft, fluffy interior. With our better batter bread recipe, you can bring that dream to life in your own kitchen.
This recipe will guide you through the process of mixing, proofing, and baking your bread, resulting in a delightful loaf that will impress even the toughest bread critics.
Get ready to experience the freedom of creating your own delicious bread at home.

Contents
- 1 Key Takeaways
- 2 Better Batter Bread Recipe
- 3 Ingredients
- 4 Mixing the Batter
- 5 Proofing the Dough
- 6 Shaping the Loaf
- 7 Baking the Bread
- 8 Enjoying Your Homemade Bread
- 9 Nutritional Facts:-
- 10 Frequently Asked Questions
- 10.1 How Long Does the Batter Need to Be Mixed For?
- 10.2 Can I Use a Different Type of Flour for This Recipe?
- 10.3 How Do I Know When the Dough Has Proofed Enough?
- 10.4 Can I Shape the Loaf Into Rolls Instead of a Traditional Loaf Shape?
- 10.5 How Long Should I Let the Bread Cool Before Slicing and Serving?
- 11 Can I Use the Better Batter Bread Recipe to Make Argentina Yeast Bread?
- 12 Conclusion
Key Takeaways
- Use the right type of bread flour for desired texture
- Avoid overmixing to prevent a dense and tough bread
- Allow dough to ferment properly for optimal flavor and texture
- Store bread at room temperature in airtight container to keep it fresh

Better Batter Bread Recipe
Course: bakingCuisine: UniversalDifficulty: easy4
servings30
minutes40
minutes300
kcalElevate your baking game with our Better Batter Bread – a symphony of simplicity and taste that transforms basic ingredients into a delightful loaf. Perfect for beginners, this recipe promises a soft interior and a golden crust, making it a staple for every home baker.
Ingredients
4 cups all-purpose flour
1 tablespoon sugar
1 tablespoon salt
1 packet active dry yeast
1 ½ cups warm water
2 tablespoons olive oil
Directions
- In a bowl, combine flour, sugar, and salt.
- In another bowl, dissolve yeast in warm water and let it sit for 5 minutes until frothy.
- Mix yeast mixture and olive oil into the dry ingredients.
- Knead the dough on a floured surface until smooth.
- Place the dough in a greased bowl, cover, and let it rise for an hour.
- Punch down the dough, shape it, and place it in a loaf pan.
- Let it rise again for 30 minutes.
- Bake at 375°F (190°C) for 25-30 minutes until golden brown.
Ingredients
To make better batter bread, you’ll need a handful of essential ingredients. Different types of flour, yeast, and sugar are the building blocks of a successful batter bread.
When it comes to flour, you have options. All-purpose flour is commonly used and provides a good balance of protein and gluten for a tender yet sturdy texture. Whole wheat flour adds a nutty flavor and boosts the nutritional value of the bread.
Yeast is crucial for the rising process. Active dry yeast or instant yeast can be used, depending on your preference.
Sugar not only provides sweetness but also feeds the yeast, aiding in fermentation.
Now, let’s talk about adding flavor. You can enhance your batter bread by incorporating herbs, spices, cheese, or even dried fruits and nuts. Experiment with different combinations to discover your favorite flavor profiles.
Mixing the Batter
Now that you have gathered your ingredients, it’s time to start mixing the batter for your better batter bread.
To achieve the perfect consistency, it’s important to use proper mixing techniques. This means combining the wet and dry ingredients in a way that ensures they’re evenly incorporated.
Additionally, timing is crucial when mixing the batter, as overmixing can result in a dense and tough bread.
Mixing Techniques for Consistency
Start by thoroughly whisking together the ingredients for the batter. This step is crucial for achieving a consistent texture in your bread.
Here are some mixing techniques to ensure your batter turns out perfectly every time:
- Use the right type of bread flour: Different types of bread flour have varying protein content, which affects the structure and texture of your bread. Experiment with different flours to find the one that suits your taste.
- Avoid overmixing: Overmixing can lead to a dense and tough bread. Mix just until all the ingredients are combined, and then stop.
- Incorporate the dry ingredients gradually: Adding the dry ingredients in increments helps to evenly distribute them in the batter and prevent clumps.
- Don’t rush the mixing process: Take your time to ensure all the ingredients are fully incorporated. Rushing can result in an unevenly mixed batter.
- Use a gentle folding motion: When mixing, use a gentle folding motion to avoid deflating the batter and creating a dense loaf.
Incorporating Dry Ingredients Evenly
To evenly incorporate the dry ingredients into the batter, gradually add them in small increments while mixing. This step is crucial in achieving a fluffy texture in your batter bread. By adding the dry ingredients gradually, you allow them to fully combine with the wet ingredients without creating clumps or pockets of dryness.
Start by adding a small portion of the dry ingredients to the wet mixture and mix until just combined. Then, add another small portion and repeat the process until all the dry ingredients are incorporated. This technique ensures that the dry ingredients are evenly distributed throughout the batter, resulting in a light and airy bread.
Remember to mix gently but thoroughly to avoid overmixing, which can lead to a dense loaf.
Following these tips will help you effortlessly incorporate the dry ingredients and achieve a perfectly fluffy batter bread.
Importance of Proper Timing
You should mix the batter at the proper timing to ensure optimal results. Timing is crucial when it comes to bread making, as it affects the rise and texture of the final product. Here are some key points to keep in mind:
- Timing for optimal rise: Mixing the batter at the right time allows for proper fermentation. This is important because fermentation helps develop the flavors and texture of the bread.
- The role of fermentation in bread making: During fermentation, yeast consumes the sugars in the dough and produces carbon dioxide gas, which causes the dough to rise. This process also enhances the bread’s flavor and improves its structure.
- Patience is key: It’s important to give the dough enough time to ferment properly. Rushing this step can result in a dense and underdeveloped bread.
- Temperature matters: The ideal temperature for fermentation is around 75°F (24°C). This encourages the yeast to work efficiently and ensures a good rise.
- Trust your instincts: Pay attention to the dough’s appearance and feel. If it looks and feels well-risen and elastic, it’s likely ready for the next step.
Understanding the importance of proper timing in mixing the batter sets the stage for the next crucial step: proofing the dough.
Proofing the Dough
To proof the dough for the Better Batter Bread recipe, begin by covering it with a damp cloth and placing it in a warm, draft-free area. This step is crucial because it allows the yeast to activate and work its magic. Yeast is a living organism that feeds on sugar and releases carbon dioxide gas, which helps the bread rise. The warm environment provides the ideal conditions for yeast activation, while the damp cloth prevents the dough from drying out. Understanding yeast activation is important to ensure that your bread rises properly and has a light, fluffy texture.
However, there are common proofing mistakes to avoid. One mistake is placing the dough in a location that’s too cold or too hot. Cold temperatures will slow down yeast activity, while high temperatures can kill the yeast altogether. Another mistake isn’t giving the dough enough time to proof. Patience is key when it comes to proofing. The dough needs sufficient time for the yeast to do its work and create those lovely air bubbles that give the bread its soft texture.
Shaping the Loaf
After the dough has been properly proofed, it’s time to shape the loaf using the following steps:
- Start by gently patting down the dough to release any air bubbles.
- Next, fold the dough in half lengthwise, then in half again, creating a rectangular shape.
- Roll the dough tightly from one end to the other, making sure to apply even pressure.
- Seal the ends by pinching the dough together and tucking them underneath.
- Place the shaped loaf into a greased bread pan or onto a baking sheet, seam-side down.
Shaping the loaf is an important step in achieving a beautiful, evenly risen bread. By following these shaping techniques, you’ll ensure a well-formed loaf that bakes up perfectly. However, if you encounter any difficulties while shaping, don’t worry! Troubleshooting shaping issues is common and can easily be overcome with a little practice and patience.
Now that your loaf is shaped, it’s time to move on to the next step: baking the bread.
Baking the Bread
Once the loaf has been shaped, it’s time to move onto the next step: baking the bread. Baking is where the magic happens, transforming your dough into a delicious, golden loaf.
To achieve the perfect bread texture, it’s important to use the right baking techniques. Preheat your oven to the recommended temperature, usually around 375°F (190°C), to ensure even baking. Place your loaf on a baking sheet or in a greased bread pan, allowing room for it to rise and expand.
For a chewy crust, brush the loaf with water or egg wash before baking. To create a soft and tender interior, cover the loaf with aluminum foil halfway through baking to prevent excessive browning. Remember to monitor your bread closely and adjust baking times accordingly.
Soon, you’ll be rewarded with a beautifully baked loaf, ready to be enjoyed.
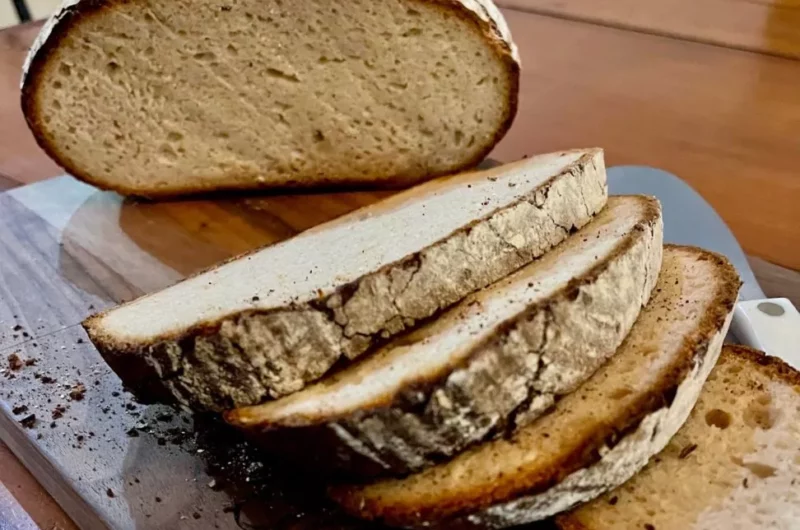
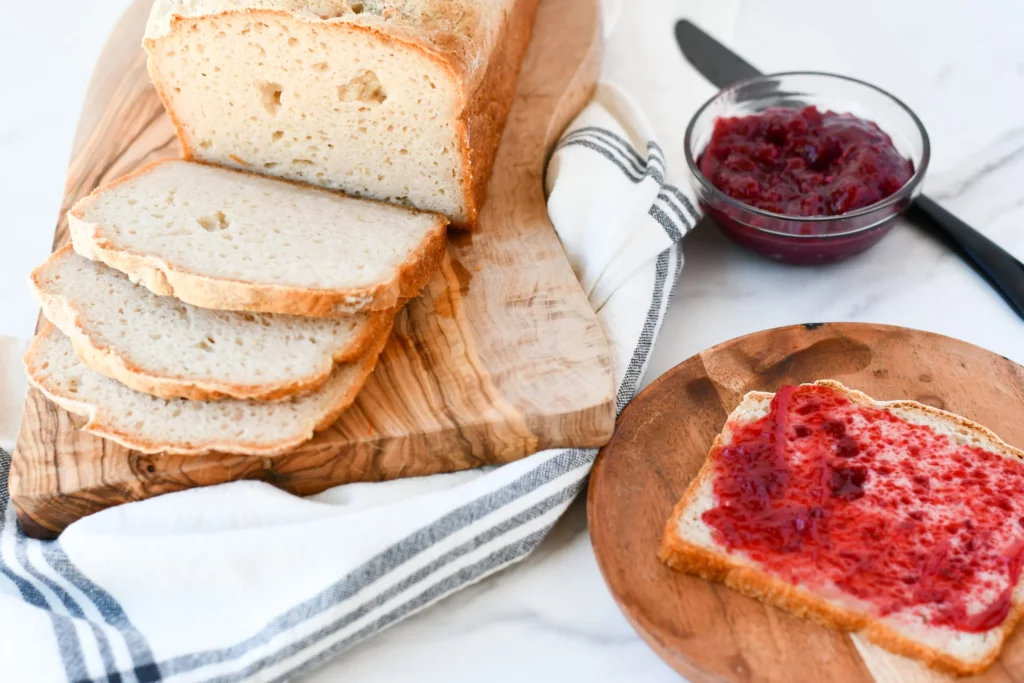
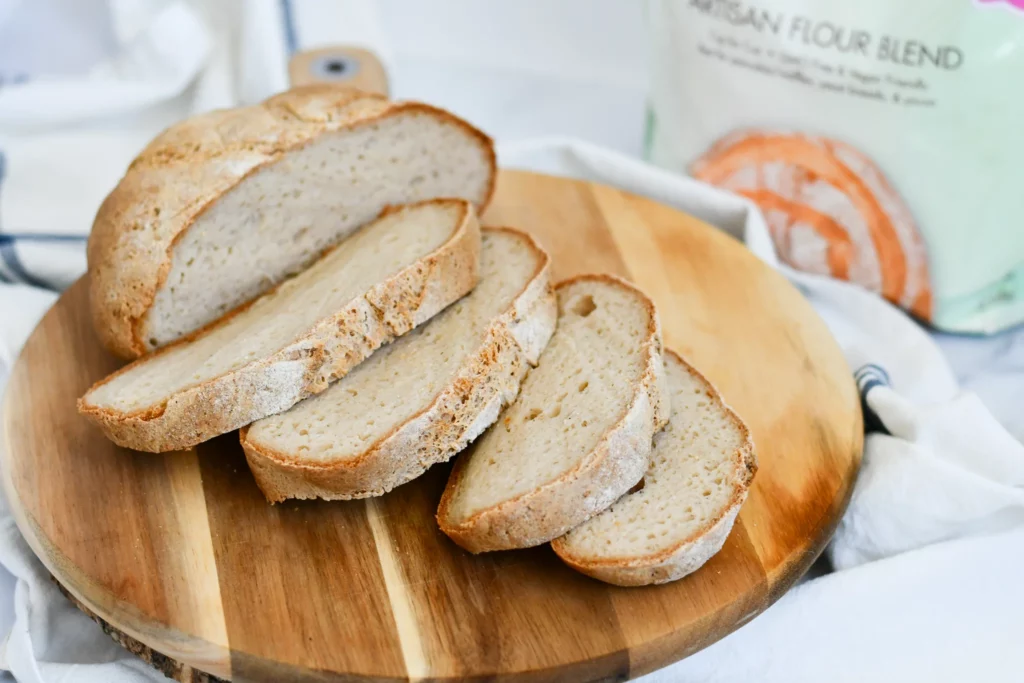
Enjoying Your Homemade Bread
Savor the satisfaction of biting into your warm, homemade bread. As you enjoy the delicious taste and texture, here are some tips to enhance your bread experience:
- Bread storage: Keep your bread fresh by storing it in a bread box or airtight container. Avoid refrigerating, as it can dry out the bread.
- Bread slicing techniques: Achieve perfect slices by using a serrated knife and a gentle sawing motion. If you prefer crusty bread, slice it when it has completely cooled. For softer bread, slice it while it’s still slightly warm.
- Experiment with toppings: Spread butter, jam, or your favorite spreads on your bread. You can also use slices to make sandwiches or toast them for a crispy treat.
- Pair with beverages: Enjoy your homemade bread with a cup of coffee, tea, or a glass of milk. The combination of flavors will take your bread experience to the next level.
- Share the joy: Invite friends and family over to enjoy your homemade bread. It’s a perfect opportunity to bond and share the deliciousness.
Now, go ahead and indulge in the freedom of savoring your homemade bread, knowing that you have mastered the art of bread storage and slicing techniques.
Nutritional Facts:-
- Serving Size: 1 slice (assuming 12 slices per loaf)
- Calories: Approximately 120 calories
- Total Fat: 2g
- Saturated Fat: 0.3g
- Trans Fat: 0g
- Cholesterol: 0mg
- Sodium: 290mg
- Total Carbohydrates: 22g
- Dietary Fiber: 1g
- Sugars: 1g
- Protein: 3g
Frequently Asked Questions
How Long Does the Batter Need to Be Mixed For?
To properly store the batter before baking, keep it in an airtight container in the refrigerator. For extra flavor during mixing, try adding vanilla extract or spices like cinnamon or nutmeg. Enjoy the freedom to experiment and create delicious bread!
Can I Use a Different Type of Flour for This Recipe?
Sure, you can definitely try using a different type of flour for this recipe. It can give your bread a unique flavor and texture. You can also get creative and experiment with alternative bread shapes. Enjoy the freedom in your baking!
How Do I Know When the Dough Has Proofed Enough?
To know if your dough has proofed enough, give it a gentle poke. If it springs back slowly, it needs more time. If it springs back quickly, it’s ready. Proofing time affects the taste and texture, so be patient for better bread.
Can I Shape the Loaf Into Rolls Instead of a Traditional Loaf Shape?
Yes, you can definitely shape the loaf into rolls instead of a traditional loaf shape. This alternative baking method allows for more individual servings and offers a variety of shaping techniques to experiment with. Enjoy the freedom of creating your own unique bread rolls!
How Long Should I Let the Bread Cool Before Slicing and Serving?
You’ve baked your delicious bread, and now you’re wondering how long to wait before devouring it. Letting the bread cool for about 20-30 minutes will prevent it from becoming soggy. To keep it fresh for longer, store it in an airtight container. Enjoy your homemade goodness!
Can I Use the Better Batter Bread Recipe to Make Argentina Yeast Bread?
Yes, you can use the Better Batter Bread Recipe to make Argentina yeast bread recipe. The versatile nature of the Better Batter Bread Recipe allows for customization and adaptation to different types of yeast bread, including the traditional Argentina yeast bread recipe.
Conclusion
Now that you’ve mastered the art of making batter bread, your taste buds will thank you!
With its soft and fluffy texture, this homemade delight is perfect for any occasion.
Whether you choose to enjoy it warm with butter or use it for sandwiches, this recipe offers a delightful juxtaposition of simplicity and flavor.
So go ahead, savor the satisfaction of creating your own delicious loaf of batter bread.
Your kitchen will never be the same again!